
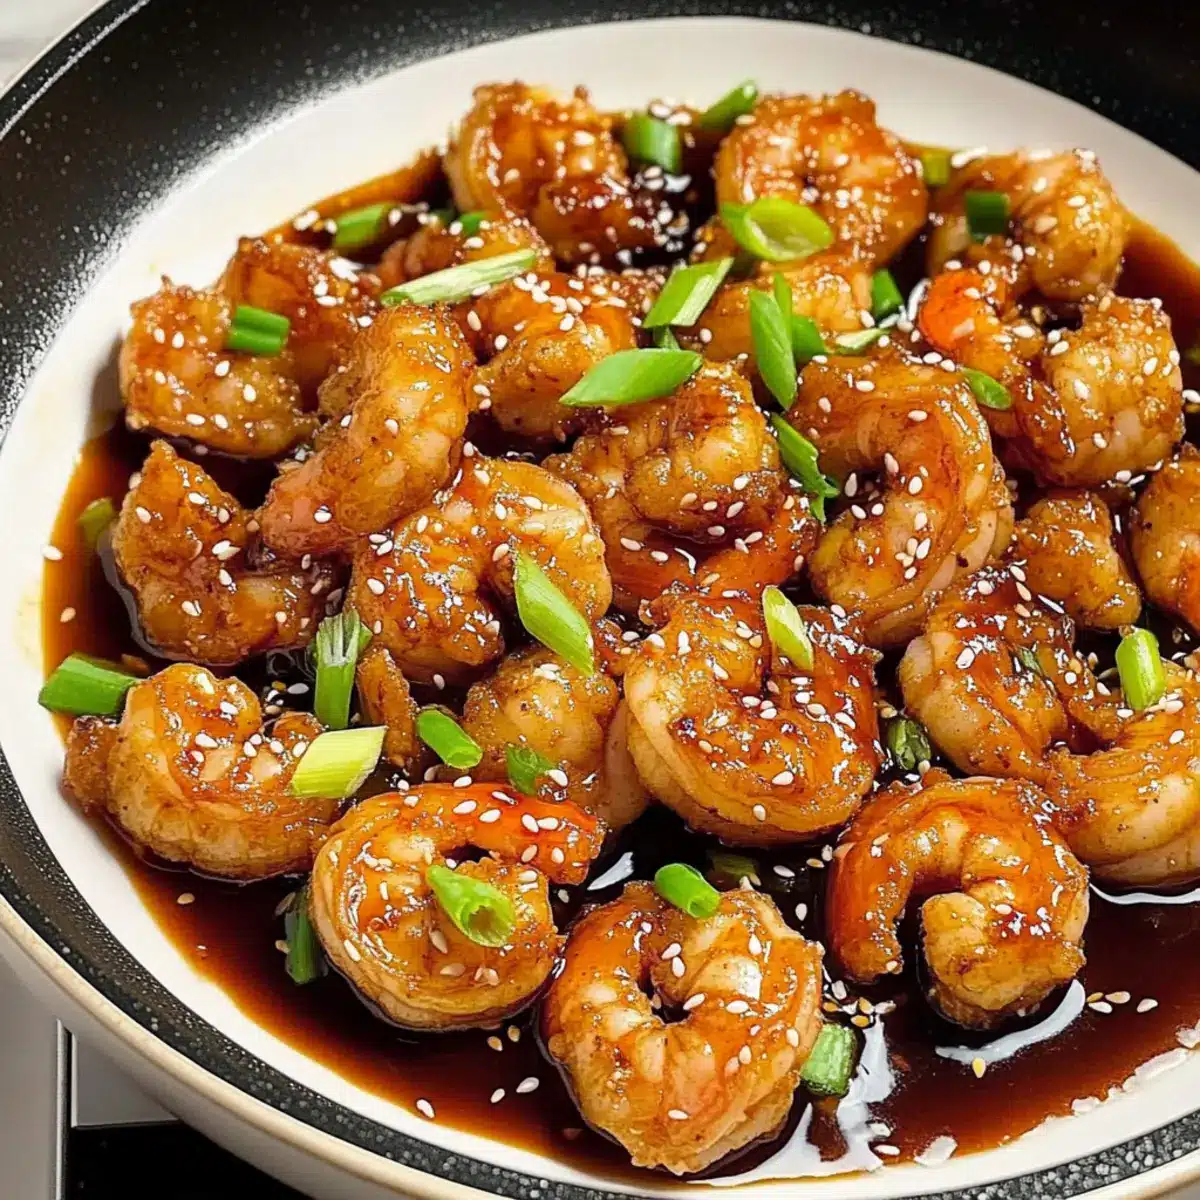
If you’re anything like me, you know that sometimes the subtle sizzle of a skillet is all it takes to transport you straight to your favorite takeout spot. This Crispy Mongolian Shrimp in Sweet & Savory Sauce does just that, combining the best of Chinese-American cuisine with a delightful twist. Not only is this dish incredibly easy to whip up—making it a lifesaver on busy weeknights—but it’s also gluten-free and packed with flavor that will impress even the pickiest eaters. Imagine a plate filled with sumptuous, lightly battered shrimp coated in a glossy sauce, begging to be tossed over a bed of steaming rice or fresh veggies. Ready to discover a new favorite you can recreate at home? Let’s dive into this delicious recipe!
Why Is This Mongolian Shrimp Recipe Special?
Ease of Preparation: This recipe is perfect for any home cook, as it requires minimal steps and just a few basic ingredients to create a restaurant-quality meal.
Crispy Texture: The secret to irresistibly crunchy shrimp lies in the egg whites and tapioca flour, yielding the perfect bite every time.
Flavor Explosion: With sweet and savory elements paired with fresh garlic and ginger, this dish delivers a flavor profile that tantalizes the taste buds.
Versatile Dish: Feel free to customize by adding your favorite vegetables or protein, making it a family-friendly option that can cater to everyone’s tastes.
Healthy Option: Not only is it gluten-free, but it also aligns with paleo-friendly diets, making it a guilt-free indulgence.
Elevate your dinner game with this tasty, quick-to-make meal that rivals your local takeout! For additional flavor inspirations, check out my guide on easy Asian-inspired recipes.
Mongolian Shrimp Ingredients
The essential components you’ll need.
For the Shrimp
- Shrimp – Deveined and shelled for a quick cooking process; frozen shrimp can be defrosted in warm water.
- Egg Whites – Act as a binding agent for the batter, ensuring your shrimp have that light and crispy texture.
For the Batter
- Tapioca or Arrowroot Flour – Provides the perfect crunch when coating the shrimp; can easily be substituted with cornstarch if needed.
- Avocado Oil or Coconut Oil – Used for frying; choose based on your preferred flavor and health benefits.
For the Sauce
- Garlic – Adds a depth of flavor; always go for fresh minced garlic for the best results.
- Ginger – Freshly grated; enriches the sauce with a delightful zestiness.
- Water – Helps adjust the consistency of the sauce to your preference.
- Soy Sauce or Tamari – Provides umami and saltiness; feel free to swap it for coconut aminos for a soy-free version.
- Hoisin Sauce – Adds sweetness and complexity; for a similar taste, BBQ sauce can work as an alternative.
- Honey – A natural sweetener that balances the sauce; brown sugar can also be used if that’s what you have on hand.
- Sesame Oil – Infuses a nutty aroma for added flavor but is optional based on your taste preferences.
- Chili Flakes – Introduces mild heat; adjust this according to your spice tolerance.
For Garnish
- Green Onions (Scallions) – Chop for garnish and added freshness on top of the finished dish.
- Sesame Seeds – Optional for a nutty sprinkle, enhancing both taste and presentation.
Now that you have all your ingredients ready, you’re one step closer to creating a memorable, homemade Mongolian shrimp feast that will surely impress!
Step‑by‑Step Instructions for Crispy Mongolian Shrimp in Sweet & Savory Sauce
Step 1: Prepare the Shrimp
Start by patting the deveined and shelled shrimp dry with paper towels to ensure they crisp up perfectly when cooked. If you’d like, butterfly them for an eye-catching presentation. Set the shrimp aside on a plate while you whisk the egg whites in a separate bowl until frothy, which will help create that delightful crispy coating.
Step 2: Set Up the Batter
In another bowl, pour in the tapioca or arrowroot flour, setting it up for coating the shrimp. Make sure your work area is organized for an efficient cooking process; you’ll coat each shrimp in egg whites first, then toss them in the flour. This two-step process ensures a light and airy crust that will fry up beautifully in the next step.
Step 3: Heat the Oil
Place a skillet over medium-high heat and pour in the avocado or coconut oil, allowing it to heat for about 3-5 minutes. You’ll know the oil is ready once it shimmers slightly, indicating it’s hot enough for frying. Carefully coat each shrimp in the egg whites, then toss them in the flour mix so that they’re fully covered before placing them in the skillet.
Step 4: Fry the Shrimp
Add the shrimp to the hot oil in batches, making sure not to overcrowd the pan. Fry them for about 2 minutes on each side, or until they turn golden brown and crispy. Once cooked, use a slotted spoon to remove the shrimp and drain them on a plate lined with paper towels, leaving just a little oil in the pan for the sauce.
Step 5: Sauté Aromatics
With the shrimp set aside, quickly add the minced garlic and freshly grated ginger to the same skillet. Sauté these aromatics for about 30 seconds, stirring frequently to bloom their flavors without allowing them to brown, which can lead to bitterness. The moment your kitchen fills with their lovely fragrance, you know it’s time to move to the next step.
Step 6: Prepare the Sauce
In a separate bowl, whisk together the soy sauce or tamari, hoisin sauce, honey, and a splash of water to your desired consistency. Pour this mixture into the skillet with the sautéed garlic and ginger. Allow it to come to a gentle bubble for a couple of minutes, giving everything a chance to meld. This sweet and savory sauce will be the perfect complement to your crispy Mongolian shrimp.
Step 7: Combine Shrimp and Sauce
Return the golden-brown shrimp to the bubbling sauce in the skillet. Toss everything together gently for about 1-2 minutes, so that the shrimp are well coated and heated through. You’ll want to see each piece of shrimp glistening with that rich sauce, ensuring every bite is full of flavor.
Step 8: Garnish and Serve
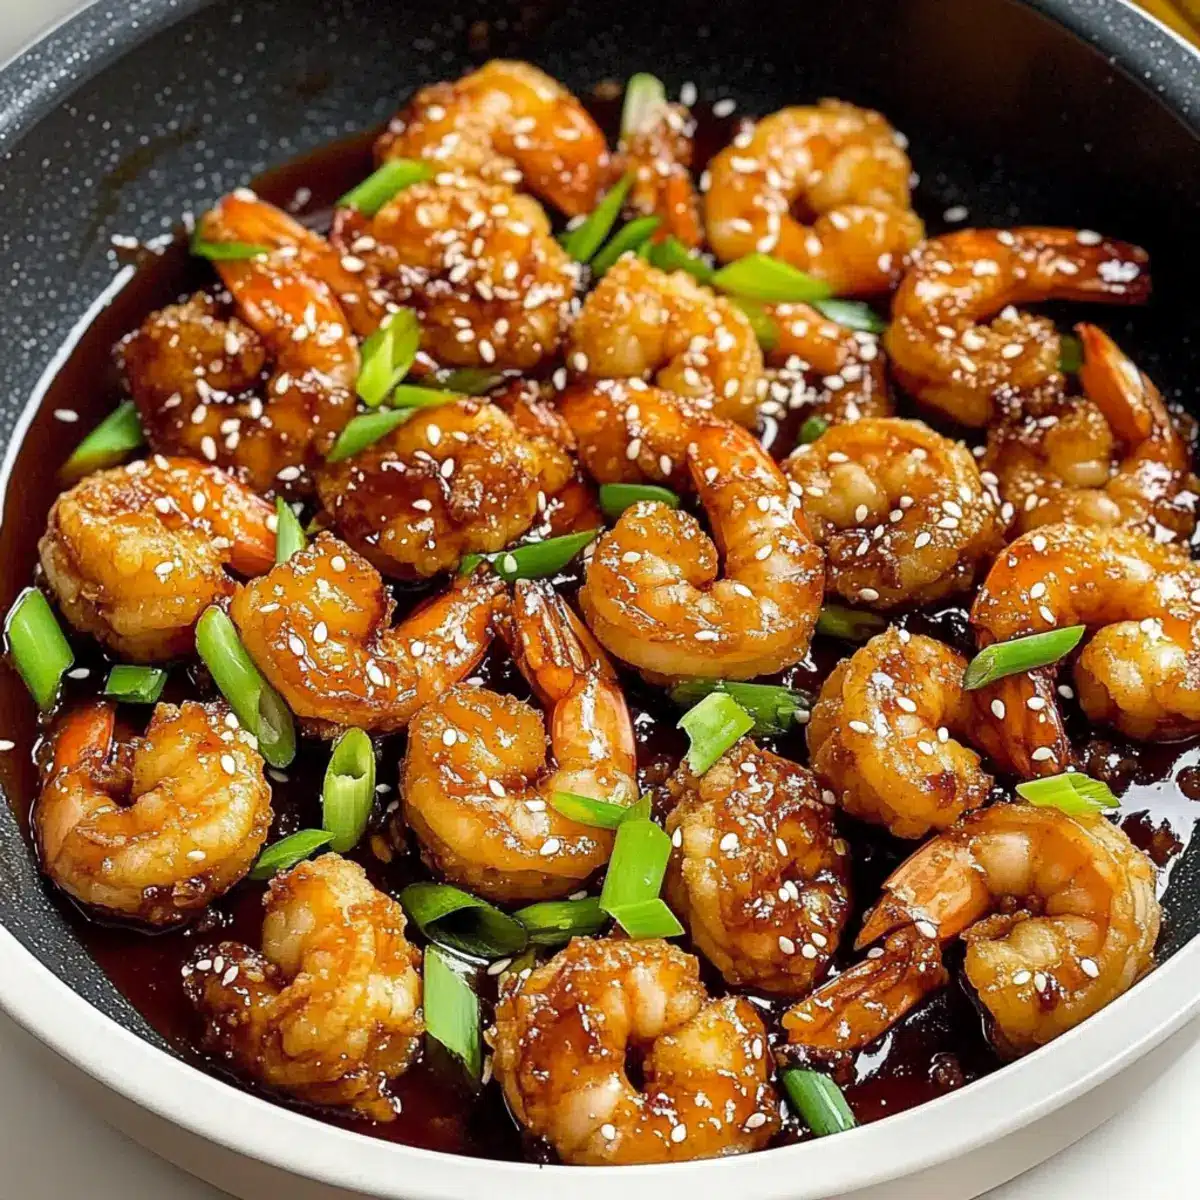
Finally, remove the skillet from the heat and plate your delicious Crispy Mongolian Shrimp. Garnish generously with chopped green onions and a sprinkle of sesame seeds for extra crunch. Serve over a bed of fluffy rice or steamed vegetables to complete this vibrant dish, bringing an explosion of flavor to your table.
Make Ahead Options
These Crispy Mongolian Shrimp are perfect for busy home cooks looking to save time during the week! You can prep the shrimp by coating them in egg whites and tapioca flour for up to 24 hours in advance. Store the coated shrimp in a single layer on a baking sheet, covered with plastic wrap, to avoid sticking. The sauce can also be prepared up to 3 days ahead of time; simply whisk the ingredients together and refrigerate in an airtight container. When you’re ready to serve, fry the shrimp for about 2 minutes per side until golden, reheat the sauce briefly, and toss them together for that delightful sweet and savory finish. Enjoy delicious homemade Mongolian Shrimp with minimal fuss!
How to Store and Freeze Mongolian Shrimp
Fridge: Store leftovers in an airtight container for up to 2 days. Reheat gently in a microwave or skillet to maintain the shrimp’s crispy texture.
Freezer: If you have more than you can eat, freeze the shrimp before adding the sauce. Use a freezer-safe container for up to 1 month. Thaw in the fridge before reheating.
Reheating: When you’re ready to enjoy your frozen Mongolian shrimp, sauté them in a skillet over medium heat until heated through, adding a splash of water to keep the coating crispy.
Sauce Storage: The sweet and savory sauce can be stored separately in the fridge for up to 4 days. Reheat gently before mixing with the shrimp.
Mongolian Shrimp Variations & Substitutions
Get ready to make this dish your own with delightful tweaks and twists!
-
Protein Swap: Substitute shrimp with chicken, beef, or tofu for a versatile meal that caters to everyone’s tastes. Each protein brings its unique texture and flavor, allowing endless experimentation!
-
Sweetness Adjustments: Feel free to add more or less honey or brown sugar depending on how sweet you like your sauce. This flexibility lets you customize the flavor to match your preferences perfectly.
-
Veggie Boost: Incorporate vibrant veggies such as bell peppers, snap peas, or bok choy into the stir-fry. Not only will they add color, but they’ll also provide extra nutrition without altering the beloved taste.
-
Spice It Up: Want some heat? Toss in sliced fresh chili peppers or increase the chili flakes for a more ignited flavor experience. It’s a fantastic way to add a little kick if you’re in the mood for something spicy.
-
Gluten-Free Assurance: Make sure your soy sauce or tamari is gluten-free, or swap with coconut aminos for a soy-free option. This small switch keeps your dish gluten-free while ensuring it remains delicious.
-
Flavor Enhancements: Try adding a splash of rice vinegar or a dash of sesame oil to the sauce for an extra layer of richness and depth. These tiny adjustments can elevate your dish to a whole new level!
-
Crispy Alternatives: For a different crunchy twist, consider coating the shrimp in crushed gluten-free panko breadcrumbs instead of flour. This substitution will give you that beloved extra crunch that bites back!
-
Culinary Adventure: Dive into different culinary influences by adding an Asian twist with bamboo shoots or a touch of sweet and sour sauce blend. This will lend your timeless dish an exciting international flair.
No matter how you choose to tweak your Mongolian Shrimp, I’d love to hear your own spin on this Asian-inspired dish! Don’t hesitate to explore these options and make it your own. If you’re craving more ideas, check out my guide on easy Asian-inspired recipes.
What to Serve with Crispy Mongolian Shrimp in Sweet & Savory Sauce
Elevate your dining experience by pairing this delightful dish with sides and beverages that will complement the rich, sweet, and savory flavors.
- Fluffy Jasmine Rice: Light and aromatic, jasmine rice absorbs the delicious sauce, making every bite satisfying and enjoyable.
- Steamed Broccoli: Its crisp texture and slight bitterness provide a fresh contrast to the richness of the shrimp, balancing the meal beautifully. Plus, the vibrant green adds stunning color to your plate.
- Garlic Bok Choy: Sautéed in garlic for an extra punch, this leafy green offers a tender yet crunchy side that complements the shrimp perfectly.
- Cucumber Salad: A refreshing side with crunchy cucumbers, this salad introduces a cool element that offsets the savory depth of the shrimp. Toss in a light dressing for an extra zing!
- Chili Lime Quinoa: Quinoa adds a nutty flavor and protein boost, while a splash of lime enhances the dish’s Asian-inspired theme.
- Sweet and Sour Pineapple Skewers: Juicy pineapple offers a burst of tropical sweetness that contrasts beautifully with the savory notes of the shrimp.
- Thai Iced Tea: This smooth and fragrant tea provides a delightful balance of sweetness, making for a picturesque pairing with your meal.
- Light Coconut Sorbet: Conclude the dining experience with a scoop of coconut sorbet, refreshing and light, echoing the tropical vibes of the dish without overpowering the palate.
- Stir-Fried Snap Peas: Quickly stir-fried with a touch of sesame oil, these crunchy peas add a burst of freshness and vibrant color to your table.
Expert Tips for Mongolian Shrimp
-
Drying the Shrimp: Ensure shrimp are completely dry before battering. This step is crucial for achieving that perfect, crispy texture you desire.
-
Oil Temperature: Monitor the oil temperature carefully. If it’s too hot, the shrimp may burn; too cool, and they won’t crisp up properly.
-
Sauce Consistency: Adjust the thickness of the sauce with water or additional hoisin as needed. A thicker sauce is great for coating while a thinner one allows for more sauce on the plate.
-
Ginger and Garlic Care: Pay close attention to the garlic and ginger when sautéing. Overcooked, they can turn bitter and detract from the deliciousness of the Mongolian shrimp.
-
Batter Coating: Don’t skip the two-step coating process with egg whites and flour. This method makes all the difference in achieving that signature crunch!
-
Customizable Dish: Feel free to experiment! Add your favorite veggies or use different proteins to personalize this dish and cater to your family’s tastes.
Crispy Mongolian Shrimp Recipe FAQs
What type of shrimp is best for this recipe?
Absolutely go for deveined and shelled shrimp! Fresh shrimp will yield the best results, but if you’re short on time, frozen shrimp works just as well. Just be sure to defrost them in warm water before cooking for the best texture.
How do I store leftover Mongolian Shrimp?
Store any leftovers in an airtight container in the fridge for up to 2 days. When ready to enjoy, reheat them gently in a skillet or microwave, taking care not to overdo it, so you keep that crispy texture intact!
Can I freeze Mongolian Shrimp?
Yes, you can! It’s best to freeze the shrimp before adding the sauce. Place the cooked, crispy shrimp in a freezer-safe container and store for up to 1 month. To reheat, simply thaw in the fridge overnight and sauté in a skillet over medium heat until heated through, adding a splash of water to keep the coating crispy.
What should I do if my batter isn’t sticking to the shrimp?
If you find the batter isn’t adhering well, it could be due to moisture on the shrimp. Ensure you pat them completely dry with paper towels before dipping them in egg whites. If that still doesn’t do the trick, you can try adding a little more flour to the mix to help the batter cling better.
Is there a gluten-free alternative for soy sauce?
Absolutely! You can use Tamari, which is gluten-free, or coconut aminos for a soy-free option. Both alternatives will still give you that lovely umami flavor without the gluten!
Can I use different vegetables in this recipe?
Very! Feel free to add colorful veggies like bell peppers, snap peas, or bok choy for added nutrition and flavor. Simply toss them in during the sautéing phase with the garlic and ginger for a delicious and vibrant dish.
Crispy Mongolian Shrimp: A Sweet & Savory Delight
Ingredients
Equipment
Method
- Pat the deveined and shelled shrimp dry with paper towels.
- Whisk the egg whites in a bowl until frothy.
- In another bowl, pour in the tapioca flour for coating.
- Heat the avocado or coconut oil in a skillet over medium-high heat for about 3-5 minutes.
- Coat each shrimp in egg whites, then toss in flour until fully covered.
- Fry the shrimp in batches for about 2 minutes on each side or until golden brown and crispy.
- Remove cooked shrimp and drain on paper towels, leaving some oil in the pan.
- Sauté the minced garlic and grated ginger in the skillet for about 30 seconds.
- Whisk together soy sauce, hoisin sauce, honey, and water in a bowl. Add to skillet and bring to a bubble.
- Return the shrimp to the skillet and toss gently with the sauce for 1-2 minutes.
- Plate the shrimp and garnish with chopped green onions and sesame seeds.
- Serve over rice or steamed vegetables.
Leave a Reply