
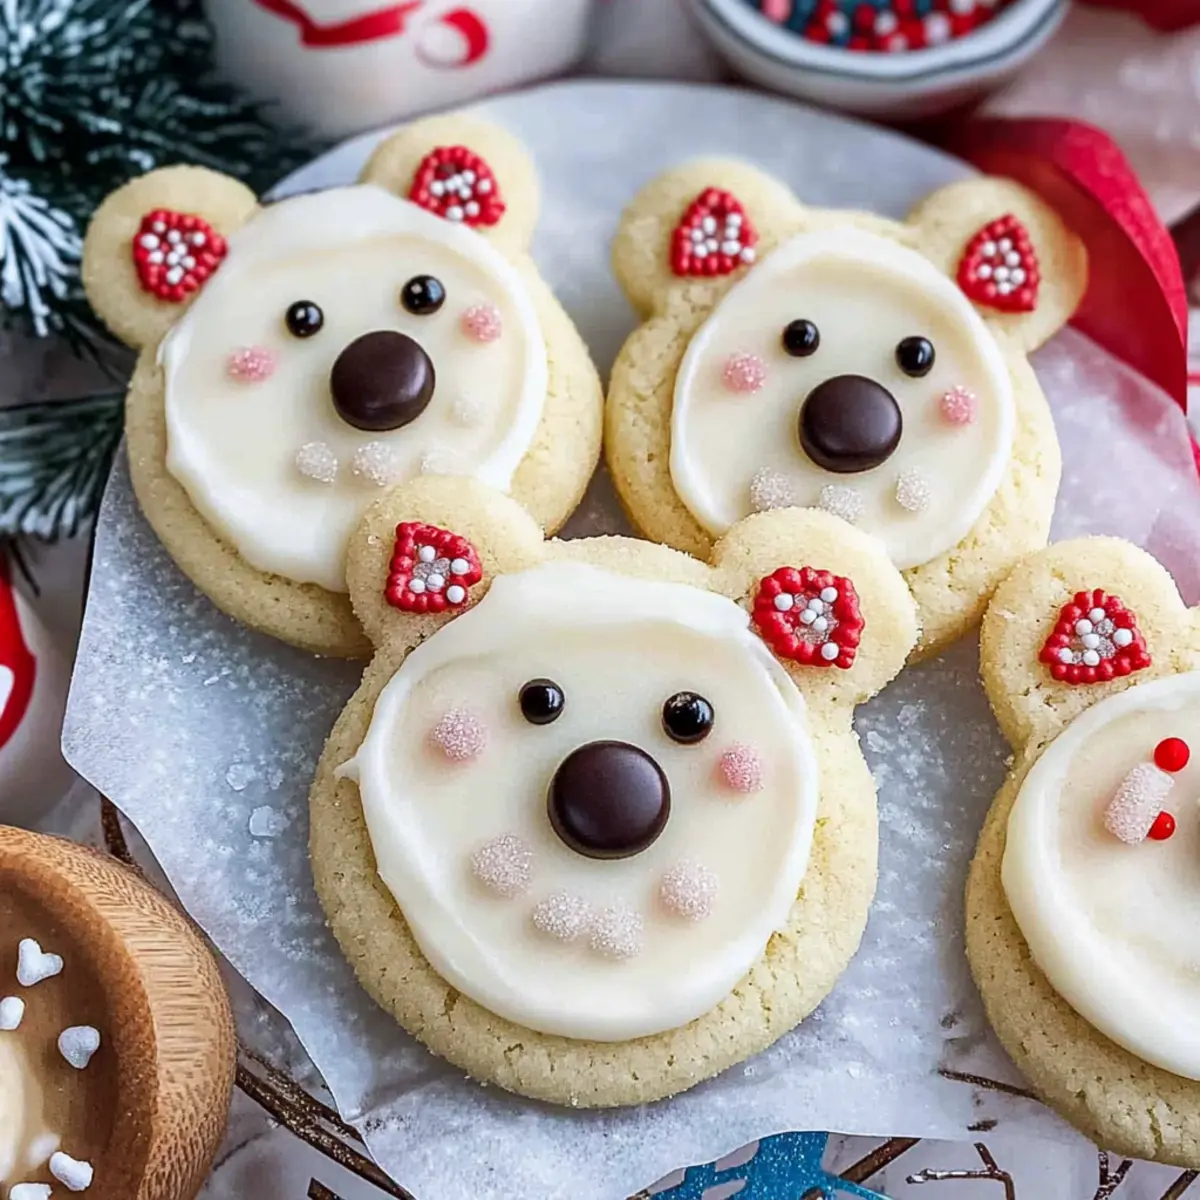
Have you ever found yourself staring at a store-bought treat and wishing you could add your own touch? Enter these adorable Polar Bear Cookies, each one a whimsical delight waiting to make their way into your heart (and stomach). The incredible softness and chewiness, paired with a luscious homemade buttercream frosting, give these cookies the perfect texture to satisfy your sweet cravings. They’re ideal for holiday gatherings or a cozy baking day with the kids, ensuring smiles all around. Plus, they’re not just cute; they’re also surprisingly easy to whip up, making them a delightful and fun addition to any baking repertoire. Curious about how to create these charming little bears in your kitchen? Let’s get started!
Why Are Polar Bear Cookies So Loved?
Irresistible Fun: These cookies are not just treats; they’re a playful experience that can brighten any occasion!
Soft and Chewy: The texture is perfectly balanced, offering a soft bite that pairs beautifully with the creamy frosting.
Family-Friendly Baking: Gather the kids and enjoy a delightful baking day—these cookies are fun to decorate!
Customizable Decor: Feel free to get creative with your frosting and decorations; they’re the perfect canvas!
Perfect for Any Occasion: Whether it’s a holiday party, birthday, or a cozy gathering, these cookies will charm everyone.
Make-Ahead Marvel: You can whip up the dough before the fun begins, making them a time-saver for busy bakers!
If you’re looking for more festive cookie inspiration, don’t miss out on these Christmas Cookies Deliciously or the cozy Cinnamon Roll Cookies.
Polar Bear Cookies Ingredients
For the Cookies
- Unsalted Butter – Provides richness and moisture; use margarine for a dairy-free option.
- Full Fat Cream Cheese – Adds creaminess and a slight tang; substitute with vegan cream cheese for a non-dairy version.
- Granulated Sugar – Supplies sweetness and helps with texture; brown sugar can be used for a richer flavor.
- Large Egg – Binds ingredients together and adds moisture; a flax egg (1 tbsp ground flaxseed + 2.5 tbsp water) can be used as a vegan substitute.
- Vanilla Extract or Vanilla Bean Paste – Enhances flavor; almond extract can serve as a substitute.
- All-Purpose Flour – Provides structure; for gluten-free cookies, use a gluten-free flour blend.
- Cornstarch – Ensures a soft texture; can be omitted if necessary.
- Baking Powder – A leavening agent for lightness; baking soda can be used alternatively if adjusted properly.
- Fine Salt – Enhances flavor; sea salt can be used instead.
For the Frosting
- Powdered Sugar – Adds sweetness for the frosting; use a sugar alternative for lower-calorie options.
- Heavy Whipping Cream – Adds creaminess to the frosting; substitute with coconut cream for a dairy-free version.
For Decoration
- Sanding Sugar – Gives a crunchy texture and sparkly finish; can substitute with granulated sugar.
- Chocolate Chips – Used for the bear’s nose; white chocolate or carob chips can be alternatives.
- Sprinkles – Perfect for decorating the ears and eyes; any small candy or chocolate can replace sprinkles.
These Polar Bear Cookies are a delightful treat that combines both fun and flavor, making them the perfect addition to any baking adventure!
Step‑by‑Step Instructions for Polar Bear Cookies
Step 1: Dough Preparation
Begin by creaming together 1 cup of softened unsalted butter and 8 ounces of full-fat cream cheese in a large mixing bowl until the mixture is smooth and fluffy, about 2-3 minutes. Gradually add 1 cup of granulated sugar, mixing until light and airy. Then incorporate 1 large egg and 1 teaspoon of vanilla extract until fully combined, creating a rich and creamy dough base.
Step 2: Combine Dry Ingredients
In a separate bowl, whisk together 2 ½ cups of all-purpose flour, 1 tablespoon of cornstarch, 1 teaspoon of baking powder, and ½ teaspoon of fine salt. Gradually mix the dry ingredients into the wet mixture, stirring until just combined. This ensures that your Polar Bear Cookies have the perfect structure while keeping the dough fluffy.
Step 3: Chill Dough
Once your dough is combined, wrap it tightly in plastic wrap, dividing it into two portions for ease. Chill the dough in the refrigerator for at least 2 hours or until firm, or freeze for 30 minutes if you’re short on time. Chilling helps the cookies maintain their shape during baking, resulting in adorable Polar Bear Cookies.
Step 4: Preheat Oven
While the dough chills, preheat your oven to 350°F (175°C). Prepare several baking sheets by lining them with parchment paper to prevent sticking. This step ensures that your cookies bake evenly and come out perfectly golden.
Step 5: Roll and Cut Cookies
Once the dough is chilled, roll it out on a floured surface to a thickness of ⅓ inch. Use a large round cookie cutter to cut out the main body shapes for your Polar Bear Cookies and a smaller cutter for the ears. Place the cutouts on the prepared baking sheets and refrigerate for about 10 minutes to firm up before baking.
Step 6: Bake
Carefully transfer the baking sheets to the preheated oven and bake the cookies for 12-14 minutes, or until they are just lightly golden around the edges. Keep an eye on them, as baking time can vary, and you want that perfect soft and chewy texture for your Polar Bear Cookies.
Step 7: Cooling
Once baked, remove the cookies from the oven and let them cool on the baking sheets for about 15 minutes. This will allow them to set properly. Afterward, transfer them to wire racks to cool completely, ensuring they are ready for frosting.
Step 8: Prepare Frosting
In a mixing bowl, beat together ½ cup of softened unsalted butter, 1 teaspoon of vanilla extract, and a pinch of salt until creamy. Gradually add 4 cups of powdered sugar and 2 tablespoons of heavy cream, beating until smooth and fluffy. Your homemade buttercream frosting will be ready to adorn those delightful Polar Bear Cookies!
Step 9: Decorate Cookies
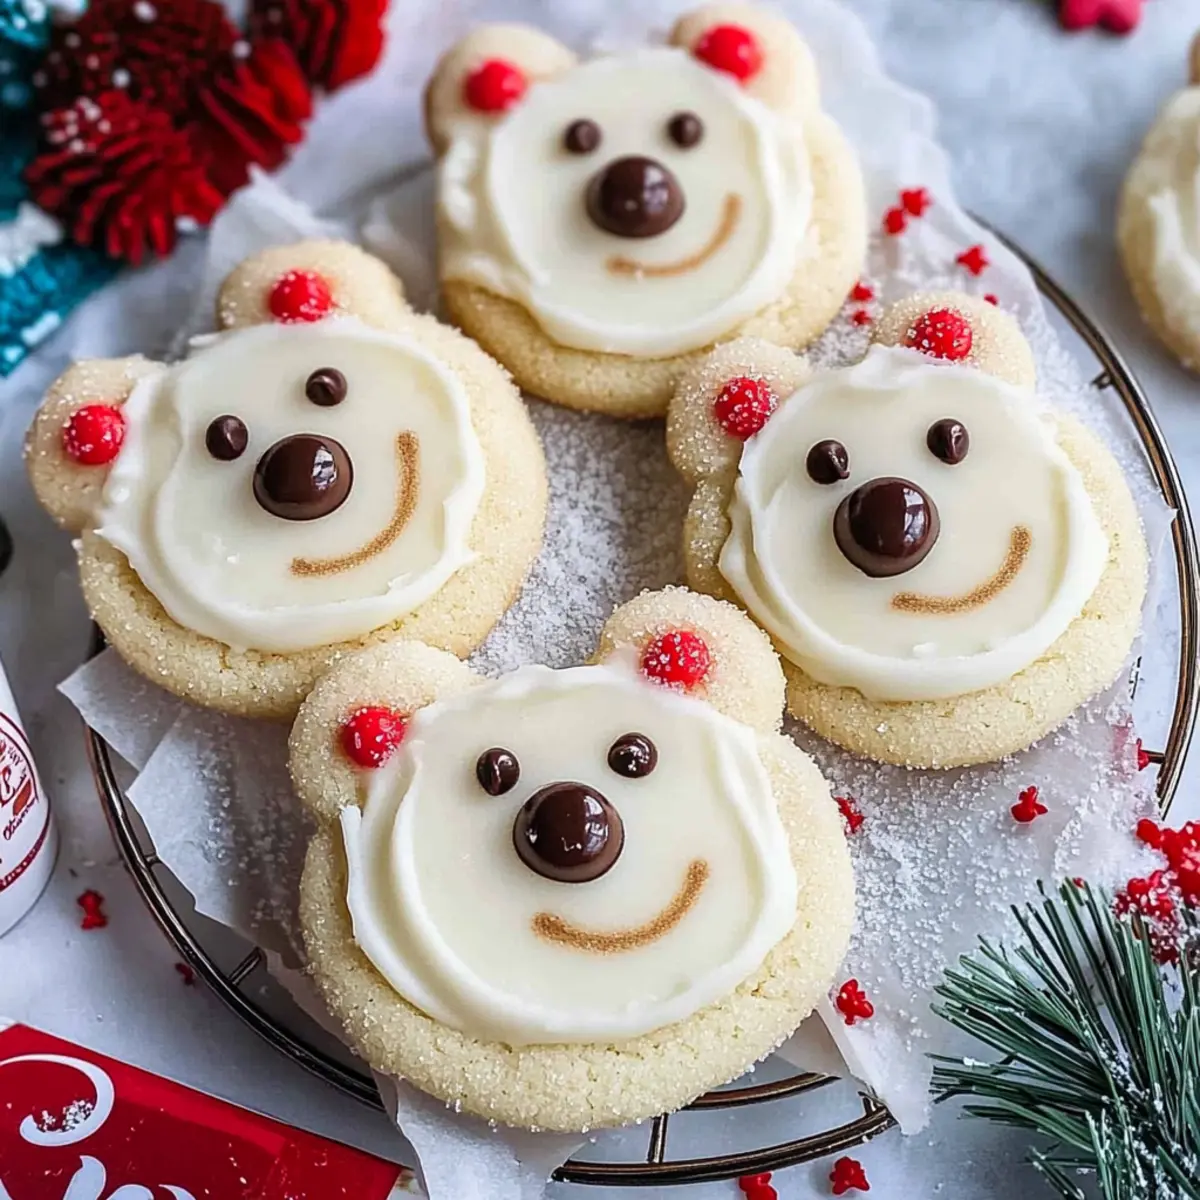
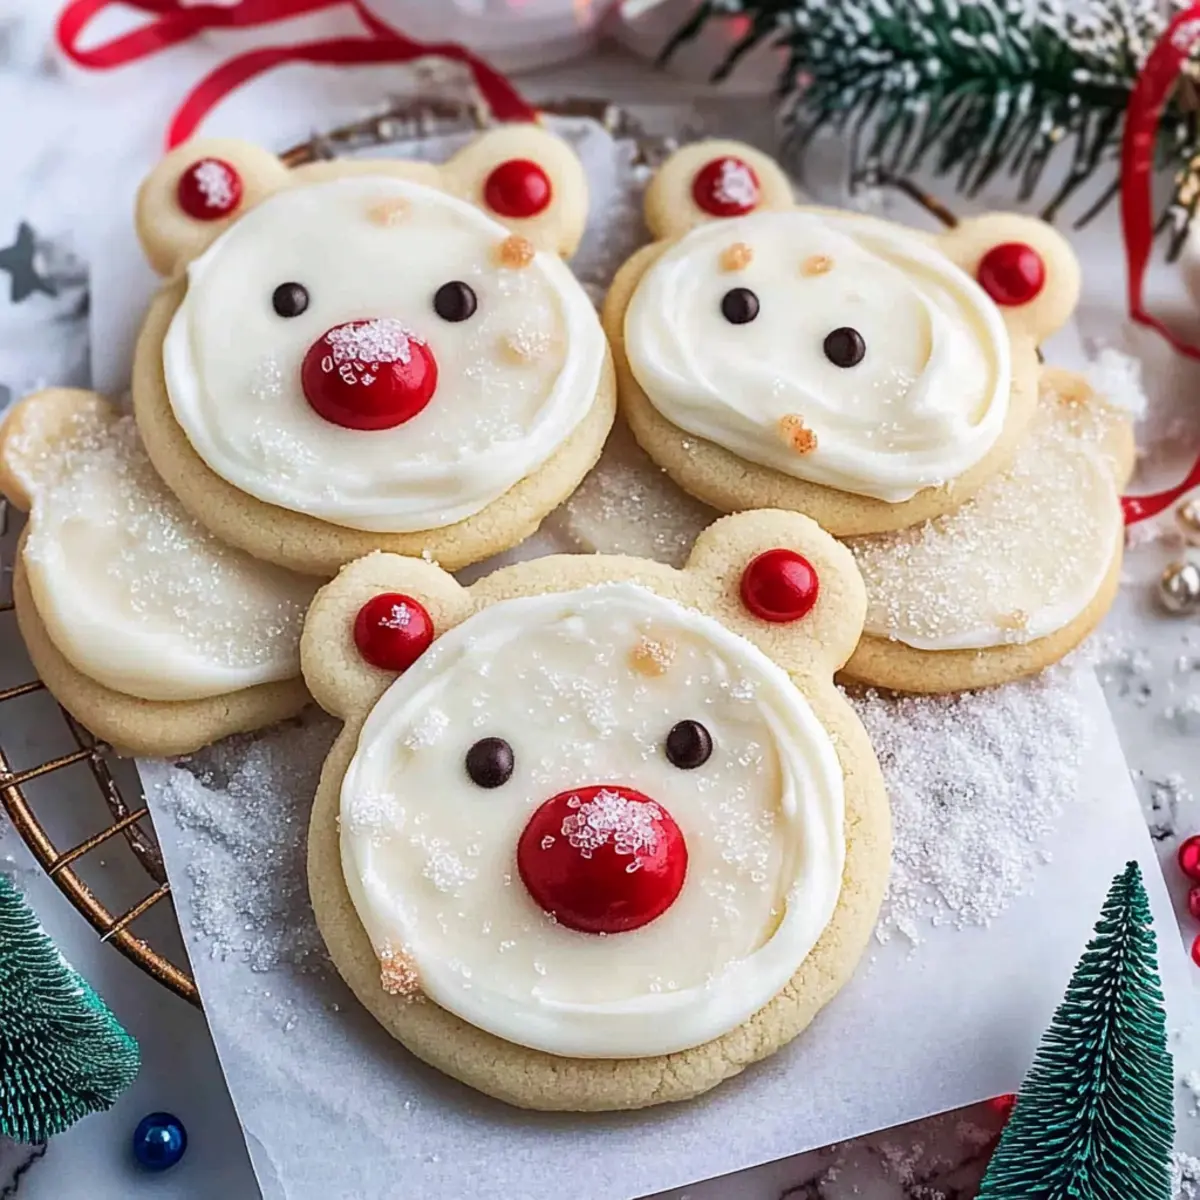
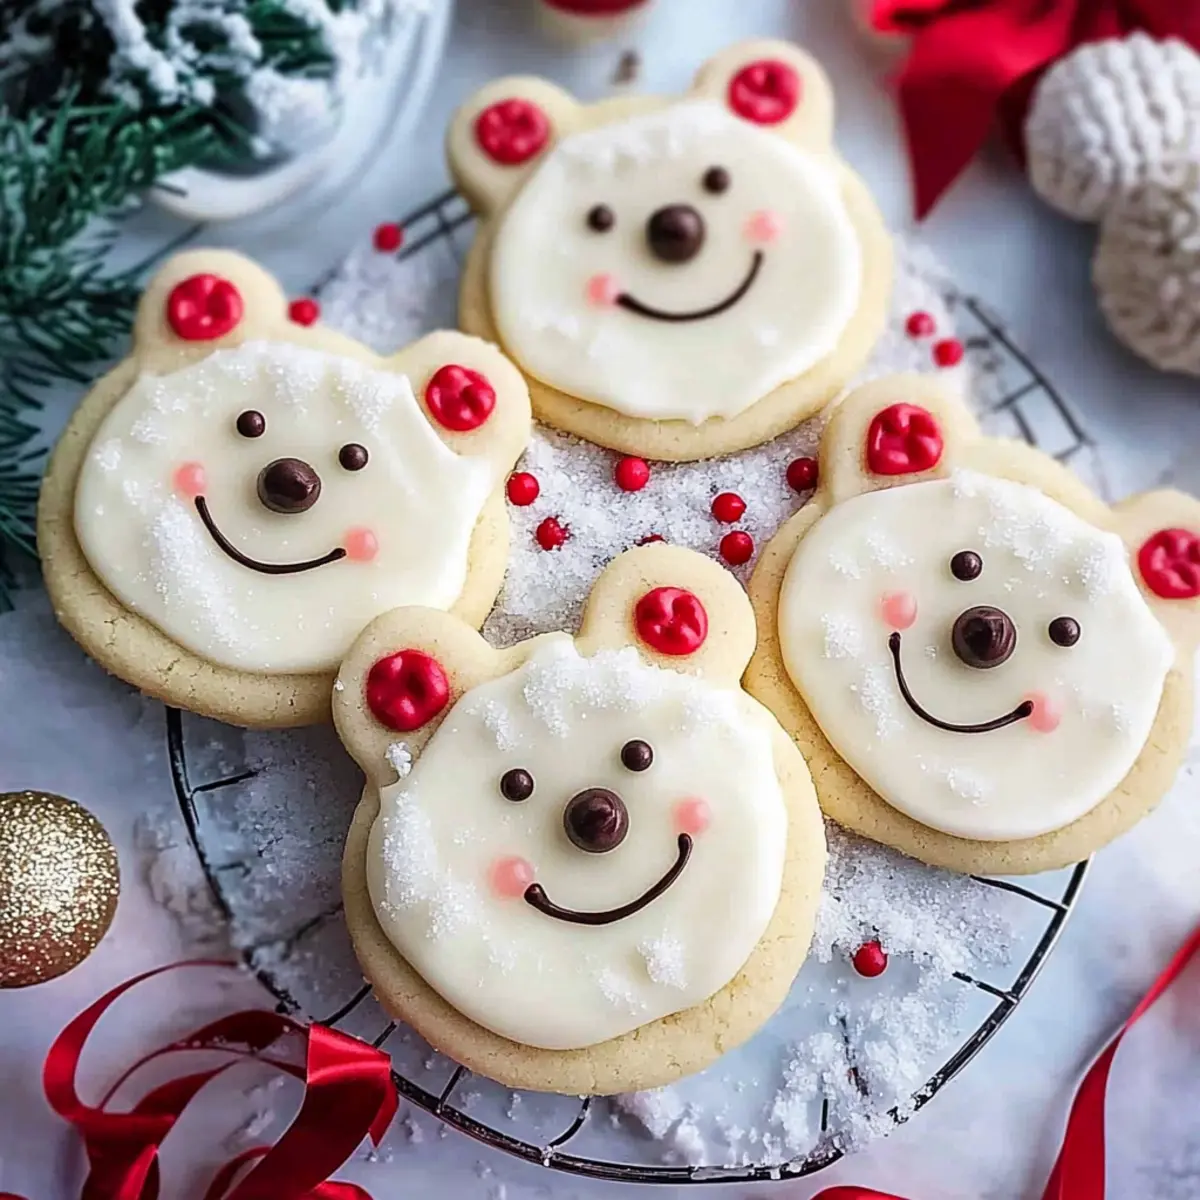
Frost the tops of the cooled Polar Bear Cookies generously with the buttercream. Immediately dip them into sanding sugar for a sparkly finish. Use chocolate chips for the bear’s noses and sprinkles for the ears and eyes to bring your adorable creations to life. Enjoy the charming display of your delicious Polar Bear Cookies!
What to Serve with Adorable Polar Bear Cookies
These delightful treats are ready to shine in a cozy gathering or festive celebration, perfectly pairing with a few choice dishes.
- Creamy Hot Chocolate: This rich, velvety drink enhances the sweetness of the cookies, making each bite even more indulgent.
- Fruit Salad: Fresh berries and melons contrast beautifully with the cookies’ sweetness, adding a refreshing twist to your dessert table.
- Vanilla Ice Cream: A scoop of silky ice cream perfectly complements these soft cookies, creating a delightful melting experience on your palate.
- Nutty Biscotti: The crunchy texture of biscotti offers a lovely balance to the chewiness of Polar Bear Cookies, inviting fun flavor contrasts.
- Festive Cheese Platter: Pairing creamy cheeses with your cookies can elevate the tasting experience—add some nuts and dried fruits for a touch of elegance.
- Sparkling Lemonade: A fizzy, citrus drink can cleanse the palate beautifully, creating a refreshing counterpoint to the rich buttercream frosting.
- Chocolate Fondue: Dive into a dreamy experience by dipping pieces of cookie into warm chocolate, enhancing their adorable charm with extra sweetness.
- Chai Latte: The warm spices in a chai latte harmonize well with the sweetness of the cookies, offering a comforting touch to your dessert adventure.
- Gingerbread Cookies: For those extra festive moments, pairing these Polar Bear Cookies with gingerbread brings a delightful array of flavors to the table.
Polar Bear Cookies: Customized Delight
Looking to add your own flair to these charming cookies? Let your creativity shine with these delicious twists!
- Dairy-Free: Substitute unsalted butter and cream cheese with vegan alternatives for a delicious plant-based option that everyone can enjoy.
- Nutty Flavor: Incorporate almond extract instead of vanilla for a warm, nutty touch that adds depth to the cookie dough.
- Gluten-Free: Use a certified gluten-free flour blend to make these adorable bears friendly for those with dietary restrictions.
- Chocolate Lovers: Mix in chocolate chunks instead of chips for extra melty goodness in every bite; the richness will take them over the top!
- Royal Icing Finish: Swap the buttercream frosting for royal icing for a sleek, polished look; it hardens beautifully for decorating fun!
- Seasonal Colors: Tint your frosting or cookie dough with food coloring for festive occasions—think red and green for Christmas or pastel hues for spring celebrations.
- Sugar Sprinkles: Try using cinnamon sugar instead of sanding sugar for a sweetly spiced decoration that will elevate your cookie game.
- Spiced Dough: Add pumpkin spice or cinnamon to the dough for a cozy, comforting flavor that pairs perfectly with the creamy frosting.
For those looking for more cookie inspiration, why not check out these delightful Christmas Cookies Deliciously or the warm and inviting Cinnamon Roll Cookies? Each offers a unique twist to your baking adventures!
Make Ahead Options
These adorable Polar Bear Cookies are perfect for meal prep! You can prepare the cookie dough up to 24 hours in advance by wrapping it tightly in plastic wrap and refrigerating. If you prefer, freeze the wrapped dough for up to 3 months to preserve its delightful freshness. You can also cut out the cookie shapes ahead of time and keep them in the fridge for up to 2 days before baking; just make sure to refrigerate the cutouts briefly to maintain their shape during baking. When you’re ready to enjoy this fun treat, simply bake them fresh and decorate with frosting, resulting in irresistibly soft cookies with minimal effort on busy weeknights. Enjoy delicious Polar Bear Cookies that are just as delightful as if they were made that day!
How to Store and Freeze Polar Bear Cookies
-
Room Temperature: Frosted Polar Bear Cookies can be stored at room temperature for up to 2 days. Keep them in an airtight container to maintain their softness.
-
Fridge: If you want to keep them longer, place the cookies in the fridge for up to 5 days. Ensure they are in an airtight container to prevent drying out.
-
Freezer: You can freeze undecorated Polar Bear Cookies for up to 1 month. Cool the cookies completely before wrapping them tightly in plastic wrap and placing them in a freezer-safe container.
-
Reheating: When ready to enjoy, thaw frozen cookies at room temperature or microwave for a few seconds for a warm treat. Decorate after thawing for best results!
Expert Tips for Polar Bear Cookies
- Room Temperature Ingredients: Ensure your butter and cream cheese are at room temperature. This helps achieve a smooth and creamy dough, key for your Polar Bear Cookies.
- Don’t Overmix: Mix just until combined; overmixing can lead to tough cookies. Aim for a soft, fluffy texture for the best results.
- Chill for Shape: Always chill your dough before cutting and baking. This step helps maintain the cookies’ adorable bear shapes during baking.
- Watch the Bake Time: Keep an eye on your cookies while baking. Look for lightly golden edges to avoid overbaking and maintain chewiness.
- Easy Decorating: For precise frosting application, use a piping bag or a zip-top bag with a corner snipped off. This makes decorating your Polar Bear Cookies a breeze!
- Flavor Variations: Feel free to experiment with flavored extracts in the dough, adding a personal touch to your Polar Bear Cookies.
Polar Bear Cookies Recipe FAQs
How do I choose the right ripeness of ingredients?
Absolutely! For the best results, make sure your eggs and cream cheese are at room temperature before mixing. This helps create a smooth, even dough. Fresh butter is also vital—dark spots indicate it’s beginning to spoil, so avoid using those.
What’s the best way to store Polar Bear Cookies?
To keep your Polar Bear Cookies at their best, store them in an airtight container. Frosted cookies can be kept at room temperature for up to 2 days or in the fridge for up to 5 days. Just ensure they’re in a sealed container to retain moisture and sweetness.
Can I freeze Polar Bear Cookies for later?
Certainly! You can freeze undecorated Polar Bear Cookies for up to 1 month. Once they are fully cooled, wrap each cookie tightly in plastic wrap and place them in a freezer-safe container. When you’re ready to enjoy, thaw them at room temperature and frost afterward for a fresh look.
What should I do if my dough is too sticky?
Very! If your dough feels too sticky to handle after mixing, you can sprinkle a little extra flour while rolling it out. Just be careful not to add too much, as it could lead to tougher cookies. If all else fails, chill the dough for an additional 30 minutes until it’s easier to work with.
Can I substitute ingredients for dietary restrictions?
Of course! Many alternatives can work beautifully. For a dairy-free version, swap the unsalted butter and cream cheese for margarine and vegan cream cheese. You can create a flax egg instead of a regular egg for a vegan substitute. Be sure to check the consistency as you make substitutions!
What are some common decorating mistakes to avoid?
One common mistake is applying frosting to warm cookies, which can lead to a melty mess! Always ensure your Polar Bear Cookies have completely cooled before decorating. Additionally, if using sanding sugar, dip the cookies immediately after frosting to achieve the best crunchy texture.
Delightful Polar Bear Cookies: Soft, Chewy, and Adorable!
Ingredients
Equipment
Method
- In a large mixing bowl, cream together the softened unsalted butter and full-fat cream cheese until smooth and fluffy, about 2-3 minutes.
- Gradually add the granulated sugar, mixing until light and airy.
- Incorporate the egg and vanilla extract until fully combined to create a rich and creamy dough.
- In a separate bowl, whisk together the all-purpose flour, cornstarch, baking powder, and fine salt.
- Gradually mix the dry ingredients into the wet mixture, stirring until just combined.
- Wrap the dough tightly in plastic wrap, dividing it into two portions for ease and chill for at least 2 hours.
- Preheat your oven to 350°F (175°C) and line baking sheets with parchment paper.
- Roll the chilled dough out on a floured surface to a thickness of ⅓ inch and cut out cookie shapes.
- Refrigerate cutouts for about 10 minutes to firm up before baking.
- Transfer to the preheated oven and bake cookies for 12-14 minutes or until lightly golden around the edges.
- Let the cookies cool on baking sheets for about 15 minutes before transferring to wire racks to cool completely.
- Beat together the softened unsalted butter, vanilla extract, and a pinch of salt until creamy.
- Gradually add the powdered sugar and heavy cream, beating until smooth and fluffy.
- Frost the tops of the cooled cookies generously with buttercream, then dip into sanding sugar.
- Use chocolate chips for noses and sprinkles for decorative accents.
Leave a Reply