
As I rummaged through my pantry for a little baking inspiration, I stumbled upon a forgotten bottle of red food coloring sitting quietly in the back. It sparked an idea that whisked me away to the world of nostalgic desserts: Red Velvet Crinkle Cookies! These beauties are not just enchanting in their vibrant hue but offer a delightful twist on the classic red velvet cake—perfectly chewy and adorned with a sugary crackled finish. What’s even better? They come together in no time and are a guaranteed hit for any gathering, making them the ultimate crowd-pleaser. So, are you ready to turn your kitchen into a cookie wonderland? Let’s dive in!
Why Are These Cookies So Irresistible?
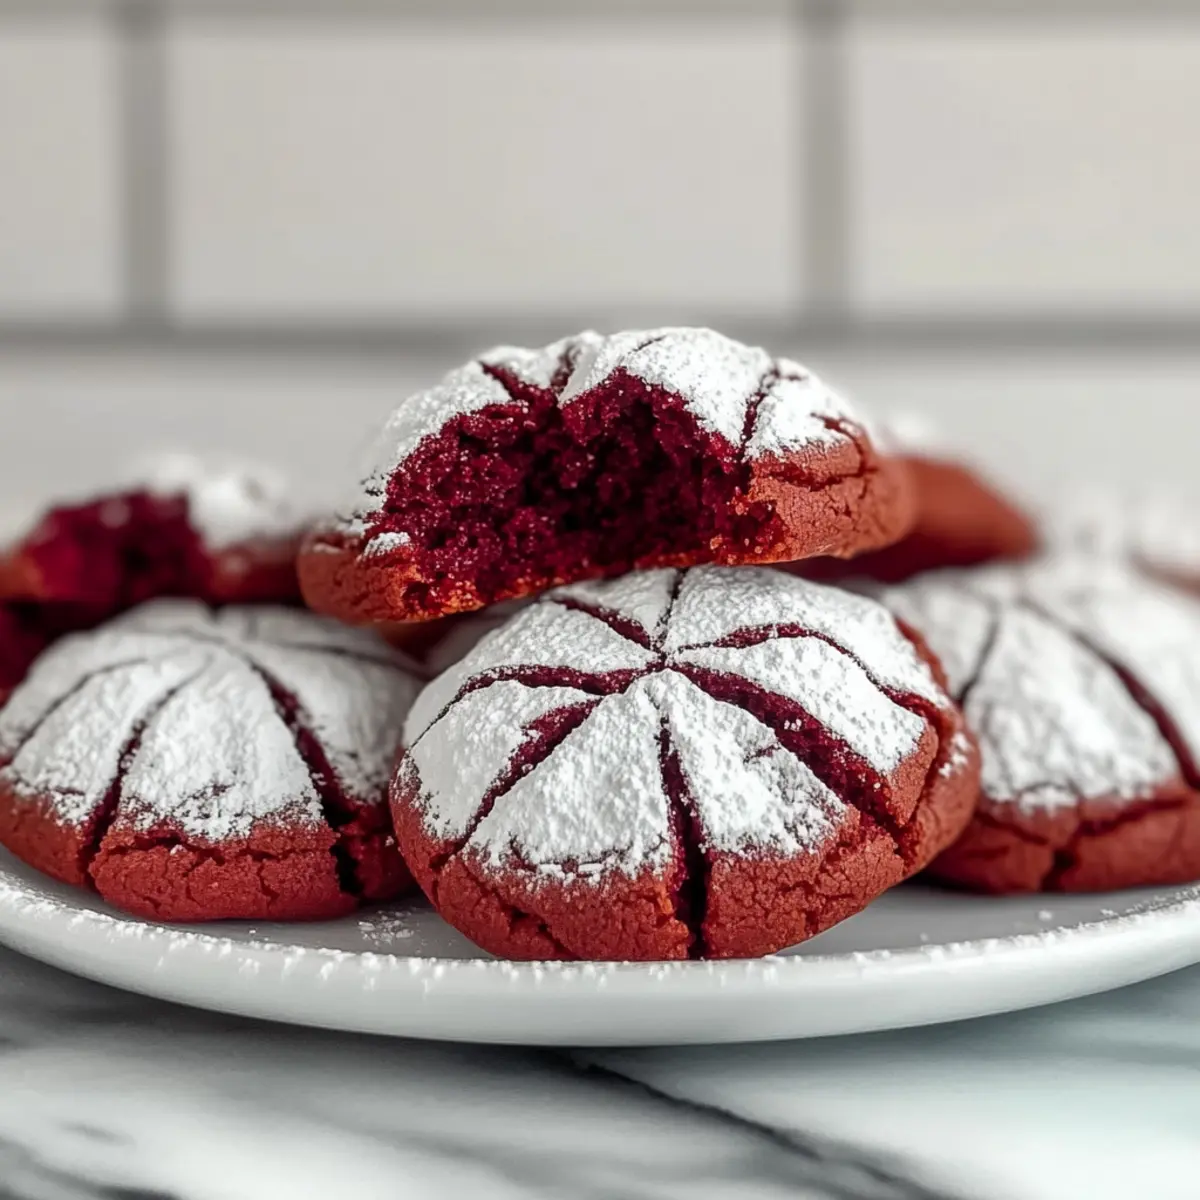
Visual Delight: The striking red color topped with snowy powdered sugar makes these cookies a showstopper at any gathering.
Quick and Easy: Whipping up a batch is a breeze! With simple ingredients and straightforward steps, you’ll have freshly baked cookies in no time.
Chewy Texture: Each bite offers a perfect chewy consistency, beautifully reminiscent of a classic red velvet cake, just in cookie form.
Festive Charm: Perfect for holidays, birthdays, or any celebration, these cookies bring a touch of joy wherever they’re served—pair them with hot chocolate for a delightful treat!
Make Ahead: Busy schedule? No problem! The cookie dough can be chilled and shaped ahead of time, so you can bake whenever you’re ready.
Crowd Favorite: With their unique flavor and gorgeous appearance, these Red Velvet Crinkle Cookies are sure to impress family and friends!
Red Velvet Crinkle Cookie Ingredients
-
For the Cookie Base
-
All-Purpose Flour – Provides structure to the cookies; whole wheat flour offers a nutty flavor.
-
Cocoa Powder – Adds a subtle chocolate richness; use unsweetened for the best results and avoid Dutch-processed to maintain the red color.
-
Baking Powder – This is a leavening agent that helps the cookies rise and become fluffy.
-
Salt – Enhances the flavor profile, balancing the sweetness of the cookies.
-
For the Wet Ingredients
-
Unsalted Butter – Contributes to a rich and tender texture; make sure it’s softened to room temperature for better mixing.
-
Granulated Sugar – Sweetens the cookies and helps create that lovely tender crumb.
-
Eggs – Adds moisture and binds the ingredients; beat them until lighter in color for a fluffier cookie.
-
Vanilla Extract – Provides a warm aroma that enhances the overall flavor.
-
Red Food Coloring – Essential for that iconic red hue; opt for gel food coloring for vibrancy without excess liquid.
-
For the Finishing Touch
-
Powdered Sugar – This is used for coating the cookies, creating a beautiful crackled finish that’s visually stunning; it’s crucial for that irresistible look of Red Velvet Crinkle Cookies.
Step‑by‑Step Instructions for Red Velvet Crinkle Cookies
Step 1: Preheat and Prepare
Begin by preheating your oven to 350°F (175°C). While it warms up, line a baking sheet with parchment paper to prevent sticking and make clean-up easier. This setup allows your Red Velvet Crinkle Cookies to bake evenly, creating that perfect soft texture they’re known for.
Step 2: Whisk the Dry Ingredients
In a medium bowl, whisk together 1 and ½ cups of all-purpose flour, 2 tablespoons of unsweetened cocoa powder, 1 teaspoon of baking powder, and ½ teaspoon of salt. This step ensures that the leavening agent is evenly distributed, which helps your cookies rise beautifully. Once combined, set the bowl aside to move on to the next step.
Step 3: Cream Butter and Sugar
In a large mixing bowl, beat ½ cup of softened unsalted butter and 1 cup of granulated sugar using an electric mixer. Mix on medium speed for about 2-3 minutes, until the mixture becomes light and fluffy. This step is crucial as it creates the cookie’s tender texture, enhancing the overall flavor of your Red Velvet Crinkle Cookies.
Step 4: Add Eggs and Flavorings
With the mixer still on, add 2 large eggs one at a time, ensuring each is fully incorporated before the next addition. Then, mix in 1 teaspoon of vanilla extract and about 1 tablespoon of red food coloring. Continue mixing until the batter is smooth and evenly colored, creating that distinctive red hue for your crinkle cookies.
Step 5: Combine the Mixtures
Gradually add the dry ingredient mixture to the wet ingredients, mixing on low speed until just combined. The dough should be soft and slightly sticky. Be careful not to over-mix; a gentle folding motion ensures your Red Velvet Crinkle Cookies will rise beautifully in the oven while maintaining a lovely texture.
Step 6: Chill the Dough
Cover the mixing bowl with plastic wrap and refrigerate the dough for at least 30 minutes. Chilling is essential for firming up the dough, allowing it to hold its shape when baking and promoting the lovely crinkled top your cookies are famous for.
Step 7: Shape the Cookies
Once chilled, use a small cookie scoop to portion out the dough, rolling each piece into a ball. Roll the dough balls generously in powdered sugar until fully coated. This step creates the signature crackled appearance of the Red Velvet Crinkle Cookies and gives them a delightful sweetness.
Step 8: Bake the Cookies
Place the powdered-sugar-coated dough balls on the prepared baking sheet, spacing them about 2 inches apart. Bake in the preheated oven for 10-12 minutes, until the edges are set, and the tops are cracked. Keep an eye on them; the time may vary based on your oven, but they should look puffy and slightly firm to the touch.
Step 9: Cool and Store
Once baked, remove the cookies from the oven and let them cool on the baking sheet for about 5 minutes before transferring them to a wire rack to cool completely. This cooling period allows the cookies to set their shape while enjoying their warm, gooey centers. Store any extras in an airtight container at room temperature, where they can last for up to four days.
Make Ahead Options
These delightful Red Velvet Crinkle Cookies are perfect for meal prep enthusiasts looking to save time during busy days! You can prepare the cookie dough up to 24 hours in advance by following these simple steps: after mixing the ingredients, cover the bowl tightly with plastic wrap and refrigerate. This chilling not only helps the dough firm up but also enhances the flavor and texture. Alternatively, you can shape the dough into balls, roll them in powdered sugar, and freeze them for up to 3 months. When you’re ready to bake, simply place the frozen dough balls on a baking sheet and add a few extra minutes to the baking time, ensuring you still achieve that gorgeous crinkle effect. Enjoy fabulous cookies with minimal effort!
Expert Tips for Red Velvet Crinkle Cookies
-
Butter Matters: Ensure the butter is fully softened to room temperature. This key step guarantees a smooth batter and tender cookies.
-
Chill for Success: Don’t skip the chilling step! It helps the Red Velvet Crinkle Cookies maintain their shape and achieve that signature crinkle.
-
Sugar Coating: Apply a generous layer of powdered sugar before baking. A thick coating ensures those beautiful cracks on top that make them visually delightful.
-
Avoid Over-Mixing: When combining dry and wet ingredients, mix gently until just combined. Over-mixing can lead to tough cookies.
-
Perfect Baking Time: Keep an eye on the timer! Every oven is different, so remove the cookies when edges are set and the tops are slightly cracked—this ensures a chewy texture.
How to Store and Freeze Red Velvet Crinkle Cookies
-
Room Temperature: Store cookies in an airtight container for up to 4 days at room temperature to maintain their soft, chewy texture.
-
Freezer: For longer storage, freeze the Red Velvet Crinkle Cookies for up to 2 months in a freezer-safe bag. Place parchment paper between layers to prevent sticking.
-
Dough Storage: Shape the dough into balls and freeze them on a baking sheet. Once frozen, transfer to an airtight container and store for up to 2 months—bake directly from the freezer!
-
Reheating: To enjoy leftover cookies, gently reheat them in a microwave for 10-15 seconds or in an oven at 350°F (175°C) for a few minutes until warm.
What to Serve with Red Velvet Crinkle Cookies
Looking for the perfect accompaniments to elevate your cookie experience? These treats shine even brighter when paired with delightful sides.
-
Creamy Vanilla Ice Cream: A scoop of creamy vanilla ice cream complements the rich cocoa flavor, balancing the sweetness beautifully. The cold, melting ice cream pairs perfectly with the warm, chewy cookies.
-
Rich Hot Chocolate: Indulge in a cup of rich, homemade hot chocolate, perfect for sipping alongside your cookies. The nostalgic combination creates a cozy, wintertime treat that’s hard to resist.
-
Festive Fruit Platter: A colorful platter of seasonal fruits adds a refreshing contrast. Berries and citrus fruits not only brighten the plate but also provide a zesty note that contrasts the richness.
-
Chocolate Dipped Strawberries: Treat yourself to strawberries dipped in dark chocolate. The fruity freshness when combined with the cookie brings an exquisite taste experience.
-
Nutty Biscotti: These crunchy delicacies add a delightful textural contrast. Dipping a nutty biscotti into milk or coffee pairs beautifully, enhancing the overall cookie experience.
-
Sparkling Raspberry Lemonade: Refreshing and tangy, this drink cleanses the palate and complements the sweetness of the cookies, making it a fabulous party beverage.
-
Lemon Zest Pudding: The zesty, creamy pudding serves as a wonderful contrast to the rich flavor of the cookie. The light tang will leave your taste buds singing!
-
Coffee or Espresso: Sip on a fresh cup of coffee or espresso to deepen the flavor experience. The bitterness of the brew enhances the sweetness of the Red Velvet Crinkle Cookies.
-
White Chocolate Mousse: This silky dessert adds a luxurious touch, making for a divine combination. The sweetness and creaminess will tempt anyone who tries it!
Red Velvet Crinkle Cookie Variations
Feel free to let your creativity shine as you personalize these delightful cookies to suit your taste!
-
Nutty Delight: Add ½ cup of chopped pecans or walnuts for a satisfying crunch that complements the cookies’ softness beautifully. The combination brings a nutty flavor, adding a new texture twist that is sure to surprise your taste buds.
-
White Chocolate Swirl: Mix in 1 cup of white chocolate chips for a sweet contrast to the cocoa flavor. The creamy sweetness of the chocolate creates a luscious experience with every bite!
-
Spice It Up: Stir in a teaspoon of cinnamon or even a pinch of nutmeg for a cozy, warm flavor profile perfect for the holidays. This subtle spice elevates the classic recipe into something most outstanding.
-
Minty Fresh: Incorporate a few drops of peppermint extract into the batter for a festive touch. Pair the mint flavor with chocolate for a delightful holiday twist that will refresh your cookie lineup!
-
Coconut Cookie Twist: Add ½ cup of shredded coconut to the dough for a tropical flair. The texture and flavor from the coconut create an unexpected but delicious complement to the rich red velvet cookies.
-
Lighter Hue: If you prefer a more delicate version, reduce the amount of red food coloring for lighter cookies. This way, you can achieve a beautiful pastel red appearance—perfect for spring gatherings!
-
Dairy-Free Option: Substitute vegan butter for unsalted butter and use your favorite non-dairy milk instead of the eggs. These changes will create a delightful dairy-free treat that everyone can enjoy. If you love easy recipes, check out our Cinnamon Roll Cookies that make a great alternative too!
Try mixing and matching these variations to create your signature Red Velvet Crinkle Cookies; each twist adds a unique flavor and charm! Happy baking!
Red Velvet Crinkle Cookies Recipe FAQs
What type of cocoa powder should I use for these cookies?
Absolutely! Use unsweetened cocoa powder for the best flavor. It provides a subtle chocolate richness without affecting the vibrant red color. Avoid Dutch-processed cocoa, as it can alter the acidity necessary for that classic red velvet taste.
How should I store the Red Velvet Crinkle Cookies?
These cookies can be stored in an airtight container at room temperature for up to 4 days. This keeps them soft and chewy for your snacking pleasure. If you’re looking to keep them longer, freezing is a fantastic option!
Can I freeze Red Velvet Crinkle Cookies?
Very! You can freeze these delicious cookies for up to 2 months. To freeze, place them in a single layer on a baking sheet until solid, then transfer to a freezer-safe bag, layering parchment paper between them to prevent sticking. You can bake them directly from frozen; just add a couple more minutes to the baking time!
What should I do if the cookies spread too much while baking?
If you find that your cookies are spreading too much, it might be due to overly warm dough. Make sure to chill the dough for at least 30 minutes before baking. If you’re still experiencing spreading, consider adding a bit more flour—start with a tablespoon, mix gently, and retest to get the cookie texture just right.
Are there any dietary substitutions I can make?
Of course! If you have dietary restrictions, you can make these cookies dairy-free by using vegan butter or coconut oil. For gluten-free options, substitute all-purpose flour with a 1:1 gluten-free flour blend. Just be mindful that the texture may slightly differ!
Can I add mix-ins to my Red Velvet Crinkle Cookies?
Absolutely! The more the merrier! You can add white chocolate chips or chopped nuts to the dough for added texture and flavor. Just fold them in gently after combining the wet and dry ingredients to keep the dough consistent. Enjoy customizing your cookies!

Melt-in-Your-Mouth Red Velvet Crinkle Cookies to Love
Ingredients
Equipment
Method
- Preheat your oven to 350°F (175°C) and line a baking sheet with parchment paper.
- Whisk together the flour, cocoa powder, baking powder, and salt in a medium bowl.
- In a large mixing bowl, cream the softened butter and granulated sugar until light and fluffy.
- Add eggs one at a time, mixing well after each, then add vanilla extract and red food coloring.
- Gradually mix the dry ingredients into the wet ingredients until just combined.
- Refrigerate the dough for at least 30 minutes.
- Roll the chilled dough into balls and coat generously with powdered sugar.
- Place the balls on the prepared baking sheet and bake for 10-12 minutes.
- Cool on the baking sheet for 5 minutes, then transfer to a wire rack.
Leave a Reply