
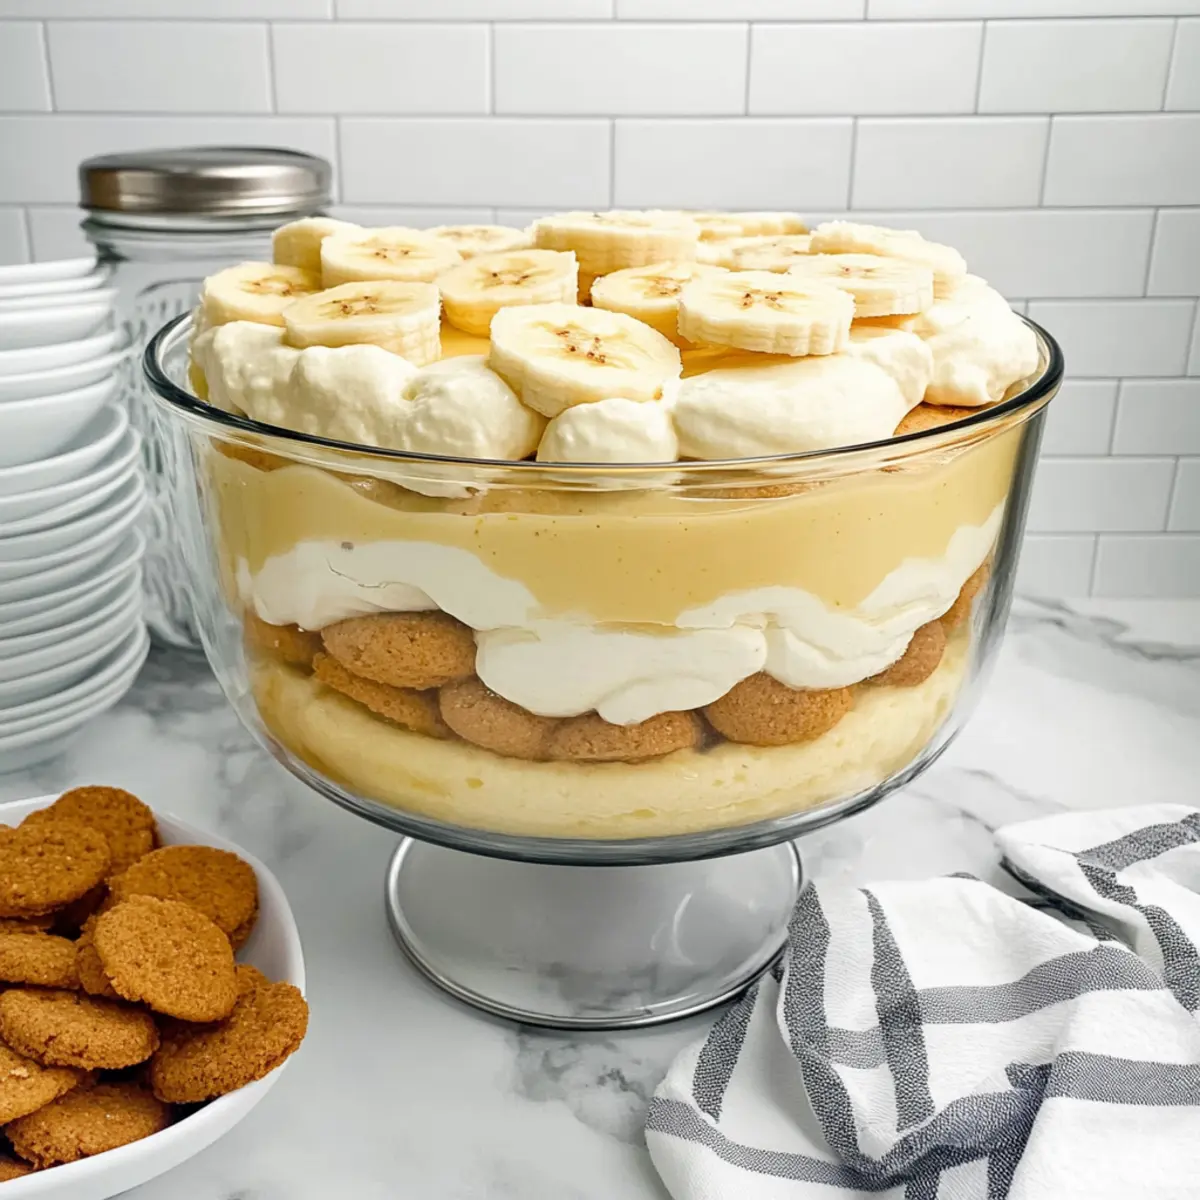
Stirring together layers of creamy dreams and nostalgic flavors, this Easy Banana Pudding with Vanilla Wafers transports me right back to sunny family gatherings. This no-bake dessert doesn’t just boast a heavenly combination of fluffy vanilla pudding, ripe bananas, and delightful crunch; it’s also incredibly easy to prepare, making it the go-to recipe for any occasion. Plus, it’s perfect for those of us who want to sacrifice nothing in flavor while saving time, as it can be made ahead and simply chilled until you’re ready to serve. Whether you’re hosting a summer barbecue or a cozy holiday dinner, this comforting classic is sure to wow your guests. Are you ready to bring a little sweetness to your table?
Why Make Banana Pudding with Vanilla Wafers?
Bite-Sized Heaven: This no-bake delight layers creamy pudding with fresh bananas and crunchy wafers, creating a perfect balance of flavors and textures. Quick and Simple: With just a few easily accessible ingredients, it’s a breeze to whip up. Versatile Treat: Feel free to customize with cookie swaps, such as Coconut Pineapple Banana variations or even fresh strawberries. Crowd Pleaser: Bring it to barbecues and family gatherings, and watch it disappear! Plus, this dessert can be made ahead of time—a time-saving treasure that allows you to savor every moment with your guests.
Banana Pudding with Vanilla Wafers Ingredients
-
For the Creamy Base
-
Softened Cream Cheese – Adds creaminess and richness; ensure it’s very soft for smooth mixing.
-
Sweetened Condensed Milk – Provides sweetness and a creamy texture; can be substituted with a homemade milk-sugar mixture.
-
Instant Vanilla Pudding – Acts as a thickener and flavor base; it’s essential for achieving that luscious pudding texture.
-
Cold Milk – Hydrates the pudding mix; for the best creaminess, stick with whole milk.
-
For the Whipped Layer
-
Cool Whip – Lightens the pudding mix and adds airiness; can be swapped for stabilized homemade whipped cream if preferred.
-
For Layering
-
Vanilla Wafers – Builds structure and a delightful crunch; feel free to use Graham crackers or shortbread cookies if you’d like a twist.
-
Ripe Bananas – The central flavor component; use ripe bananas for optimal sweetness and texture—just not overly ripe!
This Banana Pudding with Vanilla Wafers recipe is a delightful and nostalgic classic that brings joy to any gathering!
Step‑by‑Step Instructions for Easy Banana Pudding with Vanilla Wafers
Step 1: Prepare Cream Cheese Mixture
In a large mixing bowl, use an electric mixer to beat 8 ounces of softened cream cheese until it’s smooth and creamy—this will take about 2 minutes. Gradually mix in 1 can of sweetened condensed milk, ensuring there are no lumps remaining. You want a silky texture that forms the rich base of your Easy Banana Pudding with Vanilla Wafers.
Step 2: Mix Pudding
In a separate bowl, whisk together 2 packs of instant vanilla pudding mix and 3 cups of cold whole milk until it’s well combined and thick—this should take about 2 minutes. Look for a creamy consistency that will create the luscious pudding layers in your dessert. Make sure to scrape down the sides to incorporate all the mix evenly.
Step 3: Combine Mixtures
Carefully pour the pudding mixture into the cream cheese mix, blending them together using your electric mixer on low speed for about 30 seconds. Once fully combined, gently fold in 1½ cups of Cool Whip using a spatula, ensuring you maintain that light, fluffy texture that makes this banana pudding so delightful.
Step 4: Layer Assembly
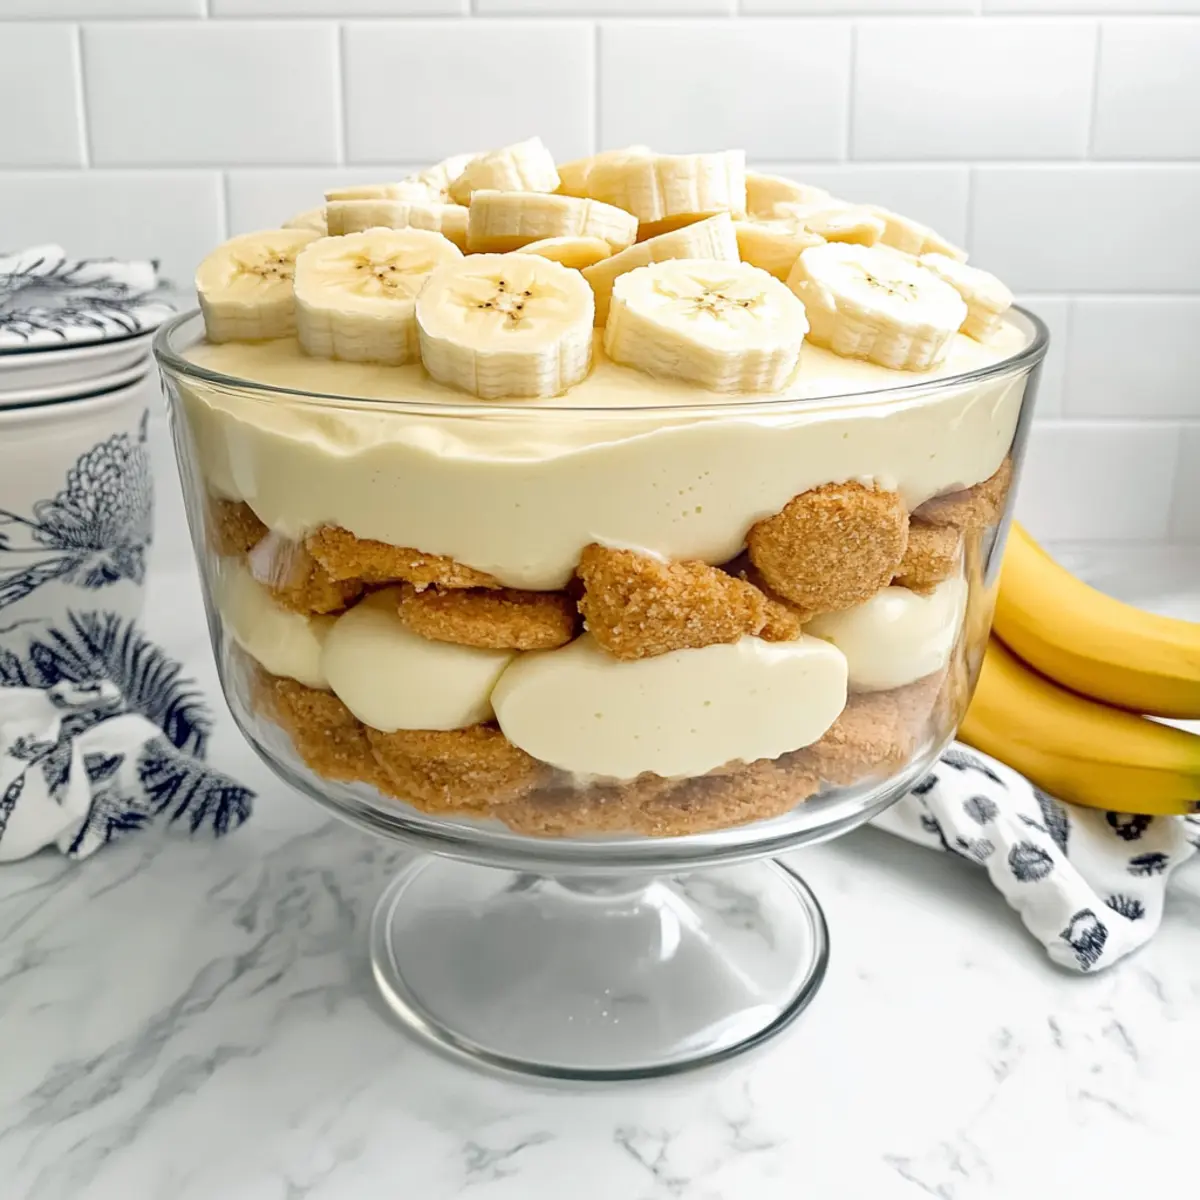
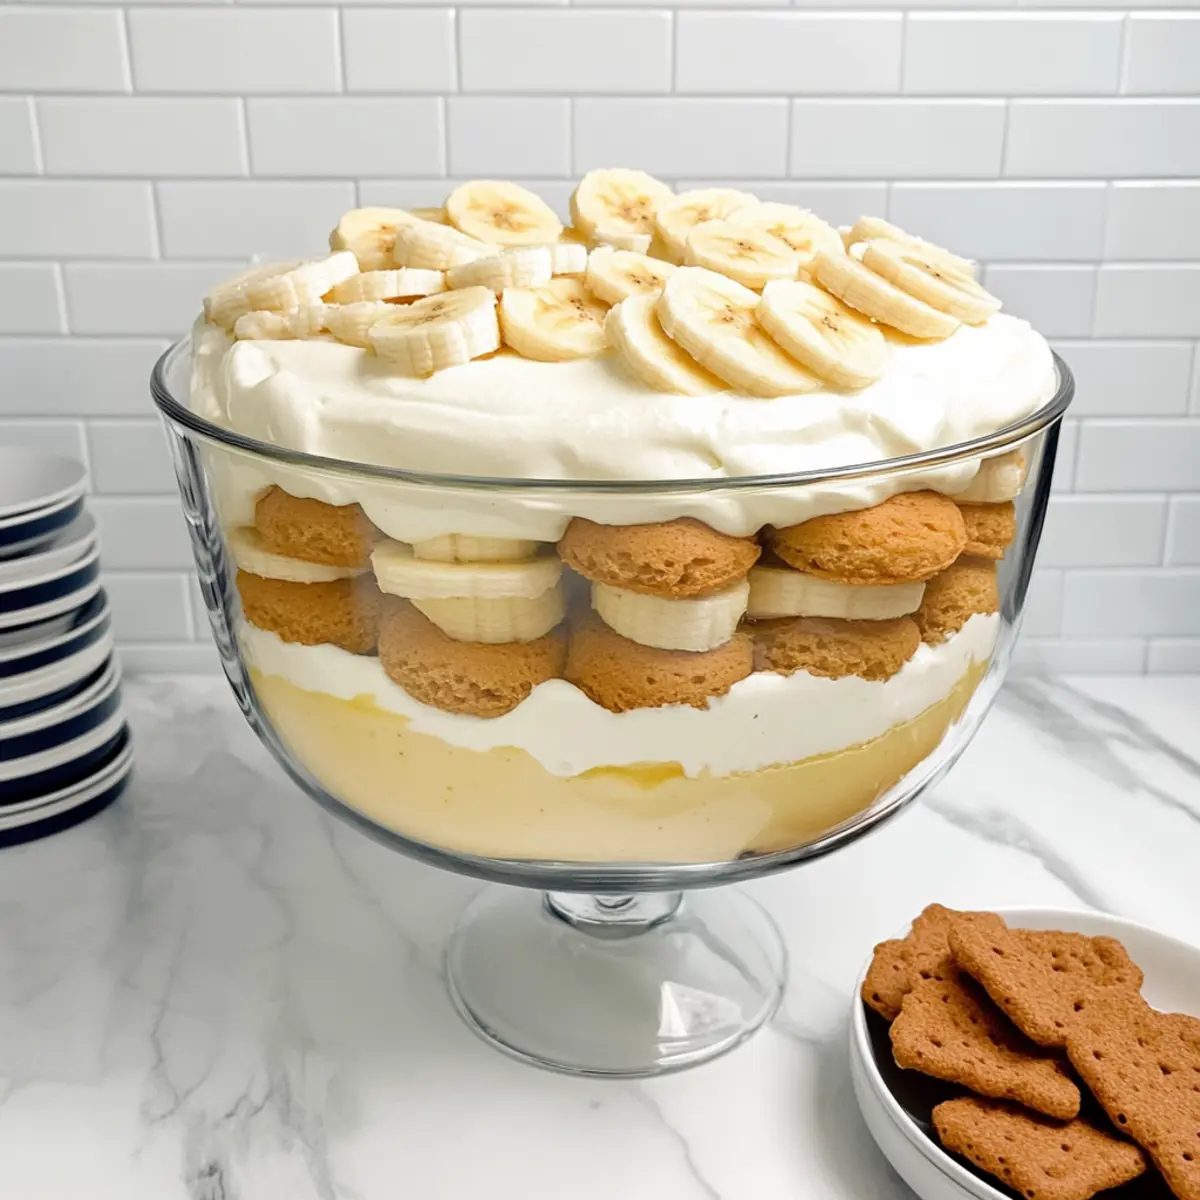
In a large trifle dish, casserole dish, or a 9 x 13 inch pan, start layering by placing a single layer of vanilla wafers at the bottom, ensuring they cover the surface. Follow this with a layer of sliced ripe bananas, then spoon on an even layer of the creamy pudding mixture. Repeat this process up to 3 layers high, depending on the size of your dish, creating a beautiful visual for your Easy Banana Pudding with Vanilla Wafers.
Step 5: Top with Cool Whip
Once the layers are complete, gently spread the remaining Cool Whip over the last layer of pudding, smoothing it out for a lovely finish. Cover your dish with plastic wrap, and place it in the refrigerator for at least 4 hours, though letting it chill overnight is highly recommended to allow the flavors to meld beautifully.
Step 6: Serve
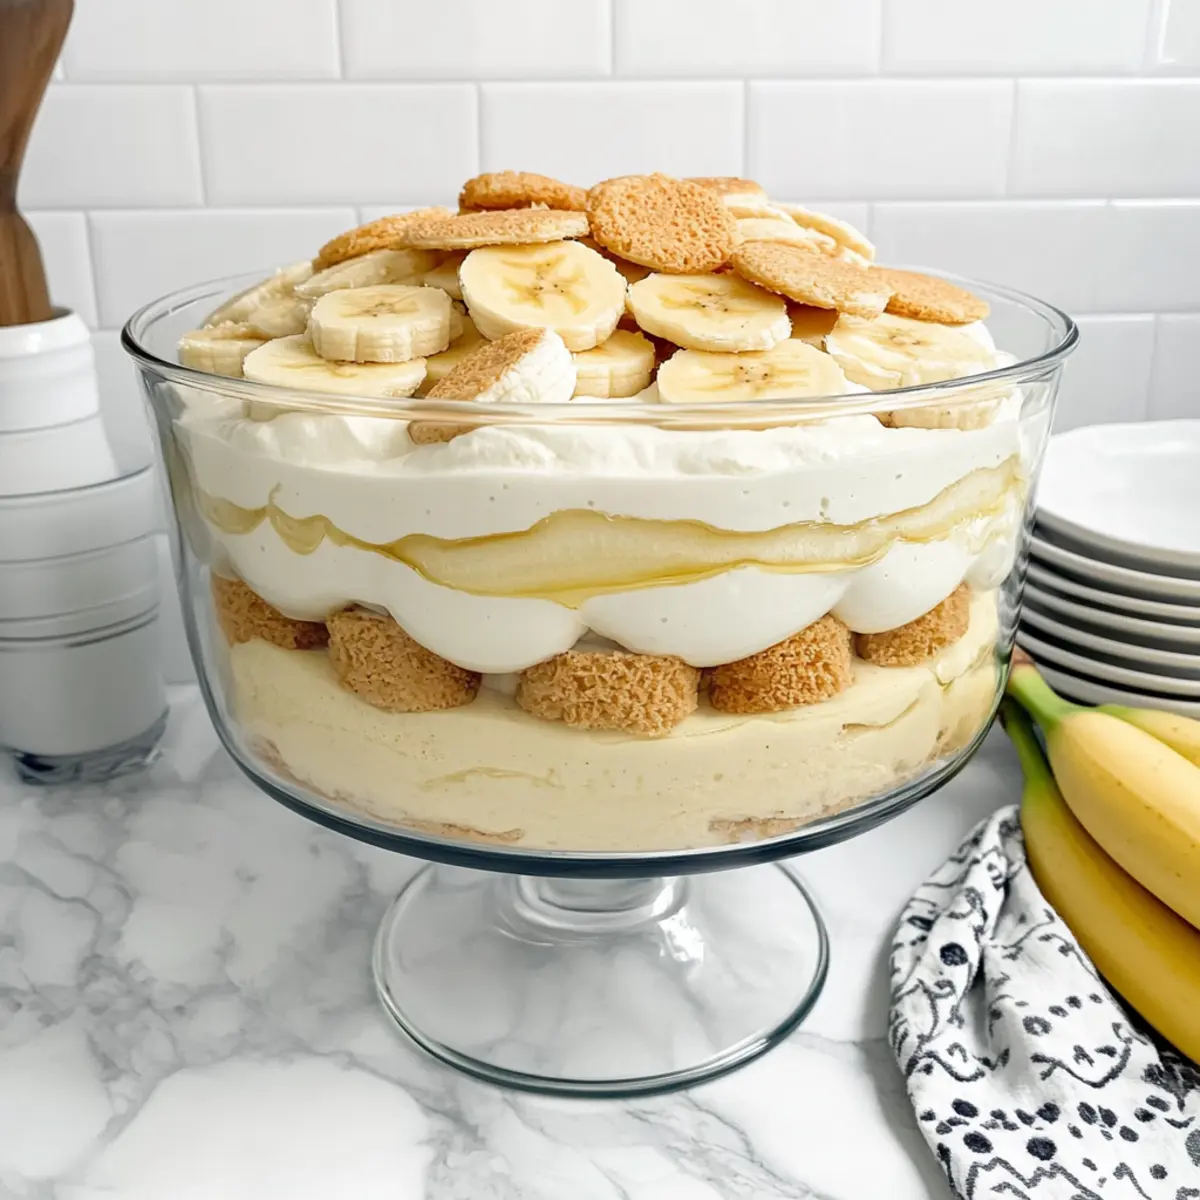
When you’re ready to serve, remove the dessert from the fridge and optionally garnish the top with crushed vanilla wafers and fresh banana slices for added texture and visual appeal. Scoop out generous servings of this creamy, dreamy Easy Banana Pudding with Vanilla Wafers, and watch as everyone greets it with smiles!
Make Ahead Options
These Easy Banana Pudding with Vanilla Wafers are perfect for meal prep enthusiasts! You can prepare the creamy base (cream cheese, sweetened condensed milk, and vanilla pudding) up to 24 hours in advance; just store it in an airtight container in the fridge to maintain optimal freshness. Slice your ripe bananas just before layering to prevent browning and keep the texture intact. The assembled pudding can be refrigerated for up to 3 days; simply cover it tightly with plastic wrap. When ready to serve, finish by adding a fresh layer of Cool Whip and garnish with crushed wafers and banana slices. This way, you ensure your dessert is just as delicious as when freshly made while saving precious time on busy days!
Expert Tips for Banana Pudding with Vanilla Wafers
-
Perfect Cream Cheese: Ensure your cream cheese is fully softened at room temperature; this prevents lumps and gives a smooth base for your pudding.
-
Banana Protection: To prevent browning, layer the banana slices between the pudding and wafers; this keeps them fresh and appealing.
-
Serving Timeline: Serve the banana pudding within 4 to 24 hours for the best texture, as bananas can make the pudding watery if left too long.
-
Maintain Crunch: Add crushed vanilla wafers just before serving to keep their delightful crunch contrasted with the creamy pudding layers.
-
Chill Time: For optimal flavor melding, allow the banana pudding with vanilla wafers to chill overnight before serving; this really enhances the overall taste.
How to Store and Freeze Banana Pudding with Vanilla Wafers
-
Fridge: Store leftovers in an airtight container for up to 3-4 days. Make sure to cover well to prevent browning of the bananas and maintain creaminess.
-
Freezer: While it’s best enjoyed fresh, you can freeze the pudding without bananas for up to 2 months. Thaw overnight in the fridge before adding fresh banana slices upon serving.
-
Reheating: If frozen, simply let it thaw in the refrigerator overnight. Avoid reheating, as this dessert is best served cold, maintaining that delightful texture.
-
Serving Suggestions: When ready to serve, consider adding fresh banana slices or a sprinkle of crushed vanilla wafers for an added crunch and freshness to your Banana Pudding with Vanilla Wafers.
What to Serve with Easy Banana Pudding with Vanilla Wafers?
Indulging in a delicious bowl of creamy banana pudding is just the beginning—let’s create a memorable meal together!
-
Grilled Chicken Skewers: Juicy, marinated chicken skewers bring a savory contrast to the rich sweetness of the pudding. Their smoky flavor complements the dessert beautifully.
-
Fresh Fruit Salad: A vibrant mix of seasonal fruits adds a refreshing element to your meal. The natural sweetness balances the creamy pudding while providing a visually appealing side.
-
Buttery Garlic Bread: The warm, crispy texture of garlic bread enhances your experience. It’s the perfect contrast to the softness of the pudding, making every bite delightful.
-
Classic Caesar Salad: Crisp romaine lettuce and tangy dressing provide a zesty counterpoint to your dessert. The crunchy croutons add texture, balancing the creamy layers in the banana pudding.
-
Homemade Lemonade: Refreshing and tart, this drink cuts through the richness of the pudding, cleansing the palate and keeping the meal light and vibrant.
-
Mini Cheesecakes: Individual cheesecake bites echo the creaminess of the banana pudding but introduce a different flavor profile for variety. These can be a delightful and elegant addition to your dessert table.
-
Chocolate Dipped Strawberries: These sweet, succulent treats create a charming combination with your banana pudding. The contrast of textures and flavors elevates the dessert experience to a new level.
-
Vanilla Ice Cream: Served on the side, this classic pairing offers a cool, creamy delight, perfectly matching the luscious banana pudding and making every spoonful a treat.
-
Coffee or Espresso: Warm, rich coffee serves as a perfect digestif. It enhances the flavors of the banana pudding while providing a cozy end to your meal.
Banana Pudding with Vanilla Wafers Variations
Feel free to play around with this classic dessert to create your perfect version of bliss!
-
Dairy-Free: Substitute cream cheese and Cool Whip with coconut cream and dairy-free whipped topping for a luscious treat.
-
Different Cookies: Swap vanilla wafers for Cinnamon Sugar Air to add a delicious spice touch. This presents an exciting twist on flavors!
-
Add a Crunch: Incorporate crushed nuts like pecans or walnuts between layers for added texture. The delightful crunch brings a lovely surprise in every bite.
-
Strawberry-Kissed: Layer in fresh strawberries between the bananas for a fruity variation. This Strawberry Banana Pudding adds a lovely burst of color and flavor.
-
Chocolate Lovers: Mix in chocolate pudding along with the vanilla for a rich flavor profile, or use chocolate wafers for an indulgent spin on the classic.
-
Banana Foster Style: Drizzle caramel sauce over layers, and incorporate rum extract! It’s a playful nod to the famous dessert, infusing rich flavor with every spoonful.
-
Nut Butter Swirl: For an extra layer of richness, add a ribbon of almond or peanut butter through the pudding mixture. It adds depth that will surprise your taste buds!
-
Frozen Treat: Freeze portions in popsicle molds for a fun treat. This version retains all the flavors while transforming the dessert into a refreshing summer treat!
Dive into your culinary creativity and make this Banana Pudding with Vanilla Wafers your own! Whether you’re preparing sweet layers for a family gathering or simply indulging yourself, these variations ensure you have a delicious dessert that’s personal and memorable.
Easy No-Bake Banana Pudding with Vanilla Wafers Recipe FAQs
What type of bananas should I use for the best flavor and texture?
Absolutely use ripe bananas for the best flavor in your Easy Banana Pudding with Vanilla Wafers! They should be yellow with a few brown spots but not overly ripe or mushy. This ensures a sweet taste and firm texture that plays beautifully against the creamy pudding.
How should I store leftover banana pudding?
For optimal freshness, store any leftover banana pudding in an airtight container in the fridge. It will keep well for about 3-4 days. Make sure to cover the surface with plastic wrap or foil to prevent the bananas from browning and to maintain that creamy texture.
Can I freeze banana pudding?
Yes, you can! However, it’s best to freeze only the pudding mixture without the bananas. To freeze, place the pudding in an airtight container and label it with the date. It can be frozen for up to 2 months. Thaw it overnight in the fridge when you’re ready to enjoy, and then add fresh banana slices before serving for the best experience.
What if my pudding mixture is too thick?
If your pudding mixture turns out too thick, try gently folding in a little more cold milk, a tablespoon at a time, until you achieve your desired consistency. Be careful not to overmix, as this can deflate the fluffiness you want in your Easy Banana Pudding with Vanilla Wafers.
Can I make this recipe gluten-free?
Very! To make your Easy Banana Pudding with Vanilla Wafers gluten-free, simply substitute the vanilla wafers with gluten-free cookies or snacks. Brands like gluten-free Graham crackers or specific gluten-free cookie varieties work splendidly, allowing everyone to enjoy this classic dessert without worry.
How can I prevent bananas from browning in my pudding?
The more the merrier with layers! To keep the bananas from browning, ensure you layer them between the custard and the wafers. The creamy pudding acts as a barrier and helps keep bananas fresh. Additionally, serving the pudding within 4-24 hours of assembly is ideal since the bananas can make the pudding watery over time.
Heavenly Banana Pudding with Vanilla Wafers for Any Occasion
Ingredients
Equipment
Method
- In a large mixing bowl, use an electric mixer to beat the cream cheese until smooth and creamy, about 2 minutes. Gradually mix in the sweetened condensed milk until silky.
- In a separate bowl, whisk together the instant vanilla pudding mix and cold milk until well combined and thick, about 2 minutes. Scrape down the sides to incorporate all the mix evenly.
- Pour the pudding mixture into the cream cheese mix, and blend on low speed for about 30 seconds. Gently fold in the Cool Whip using a spatula.
- In a large trifle dish or casserole dish, layer the vanilla wafers at the bottom, followed by sliced bananas, and then the creamy pudding mixture. Repeat up to 3 layers high.
- Spread the remaining Cool Whip over the last layer of pudding, smoothing it out. Cover with plastic wrap and refrigerate for at least 4 hours, preferably overnight.
- When ready to serve, garnish with crushed vanilla wafers and fresh banana slices. Scoop out servings and enjoy!
Leave a Reply