
On a cozy Sunday afternoon, the smell of sweet potatoes wafting through my kitchen instantly transports me back to family gatherings filled with laughter and love. These Melting Sweet Potatoes aren’t just a side dish; they’re a hug on a plate, with their tender, creamy centers and delightfully crispy edges. What I love most is how easy they are to whip up—perfect for busy evenings or festive meals alike. Plus, they’re naturally gluten-free and can easily be made dairy-free, making them a hit for everyone at the table. Whether you’re looking for a crowd-pleaser or a healthy comfort food option, this recipe strikes the perfect balance. So, are you ready to savor those velvety bites and share the love? Let’s dive in!
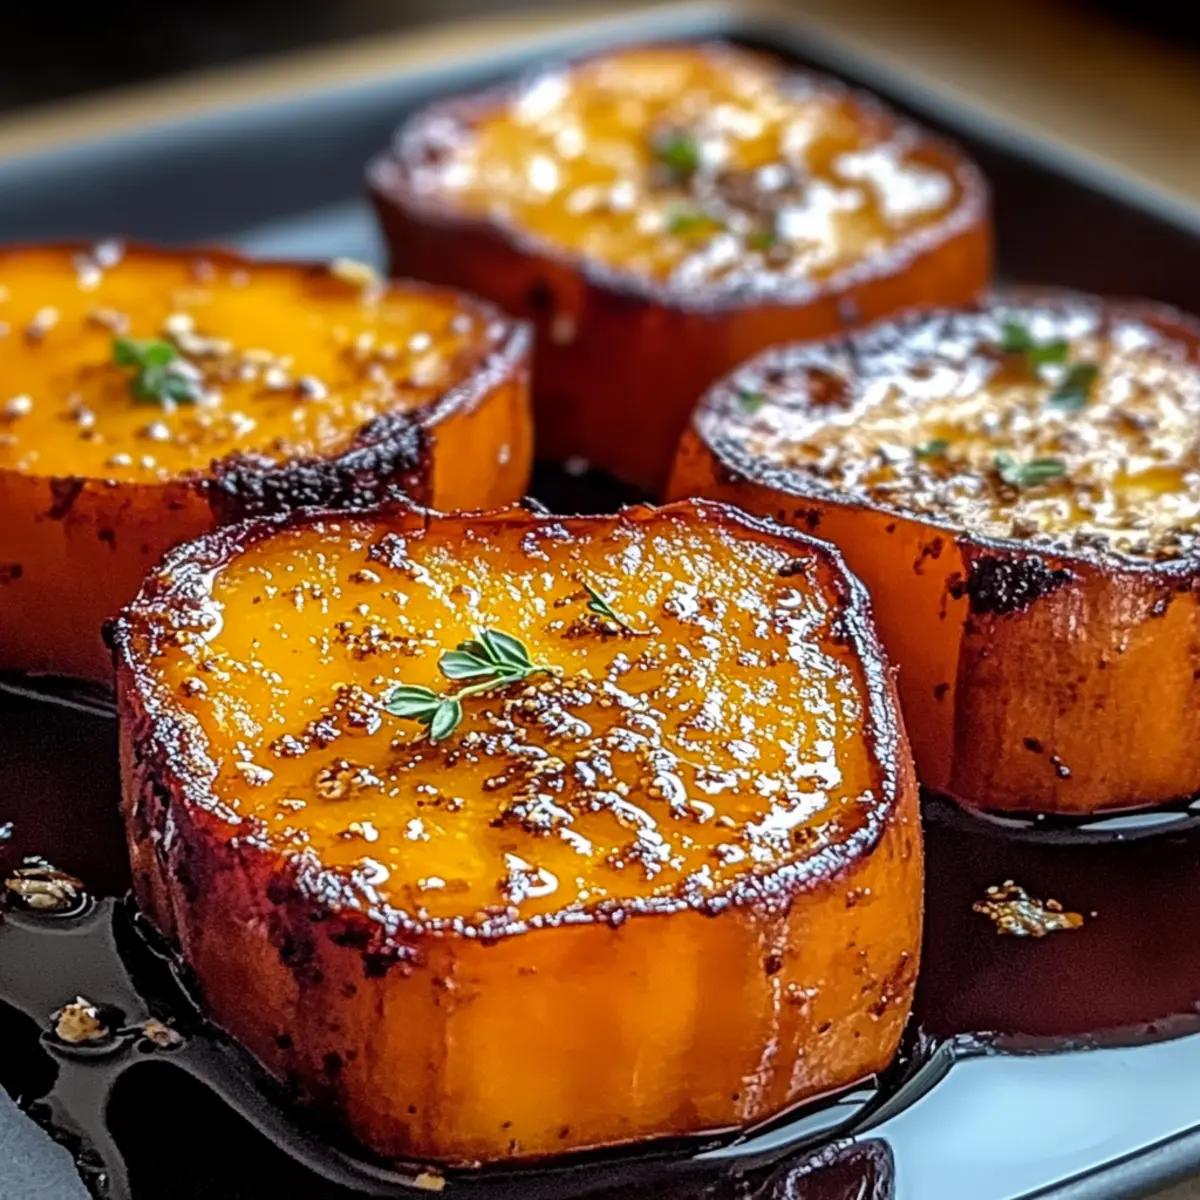
Why Are Melting Sweet Potatoes So Irresistible?
Comforting Aroma: The enticing scent of sweet potatoes baking fills your kitchen, making everyone feel at home.
Creamy Texture: Each bite melts in your mouth with a rich, custardy center that invites a smile.
Versatile Options: Easily swap ingredients for gluten-free or dairy-free adaptations to cater to dietary needs.
Crowd-Pleasing Appeal: Perfect for gatherings, they pair beautifully with roasted chicken or grilled salmon, making any meal feel special.
Time-Saving Wonder: Minimal prep time means you can focus on spending time with loved ones, not slaving over the stove—perfect for busy evenings or festive occasions!
Whether served alongside Garlic Mashed Potatoes or as a standalone star, these melting sweet potatoes are destined to impress!
Melting Sweet Potatoes Ingredients
For the Sweet Potatoes
• Sweet Potatoes – The main ingredient that provides natural sweetness and can be swapped with butternut squash for a unique twist.
• Olive Oil – Adds moisture and helps achieve that beautiful caramelization; avocado oil is a great alternative if you prefer.
• Salt – Enhances the overall flavors; be sure to adjust according to taste preferences.
• Pepper – Offers a hint of mild spice; tweak the amount based on your personal liking.
For the Topping
• Butter (optional) – Brings a creamy richness; for a dairy-free version, substitute with a plant-based butter.
• Maple Syrup – Adds delightful sweetness that enhances caramelization; you may use honey or agave syrup if needed.
• Smoked Paprika or Chili Powder (optional) – Imparts smoky or spicy notes to elevate your dish; feel free to adjust to your taste.
• Toasted Nuts (optional) – Provides a lovely crunch and visual appeal; don’t hesitate to use pecans or walnuts for a delicious contrast.
These ingredients together create soulful Melting Sweet Potatoes that are sure to warm your heart!
Step‑by‑Step Instructions for Melting Sweet Potatoes
Step 1: Preheat the Oven
Begin by preheating your oven to 325°F (163°C). This lower temperature is essential for achieving that signature creamy texture in your melting sweet potatoes. Once the oven reaches temperature, prepare your baking sheet by lightly greasing it with cooking spray or a drizzle of olive oil to prevent sticking.
Step 2: Prepare the Sweet Potatoes
Peel the sweet potatoes with a vegetable peeler, then slice them into uniform 1-inch thick rounds. Aim for even slices to ensure they cook evenly, allowing each piece to develop that tender, melting center and crispy edge. Arrange the slices in a single layer on your prepared baking sheet.
Step 3: Season the Sweet Potatoes
Drizzle the sliced sweet potatoes with olive oil, generously coating each slice for optimal flavor and moisture. Sprinkle with salt and pepper to taste, enhancing the natural sweetness. Use your hands to gently toss the slices, ensuring they are evenly seasoned and well-coated in oil.
Step 4: Bake the Sweet Potatoes
Place the baking sheet in the preheated oven and bake the sweet potatoes for 45 minutes. Halfway through baking, flip each slice for even cooking and browning. You’ll know they’re ready when they are tender and lightly caramelized at the edges.
Step 5: Create the Creamy Texture
Once baked, carefully remove the sweet potatoes from the oven. Using a spatula or the back of a fork, gently press down on each slice to achieve that melt-in-your-mouth creamy interior. This step is key for those delightful melting sweet potatoes you desire.
Step 6: Add the Topping
If desired, top each slice with a pat of butter and a drizzle of maple syrup. This addition will enhance the dish with rich flavor and extra sweetness, complementing the caramelized edges beautifully. Return the baking sheet to the oven for an additional 15 minutes.
Step 7: Final Bake and Serve
Bake the sweet potatoes for another 15 minutes, watching closely until they turn crispy and caramelized on top. You’ll see a golden-brown color that signals they are ready to serve. For an extra touch, garnish with toasted nuts before enjoying these heavenly melting sweet potatoes.
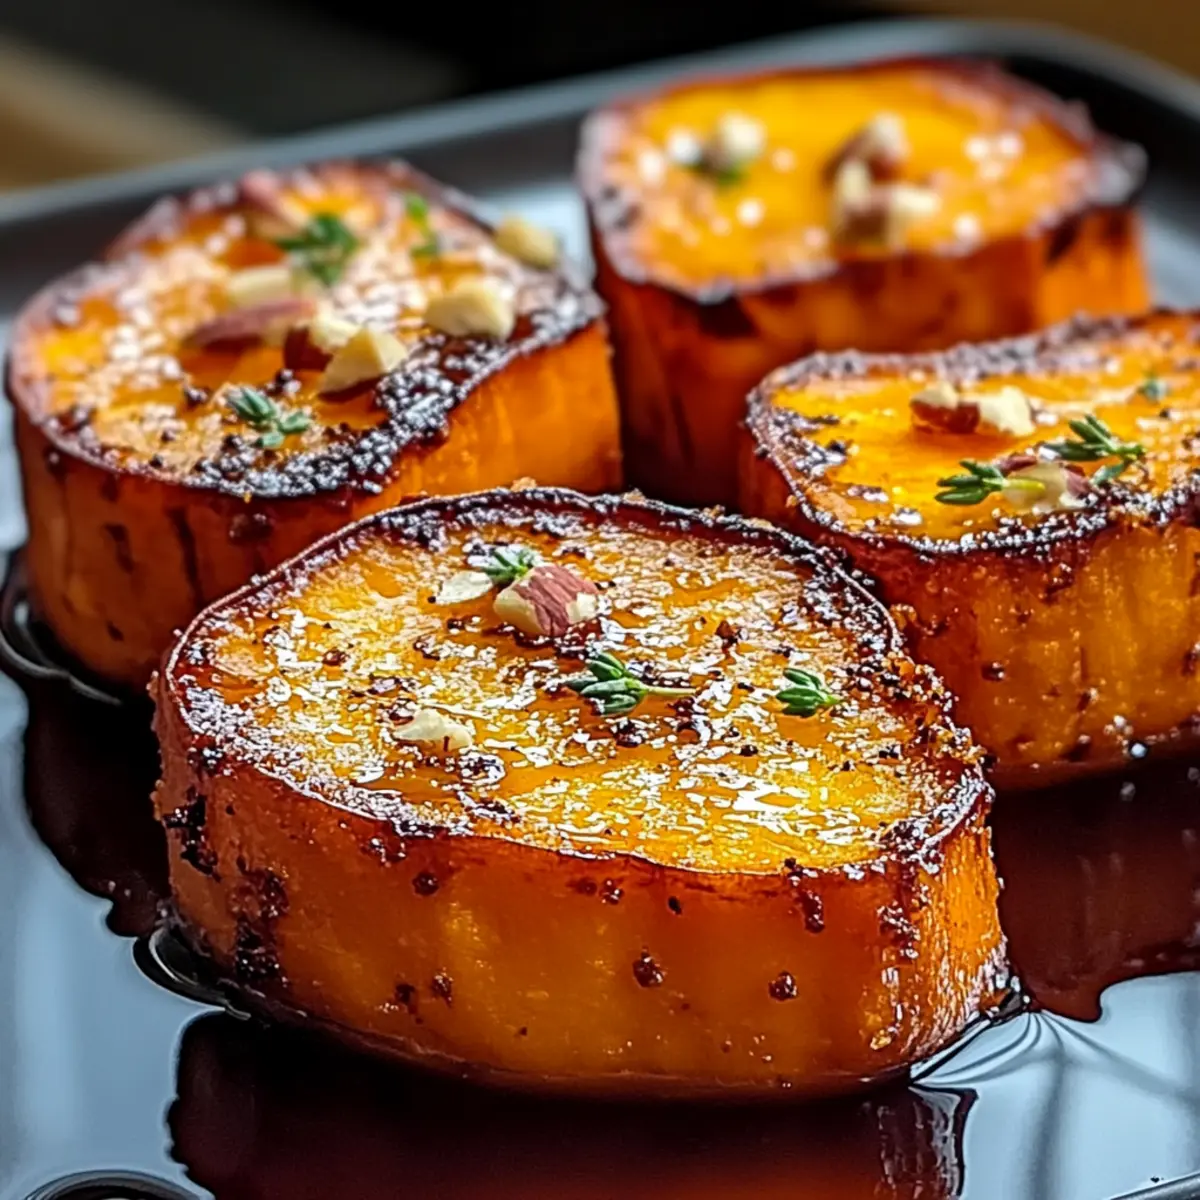
Melting Sweet Potatoes Variations
Feel free to play with these melting sweet potatoes to make them truly your own and tailor them to your taste!
-
Butternut Squash: Swap sweet potatoes for butternut squash for a heartier, nutty flavor that still delivers that creamy texture.
-
Dairy-Free Delight: Replace butter with plant-based butter for a completely dairy-free version that everyone can enjoy at the table.
-
Spice It Up: Add a pinch of cinnamon or nutmeg for a warm, cozy flavor that’s perfect for fall gatherings.
-
Heat Things Up: For a smoky kick, try adding a dash of cayenne pepper or chili powder. This twist warms your dish and sparks the senses!
-
Sweetener Shift: Explore with honey or agave syrup in place of maple syrup for an alternative sweetness that adds a unique twist.
-
Nutty Crunch: Top with toasted pecans or walnuts just before serving for an added crunch that beautifully contrasts with the creamy potatoes.
-
Herb Infusion: Sprinkle fresh herbs like rosemary or thyme on top before the final bake for a fresh aroma and vibrant flavor that lifts the entire dish.
-
Creamy Alternative: For an ultra-rich experience, blend in a dollop of sour cream or Greek yogurt after baking for a delightful twist that adds tang.
These variations not only cater to dietary preferences, but they can delight your family and friends as they savor the delightful nuances each offers. Consider serving your sweet potatoes alongside delicious dishes like Sweet Potato Fries or Cranberry Orange Sweet rolls for a memorable meal!
Make Ahead Options
These Melting Sweet Potatoes are perfect for meal prep enthusiasts! You can slice and season the sweet potatoes up to 24 hours in advance, storing them in an airtight container in the refrigerator to maintain freshness and flavor. For even better results, let them soak in a bit of olive oil and seasoning overnight, allowing the flavors to meld beautifully. When you’re ready to enjoy, simply bake them as directed, pressing down after the first bake and adding your toppings before the final crisp—a time-saving technique that delivers restaurant-quality results with minimal effort. Enjoy those velvety bites with ease on busy weeknights!
Tips for the Best Melting Sweet Potatoes
-
Uniform Slices: Ensure your sweet potato slices are all about 1-inch thick. This helps them cook evenly, guaranteeing that perfect creamy texture you desire.
-
Low and Slow: Baking at 325°F is crucial; cooking at higher temperatures can dry out the potatoes. Trust the process for those velvety results.
-
Pressing Technique: After baking, gently pressing down on each slice creates that signature creamy interior. Don’t skip this step for the ultimate melt!
-
Maple Syrup Magic: Always drizzle with maple syrup before the final bake. This not only enhances sweetness but also helps achieve those delicious caramelized edges.
-
Try Toasted Nuts: Garnishing with toasted nuts adds delightful crunch. Don’t hesitate to experiment with pecans or walnuts to elevate your melting sweet potatoes!
What to Serve with Irresistibly Velvety Melting Sweet Potatoes
Elevate your dining experience by pairing these creamy, delicious bites with complementary flavors and textures that will bring your meal to life.
-
Grilled Chicken: Juicy, perfectly seasoned grilled chicken adds a savory contrast that balances the sweetness of the melting sweet potatoes.
-
Sauteed Kale: Slightly bitter greens sautéed with garlic offer a vibrant, nutritious side, enriching your plate with color and flavor.
-
Honey-Glazed Carrots: The gentle sweetness of honey-glazed carrots creates harmony with your sweet potatoes, making for a delightful flavor duo.
-
Roasted Salmon: Tender and flaky, roasted salmon brings healthy fats and a rich, comforting taste that pairs beautifully with the velvety texture of sweet potatoes.
-
Herbed Quinoa Salad: A light, fresh quinoa salad with herbs and lemon dressing provides crunch and brightness, enhancing the dish’s overall flavor profile.
-
Toasted Pecans: Sprinkle toasted pecans on top of your melting sweet potatoes for a delightful crunch that adds depth and an exciting texture contrast.
-
Cranberry Sauce: A tangy cranberry sauce will beautifully counterbalance the sweetness of the few melting sweet potatoes, creating an unforgettable balance of flavors.
-
Chardonnay: A chilled glass of Chardonnay complements the dish, its crispness and subtle fruit flavors enhancing each savory and sweet bite.
-
Apple Crisp: For dessert, serve a warm apple crisp topped with vanilla ice cream to keep the sweet theme going, with inviting textures and flavors that delight the senses.
How to Store and Freeze Melting Sweet Potatoes
Fridge: Store leftovers in an airtight container for up to 4 days. This keeps them fresh and ready to be enjoyed again.
Freezer: Freeze portions in airtight containers for up to 3 months. To reheat, simply transfer them to the oven straight from the freezer for a quick, delicious side.
Make-Ahead: Pre-prepare the sweet potatoes and refrigerate; they become even more tender and flavorful upon reheating, making your meal prep easier!
Reheating: To reheat, warm them in the oven at 350°F (175°C) for about 15–20 minutes until they are heated through, ensuring each bite of your melting sweet potatoes retains their creamy charm.
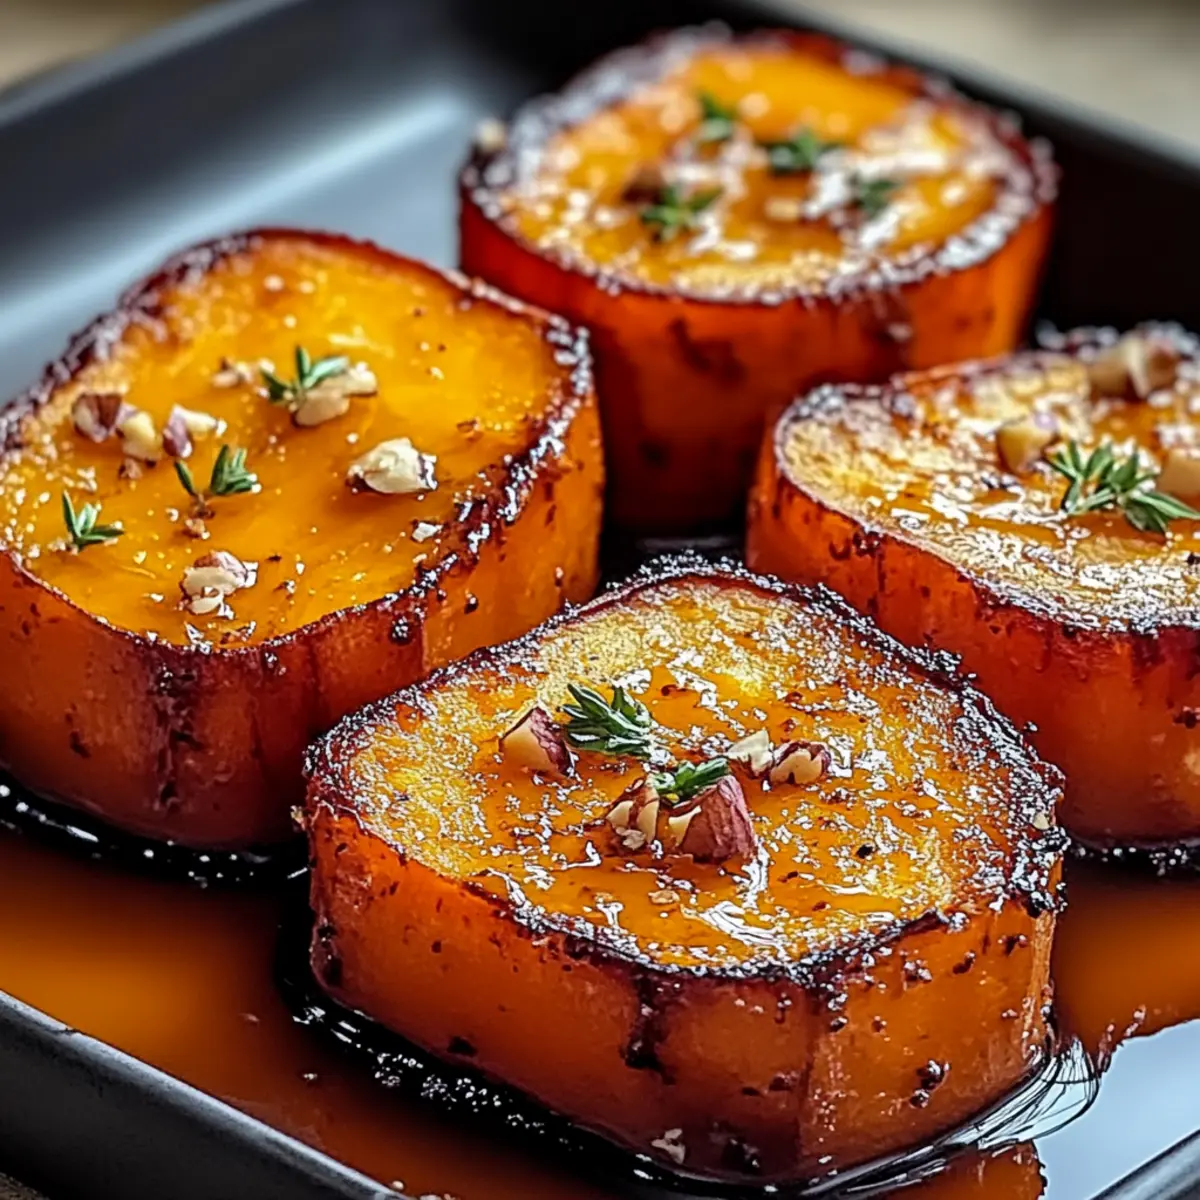
Melting Sweet Potatoes Recipe FAQs
How do I choose ripe sweet potatoes?
Absolutely! Look for sweet potatoes that are firm and free from dark spots or blemishes. They should have smooth skin without any cracks. The color can range from light to deep orange, depending on the variety. For an alternative flavor, you might even explore butternut squash!
What’s the best way to store leftover melting sweet potatoes?
Very! Store any leftovers in an airtight container in the refrigerator for up to 4 days. To keep them fresh, make sure to let them cool completely before sealing. When you want to enjoy them again, simply reheat!
Can I freeze my melting sweet potatoes?
Absolutely! You can freeze your melting sweet potatoes in airtight containers for up to 3 months. To freeze them, allow the potatoes to cool first, then arrange slices in a single layer inside the containers. When you’re ready to eat, no need to thaw—just pop them in the oven straight from the freezer and bake at 350°F (175°C) for 20–25 minutes until heated through.
What if my sweet potatoes don’t turn out creamy?
Don’t worry if you encounter this! Ensure your slices are uniform in thickness, about 1-inch thick. If they aren’t creamy, it often means they either needed more cooking time or weren’t pressed down gently enough after baking. When baking, keep an eye on them—every oven is a bit different!
Are there any dietary considerations for melting sweet potatoes?
Very much so! This recipe is naturally gluten-free and can be modified for dairy-free diets by swapping butter for a plant-based alternative. For nut allergies, simply omit the optional toasted nuts, and feel free to ask with any other dietary concerns!
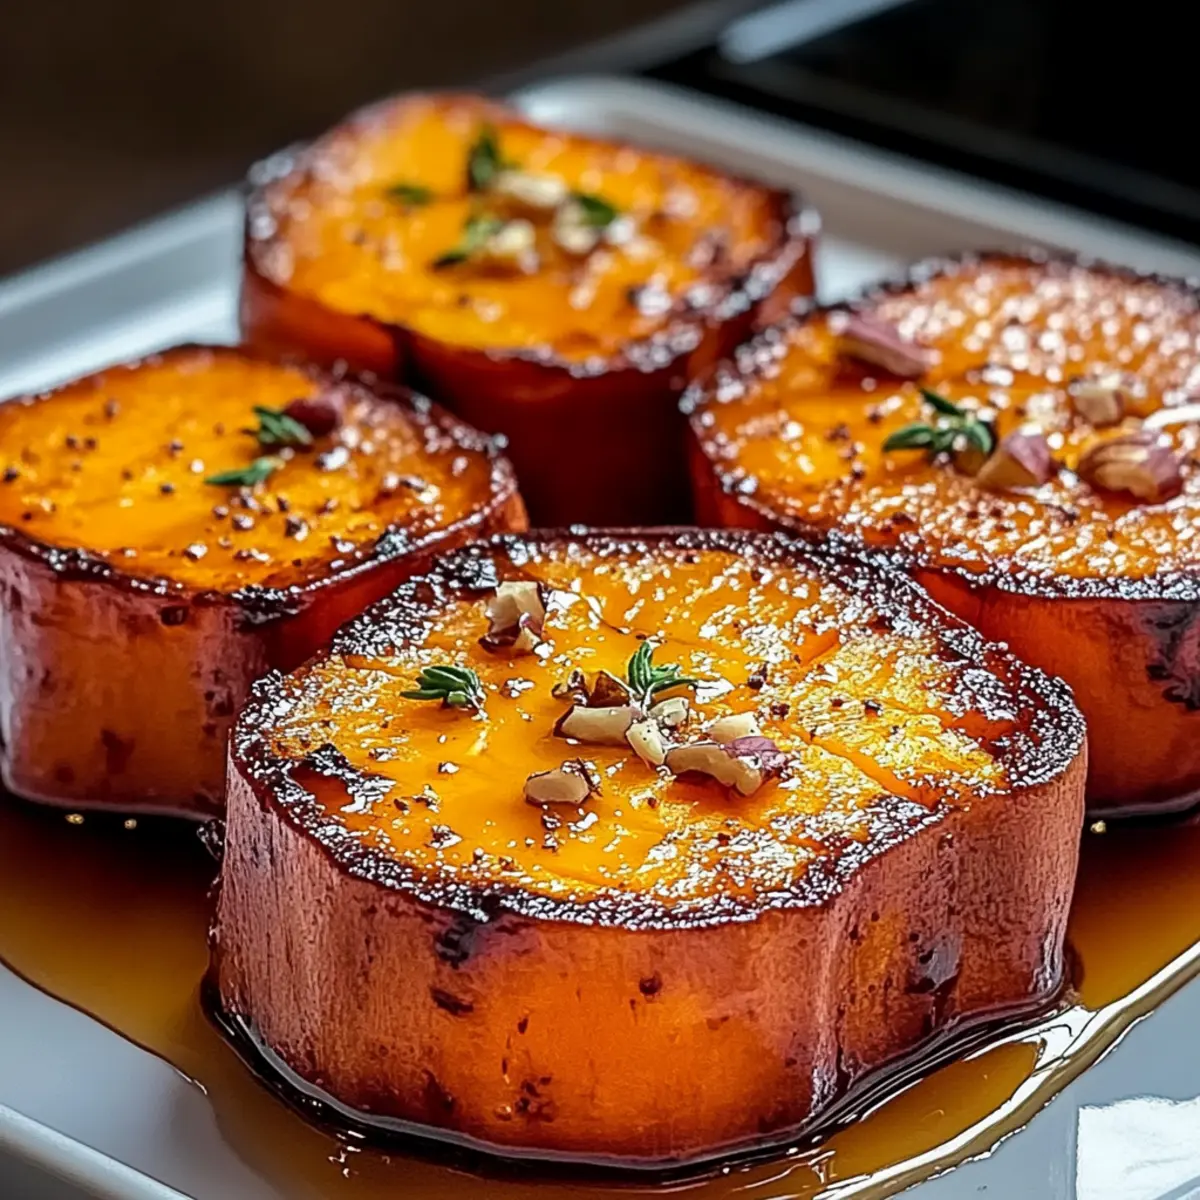
Heavenly Melting Sweet Potatoes That Melt in Your Mouth
Ingredients
Equipment
Method
- Preheat the oven to 325°F (163°C) and prepare your baking sheet by greasing it.
- Peel and slice sweet potatoes into 1-inch thick rounds and arrange in a single layer.
- Drizzle with olive oil, season with salt and pepper, and toss to coat evenly.
- Bake for 45 minutes, flipping halfway through for even cooking.
- Press down gently on each slice to create a creamy texture.
- Top with butter and maple syrup, then return to the oven for another 15 minutes.
- Bake until crispy and caramelized, about 15 minutes more, then garnish with toasted nuts.
Leave a Reply