
As I stood in my kitchen, a swirl of red, white, and blue caught my eye, transforming ordinary moments into a festive celebration. These adorable Red, White & Blue Cake Pops made with Greek yogurt are not just a treat; they’re a fun and creative way to elevate any occasion. Perfectly moist and delightful, these cake pops are egg-free and oil-free, ensuring everyone can indulge without the guilt. What makes them truly special is their versatility—turning leftover cake scraps into a colorful display of joy, whether you’re celebrating the Fourth of July or simply looking to brighten up a summer gathering. So, why not take your dessert game to the next level with these enchanting pops? Are you ready to create a little magic in your kitchen?
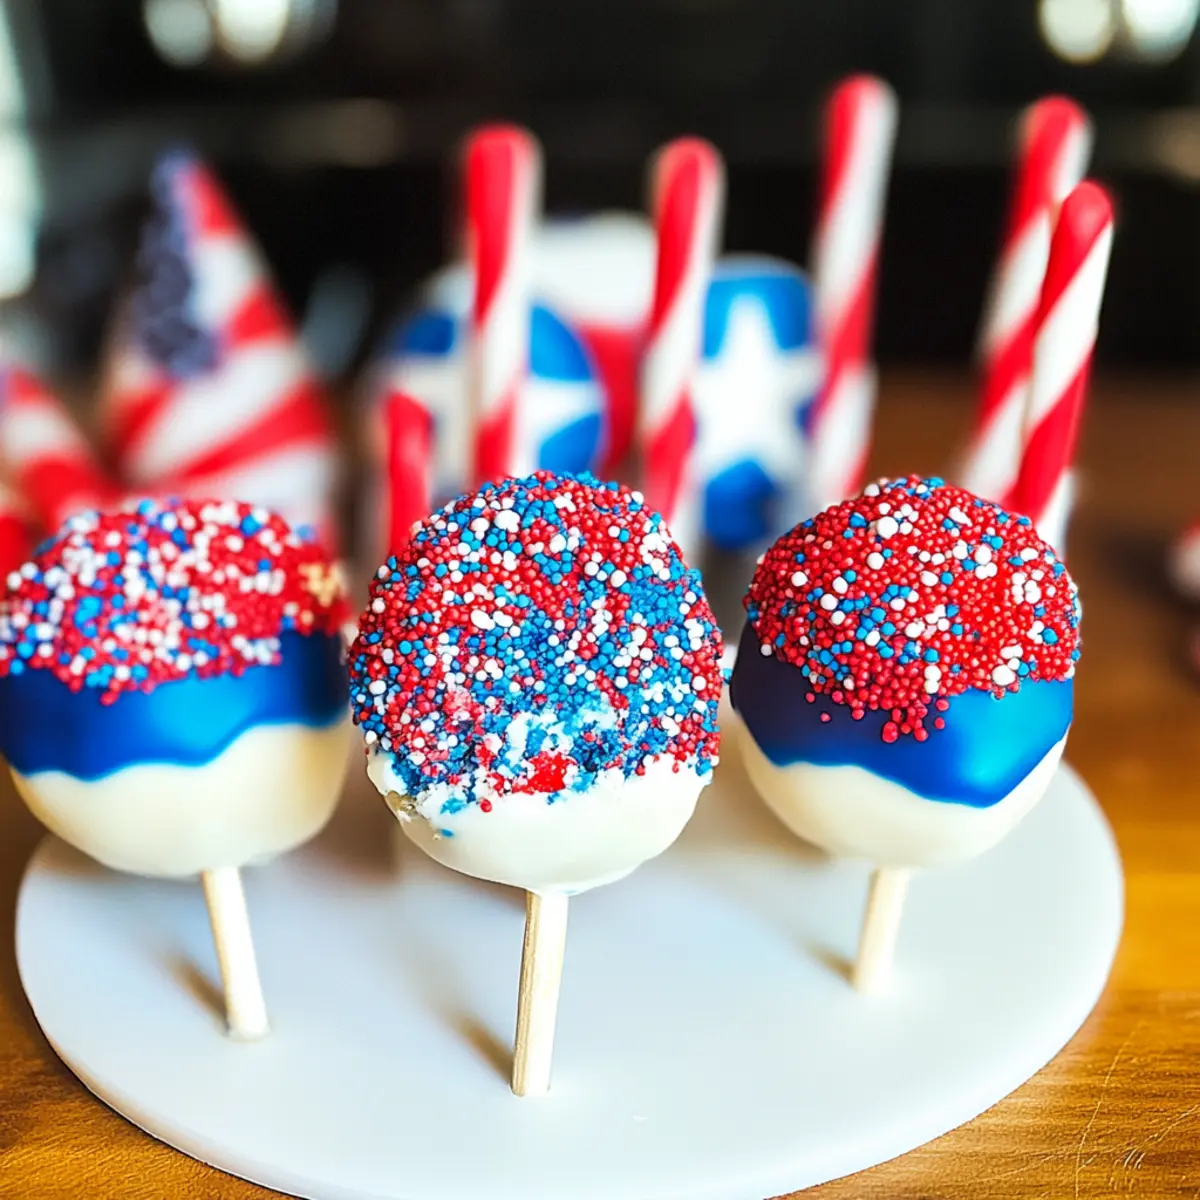
Why are Cake Pops so Joyful?
Vibrant Colors: These Red, White & Blue Cake Pops are not just delicious; they’re a feast for the eyes, bringing festive cheer to any gathering.
Healthier Twist: Made with Greek yogurt, they’re both egg-free and oil-free, offering a guilt-free dessert option everyone can enjoy.
Minimal Waste: By using cake scraps, you can make the most of your baking, turning leftovers into delightful treats.
Crowd-Pleasing Treats: Perfect for summer celebrations or Fourth of July festivities, these cake pops will definitely impress your guests.
Quick to Make: With a simple recipe, you can whip these up in no time and devote more moments to celebrating!
Looking for something equally delightful? Check out my White Chocolate Blueberry Truffles or indulge in a slice of Lemon Blueberry Yogurt loaf!
Red, White & Blue Cake Pops Ingredients
For the Cake Pops
• Box White Cake Mix – This serves as the delightful base for your cake pops; choose a high-quality mix for the best results.
• Plain Greek Yogurt – Replacing eggs and oil, this adds moisture and a subtle tang; low-fat options work well, too.
• Water – This is crucial for binding the ingredients; make sure to use cold water for optimal mixing.
For the Coating
• White Candy Melts – Perfect for creating a sweet outer layer on the cake pops; try dark chocolate melts for a rich variation.
• Vegetable Shortening – Helps smooth the melted candy for dipping; coconut oil is a great substitute if desired.
For the Color
• Food Coloring (Red & Blue) – Essential for achieving that festive, vibrant color; opt for gel-based colors for better results.
• Red, White & Blue Sprinkles – These make the pops visually stunning; feel free to switch them for other themed sprinkles if you like.
Step‑by‑Step Instructions for Red, White & Blue Cake Pops
Step 1: Preheat and Mix
Begin by preheating your oven to 350°F (175°C). In a large mixing bowl, combine the box white cake mix, plain Greek yogurt, and cold water. Mix with a hand or stand mixer on medium speed for about 2-3 minutes, until the batter is smooth and free of lumps. This step ensures your Red, White & Blue Cake Pops have a delightful base.
Step 2: Divide and Color the Batter
Once your batter is well mixed, divide it evenly into three separate bowls. Leave one bowl as is for the white layer, and add red food coloring to one bowl and blue food coloring to the other. Stir each bowl until the colors are vibrant and consistent; you want those patriotic hues to shine in your Red, White & Blue Cake Pops!
Step 3: Bake the Cake Layers
Grease three separate baking dishes and pour each colored batter into its own dish. Bake the cake layers in the preheated oven for 12-15 minutes or until a toothpick inserted in the center comes out clean. Once done, remove the cakes from the oven and allow them to cool completely to ensure easy crumbling.
Step 4: Crumble the Cakes
After your baked layers have cooled, crumble each color into a separate bowl using your hands or a fork until they’re fine crumbs. Make sure each cake layer is uniform to help form nice balls later. This step is vital for achieving the delightful texture of your Red, White & Blue Cake Pops.
Step 5: Shape the Cake Balls
Take a scoop of the crumbled cake (about 1-2 tablespoons) from each bowl and roll them into balls. Insert a straw or lollipop stick into each ball, pressing gently to ensure it holds. The vibrant colors will start to unite, creating a whimsical look perfect for your festive treats!
Step 6: Chill the Cake Balls
Place your newly formed cake balls on a lined baking sheet and chill them in the refrigerator for at least 1 hour. This step is crucial for firming them up before dipping, ensuring your Red, White & Blue Cake Pops keep their shape during coating.
Step 7: Melt the Candy Coating
While the cake balls chill, melt the white candy melts and a small amount of vegetable shortening in a microwave-safe bowl. Microwave in 30-second intervals, stirring in between, until the mixture is smooth and glossy. This will create a perfect, sweet coating that makes your cake pops irresistible.
Step 8: Dip and Decorate
Once your candy melts are smooth, dip each chilled cake ball into the melts, using a spoon to fully coat it. Allow any excess coating to drip back into the bowl while holding the pops over it. Before the coating sets, sprinkle the red, white, and blue sprinkles on top to add that festive touch to your Red, White & Blue Cake Pops.
Step 9: Chill to Set
After decorating, place the cake pops back on the lined baking sheet and chill them in the refrigerator for another 30 minutes. This final step allows the coating to harden fully, ensuring a delightful crunch when you take a bite into your beautifully patriotic cake pops!
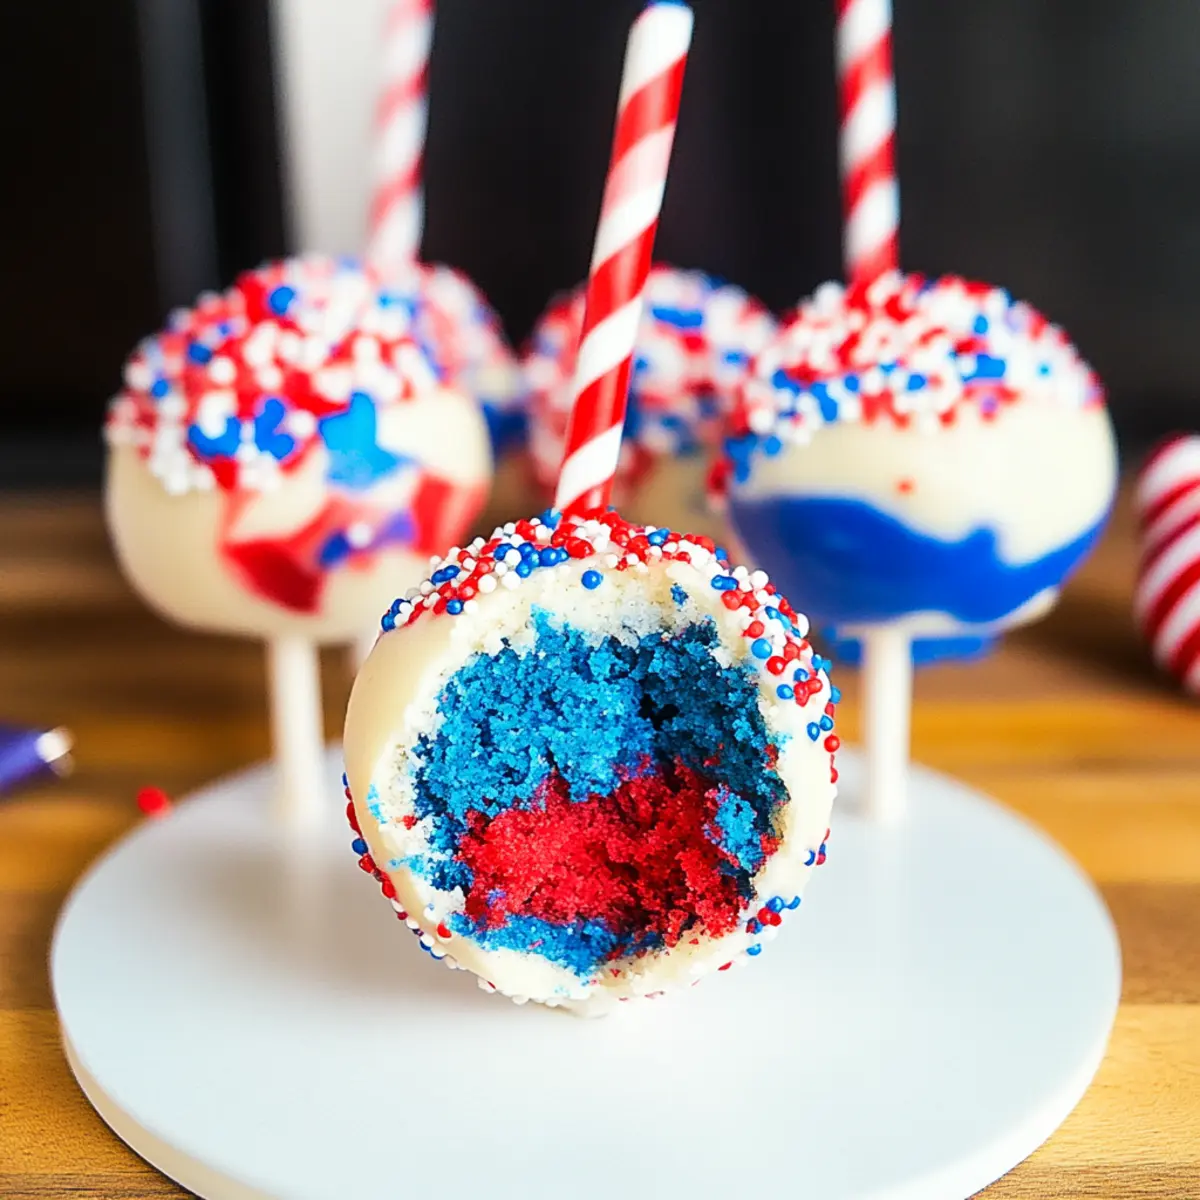
Red, White & Blue Cake Pops Variations
Feel free to let your creativity shine and customize these delicious cake pops to suit your taste and occasion!
-
Chocolate Cake Mix: Swap the white cake mix for chocolate to add a rich flavor twist that chocolate lovers will adore.
-
Flavored Yogurt: Use vanilla or strawberry yogurt in place of plain Greek yogurt to infuse your cake pops with exciting flavor variations that complement the colors beautifully.
-
Vegan Option: Substitute the candy melts with a vegan chocolate coating and ensure your cake mix does not contain animal-derived ingredients.
-
Different Sprinkles: Replace red, white, and blue sprinkles with seasonal or holiday-themed sprinkles; think Halloween colors or Christmas motifs for festive flair!
-
Fruit Add-Ins: Incorporate chopped strawberries or blueberries into the cake batter for a burst of fresh flavor and a textured fun twist with your pops.
-
Nutty Crunch: Brush some finely chopped nuts, like almonds or pecans, on top of the melted chocolate before it sets for a delightful crunch.
-
Mini Pops: Instead of full-sized pops, roll smaller cake balls for mini pops, perfect for bite-sized treats at gatherings.
-
Spicy Kick: For a touch of heat, add a pinch of cayenne pepper or chili powder to the cake mix—this unexpected twist will surprise your guests!
Embrace the spirit of creativity any day of the year—why not check out my Strawberry Crunch Cheesecake for another delightful dessert?
What to Serve with Festive Red, White & Blue Cake Pops
Brightening up your dessert table is easy with these whimsical pops; they invite a sprinkle of joy into every celebration.
-
Refreshing Lemonade: The zesty tang of lemonade balances the sweetness perfectly, making for a delightful pairing that will quench your thirst.
-
Fruit Skewers: A colorful assortment of berries and melons complements the cake pops and adds a refreshing, light element to your spread.
-
Chocolate Milkshakes: Creamy and indulgent, these shakes provide a rich contrast to the lightness of the cake pops, creating a nostalgic, fun combo.
-
Patriotic Fruit Salad: Featuring strawberries, blueberries, and whipped cream, this fruity mix enhances the festive theme while offering a refreshing burst of flavor.
-
Vanilla Ice Cream: A scoop of vanilla ice cream adds a classic touch to your dessert, providing a creamy texture that harmonizes beautifully with the cake pops.
-
Sparkling Water with Lime: For a sophisticated twist, this refreshing drink offers a crisp and light pairing that cleanses the palate between each bite.
-
Chocolate-Dipped Pretzels: The salty crunch of pretzels adds a delightful texture contrast, and the chocolate ties in perfectly with the sweetness of the cake pops.
-
Coconut Macaroons: These chewy delights are a lovely, tropical touch that enhances the celebration, with flavors that balance well with the cake pops’ sweetness.
Indulge in these delightful options for a memorable feast!
Make Ahead Options
These delightful Red, White & Blue Cake Pops are perfect for meal prep, allowing you to save time for your festive celebrations! You can prepare the cake layers up to 24 hours in advance; simply bake them, let them cool completely, and store them in an airtight container in the refrigerator. Once you’re ready to make your cake pops, just crumble the chilled layers, roll them into balls, and chill again briefly to firm them up. When it’s time to serve, melt your candy coating and dip the cake balls, adding sprinkles right after coating. This way, you’ll enjoy the same delicious flavors and festive colors, all with minimal effort on the day of your gathering!
How to Store and Freeze Red, White & Blue Cake Pops
Fridge: Keep your cake pops in an airtight container in the refrigerator for up to 1 week. Make sure they are fully set before storing to avoid any melting.
Freezer: If you’d like to enjoy your Red, White & Blue Cake Pops later, place them in a freezer-safe container for up to 3 months. Layer them with parchment paper to prevent sticking.
Thawing: To enjoy frozen cake pops, transfer them to the fridge for a few hours to thaw gradually. Avoid microwaving, as this can make the coating soft.
Reheating: While these pops are best enjoyed cold, you can bring them to room temperature before serving for the best texture and taste.
Expert Tips for Red, White & Blue Cake Pops
• Chill Thoroughly: Chill the cake balls for at least one hour before dipping. This helps them maintain shape, preventing any melting mess during coating.
• Smooth Coating: Stir the candy melts frequently while microwaving to achieve a smooth texture. A lumpy coating can affect the final look of your Red, White & Blue Cake Pops.
• Color Usage: Use gel-based food coloring for vibrant colors that won’t water down the batter. Liquid colors can dilute the mixture and make it less effective.
• Rolling Technique: Roll the crumbled cake firmly but gently into balls to avoid cracks. Compact balls help ensure that each bite of your cake pop is perfectly moist.
• Swap Sprinkles: Don’t hesitate to experiment with themed sprinkles based on the occasion. Customizing your decoration can elevate any gathering, making them even more special.
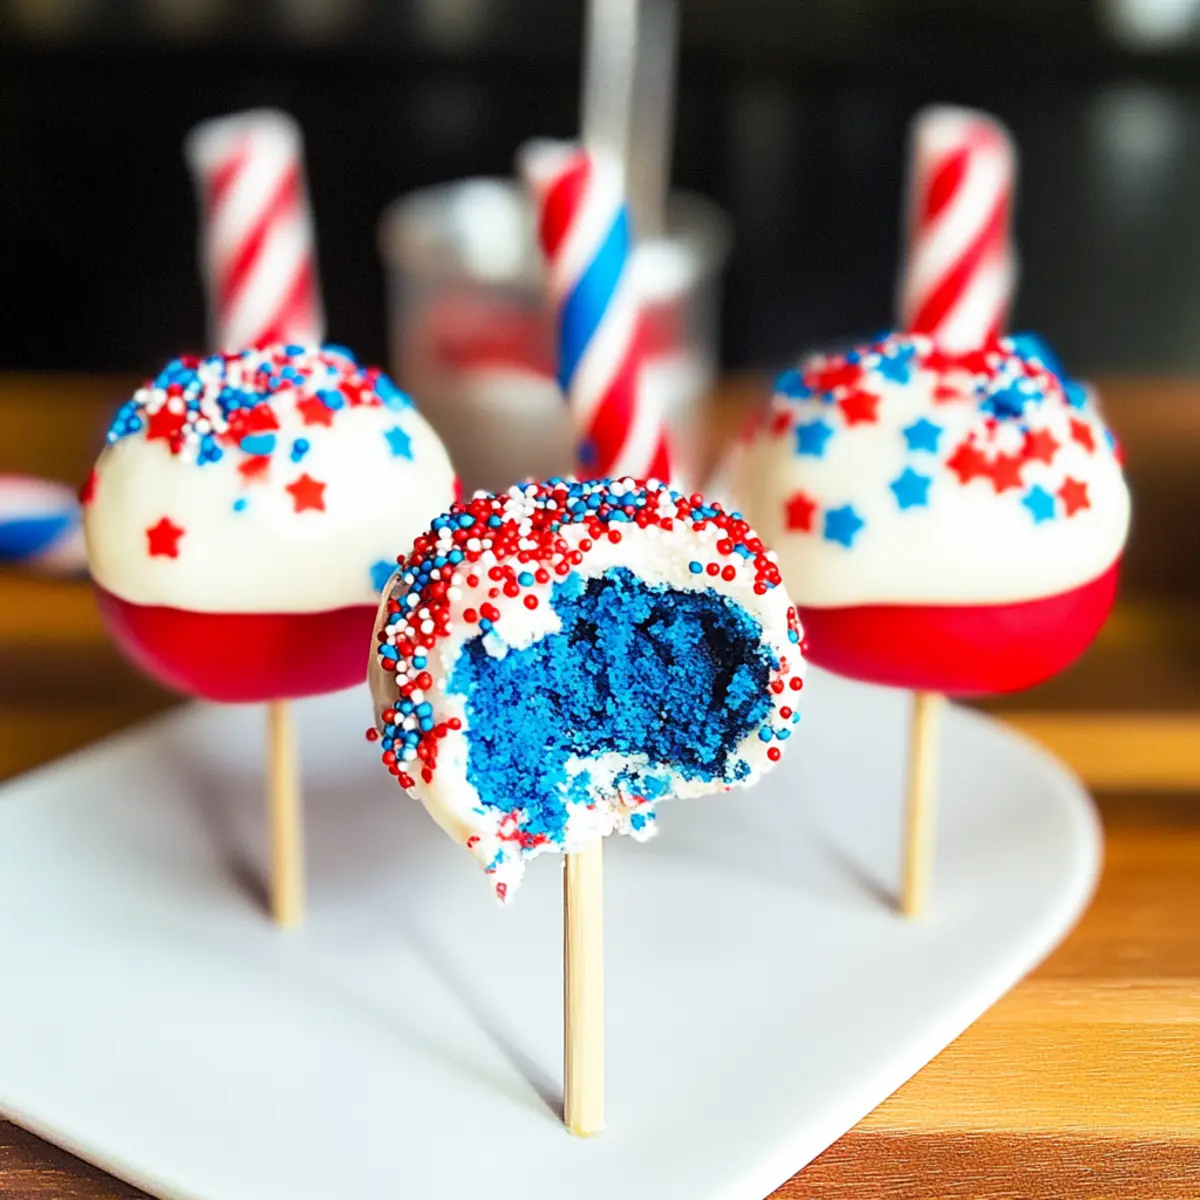
Red, White & Blue Cake Pops Recipe FAQs
How do I choose the right Greek yogurt?
Absolutely! For these Red, White & Blue Cake Pops, I recommend opting for plain Greek yogurt. Look for one that is creamy with no added sugars or flavors. Low-fat options will also work well, just ensure it has a good protein content to maintain moisture in your pops.
How should I store the cake pops?
Very good question! Store your cake pops in an airtight container in the refrigerator for up to 1 week. Allow them to fully set before storing to prevent any melting mess. It’s best to separate layers with parchment paper if you’re stacking them, ensuring they stay beautiful and intact!
Can I freeze the cake pops for later?
Absolutely! To freeze your Red, White & Blue Cake Pops, place them in a freezer-safe container and layer them with parchment paper to prevent sticking. They can last up to 3 months in the freezer. When you’re ready to enjoy them, simply transfer the pops to the fridge for several hours to thaw gradually.
What if my cake pops don’t hold their shape?
No worries! If your cake pops are falling apart or not holding their shape, be sure you’ve chilled them thoroughly before dipping. A minimum of 1 hour in the refrigerator helps them firm up. If they still have trouble, you can add a bit more crumbled cake or yogurt to your mixture, as this helps bind them better.
Are these cake pops suitable for people with allergies?
Absolutely, you can create a more allergy-friendly version! These Red, White & Blue Cake Pops are naturally egg-free and oil-free due to the use of Greek yogurt. If someone has dairy allergies, consider using non-dairy yogurt as an alternative. Always ensure the candy melts are free from allergens as well—look for brands that specify allergen information on their packaging.
Can I use different colors for the cake pops?
Yes, the more the merrier! While the traditional colors are red, white, and blue for festive occasions like the Fourth of July, feel free to experiment! You can use any gel-based food coloring you like. This flexibility means you can create themed pops for birthdays or other holidays, adding a personal touch to your celebrations!
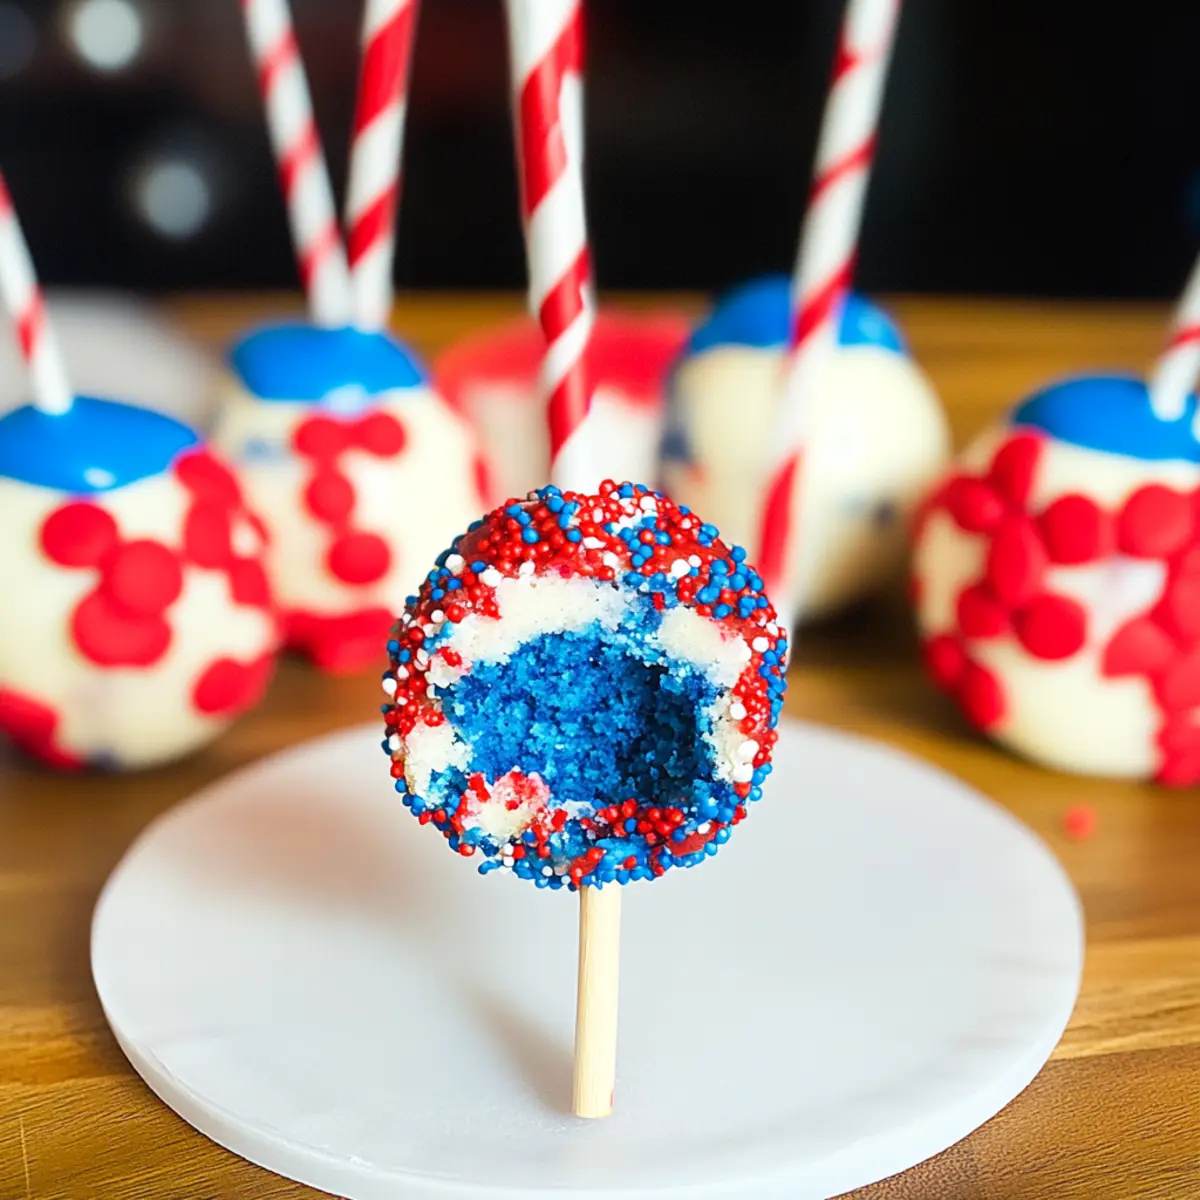
Delicious Red, White & Blue Cake Pops You Can’t Resist
Ingredients
Equipment
Method
- Preheat your oven to 350°F (175°C). In a large mixing bowl, combine the box white cake mix, plain Greek yogurt, and cold water. Mix on medium speed for about 2-3 minutes until smooth.
- Divide the batter into three bowls. Keep one bowl white, and add red food coloring to one bowl and blue to the other. Stir until colors are vibrant.
- Grease three baking dishes and pour each colored batter into its own dish. Bake for 12-15 minutes or until a toothpick comes out clean. Cool completely.
- Crumble each cooled cake layer into a bowl until fine crumbs. Ensure uniformity for nice balls later.
- Take about 1-2 tablespoons of each color and roll into balls. Insert a straw or lollipop stick into each ball.
- Chill the cake balls on a lined baking sheet in the refrigerator for at least 1 hour.
- Melt the white candy melts and vegetable shortening in a microwave-safe bowl. Microwave in 30-second intervals until smooth.
- Dip each chilled cake ball into the melted coating, allowing excess to drip back. Sprinkle with red, white, and blue sprinkles before the coating sets.
- Chill the cake pops again for 30 minutes to allow the coating to harden.
Leave a Reply