
As I stood in my kitchen, the intoxicating aroma of chocolate filled the air, instantly transporting me to moments of joyful celebrations. This is the magic of my Easy Black Forest Cake recipe—a true classic dessert that marries rich chocolate sponges with bright cherries and fluffy whipped cream. It’s the kind of cake that not only takes just a bit of time to whip up but also impresses everyone at the table, making it perfect for birthdays or any occasion that calls for a sweet touch. With each layered bite, you’ll savor a delightful contrast of tastes and textures, providing a homemade treat that outshines any fast-food dessert. Curious to see how simple it can be to create this showstopper? Let’s dive in!
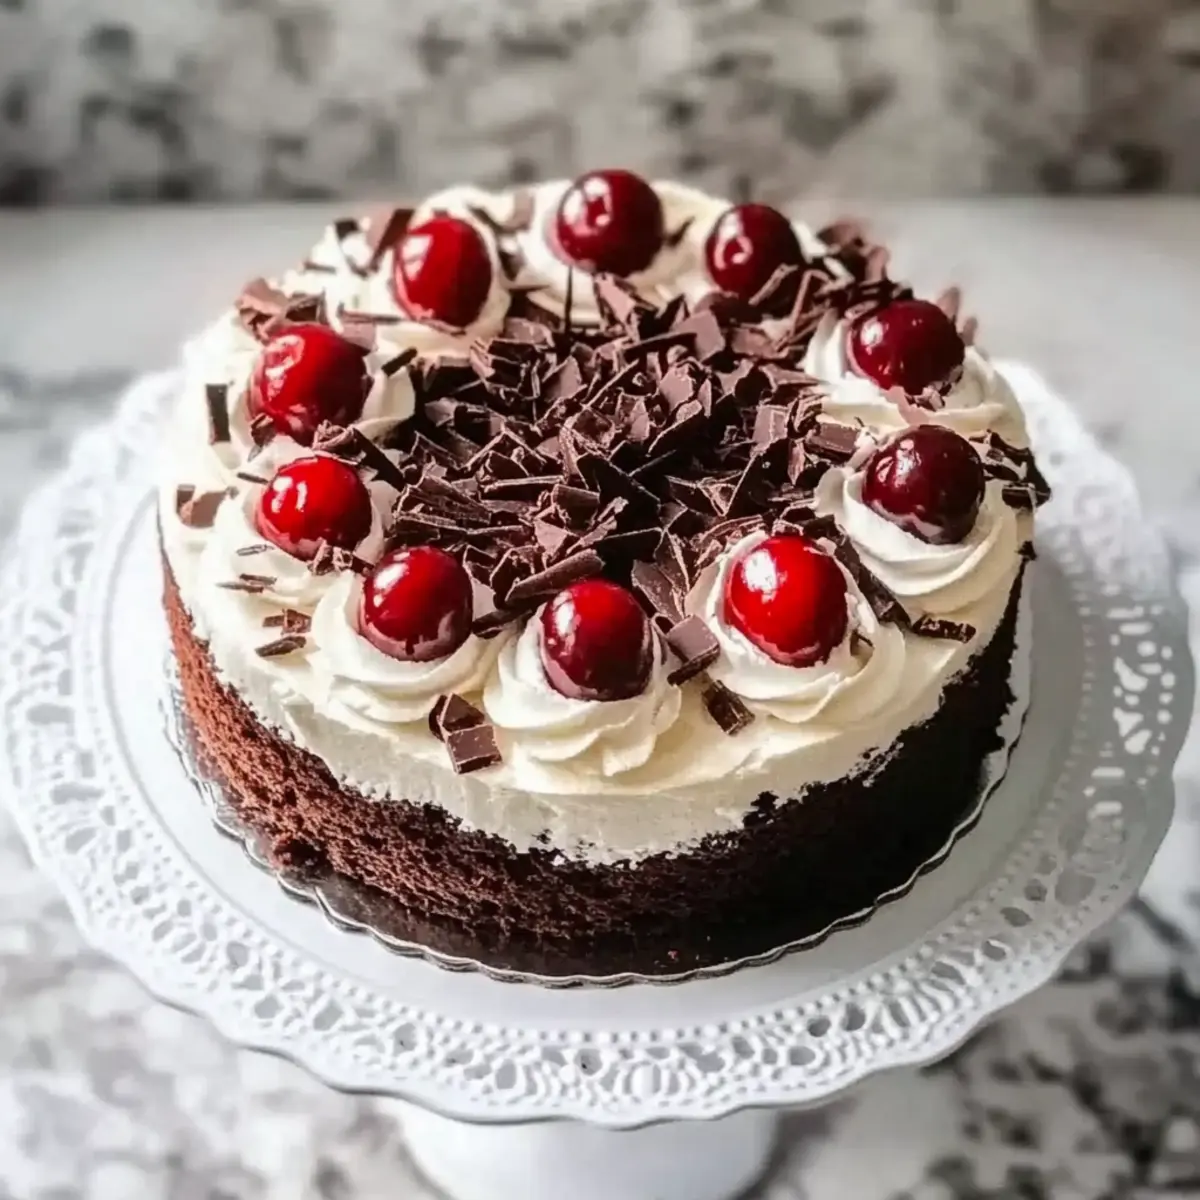
Why is Black Forest Cake So Special?
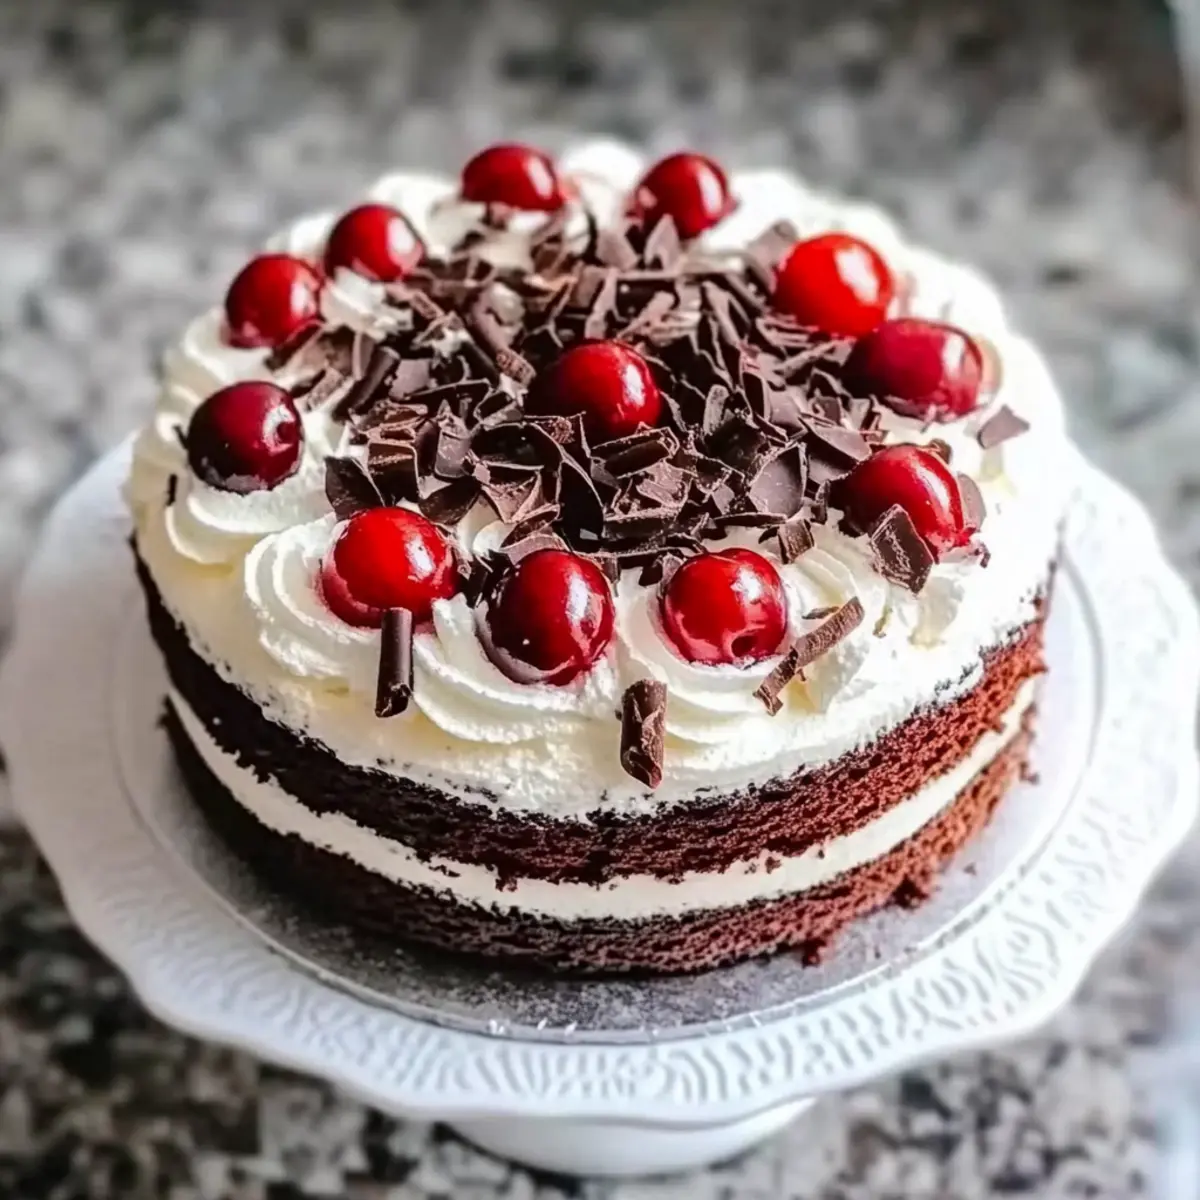
Irresistible, Luscious Layers: This Easy Black Forest Cake promises layers of moist chocolate sponge that perfectly cradle a sweet-tart cherry filling.
Effortless Elegance: With straightforward techniques, you can craft a dessert that wows your guests without breaking a sweat.
Crowd-Pleasing Delight: Whether it’s a birthday or a weekend treat, this cake brings smiles and satisfaction, reminding everyone why homemade desserts are the best.
Versatility at Its Best: Feel free to experiment by swapping cherries for strawberries in this heavenly creation, or even indulge with a dash of Kirsch for authenticity.
Perfect Pairing: Serve warm with a scoop of vanilla ice cream, or enjoy alongside your morning cup of coffee for a luxurious start to your day!
Black Forest Cake Ingredients
For the Cake Layers
• All-Purpose Flour – Provides structure; can be substituted with gluten-free flour for a GF version.
• Granulated Sugar – Adds sweetness; brown sugar offers a more caramel-like flavor.
• Unsweetened Cocoa Powder – Contributes depth of chocolate; avoid sweetened cocoa as it may imbalance sweetness.
• Baking Powder & Baking Soda – Essential leavening agents; ensure freshness for a proper rise.
• Salt – Enhances overall flavor; use sea salt for a cleaner taste.
• Large Eggs – Serve as a binding agent and add moisture; flax eggs may substitute for a vegan option.
• Whole Milk – Provides moisture; almond or soy milk works for a lactose-free alternative.
• Vegetable Oil – Ensures moisture and tenderness; melted butter can enrich the flavor.
• Vanilla Extract – Enhances flavor; opt for pure vanilla over imitation for best taste.
• Boiling Water – Activates cocoa for a smooth batter; crucial for achieving the right texture.
For the Cherry Filling
• Pitted Cherries – The fruity filling brings a delightful contrast; both fresh or well-drained canned cherries work.
• Granulated Sugar (for cherries) – Sweetens cherry filling to balance tartness.
• Cornstarch – Acts as a thickener for the filling; arrowroot serves as an alternative if needed.
• Kirsch (optional) – Adds a traditional authentic cherry flavor; consider omitting if you want to avoid alcohol.
For the Whipped Topping
• Heavy Cream – Essential for a luscious whipped topping; consider substituting half with mascarpone for an enhanced texture.
• Powdered Sugar – Sweetens the whipped cream; adjust to taste for your desired sweetness.
For Garnishing
• Chocolate Shavings – Provides a decadent touch to the dessert.
• Fresh Cherries – Enhances presentation and adds a burst of flavor, making it visually stunning.
Creating this Easy Black Forest Cake is not just about gathering ingredients but about crafting memories and celebrating moments!
Step‑by‑Step Instructions for Easy Black Forest Cake
Step 1: Preheat and Prepare
Begin by preheating your oven to 350°F (175°C). While it’s heating, prepare two 9-inch round cake pans by greasing them with butter and placing a round of parchment paper in the bottom. This ensures your Easy Black Forest Cake layers release easily after baking, guaranteeing that they maintain their beautiful shape.
Step 2: Mix Dry Ingredients
In a large mixing bowl, whisk together 2 cups of all-purpose flour, 1 ¾ cups of granulated sugar, ¾ cup of unsweetened cocoa powder, 1 ½ teaspoons of baking powder, 1 ½ teaspoons of baking soda, and 1 teaspoon of salt. This mixture forms the base of your cake layers, combining well until you see a uniform, chocolatey blend that fills your kitchen with a delicious aroma.
Step 3: Add Wet Ingredients
Now, incorporate 2 large eggs, 1 cup of whole milk, ½ cup of vegetable oil, and 2 teaspoons of vanilla extract into the dry ingredients. Using an electric mixer, mix on medium speed for about 2 minutes, until the batter is smooth and well combined. The batter will be thick and have a glossy sheen, making it perfect for a decadent dessert.
Step 4: Add Boiling Water
Gradually pour in 1 cup of boiling water into your batter, mixing on low speed until everything is combined. This step activates the cocoa powder and transforms the batter into a silky consistency. You’ll notice the batter becomes thinner, which is just what you want for your Easy Black Forest Cake layers to be light and fluffy.
Step 5: Bake the Cakes
Divide the batter evenly between the prepared pans. Place them in the preheated oven and bake for 30–35 minutes, or until a toothpick inserted into the center comes out clean. Keep an eye on them; they should rise beautifully and have a dark, tempting color that beckons for a slice.
Step 6: Cool the Cakes
Once baked, remove the pans from the oven and let them cool for about 10 minutes. Carefully transfer the cakes to a wire rack to cool completely. This step is crucial, as it prevents the layers from becoming soggy, ensuring your Easy Black Forest Cake maintains its structure for stacking.
Step 7: Make the Cherry Filling
In a saucepan over medium heat, combine 2 cups of pitted cherries and ½ cup of granulated sugar. Stir occasionally until the cherries release their juices. Once bubbling, mix 2 tablespoons of cornstarch with 2 tablespoons of water, then stir into the cherry mixture to thicken. Remove from heat and let cool to room temperature.
Step 8: Whip the Cream
In a large bowl, use a hand mixer to whip 2 cups of heavy cream with ¼ cup of powdered sugar and 1 teaspoon of vanilla extract until stiff peaks form, about 3–5 minutes. The cream should be light and fluffy, providing that essential topping for your Easy Black Forest Cake.
Step 9: Assemble the Cake
On a serving platter, place one chocolate sponge layer down. Generously spread a layer of the whipped cream on top, followed by a portion of the cherry filling. Carefully place the second layer on top, then cover the entire cake with the remaining whipped cream, smoothing it out for a beautiful finish.
Step 10: Garnish and Chill
For the final touch, decorate your Easy Black Forest Cake with chocolate shavings and fresh cherries on top. After decorating, refrigerate the cake for about 2–3 hours to allow the flavors to meld beautifully together, creating a mouthwatering centerpiece for any celebration.
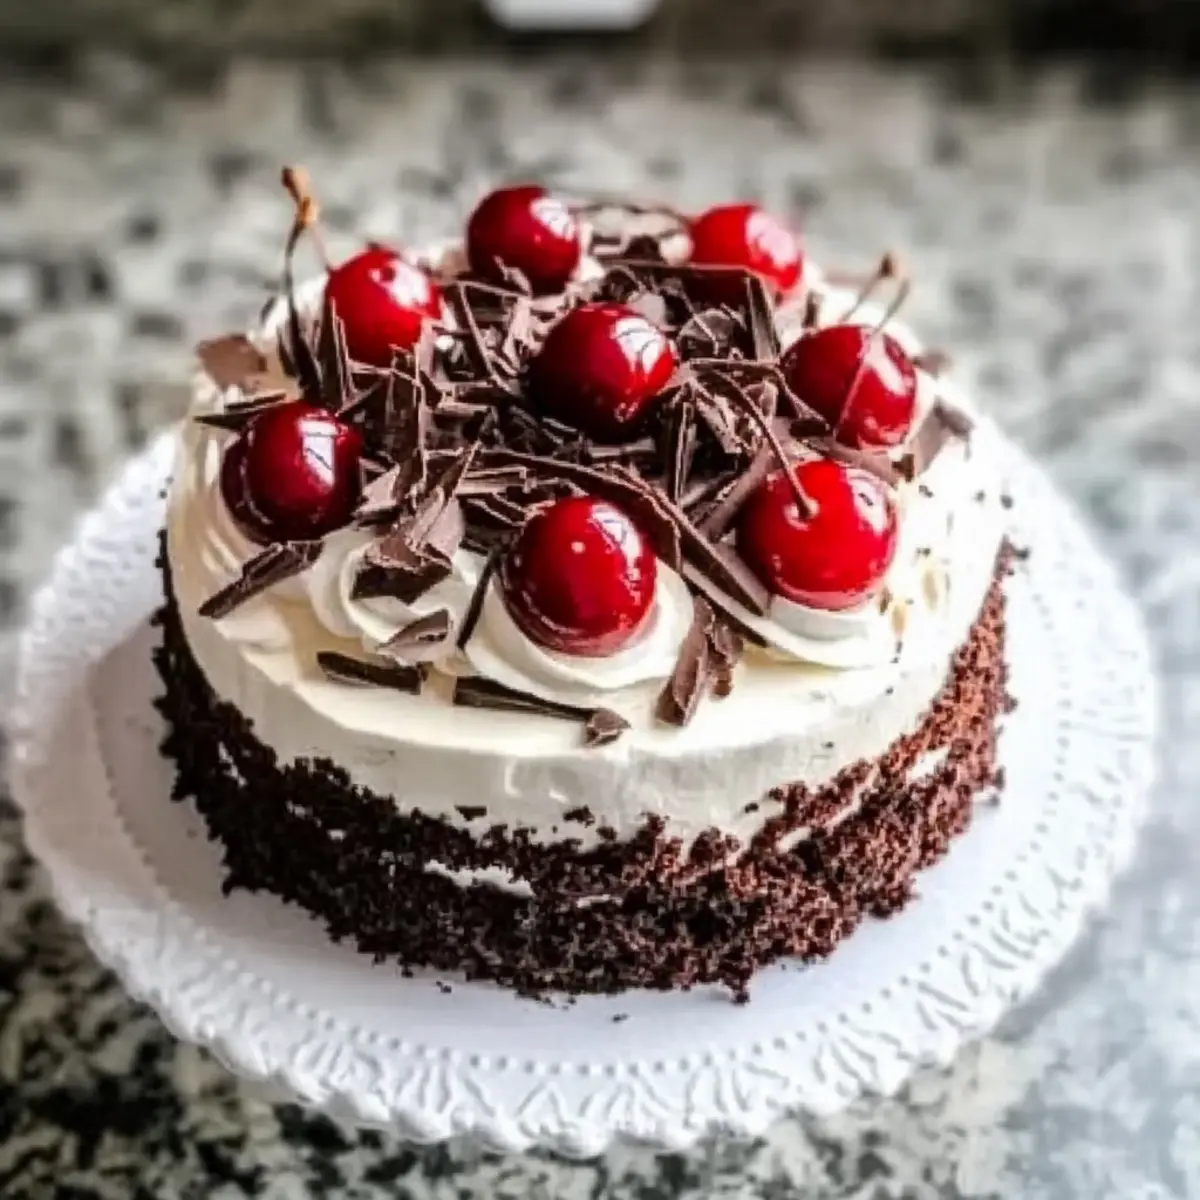
Variations & Substitutions for Black Forest Cake
Unlock your creativity with these delightful twists that will make your Easy Black Forest Cake even more special!
-
Gluten-Free: Swap all-purpose flour for a gluten-free blend to cater to dietary needs while preserving yummy textures.
-
Fruit Fun: Replace cherries with strawberries or raspberries for a brighter, fruitier flavor that’ll surprise your taste buds. The sweetness of strawberries brings a fresh vibrancy, making each slice pop with flavor!
-
Dairy-Free: Use almond or oat milk in place of whole milk and coconut cream for the whipped topping to create a completely dairy-free version.
-
Nutty Flavor: Add chopped walnuts or pecans to the chocolate batter for a nutty crunch that beautifully complements the cake’s richness. A bite of nuts adds that beloved, rustic charm!
-
Boozy Kick: Incorporate a splash of almond extract or a dash of espresso powder in the icing for a flavor boost that elevates the chocolate**. But always ensure it’s suitable for your guests’ preferences!
-
Loaded with Chocolate: Ganache it up! Add a layer of chocolate ganache between the cake layers for an extra layer of richness and sophistication. The smoothness of ganache makes everything even more indulgent!
-
Fruity Swirl: Create a cherry or raspberry swirl through the cream before assembly for an eye-catching (and delicious) pattern that’s as stunning as it is tasty.
-
Spiced Up: Sprinkle a bit of cinnamon or nutmeg into your chocolate batter for a warm spice twist that will complement the rich chocolate beautifully. The hints of spice create a warming, comforting experience.
Thinking of pairing your cake with something divine? Why not serve it with Strawberry Crunch Cheesecake or alongside a cup of freshly brewed coffee? Your dessert spread will become an unforgettable indulgence for friends and family!
What to Serve with Easy Black Forest Cake
Indulging in a slice of this chocolate delight opens up a world of delectable pairings, enhancing your dessert experience.
- Vanilla Ice Cream: This classic combo adds a creamy, comforting touch, balancing the chocolate richness with a sweet, cold contrast.
- Fresh Berries: A medley of strawberries and blueberries provides a refreshing pop of color and minor tartness that cuts through the sweetness.
- Coffee: A warm cup of coffee pairs beautifully with the cake, enhancing the chocolate notes while invigorating your taste buds.
- Chocolate Ganache: Drizzle this luxurious layer over the cake for an ultra-chocolatey experience that will satisfy the most avid chocolate lovers.
- Shortbread Cookies: These buttery, crispy treats offer a crunchy texture that contrasts perfectly with the soft cake layers and whipped cream.
Taking your time to savor each bite means you’ll appreciate the harmony of flavors that elevate this classic creation. Enjoy!
Make Ahead Options
These Easy Black Forest Cake components are ideal for busy home cooks looking to save time during the week! You can prepare the chocolate cake layers up to 24 hours in advance; simply bake, cool, and wrap them tightly in plastic wrap before refrigerating to keep them moist. The cherry filling can be made up to 3 days ahead; store it in an airtight container in the fridge to maintain its freshness. When you’re ready to assemble, whip the cream just before serving for the best texture. With these prep steps, you’ll achieve a deliciously layered cake that feels just as fresh and special on the day of your celebration!
How to Store and Freeze Black Forest Cake
Airtight Container: Store any leftovers in an airtight container in the fridge for up to 3 days, preserving the cake’s moisture and flavor.
Freezer Friendly: To freeze, wrap the cake tightly in plastic wrap followed by aluminum foil, and it will last up to 2 months. Thaw in the refrigerator before serving.
Reheating Tip: For a delightful experience, enjoy your Black Forest Cake slightly warmed in the microwave for about 10-15 seconds; this enhances the flavor and texture.
Decorations Care: If already decorated, consume within 2 days for the best quality, as whipped cream and fresh garnishes do not store as well.
Expert Tips for Black Forest Cake
-
Gather Fresh Ingredients: Use fresh cherries and high-quality cocoa powder to enhance the taste of your Black Forest Cake; freshness makes all the difference.
-
Monitor Baking Time: Keep a close eye while baking; overbaking can lead to a dry cake. The toothpick test should come out clean but moist.
-
Chill the Cream: Ensure your heavy cream is well-chilled before whipping. This helps achieve the perfect fluffy texture for the whipped topping.
-
Layering Properly: Don’t skimp on the whipped cream or cherry filling between layers—this ensures a decadent flavor balance throughout the Black Forest Cake.
-
Cool Completely: Allow the cakes to cool completely before assembly; this helps prevent melting and sogginess in the whipped cream.
-
Refrigerate Before Serving: Chilling the assembled cake for a couple of hours allows the flavors to meld together beautifully, amplifying the overall taste.
Black Forest Cake Recipe FAQs
What kind of cherries should I use?
Absolutely! For the best flavor, I recommend using fresh pitted cherries, as they provide a bright taste that beautifully complements the chocolate. However, if fresh cherries aren’t available, canned cherries also work well—just make sure to drain them thoroughly to avoid excess moisture.
How should I store leftover Black Forest Cake?
To keep your cake fresh, store it in an airtight container in the refrigerator for up to 3 days. If your cake is already frosted with whipped cream, it’s best enjoyed within 2 days for optimal texture and flavor.
Can I freeze Black Forest Cake?
Yes, you can! To freeze your cake, first let it cool completely. Then, wrap it tightly in plastic wrap followed by aluminum foil. It can stay fresh in the freezer for up to 2 months. When you’re ready to enjoy it, simply thaw it in the refrigerator overnight before serving, allowing the flavors to regain their delightful profile.
What if my cake layers domed or cracked while baking?
No worries! If your cake layers rise and dome, simply level them off with a serrated knife after they cool down. To prevent cracking in the future, ensure that your oven temperature is accurate and avoid opening the oven door too early. A good test is to insert a toothpick in the center; if it comes out clean, your cake is done.
Are there any dietary considerations for this cake?
Definitely! For a gluten-free version, you can substitute all-purpose flour with a gluten-free flour blend. Additionally, if you’re looking for a dairy-free option, almond or soy milk can replace whole milk, and vegetable oil serves as a great dairy-free fat. Just be mindful to check the ingredients on any pre-packaged items like whipped cream if you’re accommodating allergies.
Can I use different kinds of cocoa powder?
Very much so! Although the recipe calls for unsweetened cocoa powder for balanced sweetness, you can also experiment with Dutch-processed cocoa for a milder flavor or a darker, richer chocolate experience. Just remember that using sweetened cocoa may change the overall sweetness balance of the cake.
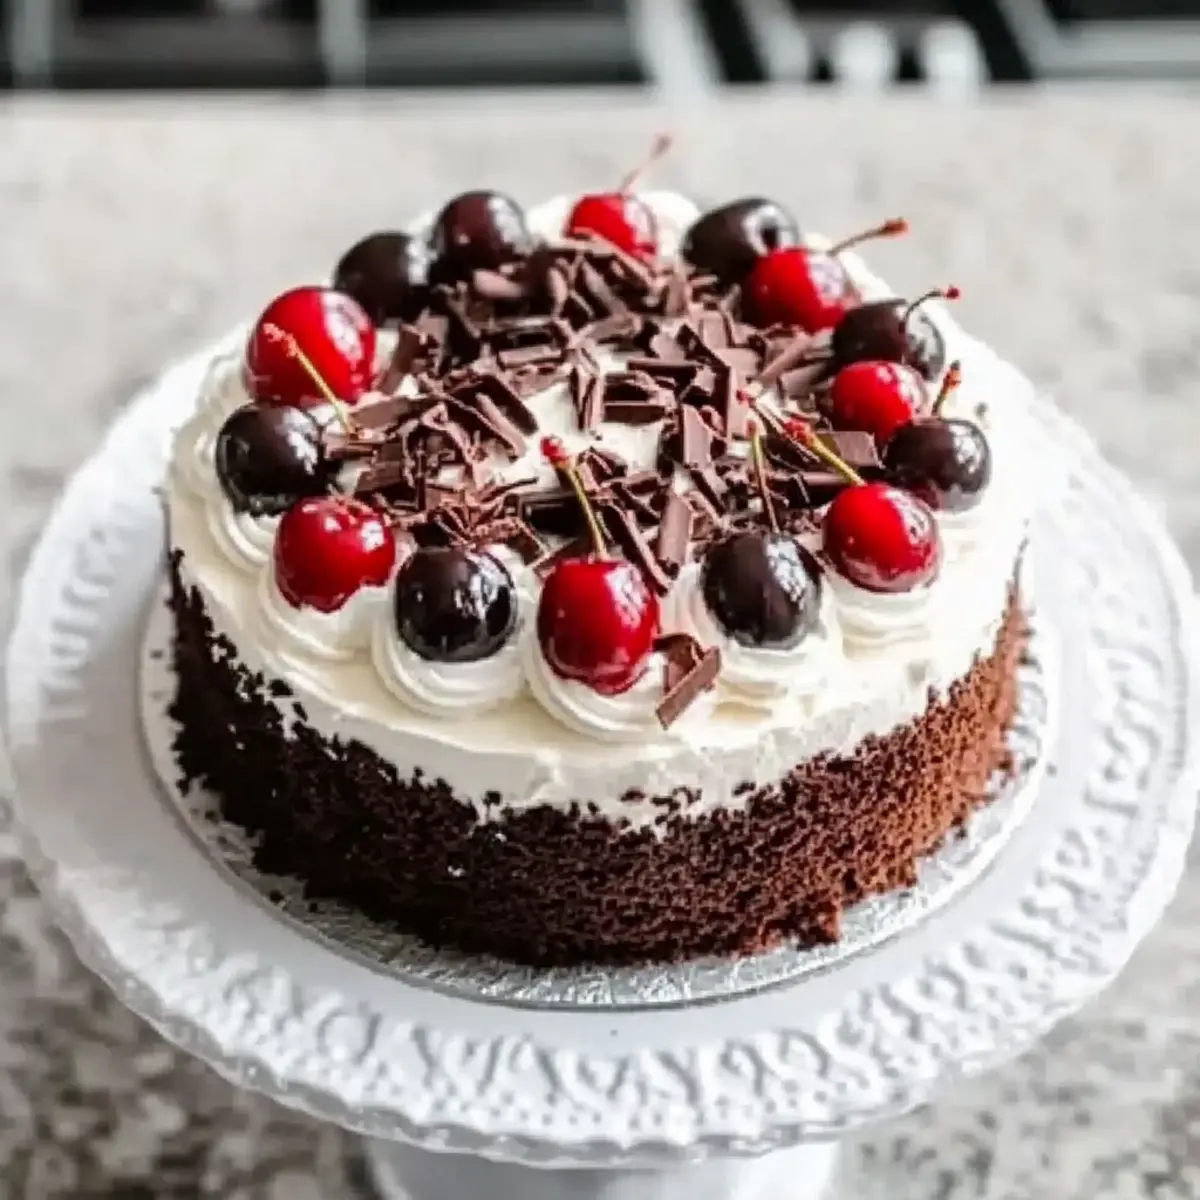
Irresistible Black Forest Cake: A Homemade Chocolate Bliss
Ingredients
Equipment
Method
- Preheat your oven to 350°F (175°C). Grease two 9-inch round cake pans with butter and line the bottoms with parchment paper.
- In a large mixing bowl, whisk together all-purpose flour, granulated sugar, unsweetened cocoa powder, baking powder, baking soda, and salt.
- Add the eggs, whole milk, vegetable oil, and vanilla extract to the dry ingredients. Mix on medium speed for about 2 minutes until smooth.
- Gradually mix in the boiling water until combined. The batter should be silky.
- Divide the batter between the prepared pans and bake for 30–35 minutes, or until a toothpick comes out clean.
- Let the cakes cool in the pans for about 10 minutes before transferring them to a wire rack to cool completely.
- In a saucepan over medium heat, combine pitted cherries and granulated sugar. Stir until the cherries release their juices.
- Mix cornstarch with water, then stir into the cherry mixture to thicken. Remove from heat and let cool.
- In a large bowl, whip heavy cream with powdered sugar and vanilla extract until stiff peaks form, about 3–5 minutes.
- On a platter, place one chocolate sponge layer down. Spread whipped cream on top, followed by cherry filling.
- Carefully place the second layer on top and cover the entire cake with the remaining whipped cream.
- Decorate with chocolate shavings and fresh cherries. Refrigerate for 2–3 hours before serving.
Leave a Reply