
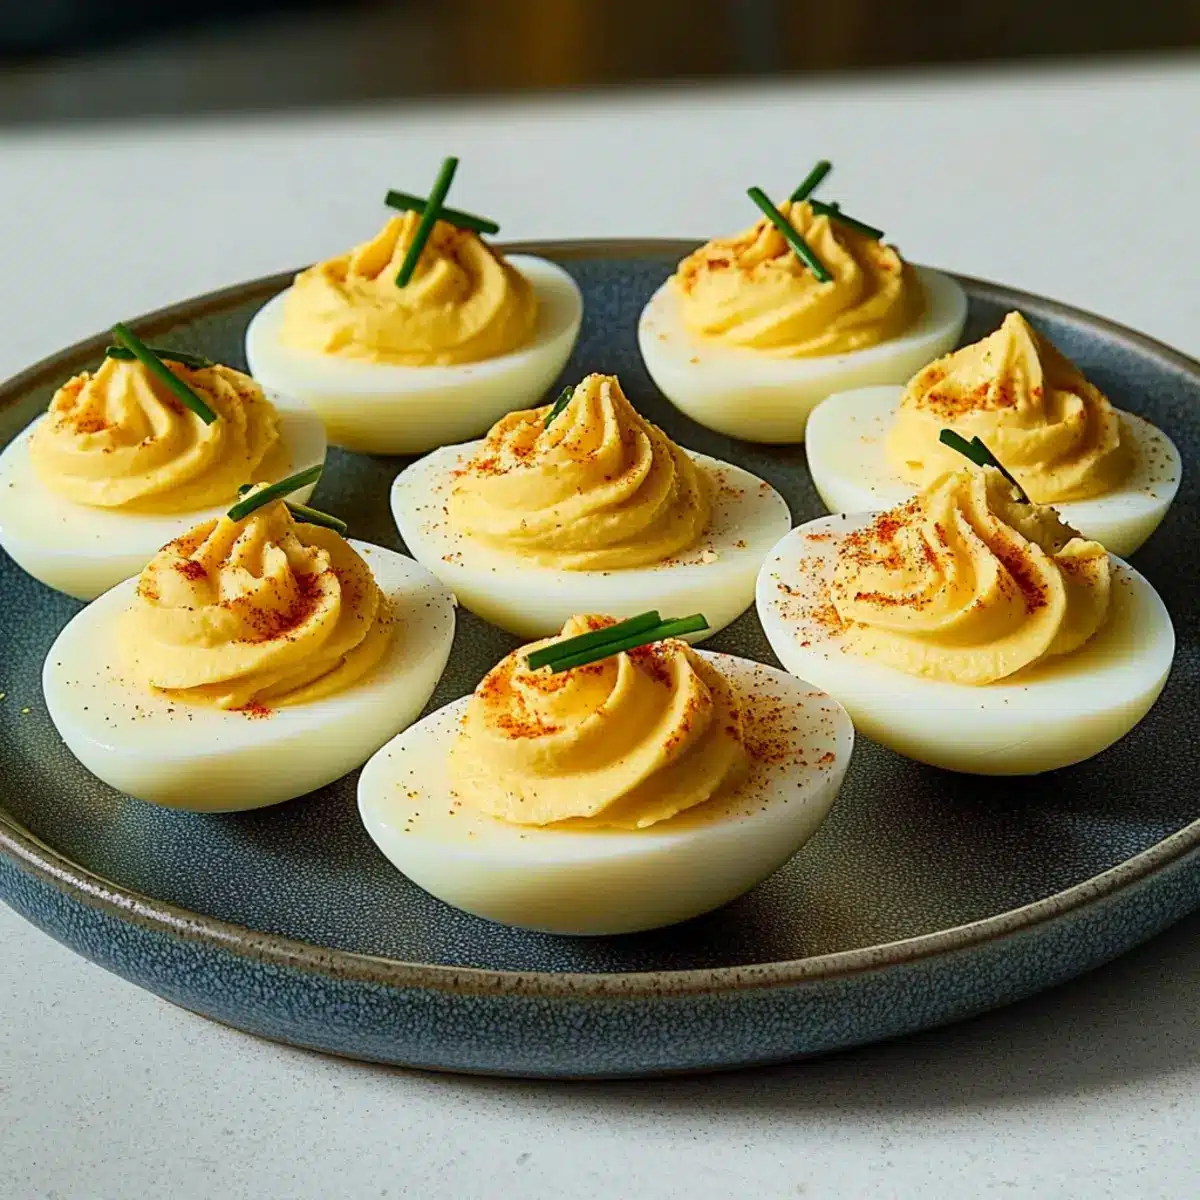
As I stood in my kitchen, quarreling over the perfect flavor combination, I stumbled upon the beloved Classic Deviled Eggs. This timeless appetizer effortlessly elevates any gathering, making it a staple on my holiday table. What I love most? They’re not only a breeze to whip up, but they also come with endless possibilities for delicious twists—think Spicy, Jammy, or even Pickled Deviled Eggs. With creamy yolk filling and a hint of spice that dances on your palate, these eggs promise to be a crowd-pleaser. Plus, they can be made ahead, freeing up your time for all that holiday fun. Are you ready to impress your guests with a classic that never disappoints? Let’s dive in!
Why are Classic Deviled Eggs a Must-Make?
Simplicity at Its Best: These deviled eggs are quick to prepare, needing just a few basic ingredients and minimal cooking skills.
Endless Flavor Possibilities: From Spicy to Jammy variations, you can easily customize them to suit any palate or occasion.
Crowd-Pleasing Delight: Perfect for gatherings, these flavorful bites are bound to be the star of any appetizer spread, making them a go-to for holidays or casual brunches.
Make-Ahead Marvel: You can prepare them up to two days in advance, giving you more time to enjoy the festivities and less time in the kitchen.
Nutrient-Rich Option: A healthy alternative to heavy finger foods, each deviled egg half packs in protein while still being delicious. Enjoy your culinary creativity by trying out variations such as those mentioned in our recipe ideas. These Classic Deviled Eggs are sure to win hearts!
Classic Deviled Eggs Ingredients
For the Filling
• Large Eggs – The base of your Classic Deviled Eggs; fresh eggs yield the best texture.
• Dijon Mustard – Adds a tangy punch; substitute with yellow mustard for a milder flavor.
• Tabasco Sauce – For a kick of heat; adjust the amount according to your taste preferences.
• Salt – Enhances all the flavors; use it sparingly and adjust to your liking.
• Black Pepper – Adds a touch of warmth; freshly ground pepper is best for maximum flavor.
• Fresh Chives – Brings a mild onion flavor and a pop of color; green onions can serve as a substitute.
• Mayonnaise – Creamy binder for the yolk mixture; opt for full-fat for richness or Greek yogurt for a lighter choice.
• Paprika – Perfect for garnish, providing color and a hint of smokiness; smoked paprika adds depth to your Classic Deviled Eggs.
Step‑by‑Step Instructions for Classic Deviled Eggs
Step 1: Cook the Eggs
Start by rinsing 6 large eggs and placing them in a saucepan. Fill the saucepan with cold water until the eggs are fully submerged. Bring the water to a rolling boil over medium-high heat, then immediately turn off the heat. Cover the saucepan with a lid and let the eggs sit for 10-12 minutes to achieve that perfect hard-boiled texture.
Step 2: Cool and Peel
Once the time is up, carefully drain the hot water from the saucepan. To cool the eggs quickly, rinse them under cold running water or transfer them to an ice bath for 5 minutes. Once adequately cooled, gently tap each egg on a hard surface and peel off the shell, making sure to remove any stubborn pieces.
Step 3: Prepare the Filling
With the eggs peeled, slice each one in half lengthwise and gently scoop the yolks into a mixing bowl, leaving the whites intact for later. Using a fork, mash the yolks until crumbly, then add in 2 tablespoons of Dijon mustard, 3 tablespoons of mayonnaise, a few dashes of Tabasco sauce, salt, and black pepper to taste. Mix everything until the filling is smooth and creamy.
Step 4: Fill the Egg Whites
Now it’s time to assemble your Classic Deviled Eggs! Using either a spoon or a piping bag fitted with a decorative tip, carefully fill each egg white half with the creamy yolk mixture. Be generous, allowing the filling to mound a little for that appetizing look; this is where your presentation shines.
Step 5: Garnish and Serve
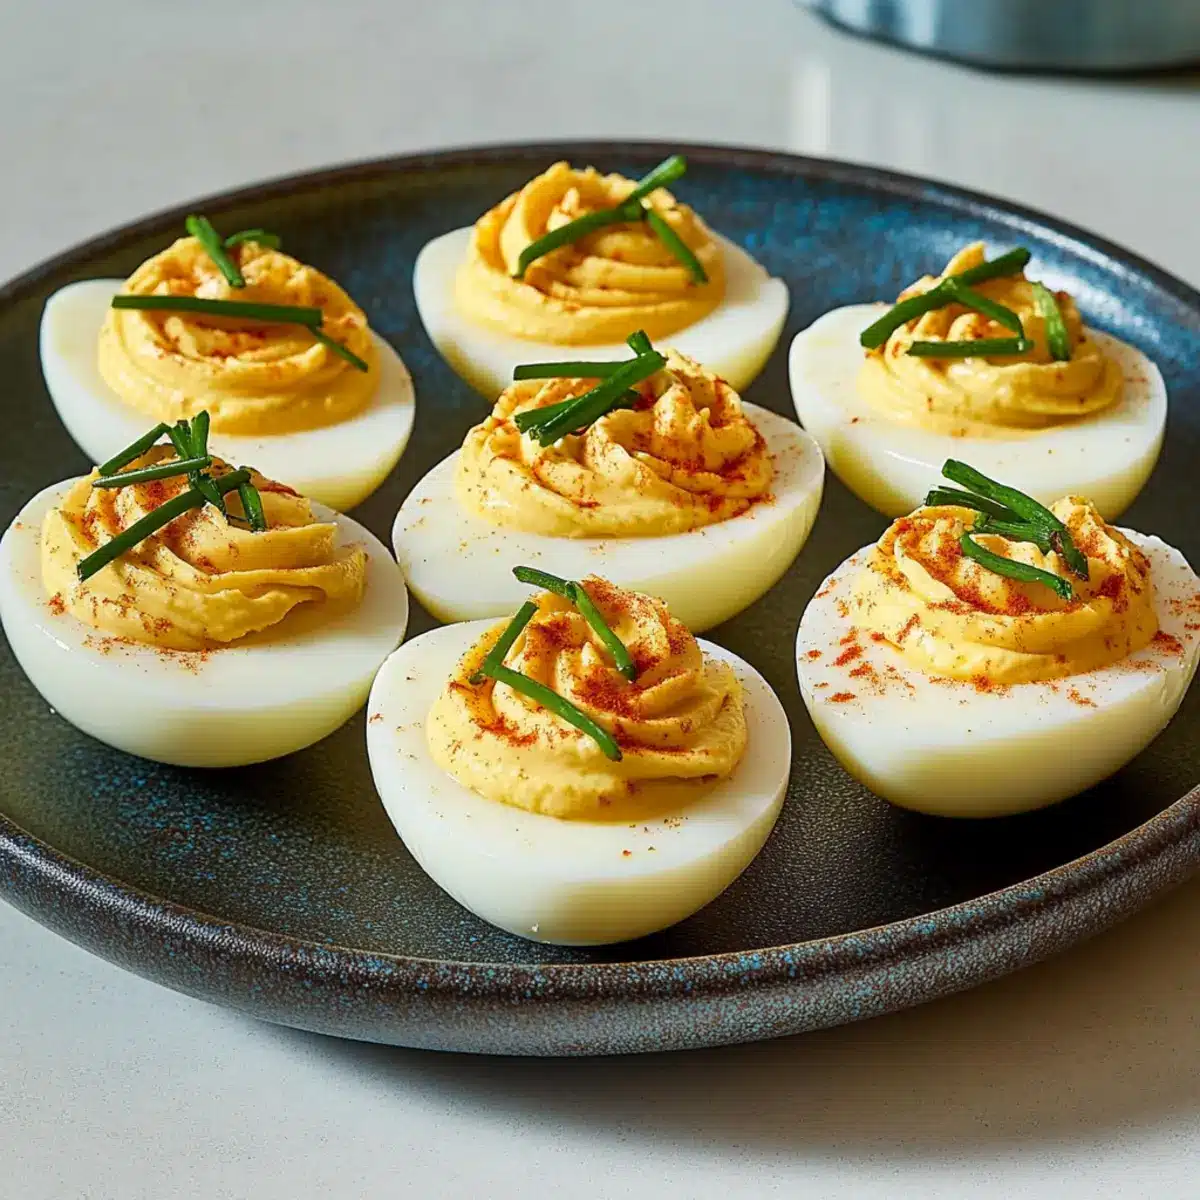
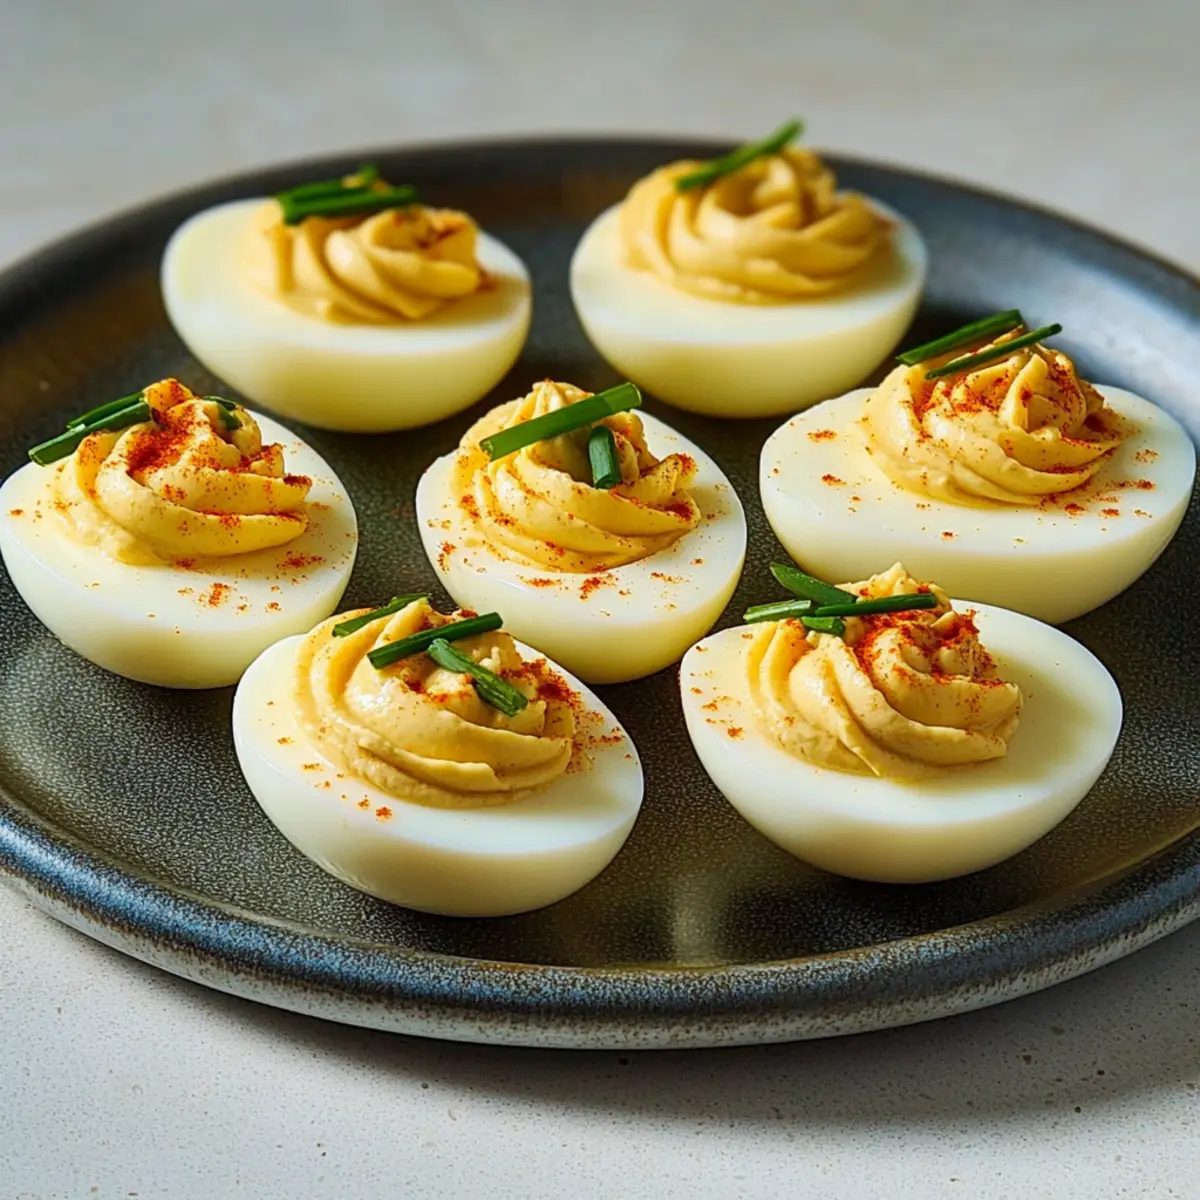
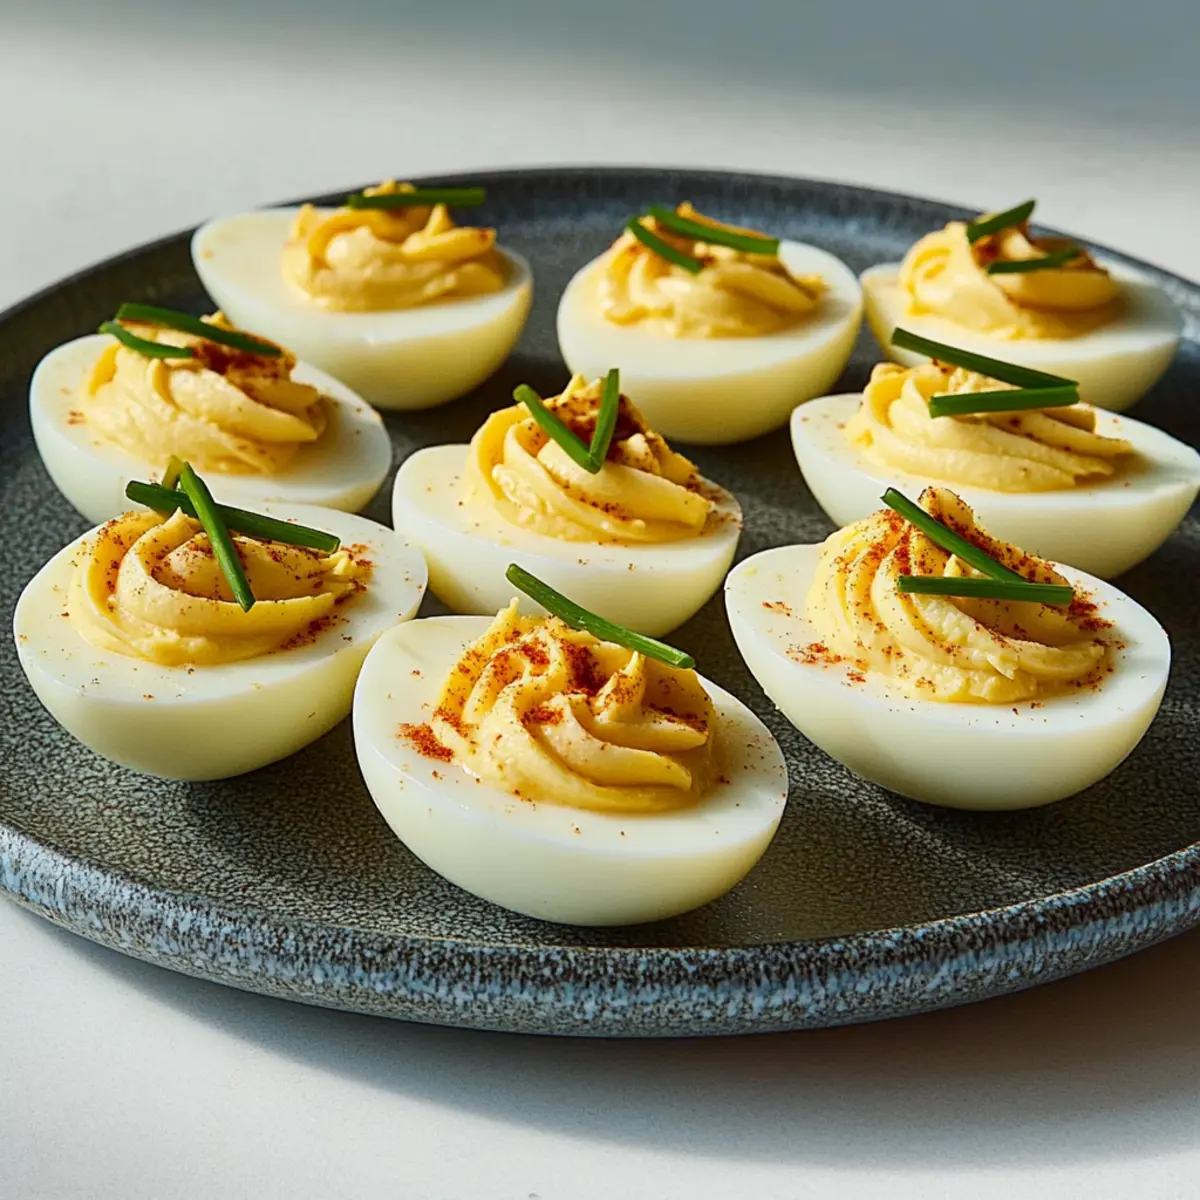
To finish, sprinkle a dash of paprika over the filled deviled eggs for color and flavor, and consider adding a few whole chives for decoration. Nestle the beautifully garnished eggs on a serving platter. These Classic Deviled Eggs are ready to impress your guests at your next gathering or holiday feast!
Classic Deviled Eggs Variations & Substitutions
Feel free to experiment and personalize your Classic Deviled Eggs with these tasty modifications that will ignite your culinary creativity.
- Spicy Twist: Blend in sriracha or wasabi for a fiery kick, making those taste buds dance.
- Herbal Infusion: Incorporate freshly chopped dill or parsley for a fresh, vibrant flavor that brightens each bite.
- Bacon Crunch: Add crispy bacon bits to the filling or sprinkle on top for a savory, crunchy element.
- Jammy Style: Use soft-boiled eggs for a creamy, jammy yolk texture that delivers a delightful contrast.
- Pickled Surprise: Mix in finely chopped pickles or relish to infuse the filling with zesty brightness and crunch.
- Vegetarian Delight: Substitute the mayonnaise with hummus for a healthier, plant-based option while keeping that creamy texture.
- Smoky Flavor: Swap out regular paprika for smoked paprika, adding a depth and richness that elevates this classic dish.
- Tangy Variations: Experiment with different mustards such as honey mustard or whole grain for an exciting twist on flavor.
Don’t be afraid to explore these variations or even try out some delicious dips for a well-rounded appetizer spread that will impress your guests! Happy cooking!
Make Ahead Options
These Classic Deviled Eggs are perfect for busy home cooks looking to save time without sacrificing flavor! You can prepare the deviled egg filling up to two days in advance; simply scoop the yolks into a bowl, mix with the mustard, mayonnaise, Tabasco, salt, and pepper, then store in an airtight container in the refrigerator. To ensure the eggs remain fresh and delicious, keep the egg whites separate until just before serving. When you’re ready to impress your guests, simply fill the egg whites with the prepared filling, garnish with paprika, and enjoy this delightful appetizer with all the taste of fresh preparation!
What to Serve with Classic Deviled Eggs
Bring your gathering to life with delightful sides that enhance the creamy, tangy flavor of these crowd-pleasers.
-
Crispy Bacon Strips:
The smoky crunch of bacon contrasts beautifully with the smooth filling of the eggs. It adds richness and a gourmet touch. -
Fresh Garden Salad:
A light arugula or mixed greens salad tossed with a zesty vinaigrette brightens the palate and complements the richness of the deviled eggs. -
Garlic Butter Toast:
The warm, crunchy toast slathered in garlic butter adds a comforting texture. It’s perfect for savoring those last bits of yolk filling. -
Cheese Platter:
Assorted cheeses like sharp cheddar or creamy brie create a delightful contrast in flavors. Balanced with fruit or nuts, it makes for a sophisticated spread. -
Spicy Pickles:
These zesty bites add a kick of heat and acidity, balancing the richness of the deviled eggs perfectly. Plus, they’re a fun finger-food option! -
Chilled White Wine:
A crisp Sauvignon Blanc or fruity Pinot Grigio will elevate your appetizer experience, enhancing the flavors and providing a refreshing sip between bites. -
Chocolate Mousse Cups:
End the meal on a sweet note with light and airy chocolate mousse. The creamy texture provides a beautiful contrast to the deviled eggs, ensuring a delightful finish. -
Roasted Vegetable Medley:
Seasoned with herbs and olive oil, this dish provides a warm, earthy side that pairs well with the eggs. Its vibrant colors add to the visual feast on your table.
Expert Tips for Classic Deviled Eggs
Easy Peeling: Use cold water: After boiling, quickly rinse the eggs in cold water or use an ice bath to make peeling easier.
Flavor Boost: Chill before serving: Allow your filled Classic Deviled Eggs to sit in the refrigerator for at least 30 minutes to enhance the flavors.
Avoid Overcooking: Perfect timing: Stick to the recommended 10-12 minutes to prevent a greenish tint around the yolk and ensure creamy texture.
Presentation Matters: Use a piping bag: For a professional look, fill the egg whites with a piping bag to create attractive shapes.
Experiment Freely: Try variations: Don’t hesitate to explore different mustards, spices, or toppings, like crumbled bacon or herbs, for a unique twist!
How to Store and Freeze Classic Deviled Eggs
Refrigerator: Store your Classic Deviled Eggs in an airtight container for up to 2 days. This keeps them fresh and ready to serve at your next gathering.
Prepping Ahead: You can cook the eggs and store them unpeeled in the refrigerator for up to 7 days, making it easy to whip up the filling whenever you’re ready.
Freezing: For best quality, avoid freezing filled deviled eggs, as the texture may change. Instead, freeze boiled and peeled egg whites if you plan to fill them later.
Reheating: If you decide to make jammy variations, gently reheat in the microwave in 10-second intervals, covered, until warm. Enjoy their creamy delight fresh!
Classic Deviled Eggs Recipe FAQs
How do I choose fresh eggs for my Classic Deviled Eggs?
Absolutely! For the best results, look for eggs that are clean and free of cracks. The date on the carton can help; fresher eggs often have a firmer white, which results in a better texture. You can also perform a simple water test—fresh eggs sink, while older ones float due to increased air cell size.
How should I store my Classic Deviled Eggs?
You can store your Classic Deviled Eggs in an airtight container in the refrigerator for up to 2 days. Be sure to keep them covered to maintain freshness. If you haven’t filled them yet, you can store boiled and peeled eggs in the fridge for up to 7 days, making it super convenient for last-minute gatherings.
Can I freeze Classic Deviled Eggs?
For the best quality, it’s best to avoid freezing the filled deviled eggs as the texture may become rubbery upon thawing. However, you can freeze boiled and peeled egg whites by placing them in a single layer on a baking sheet until frozen, then transfer them to a freezer-safe bag for up to 3 months. When you’re ready to fill them, just thaw in the refrigerator and proceed with your egg yolk mixture.
What should I do if my yolk filling is too dry?
Very common! If your yolk filling is dry, simply add a little extra mayonnaise or mustard a teaspoon at a time, mixing until you achieve your desired creaminess. Sometimes, a splash of pickle juice or vinegar can also help loosen things up while adding a tangy flavor, bringing your Classic Deviled Eggs back to life.
Are Classic Deviled Eggs suitable for everyone?
These delightful bites are mainly vegetarian but keep in mind those with egg allergies should avoid them entirely. For guests with dietary restrictions, consider substituting the mayonnaise with a vegan alternative. And if you’re serving pets, be cautious, as eggs should be given in moderation and not shared in the form of seasoned deviled eggs!
How can I ensure my eggs don’t have a greenish tint?
To prevent that noticeable greenish ring around the yolk, it’s essential to stick to the optimal cooking time—10-12 minutes once the water has boiled. After cooking, plunge the eggs into cold water or an ice bath immediately to halt the cooking process, keeping those yolks beautifully yellow and perfect for your Classic Deviled Eggs!
Classic Deviled Eggs with a Deliciously Creamy Twist
Ingredients
Equipment
Method
- Start by rinsing 6 large eggs and placing them in a saucepan. Fill the saucepan with cold water until the eggs are fully submerged. Bring the water to a rolling boil over medium-high heat, then immediately turn off the heat. Cover the saucepan with a lid and let the eggs sit for 10-12 minutes to achieve that perfect hard-boiled texture.
- Once the time is up, carefully drain the hot water from the saucepan. To cool the eggs quickly, rinse them under cold running water or transfer them to an ice bath for 5 minutes. Once adequately cooled, gently tap each egg on a hard surface and peel off the shell.
- With the eggs peeled, slice each one in half lengthwise and gently scoop the yolks into a mixing bowl. Mash the yolks until crumbly, then add Dijon mustard, mayonnaise, a few dashes of Tabasco sauce, salt, and black pepper to taste. Mix everything until the filling is smooth and creamy.
- Using either a spoon or a piping bag fitted with a decorative tip, carefully fill each egg white half with the creamy yolk mixture.
- Sprinkle a dash of paprika over the filled deviled eggs for color and flavor, and consider adding a few whole chives for decoration.
Leave a Reply