
As I sat sipping my morning coffee, the thought of a warm doughnut danced through my mind. There’s something undeniably comforting about a freshly made homemade glazed doughnut hole that feels like a cozy hug on a plate. This recipe for homemade glazed doughnut holes transforms an often intimidating treat into a simple joy, perfect for breakfast or an afternoon snack. With a fluffy texture and a crispy outer glaze, these little bites of bliss are sure to delight your family and friends. Not only are they easy to whip up, they can be made ahead of time, making them a fantastic addition to any gathering. So, who’s ready to discover the secret to creating these irresistible homemade glazed treasures?
Want a Simple Way to Indulge?
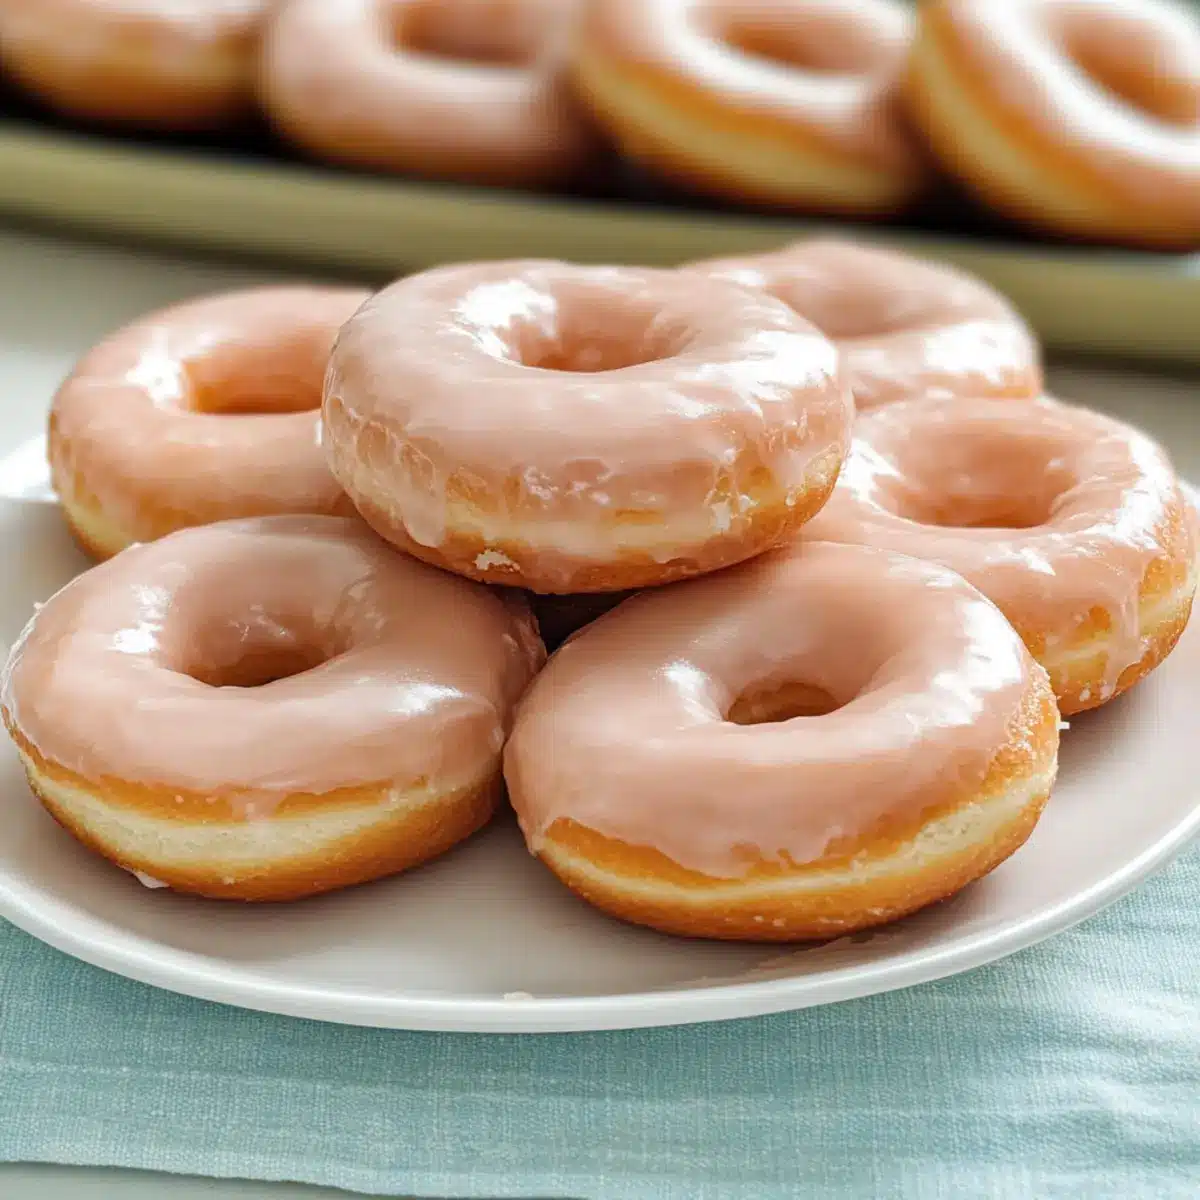
Irresistibly soft and fluffy, these homemade glazed doughnut holes melt in your mouth, creating the perfect morning treat or afternoon snack! Versatile enough to suit any occasion, these delights can be easily customized with your favorite glazes and toppings. Time-saving and simple, you’ll whip them up quickly without the fuss of traditional doughnut making. Plus, they offer a delightful crowd-pleasing appeal—everyone loves these little bites! Having them at home feels like a warm hug, making them a nostalgic and comforting treat similar to the Homemade Green Bean recipe you love!
Homemade Glazed Doughnut Hole Ingredients
For the Dough
• Whole Milk – Adds creaminess and warmth; ensure it’s around 105-115°F to activate the yeast perfectly.
• Granulated Sugar – This sweetener not only enhances flavor but also feeds the yeast, leading to a fluffy texture.
• Active Dry Yeast – This is essential for rising; if you’re short on time, instant yeast can be a handy substitute.
• Unsalted Butter – Use this for its rich flavor, giving your dough a lovely buttery touch without unintentional saltiness.
• Eggs (beaten) – These bind everything together and infuse moisture, essential for the dough’s softness.
• All-Purpose Flour – Forms the base of the doughnut holes; avoid swapping with specialty flours for the best texture.
• Kosher Salt – A pinch enhances flavor, balancing the sweetness beautifully.
For the Glaze
• Confectioner’s Sugar – The key ingredient for that sweet, glossy finish we all adore on homemade glazed doughnut holes.
• Vanilla Extract – A splash adds aromatic warmth; feel free to experiment with extracts for different flavor notes!
• Cold Water or Milk – Essential for adjusting the glaze’s texture; add a tad more for a thinner consistency.
With these simple ingredients, you’re on your way to creating delicious homemade glazed doughnut holes that will fill your kitchen with warmth and joy!
Step‑by‑Step Instructions for Irresistibly Soft Homemade Glazed Doughnut Holes
Step 1: Warm the Milk
Begin your homemade glazed doughnut holes by warming 1 1/8 cups of whole milk to between 105-115°F. This is crucial for activating the yeast properly. Stir in 1/4 cup of granulated sugar until dissolved, creating a sweet base for the dough. You can use a kitchen thermometer to ensure the milk is at the right temperature, which will help in creating the perfect dough texture.
Step 2: Activate the Yeast
Next, add 2 1/4 teaspoons of active dry yeast into the warm milk mixture. Allow it to sit undisturbed for about 5-10 minutes until it becomes bubbly and frothy. This signals that the yeast is alive and ready to work its magic, providing the rise needed for your homemade glazed doughnut holes.
Step 3: Mix Butter and Eggs
In a separate bowl, melt 3/4 cup of unsalted butter and let it cool slightly. Combine the melted butter with 2 beaten eggs, mixing thoroughly. This rich mixture will contribute to the softness and flavor of your dough. Gradually add this blend to the yeast and milk mixture, ensuring everything is well incorporated before moving on.
Step 4: Combine Dry Ingredients
In a large mixing bowl, gradually sift in 4 cups of all-purpose flour along with 1/4 teaspoon of kosher salt. Mix these dry ingredients together before slowly pouring in the wet mixture. Stir gently until a shaggy dough begins to form, which will set the foundation for your light and fluffy glazed doughnut holes.
Step 5: Knead the Dough
Transfer your shaggy dough onto a lightly floured surface and knead it for about 8-10 minutes. You can also use a stand mixer equipped with a dough hook for ease. The dough should become smooth and elastic, which is key to achieving the perfect texture in your doughnut holes. If needed, sprinkle a little more flour to prevent sticking.
Step 6: Let the Dough Rise
Place the dough in a greased bowl, covering it with plastic wrap. Let it rise in the refrigerator for several hours or preferably overnight. This slow rise allows for more flavor development and results in incredibly tender homemade glazed doughnut holes. When ready, the dough should double in size, looking puffy and airy.
Step 7: Shape the Doughnut Holes
Once the dough has risen, roll it out onto a floured surface to about 1/2 inch thick. Use a round cutter to cut out small circles, which will be your doughnut holes. Gather any scrap dough and re-roll it to cut more holes, ensuring you have an ample amount ready to fry. Allow these shaped pieces to rest in a warm place for about 30 minutes until slightly puffy.
Step 8: Heat the Oil
In a deep pot or fryer, heat vegetable oil to 375°F. Use a deep-fry thermometer to maintain the correct temperature, as this is crucial for achieving a golden-brown crust on your glazed doughnut holes. Once the oil is ready, gently lower your doughnut holes in batches, ensuring not to overcrowd the pot for even frying.
Step 9: Fry the Doughnut Holes
Carefully fry the doughnut holes for about 2-3 minutes on each side or until they reach a golden-brown hue. Use a slotted spoon to turn them over halfway through cooking. Once they are beautifully browned and fully cooked, remove them from the oil and let them drain on a plate lined with paper towels to absorb excess oil.
Step 10: Prepare the Glaze
While your doughnut holes are cooling, prepare the glaze. In a medium bowl, whisk together 1 cup of confectioner’s sugar with 2 tablespoons of vanilla extract and enough cold water or milk to reach your desired glazing consistency. The glaze should be smooth and easy to dip, creating that shiny exterior you crave on your homemade glazed doughnut holes.
Step 11: Glaze the Doughnut Holes
Once the doughnut holes are cool enough to handle, dip the tops into the prepared glaze, allowing any excess to drip off. Place them on a cooling rack or plate lined with parchment paper to set. You can even get creative by sprinkling your favorite toppings or sprinkles on the glaze before it hardens!
Step 12: Serve and Enjoy
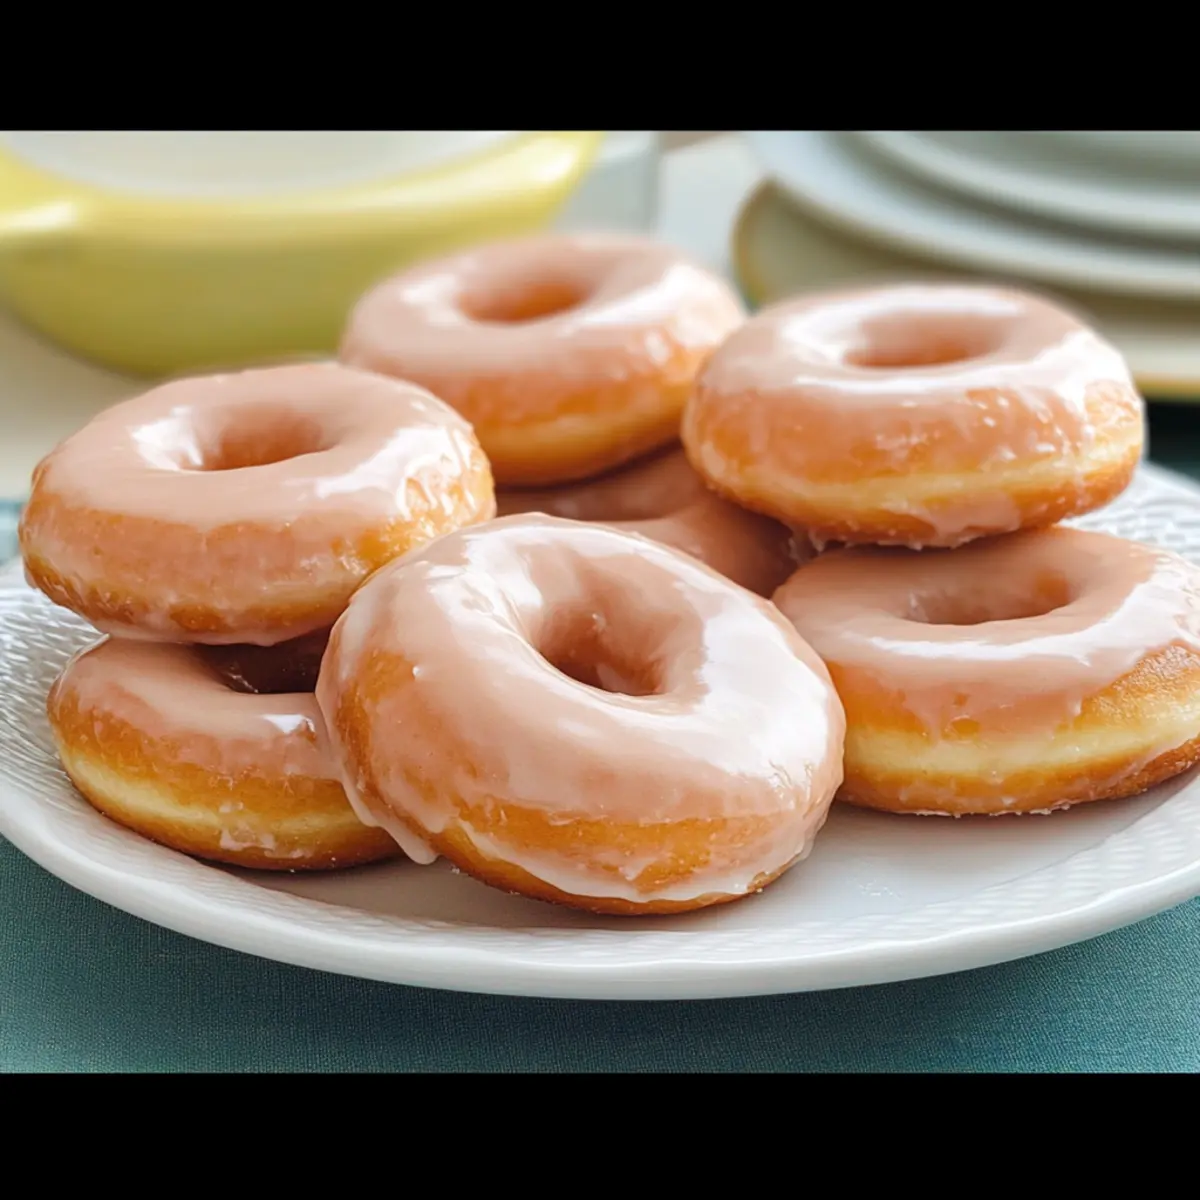
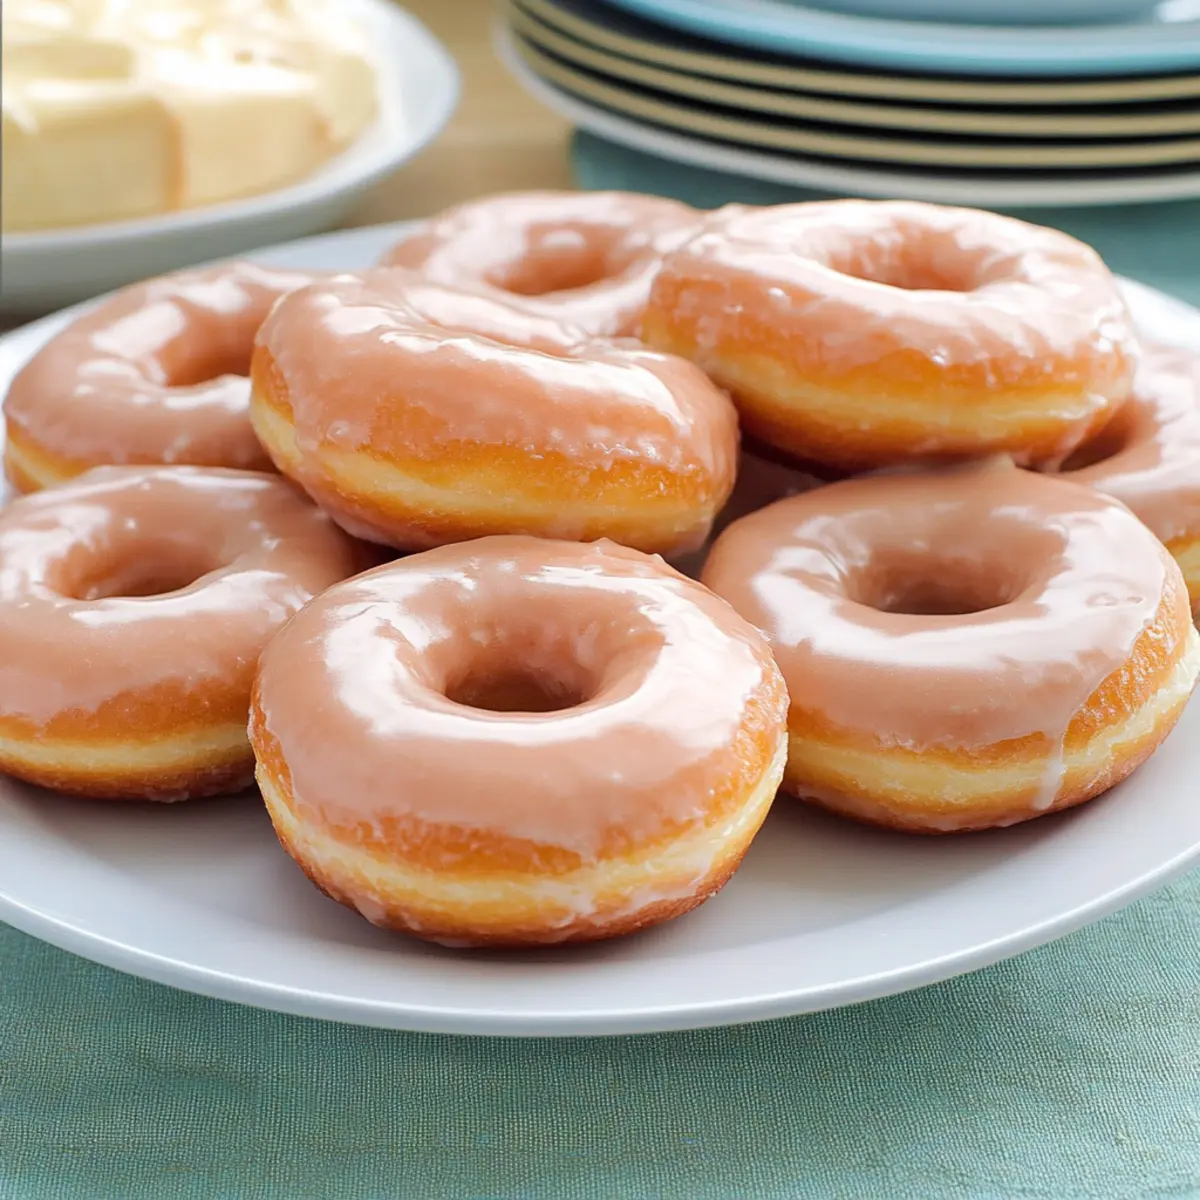
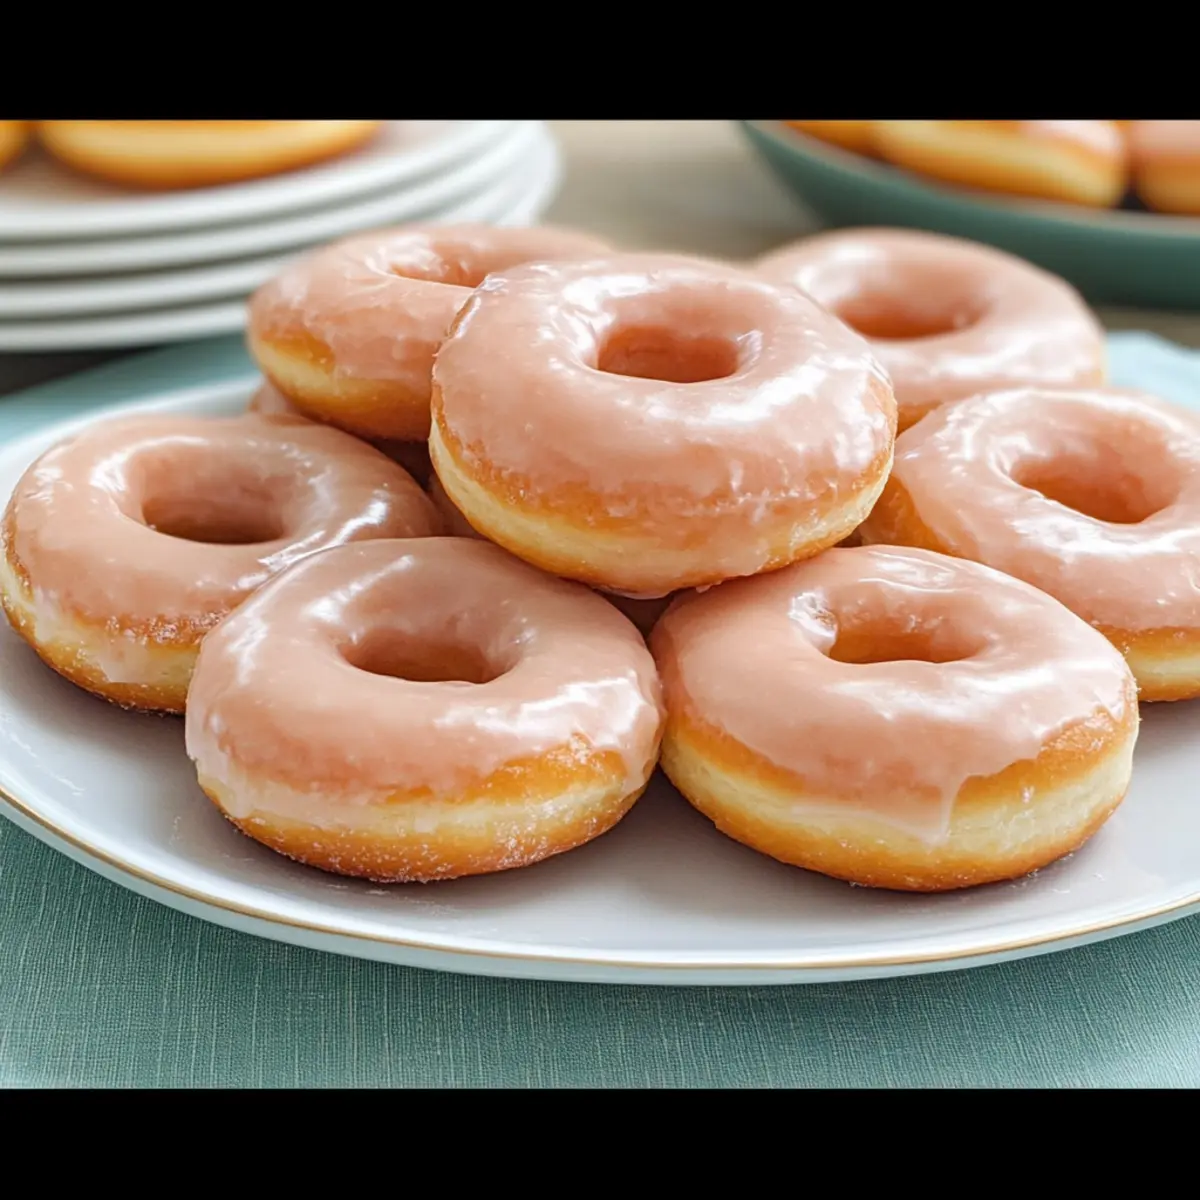
Your irresistible homemade glazed doughnut holes are now ready to delight! Serve them warm with a cup of coffee or milk for a heavenly treat at breakfast or any time of day. Enjoy the joy of sharing these delightful bites that bring comfort and happiness to your kitchen!
Make Ahead Options
These irresistibly soft homemade glazed doughnut holes are perfect for busy home cooks wanting to save time without sacrificing flavor! You can prepare the dough up to 24 hours in advance by letting it rise in the refrigerator. Simply follow the recipe through step 6, then cover the bowl with plastic wrap and refrigerate. When you’re ready to enjoy them, let the dough sit at room temperature for about 30 minutes before shaping and frying. To maintain their wonderful texture, fry them fresh while keeping an eye on the oil temperature. Glaze them immediately after frying for that sweet, glossy shine, ensuring every bite remains just as delicious as a bakery-fresh treat!
Storage Tips for Homemade Glazed Doughnut Holes
Room Temperature: Keep leftover doughnut holes in an airtight container at room temperature for up to 2 days. This helps maintain their fluffy texture while keeping them fresh.
Fridge: If you need to store them longer, they can last up to a week in the refrigerator. Make sure to place them in an airtight container to prevent them from drying out.
Freezer: To freeze, place the doughnut holes in a single layer on a baking sheet until firm, then transfer them to a freezer bag for up to 3 months. Thaw and glaze before enjoying!
Reheating: Reheat your doughnut holes in the microwave for about 10-15 seconds or in an oven preheated to 350°F for a few minutes. Enjoy your fresh-tasting homemade glazed doughnut holes!
What to Serve With Irresistibly Soft Homemade Glazed Doughnut Holes
As you savor these delightful bites of goodness, consider pairing them with delicious sides and beverages to enhance your experience.
-
Rich Coffee: A steaming cup of coffee complements the sweetness, balancing flavors with its boldness and warmth.
-
Fluffy Scrambled Eggs: The creamy texture and buttery flavor of scrambled eggs provide a savory contrast to the sugary doughnuts.
-
Fresh Fruit Salad: Bright, juicy fruits offer a refreshing touch of acidity, cutting through the sweetness and adding color to your plate.
-
Milk or Chocolate Milk: A classic pairing that makes each bite even more indulgent while evoking a sense of nostalgia.
-
Chai Tea: The fragrant spices in chai perfectly harmonize with the sweetness of the doughnut holes, creating a cozy treat.
-
Vanilla Ice Cream: For a delightful dessert twist, serve warm doughnut holes with a scoop of creamy vanilla ice cream.
Elevate your homemade glazed doughnut holes into a full meal or treat experience with these suggested pairings, ensuring happiness around your table!
Expert Tips for Homemade Glazed Doughnut Holes
-
Temperature Matters: Ensure your milk is warm enough (105-115°F) to activate the yeast perfectly, preventing flat doughnut holes.
-
Knead Thoroughly: Don’t skip the kneading step! Proper kneading develops gluten, leading to that delightful fluffy texture in your homemade glazed doughnut holes.
-
Patience is Key: Let the dough rise slowly in the refrigerator for several hours or overnight. This enhances flavor and improves the texture of your doughnut holes.
-
Oil Control: Use a deep-fry thermometer to maintain the oil temperature at 375°F—this is crucial for preventing oily or undercooked doughnut holes.
-
Customize the Glaze: Feel free to experiment with different extracts in the glaze. A splash of almond or maple can elevate your homemade glazed doughnut holes to new heights!
Homemade Glazed Doughnut Holes Variations
Feel free to let your creativity shine by customizing these delicious doughnut holes to suit your taste!
-
Nut-Free: Replace all butter with vegetable oil to keep these treats vegan-friendly and nut-free.
Alternatively, you can swap out buttery flavors with coconut oil for a delightful twist. -
Whole Wheat Flour: Substitute half of the all-purpose flour with whole wheat flour for a healthier, nuttier version.
This substitution retains the fluffy texture while adding a distinct taste that’s wholesome. -
Spiced Glaze: Add a sprinkle of cinnamon or nutmeg to the glaze for a warm, spicy flavor.
Just a pinch can transform the glaze into a seasonal delight perfect for cozy gatherings! -
Cocoa Powder: Incorporate 1-2 tablespoons of cocoa powder into the glaze for chocolate lovers.
Rich and indulgent, this chocolatey option pairs beautifully with a warm cup of coffee! -
Fruit-Flavored Glaze: Swap vanilla extract with your favorite fruit juice, like orange or raspberry, for a refreshing twist.
These fruity versions will brighten your day and add a pop of color to your serving platter! -
Miniature Doughnut Holes: Make smaller doughnut holes for bite-sized treats that are perfect for parties.
These mini delights will disappear faster than you can imagine, allowing guests to indulge guilt-free! -
Zesty Lemon Glaze: Mix in some lemon zest or lemon juice into the glaze for a zesty kick.
The tartness will perfectly balance the sweetness and offer a refreshing flavor profile.
For additional inspiration, consider enjoying them with Homemade Cheese Breadsticks for dip-friendly snacking or pairing with a comforting Green Bean Casserole for a delightful gathering!
Irresistibly Soft Homemade Glazed Doughnut Holes Recipe FAQs
What’s the best way to choose ripe ingredients?
When making homemade glazed doughnut holes, always opt for fresh, high-quality ingredients. Make sure the whole milk is not out of date and examine the eggs to ensure they are fresh—look for any cracks or unusual odors. For the best yeast activity, use active dry yeast that is still in its expiration date; if it’s past, it may not rise properly.
How should I store leftover doughnut holes?
To maintain freshness, store leftover homemade glazed doughnut holes in an airtight container at room temperature for up to 2 days. If you want to keep them longer, transfer them to the fridge for up to a week. Just remember to use an airtight container to prevent them from drying out!
Can I freeze homemade glazed doughnut holes? How?
Absolutely! To freeze your doughnut holes, first place them in a single layer on a baking sheet and flash freeze until they are firm. Then, transfer them to a freezer bag, label it, and store for up to 3 months. When you’re ready to enjoy them, thaw at room temperature for a few hours, then glaze them before serving for that fresh, homemade taste.
What do I do if my dough isn’t rising?
If your dough isn’t rising, check the temperature of your yeast activation phase. It needs to be between 105-115°F when mixed with the warm milk. If the milk is too hot, it can kill the yeast; if it’s too cool, the yeast won’t activate. Also, ensure your dough is in a warm, draft-free place while it rises. If it’s still not working after 10 minutes of waiting, the yeast may be expired.
Are there any dietary considerations for allergies?
For those with specific dietary needs, consider alternatives such as gluten-free flour blends tailored for baking if gluten is a concern. Be mindful of the eggs and dairy products if you’re cooking for someone with allergies—plant-based alternatives can work well! Just make sure to replicate the texture and moisture to ensure your homemade glazed doughnut holes turn out fantastic.
How do I adjust the glaze consistency?
To achieve the perfect glaze consistency, start with 1 cup of confectioner’s sugar and add cold water or milk a tablespoon at a time until you reach the desired texture. If it’s too thick, add more liquid; if it’s too thin, sprinkle in more powdered sugar. Remember, a slightly thicker glaze will hold better on the doughnut holes, giving that lovely shiny finish you crave!
Irresistibly Soft Homemade Glazed Doughnut Holes
Ingredients
Equipment
Method
- Warm milk to between 105-115°F and stir in sugar until dissolved.
- Add active dry yeast to the warm milk mixture, and let it sit for 5-10 minutes.
- Melt unsalted butter and let cool, then mix with beaten eggs and combine with yeast mixture.
- Sift flour and salt together in a bowl, then add wet ingredients and stir until a shaggy dough forms.
- Knead the dough on a floured surface for 8-10 minutes until smooth and elastic.
- Place the dough in a greased bowl, cover, and let rise in the refrigerator for several hours or overnight.
- Roll out the dough and cut out small circles to form doughnut holes.
- Heat vegetable oil to 375°F and fry the doughnut holes until golden brown.
- Prepare the glaze by whisking together confectioner's sugar, vanilla extract, and enough water or milk.
- Dip the cooled doughnut holes in the glaze and let set.
- Serve warm and enjoy!
Leave a Reply