
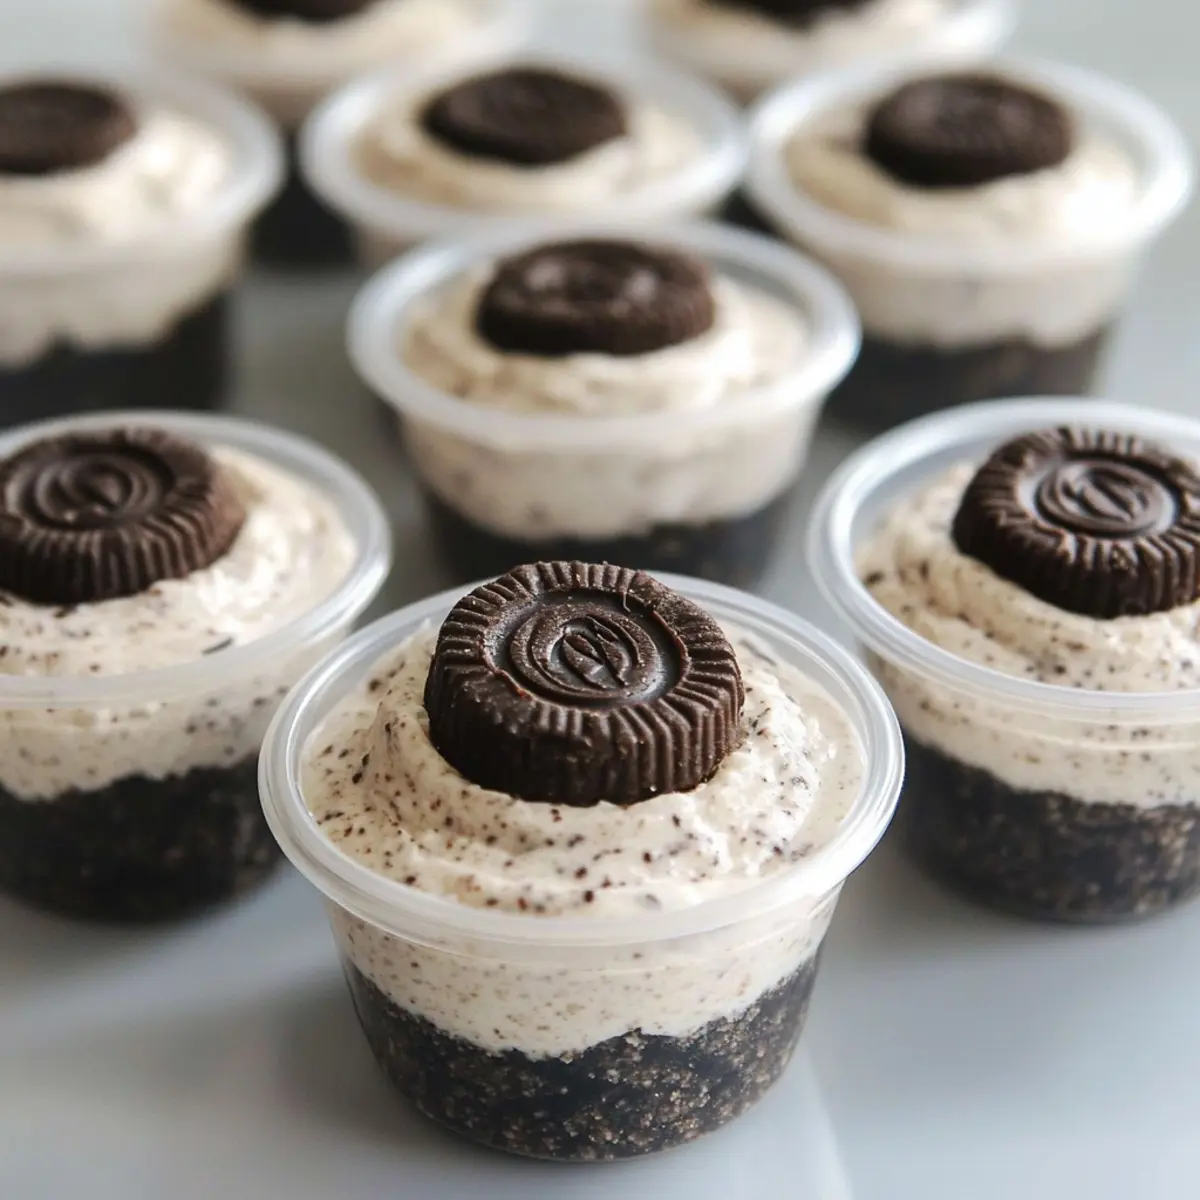
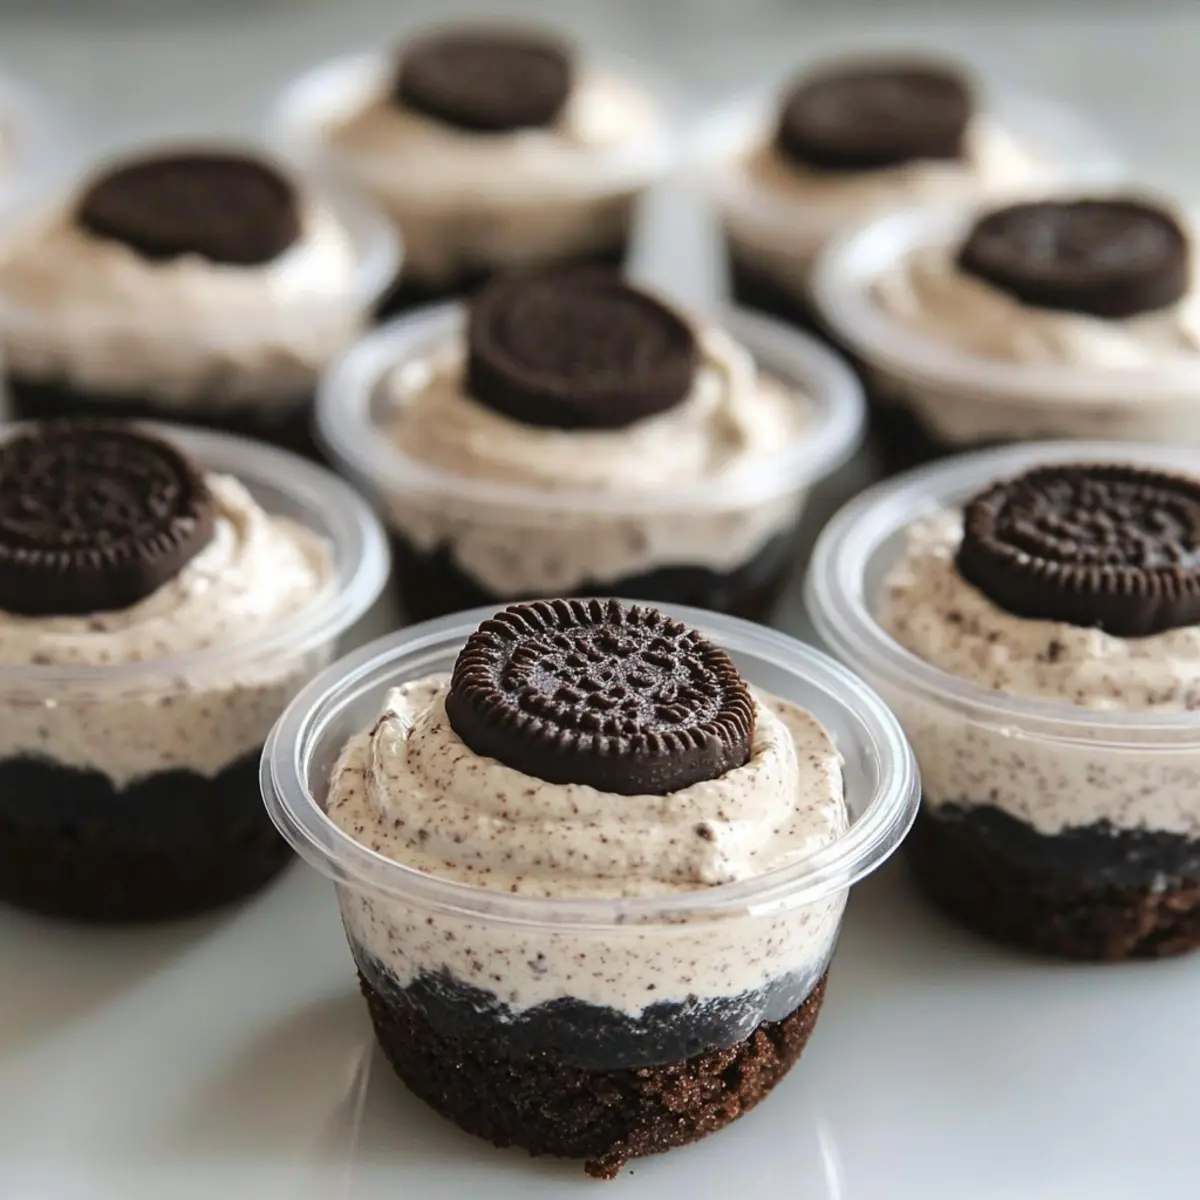
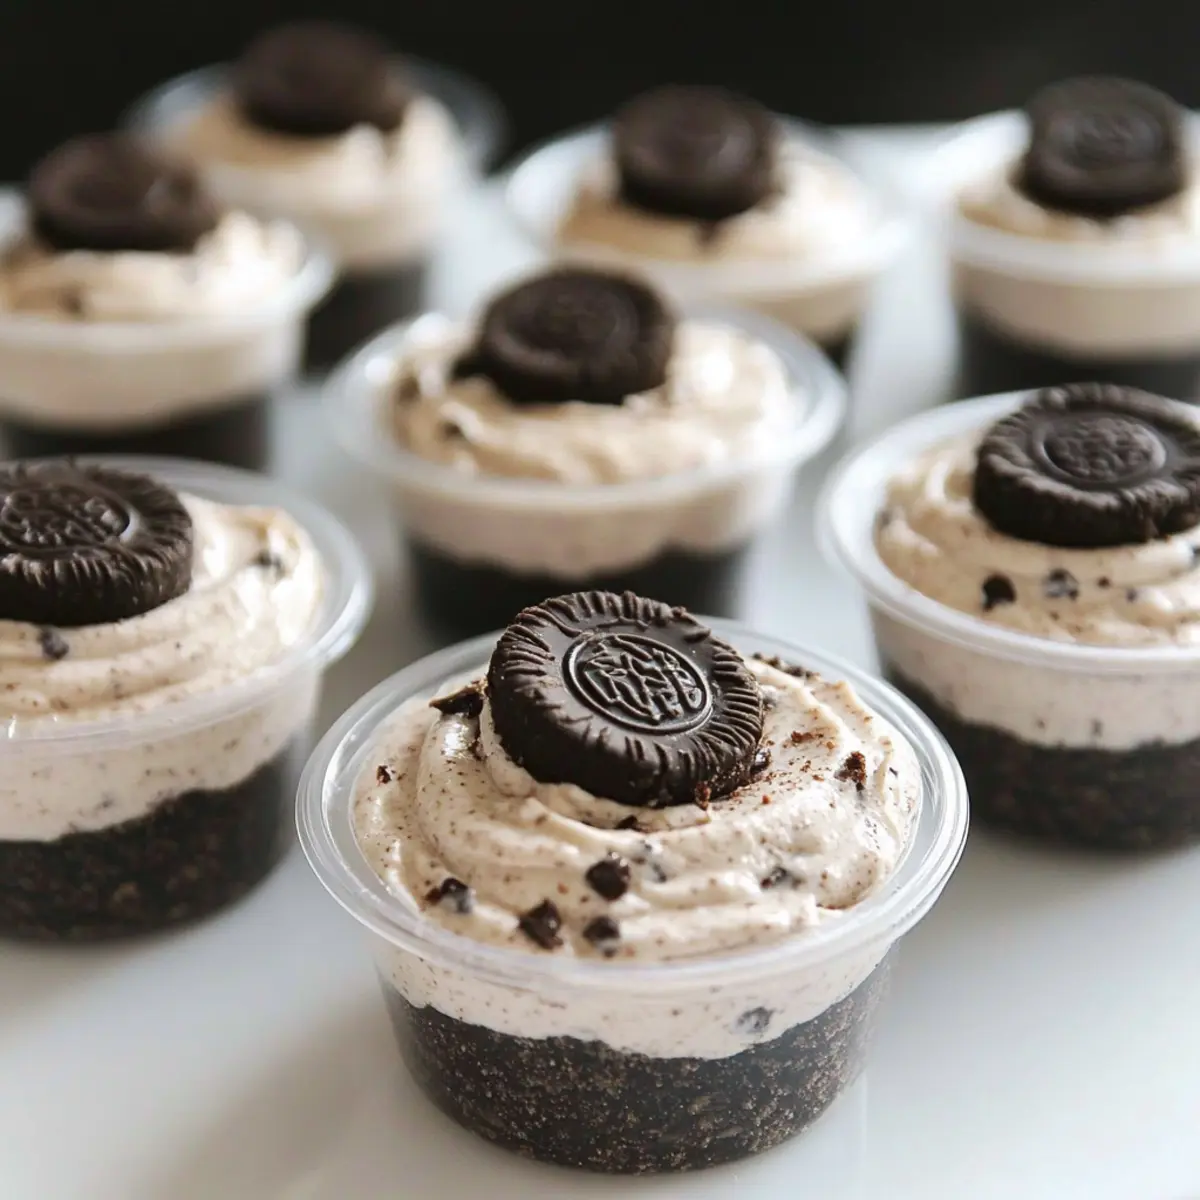
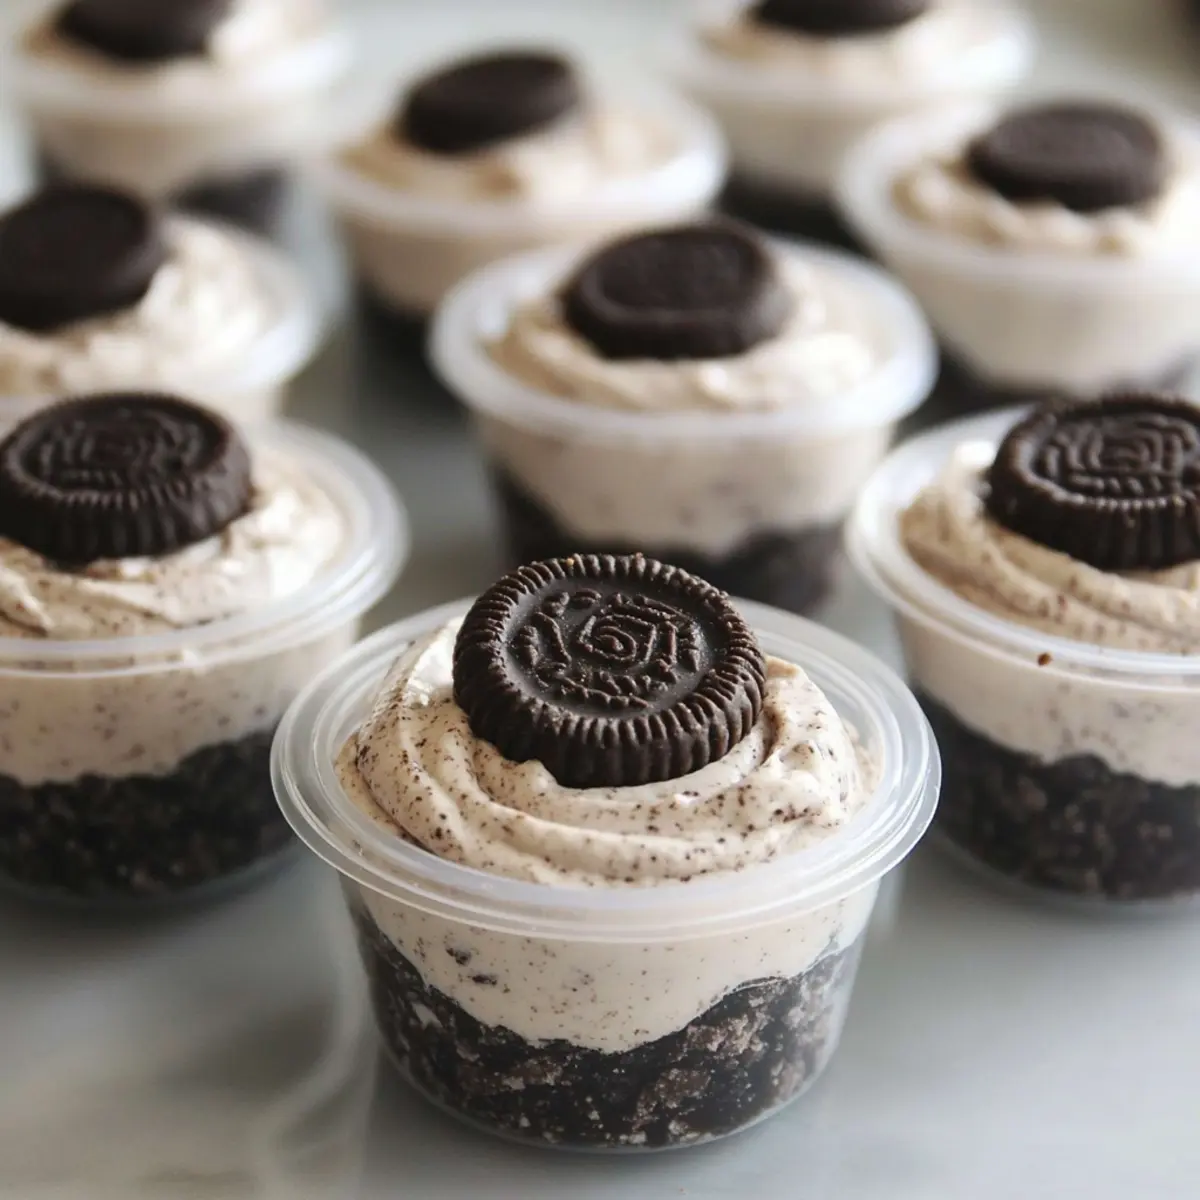
As I prepared for our family gathering last weekend, I overheard my cousin raving about a dessert she had at a friend’s party. It sparked a craving for something indulgent yet easy to whip up, leading me to create these delightful No-Bake Cookies and Cream Dessert Cups. Layered with a creamy, cookies and cream cheesecake filling and set atop a crunchy cookie crust, each cup offers a miniature escape into dessert paradise. Best of all, these treats are not only effortless to prepare but also make for stunning centerpiece desserts at any get-together. Are you ready to discover how to impress your guests with this luscious treat? Let’s dive in!
Why are these dessert cups a must-try?
Easy Preparation: No baking required means you can whip these up quickly, even on short notice.
Irresistible Flavor: The rich cookies and cream filling is perfectly balanced by a crunchy chocolate cookie crust, making each bite a delightful experience.
Versatile Serving: Perfect for parties, picnics, or a sweet treat at home; they’re sure to impress anyone!
Make Ahead: These dessert cups can be prepared in advance, giving you more time to enjoy with friends and family instead of being stuck in the kitchen.
For an even sweeter experience, why not try serving them alongside Cranberry Cream Cheese or enjoy a delightful pairing with Cinnamon Roll Cookies?
Cookies and Cream Dessert Cup Ingredients
• Gather these must-have ingredients for your delicious dessert cups!
For the Crust
- Crushed Chocolate Sandwich Cookies – This forms the sturdy base of the dessert; finely crushed gives a cohesive crust.
- Melted Butter – Acts as a binder for the cookie crumbs; coconut oil can work for a dairy-free option.
For the Filling
- Cream Cheese – A creamy, rich base for the filling; make sure it’s at room temperature for easy mixing.
- Granulated Sugar – Sweetens the filling beautifully; substituting with powdered sugar can give a smoother texture.
- Vanilla Extract – Enhances the overall flavor; use pure extract for the best taste.
- Heavy Cream – Whipped to create a light, airy filling; can swap for whipped topping if desired.
Add-in and Garnish
- Crushed Chocolate Sandwich Cookies (additional) – For delightful texture; consider flavor variations like mint or vanilla.
- Mini Chocolate Sandwich Cookies – Use these to top each dessert cup for a fun finish; extra crushed cookies are a delightful alternative.
With these key ingredients, you’re all set to craft your Cookies and Cream Dessert Cups that will leave everyone craving more!
Step‑by‑Step Instructions for Cookies and Cream Dessert Cups
Step 1: Prepare Crust
In a small mixing bowl, combine the crushed chocolate sandwich cookies with melted butter until the mixture resembles wet sand, about 2-3 minutes. Using a spoon or your fingers, tightly press the cookie mixture into the bottoms of 28 two-ounce cups to form a stable crust. Aim for an even layer for perfect support as the dessert cups set.
Step 2: Make Filling
In a large mixing bowl, beat the cream cheese and granulated sugar together with an electric mixer on medium speed for about 2-3 minutes until smooth and fluffy. Gradually add the heavy cream and vanilla extract, then continue to whip on high until the mixture thickens and forms soft peaks, roughly 4-5 minutes. The filling should appear light and creamy, ready for the cookie crust.
Step 3: Combine
Gently fold in the additional crushed chocolate sandwich cookies into the whipped cream cheese mixture using a spatula. This step will enhance the texture of your filling while keeping it airy. Be careful not to over-mix; you want to maintain those fluffy peaks that define the creamy filling of your Cookies and Cream Dessert Cups.
Step 4: Assemble Dessert Cups
Using a spoon or piping bag, carefully fill each prepared cup with the cookies and cream filling, stopping about three-quarters from the top. Creating layers allows for a beautiful presentation and ensures there’s room for garnish. Make sure to smooth the surface of each cup for a neat finish.
Step 5: Garnish
Top each filled cup with a mini chocolate sandwich cookie or extra cookie crumbs for a delightful crunch. This not only adds visual appeal but also enhances the overall flavor experience for your Cookies and Cream Dessert Cups.
Step 6: Chill
Cover the assembled cups with plastic wrap and refrigerate for at least 1 hour to allow the filling to firm up. This chilling time gives the flavors a chance to meld beautifully, resulting in a decadently creamy dessert. You can enjoy them fresh or store them in the fridge for up to 2-3 days!
Cookies and Cream Dessert Cups Variations
Feel free to get creative with your dessert cups and make them your own!
-
Greek Yogurt: Substitute half of the cream cheese with Greek yogurt for a lighter, tangy filling that still satisfies your sweet cravings.
Adding Greek yogurt not only lowers the calories but also introduces a delightful creaminess, making every bite feel indulgent. -
Alternative Cookies: Use different types of cookies like peanut butter or gingersnaps for the crust to introduce new flavor dimensions.
Imagine the warmth of spiced gingersnaps mingling with the creamy filling; it’s sure to wow your guests! -
Flavored Extracts: Swap out vanilla for other extracts, such as almond or peppermint, to change the flavor profile of your filling.
This simple change can transport your dessert cups to a whole new world of taste that delights your palate. -
Add Texture: Stir in chocolate chips, or crushed nuts for added crunch and richness within the creamy filling.
A bit of texture elevates your dessert cup from ordinary to extraordinary, making each spoonful exciting! -
Whipped Topping: Replace heavy cream with whipped topping for a quicker preparation that remains light and fluffy.
This alteration streamlines your process while providing a delightful creaminess that pairs wonderfully with the crust. -
Spicy Kick: Add a pinch of cayenne pepper or cinnamon to the filling for a surprising twist that complements the sweetness perfectly.
A little heat can create a memorable flavor experience, leaving your guests intrigued and asking for your secret! -
Fruit Infusion: Fold in pureed berries or banana to the filling for a fresh, fruity twist that brightens each cup.
Fruits add natural sweetness and a pop of color, making these dessert cups as beautiful as they are delicious.
For even more delightful options, consider serving alongside a refreshing scoop of vanilla ice cream or a sweet and tangy Cranberry Jalapeno Cream for a memorable dessert experience!
How to Store and Freeze Cookies and Cream Dessert Cups
Fridge: Store the dessert cups in an airtight container for up to 3 days. This keeps them fresh and ready to serve when your sweet tooth strikes.
Freezer: These dessert cups can be frozen for up to 30 days. Once assembled, place them in a freezer-safe container, and separate layers with wax paper to prevent sticking.
Thawing: When ready to enjoy, transfer the frozen cups to the fridge to thaw overnight. This allows the creamy filling to regain its smooth texture without losing flavor.
Make-Ahead: Preparing these Cookies and Cream Dessert Cups ahead of time ensures you can enjoy more time with family and friends; just keep them chilled until serving!
Make Ahead Options
These No-Bake Cookies and Cream Dessert Cups are a fantastic choice for busy home cooks, allowing you to save precious time without sacrificing flavor! You can prepare the crust and filling up to 24 hours in advance. Simply mix the crushed chocolate cookies with melted butter for the base and refrigerate it until ready to fill. The filling can also be made ahead of time; just whip the cream cheese, sugar, heavy cream, and vanilla, then refrigerate for a creamy sweetness that stays just as delicious. When you’re ready to serve, simply fill the crust, add your garnish, and chill for an hour. With this prep, you’ll have a delightful dessert that impresses with minimal effort!
Expert Tips for Cookies and Cream Dessert Cups
-
Room Temperature Key: Make sure your cream cheese is at room temperature for easier mixing. Chilled cream cheese can lead to lumps in your Cookies and Cream Dessert Cups.
-
Fine Cookie Crumbs: For the best crust, ensure your chocolate sandwich cookies are finely crushed. A food processor works wonders here—just avoid tearing the bag if using a rolling pin!
-
Gentle Mixing: When folding in the additional cookie crumbs, do so gently. Over-mixing can deflate the airy texture of your filling, leaving you with a denser cream.
-
Garnish Wisely: Experiment with toppings—try using crushed cookies or elegant mini chocolate sandwich cookies to enhance both taste and presentation.
-
Chill Time: Don’t skip the chilling step! It allows the filling to set properly, giving you that beautifully creamy texture in each Cookies and Cream Dessert Cup.
-
Make-Ahead Friendly: These dessert cups are perfect for prepping in advance. They keep well in the fridge for 2-3 days, making them a great option for parties!
What to Serve with No-Bake Cookies and Cream Dessert Cups
Imagine a gathering of friends, laughter filling the air, as you indulge in sweet bites that perfectly complement your delightful dessert cups.
-
Creamy Vanilla Ice Cream: The smooth, cold ice cream adds a delightful contrast to the crunchy cookie base, enhancing the cookies and cream flavor.
Pairing these cups with a scoop of creamy vanilla ice cream brings a wonderful combination of textures, making each mouthful even more enjoyable. -
Fresh Berries: Juicy strawberries or raspberries provide a tart contrast that cuts through the richness of the dessert, adding a refreshing twist.
A side of fresh berries not only lightens up the plate but also adds a pop of color, making your dessert spread as appealing as it is delicious. -
Chocolate Drizzle: A warm drizzle of melted chocolate can elevate your dessert experience, enhancing the decadent flavor profile while adding an elegant touch.
Just a little chocolate sauce over the tops can create a beautiful finish that tempts everyone to dig in for more. -
Whipped Cream: Light and fluffy, whipped cream adds an extra layer of creaminess that complements the filling without overpowering it.
A dollop of whipped cream on each cup transforms the simple dessert into an indulgent treat that’s hard to resist! -
Coffee or Espresso: A rich cup of coffee acts as a perfect palate cleanser, balancing the sweetness of the dessert and pairing seamlessly with chocolate flavors.
The warmth of the coffee can also enhance the comforting vibe of your gathering, making it feel like a cozy café experience at home. -
Mint Chocolate Chip Cookies: These chewy treats layer additional flavors that mesh beautifully with the cookies and cream concept, providing a delightful twist.
Serving these alongside your cups offers a playful nod to flavor combinations, making each bite a fun exploration of cookies, cream, and mint. -
Sparkling Water: For a refreshing drink option, a super bubbly sparkling water with a splash of lime complements the sweetness and cleanses your palate.
The effervescence of sparkling water keeps guests feeling refreshed and balances the rich dessert, ensuring no one feels too bogged down. -
Chocolate-Covered Strawberries: Juicy strawberries wrapped in chocolate add a touch of elegance and provide a delightful contrast to the creamy dessert cups.
This hit of freshness creates a lovely balance, drawing guests to the table with its stunning presentation and indulgent taste.
Cookies and Cream Dessert Cups Recipe FAQs
How do I choose the right cookies for the crust?
Absolutely! When picking your chocolate sandwich cookies, look for ones that have a solid structure without too many dark spots or cracks. Opt for cookies that are fresh and crisp; they should crumble easily when crushed. A finely crushed texture provides a stable crust, so be sure to give them a good whirl in the food processor or a rolling pin for best results.
How should I store these dessert cups?
Very simply! Store your Cookies and Cream Dessert Cups in an airtight container in the refrigerator for up to 3 days. Just make sure they’re completely covered to keep that luscious filling fresh and ready to serve. If you plan to prepare them ahead of time, keeping them chilled until you are ready to serve is the way to go!
Can I freeze these dessert cups?
Certainly! These dessert cups freeze beautifully for up to 30 days. After assembling, place each cup in a freezer-safe container, making sure to separate the layers with wax paper to avoid sticking. When it’s time to enjoy, just transfer the cups to the fridge to thaw overnight, ensuring you maintain that creamy, delightful texture.
What do I do if my filling isn’t fluffy enough?
If your filling doesn’t achieve the desired fluffiness, it may be because the heavy cream wasn’t whipped sufficiently or the cream cheese was too cold. To remedy this, re-chill the mixture for a bit and then continue whipping, ensuring that your cream cheese is at room temperature before starting. This will help you achieve those beautiful soft peaks you’re aiming for.
Are there any allergy considerations with this recipe?
Absolutely! This recipe contains dairy due to the cream cheese and heavy cream, which can be unsuitable for those with lactose intolerance or a dairy allergy. If you’re hosting friends with dietary restrictions, consider using dairy-free alternatives, such as vegan cream cheese and whipped coconut cream. Always double-check the specific ingredients used in your cookie selection for potential allergens like nuts or gluten as well.
Can I change the recipe for different flavor options?
The more the merrier! You can easily switch up the flavors by substituting different cookie options, such as peanut butter cookies, or adding flavored extracts like peppermint or almond to the filling. Additionally, you can mix in different crushed cookies into the filling to create a unique twist. Just be sure to keep the balance of wet and dry ingredients in mind for the best results!
Irresistible Cookies and Cream Dessert Cups You'll Love
Ingredients
Equipment
Method
- In a small mixing bowl, combine crushed chocolate sandwich cookies with melted butter until resembling wet sand, about 2-3 minutes.
- Press the cookie mixture tightly into the bottoms of 28 two-ounce cups to form a stable crust.
- In a large mixing bowl, beat the cream cheese and granulated sugar together on medium speed for about 2-3 minutes until smooth and fluffy.
- Gradually add heavy cream and vanilla extract, then whip on high for 4-5 minutes until thickened.
- Gently fold in additional crushed chocolate sandwich cookies into the whipped cream cheese mixture.
- Carefully fill each cup with the cookies and cream filling, stopping about three-quarters from the top.
- Top each filled cup with a mini chocolate sandwich cookie or extra cookie crumbs.
- Cover with plastic wrap and refrigerate for at least 1 hour to allow filling to firm up.
Leave a Reply