
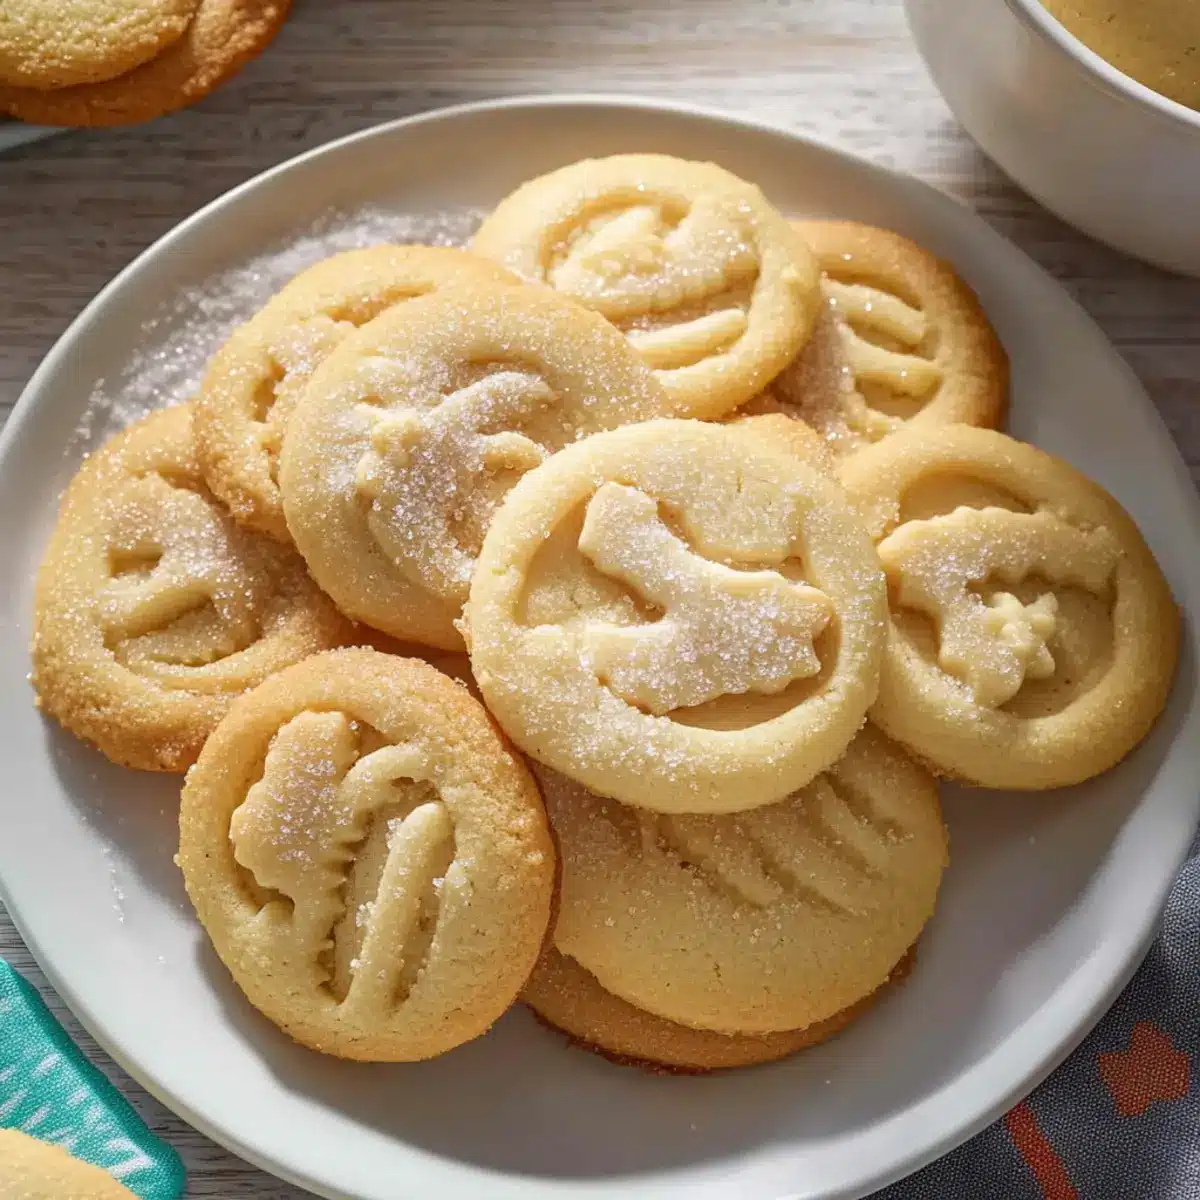
As the aroma of freshly baked cookies wafts through my kitchen, I can’t help but feel a surge of warmth and nostalgia. Danish Butter Cookies, with their tender, crumbly texture and rich, buttery flavor, are not just treats; they are a holiday tradition that invites memories of laughter and joy. What I love most about these melt-in-your-mouth delights is how hassle-free they are to whip up, making them an ideal gift for friends and family. Plus, they’re perfect for sharing a cup of tea or coffee while cozying up during chilly winter days. Are you ready to create your own batch of these delightful cookies that will have everyone asking for your recipe? Let’s dive in!
Why Are Danish Butter Cookies So Irresistible?
Melt-in-your-mouth quality: These cookies offer a delightful crumble that melts away, creating an indulgent experience.
Nostalgic charm: With their rich buttery flavor, they evoke memories of cherished holiday moments.
Quick and easy: Whip up a batch with minimal effort, allowing you to focus on festive fun!
Gift-friendly: Perfectly packaged, they are a thoughtful present sure to please friends and family.
Versatile options: Personalize with extracts or toppings for a unique twist; try adding chocolate chips or colorful sprinkles for festive flair!
Transform your baking routine with these delightful Christmas Cookies Deliciously that pair wonderfully with any holiday gathering.
Danish Butter Cookies Ingredients
For the Cookie Dough
- European Salted Butter (1 cup/227 g) – Provides unparalleled richness and flavor; opting for European butter enhances your cookies thanks to its higher fat content.
- Granulated Sugar (½ cup/100 g) – Adds just the right amount of sweetness for balance; beat well to ensure a light and fluffy texture.
- Salt (⅛ teaspoon) – This tiny addition enhances all the flavors; using kosher salt will yield the best results.
- Egg Yolks (2) – Contributes to the cookies’ structure and richness; use room temperature yolks for better integration into the dough.
- Vanilla Extract (2 teaspoons/10 g) – Offers aromatic sweetness; always go for pure vanilla extract for the most authentic flavor.
- Whole Milk (1 tablespoon/15 g) – Assists in softening the dough for easy piping; add a splash more if needed to achieve the right consistency.
- All-Purpose Flour (2 cups/220 g) – This is the backbone of your cookies; accurately measure to achieve that perfect crumb.
- Cake Flour (½ cup/50 g) – Adds tenderness to your cookie’s texture; if you’re out, just use more all-purpose flour as a substitute.
For the Topping
- Coarse Sugar – This sugary sprinkle crowns your cookies with a delightful crunch; it’s purely for decoration but makes all the difference in presentation.
Dive into the delightful world of Danish Butter Cookies and create a beloved treat that will evoke sweet memories for you and your loved ones!
Step‑by‑Step Instructions for Danish Butter Cookies
Step 1: Prepare Baking Sheets
Start by lining two baking sheets with parchment paper or silicone mats. Place them in the refrigerator while you make the dough; this will help them stay cool and prevent the cookies from spreading too much while baking.
Step 2: Cream Butter and Sugar
In a stand mixer, combine 1 cup of room temperature European salted butter, ½ cup granulated sugar, and ⅛ teaspoon salt. Beat on medium speed for about 2-3 minutes, or until the mixture is light and fluffy, forming a pale yellow color that indicates it’s ready for the next step.
Step 3: Add Egg Yolks and Flavorings
Next, mix in 2 egg yolks, 2 teaspoons of pure vanilla extract, and 1 tablespoon of whole milk. Continue mixing until well combined, scraping down the sides of the bowl to ensure everything is evenly blended. The dough should be smooth and creamy at this point.
Step 4: Combine the Flours
In a separate bowl, whisk together 2 cups of all-purpose flour and ½ cup of cake flour. Gradually add this flour mixture to the wet ingredients in the mixer, mixing on low speed until just combined. If the dough feels too thick, add a splash more milk to achieve the desired consistency.
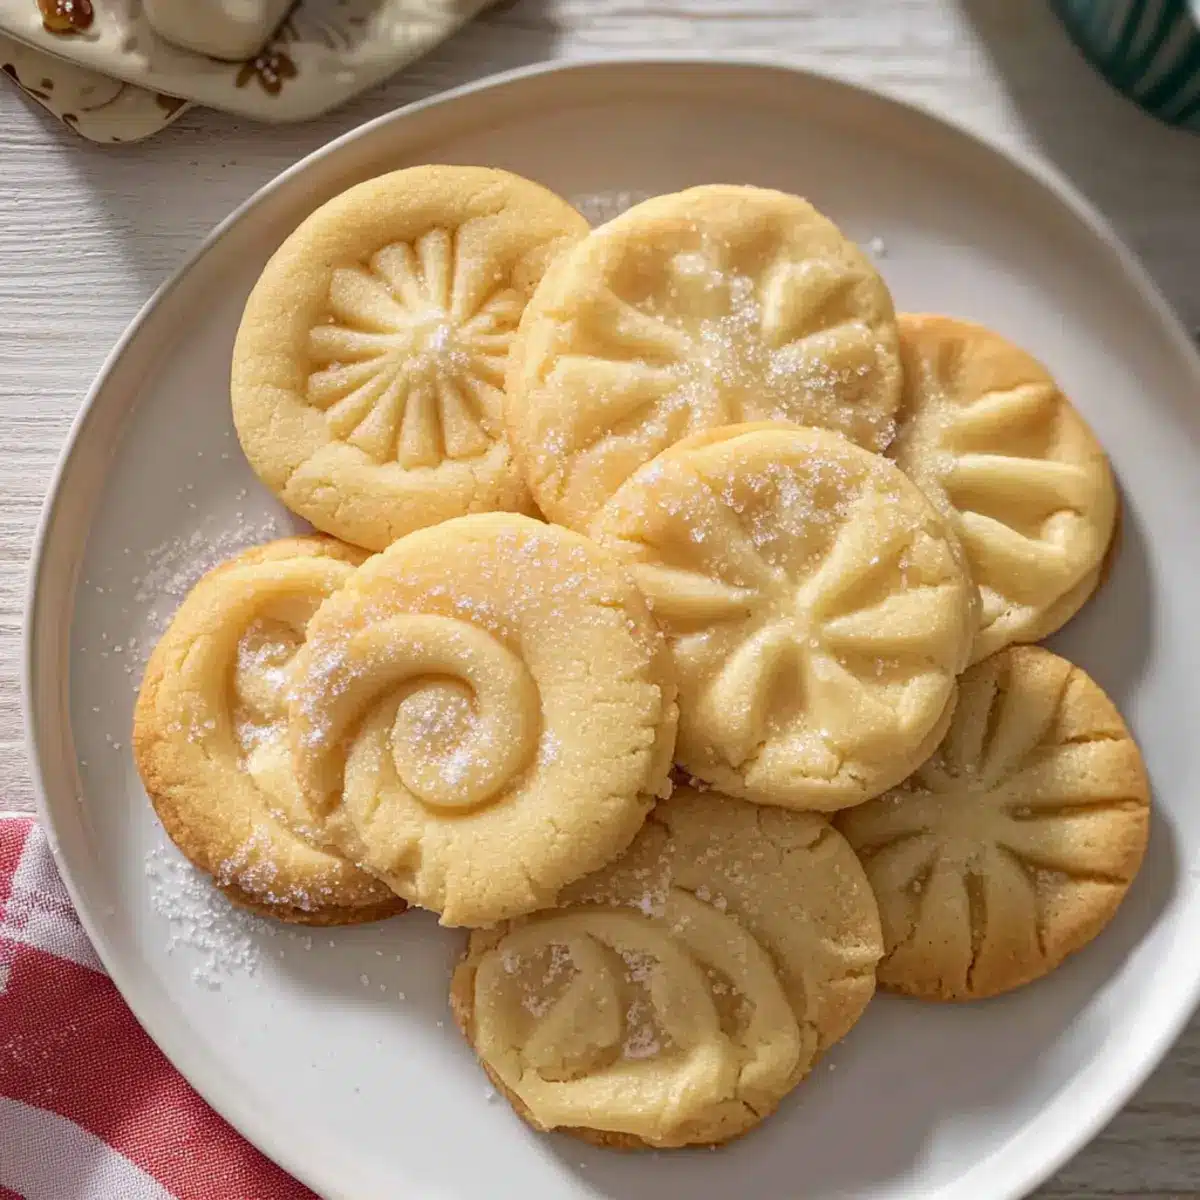
Step 5: Pipe the Cookie Shapes
Transfer the dough to a piping bag fitted with a star tip. On the chilled baking sheets, pipe 2-inch shapes spaced apart to allow for slight spreading during baking. If you’d like, you can sprinkle coarse sugar on top of each cookie for added texture and sparkle.
Step 6: Chill the Cookies
Once piped, place the baking sheets back in the refrigerator for about 20-30 minutes. This step is crucial for maintaining the cookies’ shape and ensuring they don’t spread too much in the oven, resulting in perfect Danish butter cookies.
Step 7: Preheat the Oven
While the cookies are chilling, preheat your oven to 350°F (175°C). This allows your Danish butter cookies to bake evenly and achieve that lovely golden edge that makes them so irresistible.
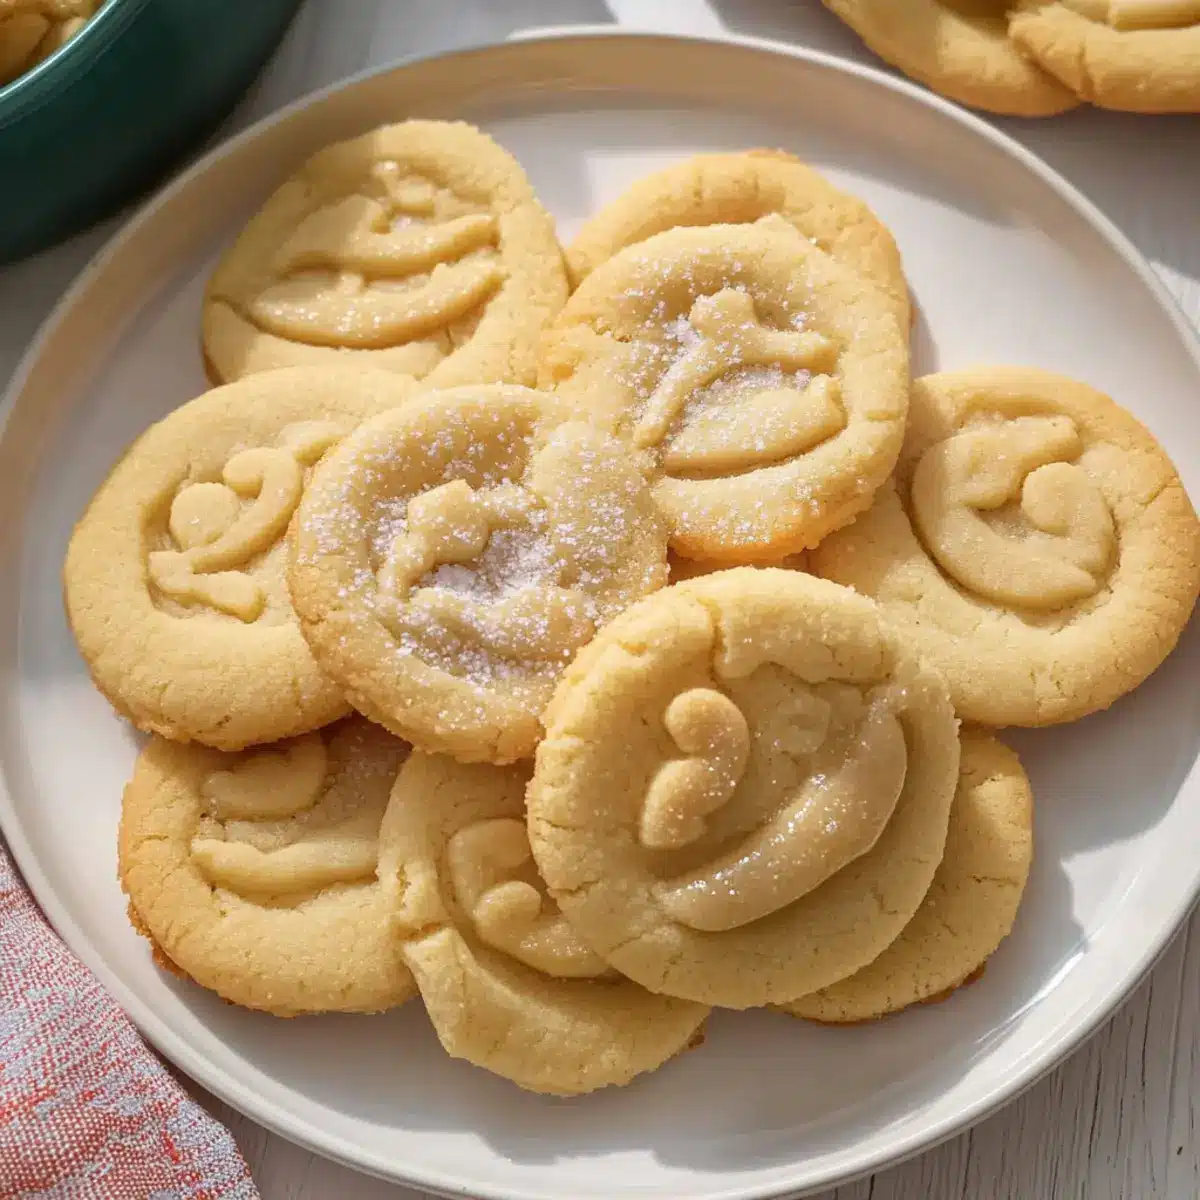
Step 8: Bake the Cookies
Carefully remove the baking sheets from the refrigerator and place them in the preheated oven. Bake the cookies for 10-15 minutes, or until the edges turn lightly golden. Keep an eye on them to avoid overbaking for that perfect melt-in-your-mouth texture.
Step 9: Cool on Racks
Once baked, allow the cookies to cool on the baking sheets for a few minutes, then transfer them to wire racks to cool completely. This step is essential to maintain the crumbly texture of your Danish butter cookies and prevent sogginess.
Expert Tips for Danish Butter Cookies
- Butter Temperature: Ensure your butter is truly at room temperature (about 67°F or 19°C). This helps create that light and fluffy cookie base.
- Check Egg Yolks: Use room temperature egg yolks for better emulsification. Cold yolks can result in a dense batter.
- Watch Baking Time: Pay close attention while baking; remove the cookies as soon as the edges turn lightly golden to preserve that melt-in-your-mouth quality.
- Measure Flour Accurately: Too much flour can lead to tough cookies. Use a kitchen scale or spoon and level technique for precision.
- Using Unsalted Butter: If opting for unsalted butter, remember to add an extra ¼ teaspoon of salt to maintain the cookie’s flavorful balance.
Make Ahead Options
These Danish Butter Cookies are perfect for busy home cooks looking to save time without sacrificing flavor! You can prepare the cookie dough up to 3 days in advance and refrigerate it for optimal freshness. Simply follow the recipe through to the dough stage, then wrap it tightly in plastic wrap. When you’re ready to bake, take the dough out of the refrigerator, pipe the shapes onto chilled baking sheets, and chill again for 20-30 minutes to maintain their lovely texture. This way, you’ll have fresh, melt-in-your-mouth cookies ready to enjoy with minimal effort on the day of serving, making your holiday gatherings even sweeter!
How to Store and Freeze Danish Butter Cookies
Room Temperature: Store baked Danish butter cookies in an airtight container at room temperature for up to 5 days. This keeps them fresh while maintaining their delightful crumbly texture.
Freezer: For longer storage, freeze unbaked cookie dough in a wrapped portion for up to 3 months. When ready to bake, simply pipe and bake directly from frozen, adding extra minutes to the baking time.
Reheating: If you prefer warm cookies, reheat baked cookies in the oven at 300°F (150°C) for about 5-7 minutes. This helps restore their melt-in-your-mouth quality.
Cooling Period: Always let baked cookies cool completely before storing to prevent moisture buildup, ensuring they stay crisp and flavorful for your next delightful treat!
What to Serve with Melt-in-Your-Mouth Danish Butter Cookies
As the rich, buttery aroma fills your home, it’s the perfect moment to create a delightful spread to accompany these scrumptious cookies.
-
Rich Hot Chocolate: The creamy texture and chocolaty goodness pair perfectly with the buttery cookies, creating a cozy winter treat.
-
Steamy Herbal Tea: A soothing herbal blend complements the cookies’ richness, and the warmth invites a moment of relaxation and comfort.
-
Fresh Berries: Juicy raspberries or strawberries add a burst of fresh flavor that brightens up every buttery bite. The tartness balances the rich sweetness wonderfully.
-
Whipped Cream: Light and airy, this fluffy topping enhances the melt-in-your-mouth experience while adding an indulgent touch that pleases the palate.
-
Coffee: The boldness of freshly brewed coffee pairs beautifully with the cookies, enhancing flavors while making a classic combination that warms the soul.
-
Vanilla Ice Cream: A scoop of ice cream adds a delightful creaminess, providing a lovely contrast to the cookies’ crumbly texture. Perfect for a fun dessert twist!
Remember, these melt-in-your-mouth Danish butter cookies are not just sweetness—they make for joyful moments shared with your favorite pairings!
Danish Butter Cookies Variations & Substitutions
Feel free to get creative and customize your Danish Butter Cookies to suit your taste buds!
- Almond Extract: Substitute almond extract for vanilla for a delightful nutty flavor that adds a warm twist. Imagine the cozy scent filling your kitchen!
- Add-Ins: Incorporate mini chocolate chips or chopped nuts for added texture and taste. These will make each bite a fun surprise!
- Sprinkles: Top with colorful sprinkles or drizzle icing for festive occasions. Kids—or adults—will love this vibrant touch!
- Gluten-Free: Use a gluten-free all-purpose flour blend in place of regular flour for a tasty gluten-free treat. Everyone deserves to enjoy these cookies!
- Choco-Dipped: Dip half of each cookie in melted chocolate for an indulgent addition. This adds a decadent layer that’ll impress anyone who tries them.
- Spices: Add a pinch of cinnamon or nutmeg for a warm, spicy flair that evokes holiday magic. These spices can change the mood of your baking session!
- Citrus Zest: Incorporate lemon or orange zest into the dough for a fresh and zesty flavor kick. It’s a bright twist that pairs beautifully with tea or coffee.
- Coconut Flakes: Mix in unsweetened coconut flakes for a tropical touch in your cookies. They’re not only delightful but also add an unexpected chewiness.
Explore the world of flavors with your Danish Butter Cookies and don’t hesitate to check out my Peanut Butter Yogurt recipe for a healthy treat or try out some of my festive Christmas Cookies Deliciously that are sure to delight your family!
Danish Butter Cookies Recipe FAQs
What type of butter should I use for the best Danish Butter Cookies?
Absolutely! Using European salted butter is highly recommended because it has a higher fat content, which contributes to the rich flavor and melt-in-your-mouth texture that Danish butter cookies are known for. Ensure it is at room temperature (about 67°F or 19°C) for optimal mixing!
How should I store my Danish Butter Cookies?
Store baked Danish butter cookies in an airtight container at room temperature for up to 5 days. This method preserves their delightful crumbly texture. If you’d like to keep them longer, you can place them in the freezer.
Can I freeze the dough for Danish Butter Cookies?
Yes, you can! To freeze unbaked cookie dough, wrap it tightly in plastic wrap and place it in a freezer bag. It will stay good for up to 3 months. When ready to bake, just pipe the cookies directly from frozen onto baking sheets, adding a couple of extra minutes to the baking time.
What should I do if my cookie dough is too thick?
If the dough feels too thick to pipe, simply add a splash more whole milk, about a teaspoon at a time, until you reach a consistency that flows easily through the piping bag. Just remember to mix thoroughly after each addition.
Are Danish Butter Cookies safe for people with nut allergies?
Most traditional Danish butter cookies do not contain nuts, making them a safe option for many individuals. However, always double-check your ingredients, especially if adding personal variations like toppings or mix-ins that may introduce allergens. It’s best to inform friends and family about any changes made to the original recipe.
Can I make these cookies ahead of time?
Certainly! Danish butter cookies can be made ahead of time and stored, or even frozen as mentioned earlier. Preparing the dough and freezing it is a great option for holiday baking, so you can whip up fresh cookies whenever you want!
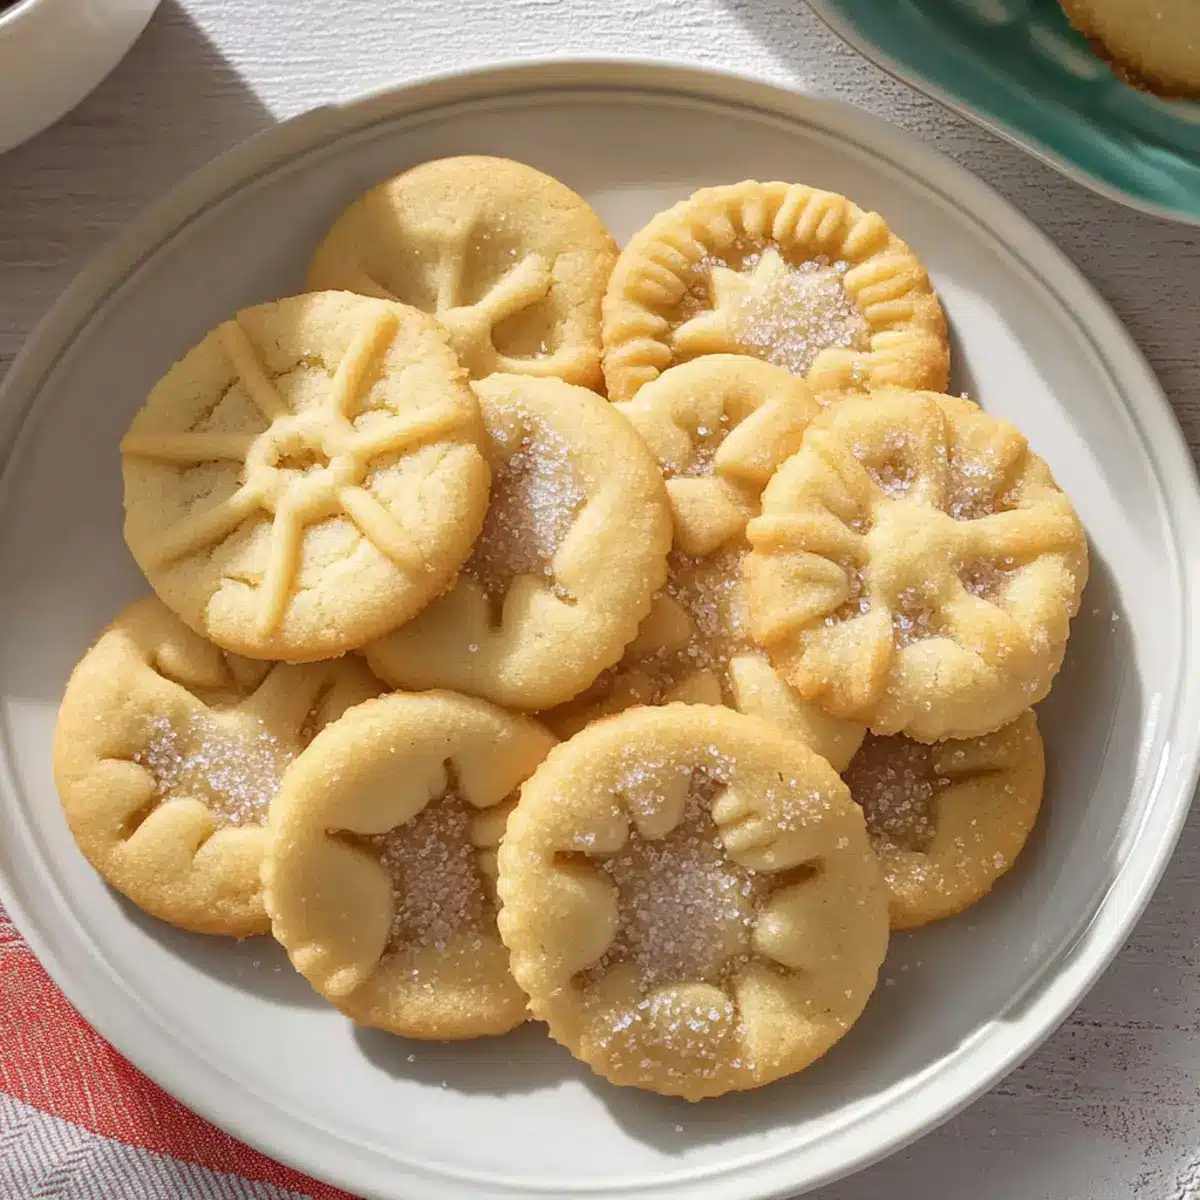
Melt-in-Your-Mouth Danish Butter Cookies for Sweet Memories
Ingredients
Equipment
Method
- Prepare Baking Sheets: Line two baking sheets with parchment paper or silicone mats and refrigerate them.
- Cream Butter and Sugar: In a stand mixer, combine butter, sugar, and salt. Beat until light and fluffy.
- Add Egg Yolks and Flavorings: Mix in egg yolks, vanilla extract, and milk until smooth.
- Combine the Flours: Whisk together flours and gradually add to wet ingredients until just combined.
- Pipe the Cookie Shapes: Transfer dough to a piping bag and pipe shapes onto chilled baking sheets.
- Chill the Cookies: Refrigerate piped cookies for 20-30 minutes before baking.
- Preheat the Oven: Preheat your oven to 350°F (175°C).
- Bake the Cookies: Bake for 10-15 minutes, or until edges are lightly golden.
- Cool on Racks: Allow cookies to cool on baking sheets for a few minutes before transferring to wire racks.
Leave a Reply