
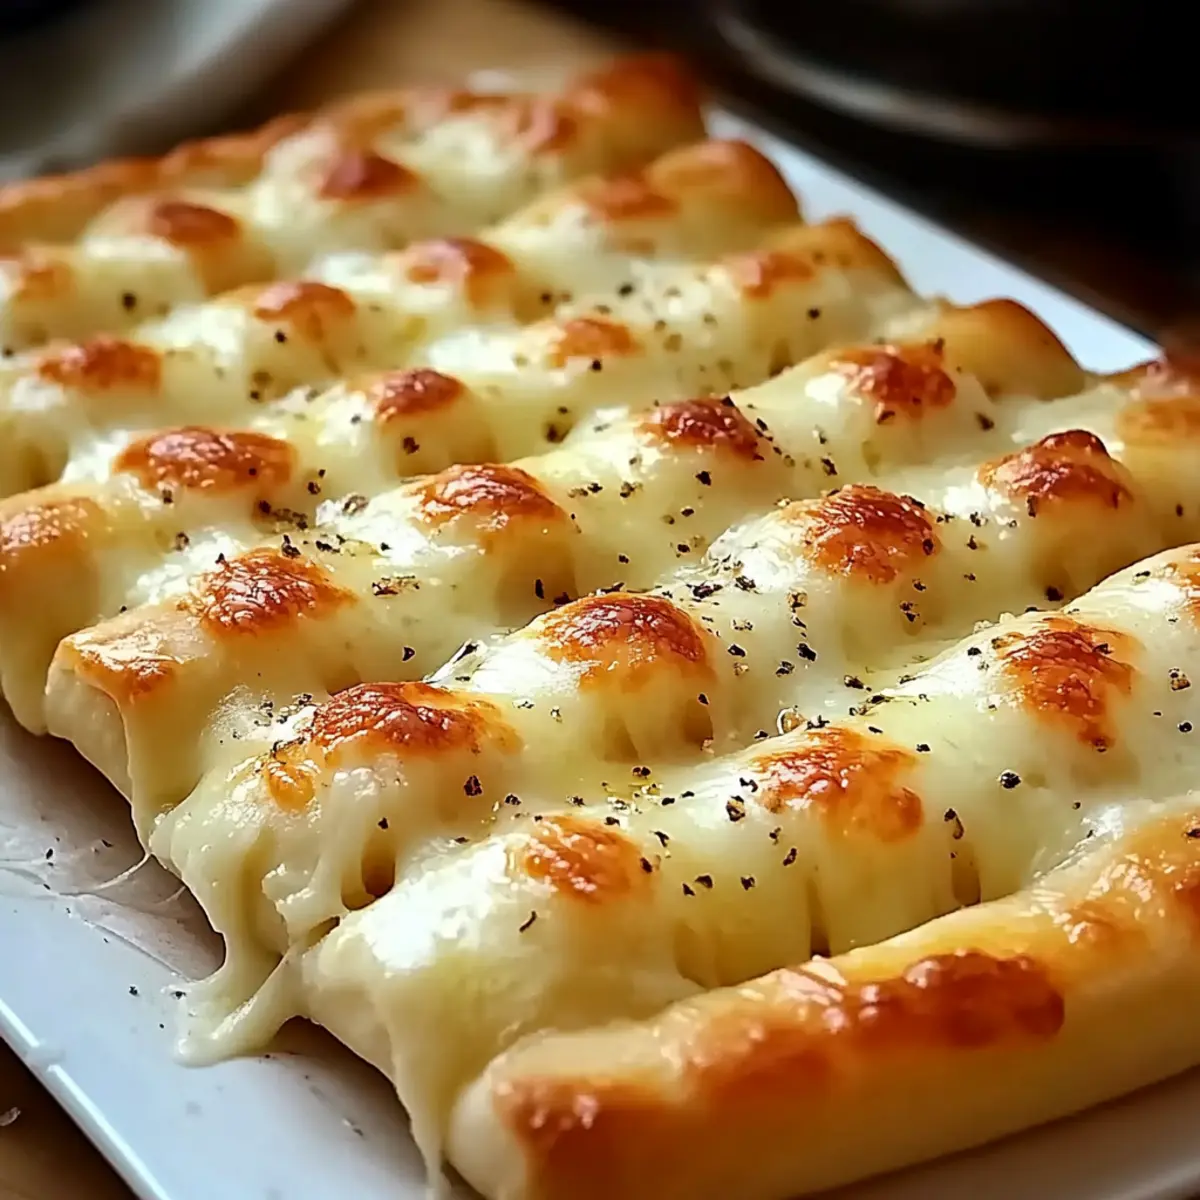
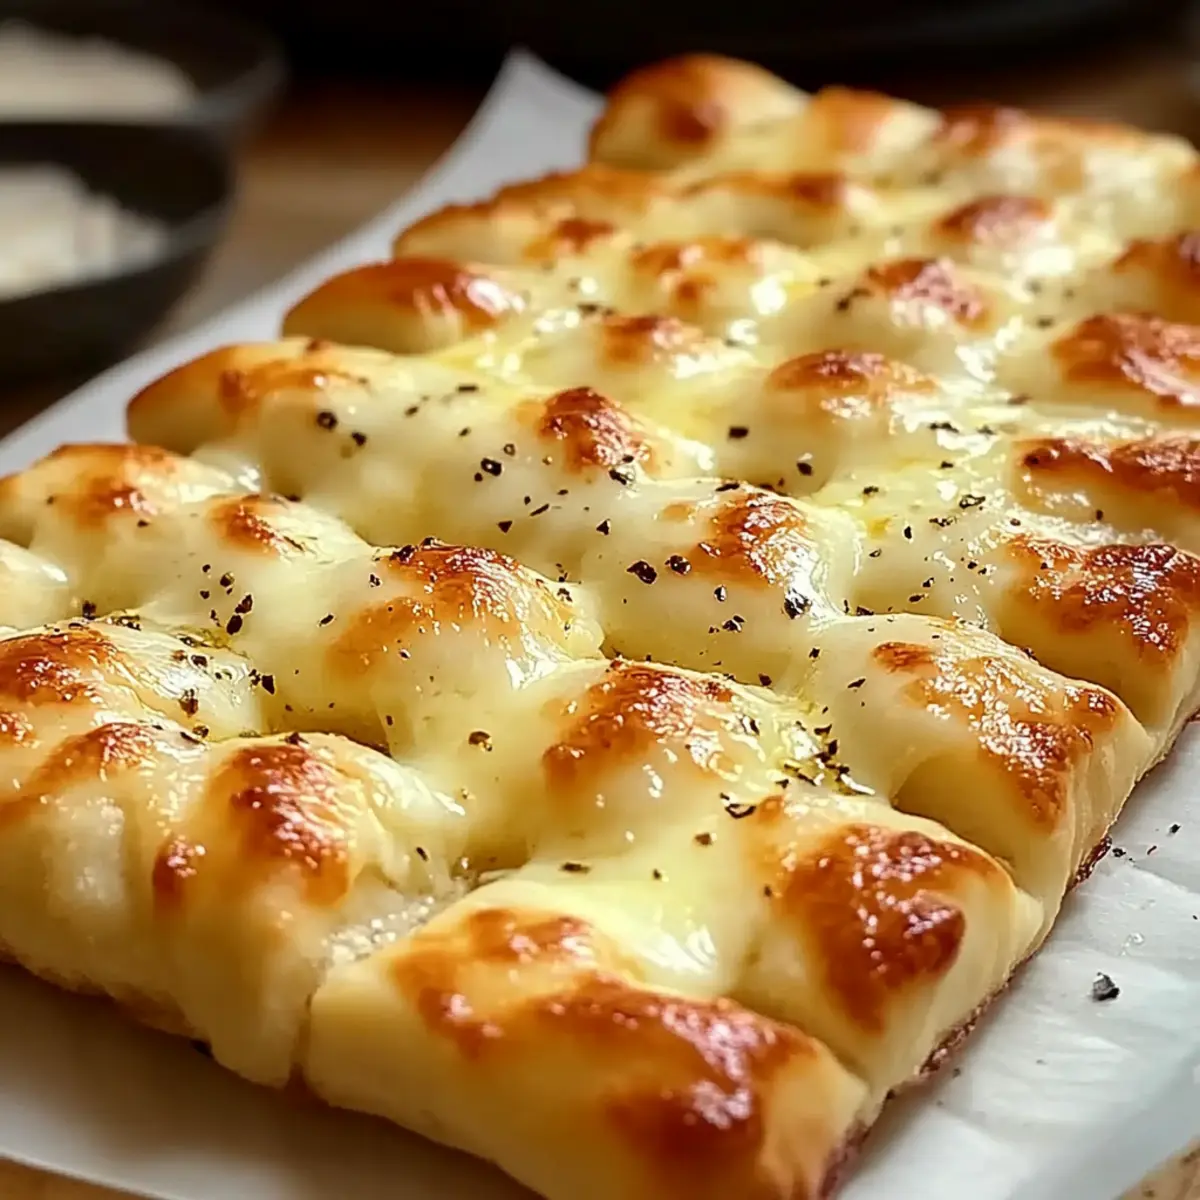
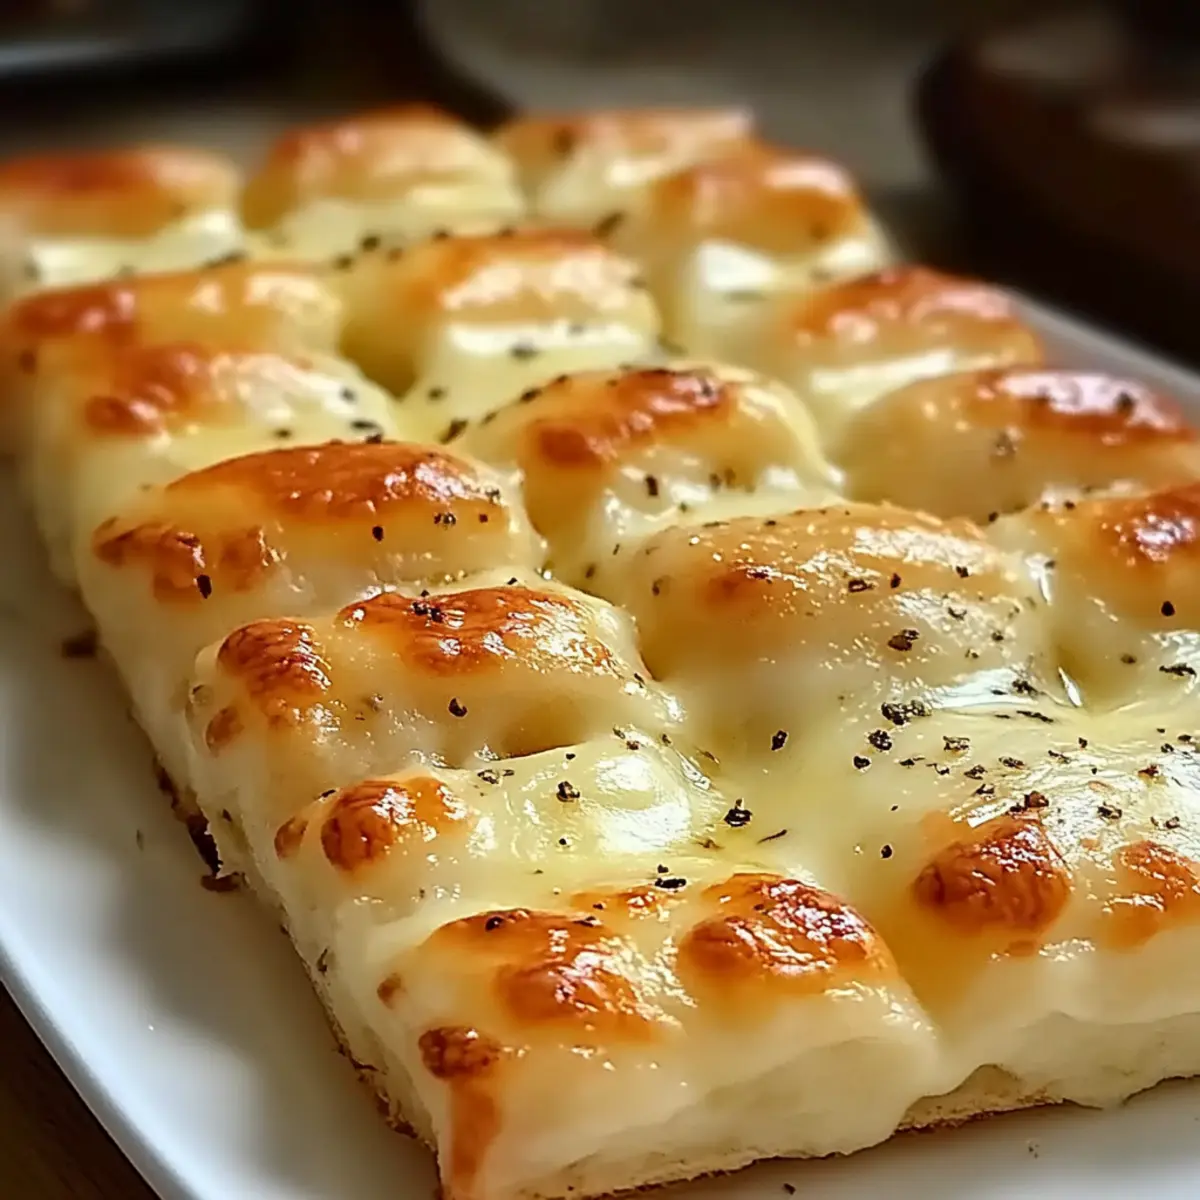
As I stood in my kitchen with flour dusting the countertops, the delightful aroma of melted cheese wafted through the air, stirring up memories of family dinners filled with laughter and warmth. Today, I’m thrilled to share my recipe for Homemade Cheesy Breadsticks—your new go-to comfort food. These pillowy delights are incredibly easy to whip up and make for the perfect addition to pizza nights or as a cozy snack on their own, served alongside your favorite marinara sauce. What I love most is their gooey cheese interior, complemented by a buttery garlic topping, ensuring every bite is pure indulgence. If you’re ready to elevate your homemade meals or just need a quick appetizer to impress, these breadsticks are a must-try! Are you curious about how to create this cheesy magic in your own kitchen?
Why You’ll Crave These Breadsticks?
Irresistible Flavor: The melty cheese paired with a savory garlic butter topping creates an explosion of taste that will have you coming back for more.
Quick and Easy: No need for complex techniques—these breadsticks require minimal effort and yield impressive results.
Versatile Pairings: Perfect alongside your favorite pasta or as a happy hour snack, they complement dishes like Homemade Green Bean and Cheesy Root Vegetable.
Customizable Delight: Feel free to experiment with cheese blends or add toppings like jalapeños to accommodate your taste!
Family Favorite: Whether it’s a cozy dinner or game night, these breadsticks are sure to be a crowd-pleaser that brings everyone to the table.
Homemade Cheesy Breadsticks Ingredients
For the Dough
- Active Dry Yeast – Provides leavening for the dough; instant yeast can also be used without proofing.
- Warm Water – Hydrates the yeast to activate fermentation; aim for water around 110°F for best results.
- Sugar – Feeds the yeast for stronger rising; 1 tsp is ideal for boosting flavor.
- All-Purpose Flour – Forms the structure of the dough; whole wheat flour or a 1:1 gluten-free blend can replace it.
- Salt – Enhances flavor and strengthens gluten structure; essential for taste with no substitute.
- Olive Oil – Adds moisture and richness to the dough; melted butter or vegetable oil can work as alternatives.
For the Cheese Topping
- Shredded Mozzarella – The star topping for gooey texture; substitute with provolone or fontina for variety.
- Cheddar or Gruyère Cheese (Optional) – Introduces additional flavor; use any cheese with good melting quality.
For the Flavor
- Unsalted Butter – Brushed on for flavor and shine; you may use margarine or vegetable oils if preferred.
- Garlic (Minced) – Adds aromatics and flavor; fresh garlic is best, but garlic powder works in a pinch.
- Italian Seasoning – Provides a herby taste; substitute with dried oregano or thyme if needed.
- Red Pepper Flakes or Flaky Salt (Optional) – For added heat or seasoning; adjust to your liking.
Now you’re just a few steps away from enjoying the comfort of Homemade Cheesy Breadsticks that melt in your mouth! Happy baking!
Step‑by‑Step Instructions for Homemade Cheesy Breadsticks
Step 1: Prepare the Yeast Mixture
In a large bowl, combine 1 cup of warm water (around 110°F), 1 teaspoon of sugar, and 2 teaspoons of active dry yeast. Let this mixture sit for 5–10 minutes until it becomes foamy and bubbly, indicating that the yeast is activated. This step is crucial for fluffy Homemade Cheesy Breadsticks.
Step 2: Mix the Dough Ingredients
Once your yeast mixture is ready, stir in 2 ½ cups of all-purpose flour, 1 teaspoon of salt, and 2 tablespoons of olive oil. Mix until a dough forms, then transfer it to a floured surface. Knead the dough for about 5–7 minutes until it’s smooth and elastic, creating the perfect base for your cheesy delicacies.
Step 3: Allow the Dough to Rise
Place the kneaded dough in a lightly oiled bowl and cover it with a damp cloth or plastic wrap. Let it rise in a warm area for 45–60 minutes, or until it has doubled in size. This is a vital step for ensuring your Homemade Cheesy Breadsticks are soft and fluffy.
Step 4: Preheat the Oven
As the dough rises, preheat your oven to 425°F (220°C). Line a baking sheet with parchment paper for easy cleanup and to prevent sticking. Having your oven ready ensures that the breadsticks will bake evenly and develop that irresistible golden crust.
Step 5: Roll Out the Dough
Once the dough has risen, gently punch it down and roll it out into a 9×13 inch rectangle on a floured surface. Transfer the rolled dough to the prepared baking sheet, taking care to keep its shape intact. This will be the canvas for your cheesy toppings!
Step 6: Add Toppings
Brush the rolled-out dough with melted unsalted butter, then sprinkle minced garlic and Italian seasoning evenly over the surface. Top generously with shredded mozzarella and optional cheddar or Gruyère cheese. The combination of these ingredients will elevate the flavor of your Homemade Cheesy Breadsticks.
Step 7: Bake to Perfection
Place the baking sheet in the preheated oven and bake for 12–15 minutes. Keep an eye on the breadsticks; they’re ready when the cheese is bubbly and the edges turn a lovely golden brown. The delightful aroma filling your kitchen is a sure sign of deliciousness!
Step 8: Serve Warm
Once baked, remove the Homemade Cheesy Breadsticks from the oven and brush with additional melted butter for an extra touch of flavor. Allow them to cool for a minute before slicing into strips. Serve warm with your favorite dipping sauces, and enjoy the warm comfort they bring!
Make Ahead Options
These Homemade Cheesy Breadsticks are perfect for busy home cooks looking to save time without sacrificing flavor! You can prepare the dough up to 24 hours in advance. Simply follow the recipe until the dough has risen, then punch it down and shape it into a rectangle. Wrap it tightly in plastic wrap and refrigerate. When you’re ready to bake, let the dough sit at room temperature for about 30 minutes while preheating the oven. Finish by brushing with melted butter, sprinkling your garlic and cheese toppings, and baking as directed. This method keeps your breadsticks just as delicious, ensuring you have warm, cheesy comfort at a moment’s notice!
Storage Tips for Homemade Cheesy Breadsticks
Room Temperature: Store baked breadsticks in an airtight container at room temperature for up to 3 days to maintain their soft texture and flavor.
Fridge: If you want to keep them longer, refrigerate them; they’ll stay fresh for up to a week, but be sure to seal them properly in an airtight container to avoid drying out.
Freezer: For longer storage, freeze your Homemade Cheesy Breadsticks by wrapping them tightly in plastic wrap and then placing them in a freezer-safe bag. They can be kept for up to 3 months.
Reheating: When ready to enjoy, reheat frozen breadsticks in the oven at 350°F for about 10 minutes until warmed through and the cheese is gooey again.
What to Serve with Homemade Cheesy Breadsticks?
These fluffy, buttery delights are perfect for crafting a delightful meal that warms the heart and fills the belly.
-
Marinara Sauce: This classic pairing adds a rich, tangy contrast, making each bite burst with flavor and perfect for dipping.
-
Garlic Knots: For a double dose of deliciousness, serve with garlic knots; their bold garlic flavor complements the cheesy breadsticks beautifully.
-
Caesar Salad: Crisp romaine and creamy dressing add freshness and crunch, balancing the rich, soft texture of the breadsticks.
-
Stuffed Peppers: The hearty filling and vibrant flavors of stuffed peppers create a satisfying medley alongside your cheesy indulgence.
-
Chicken Alfredo: This creamy pasta dish’s indulgence pairs perfectly, creating a comforting, fiber-filled feast.
-
Fresh Bruschetta: Topped with ripe tomatoes and basil, the vibrant flavors provide a refreshing counterpoint to the warm, gooey breadsticks.
-
Mimosas: For a brunch twist, these fruity fizzers add a celebratory touch that pairs wonderfully with cheesy bites.
-
Chocolate Lava Cake: End your meal with a rich dessert that contrasts the savory breadsticks—a sweet finish that every diner will cherish.
Expert Tips for Homemade Cheesy Breadsticks
-
Fresh Yeast: Ensure your active dry yeast is fresh for proper activation, resulting in light and airy breadsticks.
-
Perfect Rising: Don’t rush the dough rising time; a full rise ensures soft, fluffy layers, making your Homemade Cheesy Breadsticks irresistible.
-
Dough Texture: The dough should feel smooth and elastic after kneading. If it’s too sticky, add a bit more flour to avoid flat breadsticks.
-
Even Baking: Rotate the baking sheet midway through baking to prevent hot spots in your oven, ensuring evenly cooked Homemade Cheesy Breadsticks.
-
Melted Butter Brush: For extra flavor and shine, brush the breadsticks with melted butter right after baking. This enhances both taste and appearance.
Homemade Cheesy Breadsticks Variations
Feel free to make these Homemade Cheesy Breadsticks your very own, with an exciting array of customizations!
-
Gluten-Free: Substitute all-purpose flour with a 1:1 gluten-free blend for a delicious alternative that everyone can enjoy. You’ll still achieve that soft, buttery texture, just without the gluten!
-
Herb-Infused: Add freshly chopped herbs like rosemary or thyme into the dough for a fragrant twist. They’ll enhance the aroma and flavor, making your kitchen smell divine.
-
Spicy Kick: Incorporate jalapeños or red pepper flakes into the cheese topping for a spicy kick. This adds a delightful zing that pairs perfectly with a cool ranch dipping sauce.
-
Cheese Variety: Experiment with different melting cheeses like fontina, gouda, or even a sharp cheddar for varied flavors. Each cheese will lend its unique twist, keeping your taste buds on their toes.
-
Cheesy Topping: For an elevated cheesy experience, mix shredded Parmesan or pecorino with the mozzarella before baking. This combination creates extra depth of flavor and a delightful crispiness on top.
-
Vegetable Boost: Top the breadsticks with sautéed spinach or roasted bell peppers before baking. This veggie addition not only adds color but also a nutritious touch that complements the cheesy goodness beautifully.
-
Sweet Variation: Try adding a hint of garlic powder and a sprinkle of cinnamon to the butter for a subtly sweet twist. Paired with a sweet dipping sauce, this makes for an unexpected yet delicious treat!
-
Dippers Delight: Serve these breadsticks alongside your favorite sauces like marinara, garlic butter, or even a zesty pesto for a fun dipping experience that everyone will love. Consider pairing with classic dishes like Potato Bake Cheesy for a comforting feast.
Homemade Cheesy Breadsticks Recipe FAQs
How do I choose the right cheese for my breadsticks?
When selecting cheese for your Homemade Cheesy Breadsticks, you want to prioritize meltability and flavor! I recommend using shredded mozzarella as the main topping for its gooey texture. If you’re feeling adventurous, feel free to substitute or combine it with cheddar, Gruyère, or even provolone for additional flavor depth!
What’s the best way to store leftover breadsticks?
Store any leftover Homemade Cheesy Breadsticks in an airtight container at room temperature for up to 3 days. If you want to get extra mileage, refrigerate them to extend freshness for up to a week. Just remember to seal them well to avoid drying out!
Can I freeze these breadsticks for later use?
Absolutely! To freeze your Homemade Cheesy Breadsticks, wrap them tightly in plastic wrap and then place them in a freezer-safe bag. This way, they can be stored for up to 3 months. When you’re ready to enjoy them again, simply reheat in the oven at 350°F for about 10 minutes until warmed through and cheesy!
What should I do if my dough doesn’t rise?
If your dough isn’t rising as expected, it might be due to inactive yeast. Make sure your yeast is fresh—check the expiration date! If you used water that’s too hot, it can kill the yeast, so ensure it’s around 110°F. If it hasn’t risen after an hour, you might have to start over!
Are these breadsticks a good option for gluten-free diets?
Yes! You can easily make these Homemade Cheesy Breadsticks gluten-free by substituting all-purpose flour with a 1:1 gluten-free baking blend. Make sure that all other ingredients (including baking powder and other add-ins) are gluten-free to suit dietary restrictions.
Can I add toppings or spices to customize my breadsticks?
The more, the merrier! Feel free to spice things up by adding toppings like jalapeños or red pepper flakes before baking. You can also sprinkle fresh herbs like basil or parsley to enhance flavor and freshness, making your Homemade Cheesy Breadsticks uniquely yours!
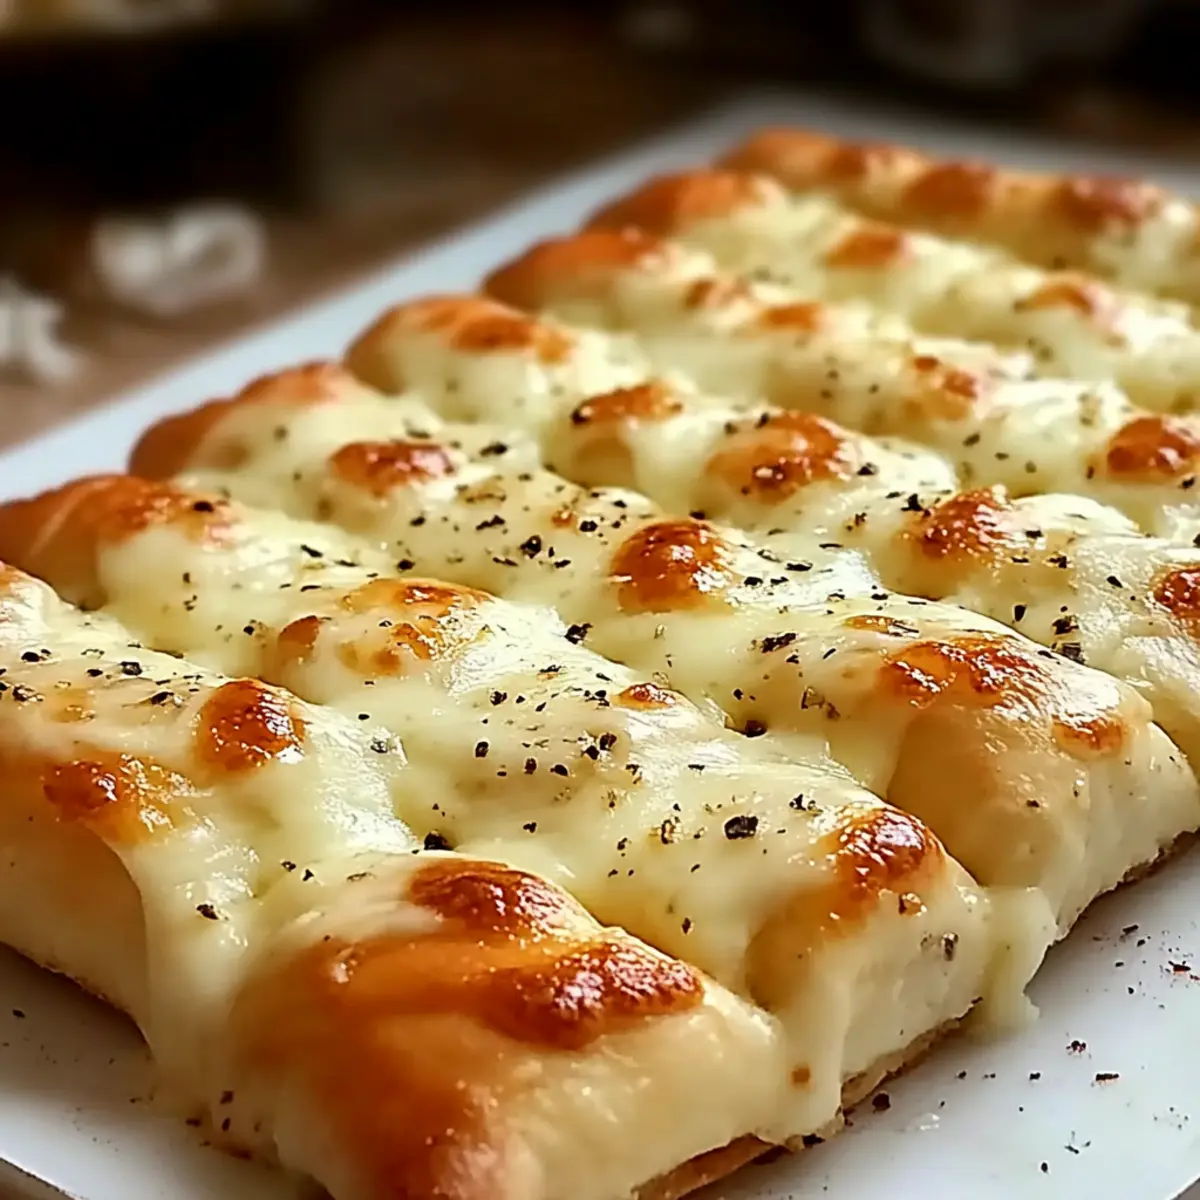
Homemade Cheesy Breadsticks that Melt in Your Mouth
Ingredients
Equipment
Method
- In a large bowl, combine warm water, sugar, and active dry yeast. Let sit for 5–10 minutes until foamy.
- Stir in all-purpose flour, salt, and olive oil. Mix until a dough forms, then knead on a floured surface for 5–7 minutes.
- Place kneaded dough in a lightly oiled bowl, cover, and let rise in a warm area for 45–60 minutes.
- Preheat the oven to 425°F (220°C) and line a baking sheet with parchment paper.
- Roll the risen dough into a 9x13 inch rectangle and transfer to the prepared baking sheet.
- Brush the rolled-out dough with melted butter, sprinkle with minced garlic and Italian seasoning, then top with cheeses.
- Bake for 12–15 minutes until cheese is bubbly and edges are golden brown.
- Brush with additional melted butter after baking, cool slightly, slice, and serve warm.
Leave a Reply