
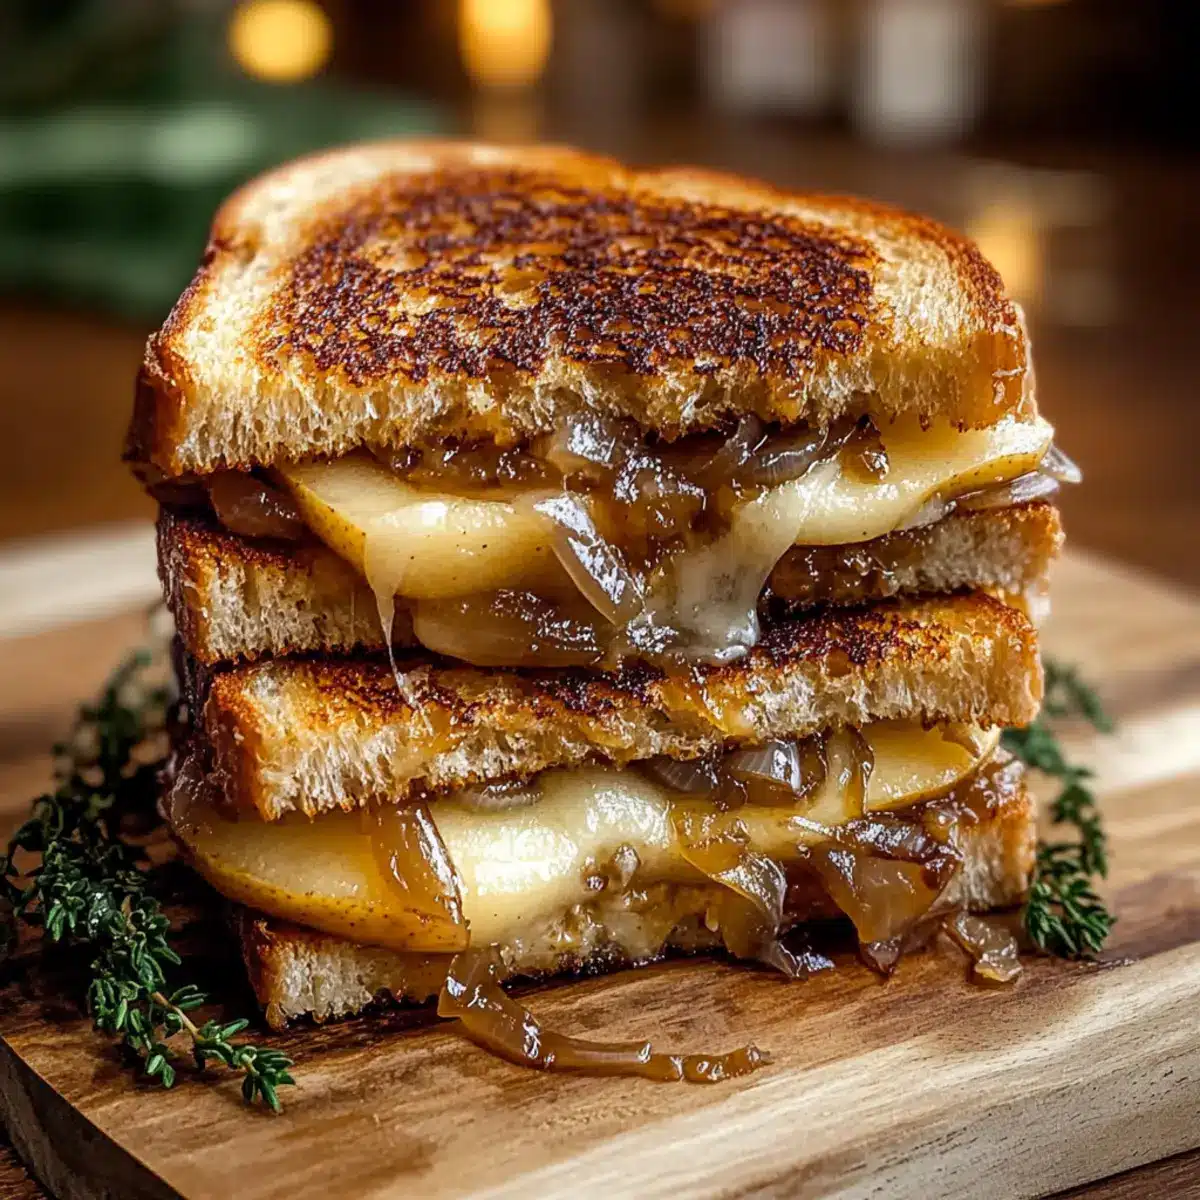
As I stood in the kitchen, the enticing aroma of sweet, caramelized onions reached my senses, whisking me back to cozy evenings spent with family. This is the moment I create my Pear & Apple Grilled Cheese with Caramelized Onions—a dish that’s both a comforting classic and a delightful twist. Combining the juicy sweetness of ripe pears and crunchy apples with the savory depth of caramelized onions, this recipe is not just quick to prepare but also a sophisticated option for both casual lunches and weeknight dinners. Imagine transforming simple pantry staples into a gourmet masterpiece that warms your heart and satisfies your cravings. Curious how this unforgettable combination of flavors comes together? Let’s dive into this scrumptious creation!
Why is Grilled Cheese So Irresistible?
Comforting, there’s something inherently satisfying about the combination of melty cheese and crispy bread. Unique flavors come alive in this recipe with the addition of sweet pears and tart apples, elevating the classic sandwich. Time-efficient, it’s a quick option for busy weeknights or lazy weekends alike. Easily adaptable, mix and match your favorite cheeses or add fresh greens like spinach for a nutritious twist. Crowd-pleaser, this Pear & Apple Grilled Cheese with Caramelized Onions will impress both family and guests, making it a must-have recipe for any home cook! For a delightful side, consider pairing it with a Cinnamon Apple Oatmeal or enjoying it with a Cranberry Cream Cheese spread!
Pear & Apple Grilled Cheese Ingredients
• Ready to take your taste buds on a delightful journey? Here’s what you’ll need!
For the Sandwich
- Sourdough Bread – Gives a crispy exterior and chewy interior, perfect for a golden crust; you can also use any hearty bread like whole grain or gluten-free.
- Unsalted Butter – Adds richness and helps brown the bread beautifully; swap with olive oil for a delicious dairy-free option.
- Medium Pear (thinly sliced) – Provides a sweet, juicy surprise within your sandwich; if you prefer something creamy, replace it with ripe avocado.
- Medium Apple (thinly sliced) – Offers a refreshing tartness that balances the sweetness; any tart apple variety like Granny Smith works well here.
- Medium Onion (thinly sliced) – When caramelized, it deepens the flavors; shallots can be a milder substitute if preferred.
- Shredded Sharp Cheddar Cheese (1 cup) – Melts to create gooey goodness, enhancing the flavor—feel free to experiment with gouda or mozzarella for a different twist.
- Balsamic Vinegar (1 tablespoon) – Elevates the caramelized onions with a tangy kick; apple cider vinegar can be used for a fruitier profile.
- Salt & Black Pepper – These fundamentals bring the flavors together, making your dish sing.
Embrace the magic of this Pear & Apple Grilled Cheese and unlock a comforting meal that promises satisfaction and smiles!
Step‑by‑Step Instructions for Pear & Apple Grilled Cheese
Step 1: Caramelize the Onions
Begin by heating a skillet over medium heat and adding 1 tablespoon of unsalted butter. Once melted, add the thinly sliced onions and sauté for about 10 minutes, stirring occasionally, until they turn a golden brown. This process will enhance their sweetness. Next, add 1 tablespoon of balsamic vinegar and continue to cook for another 2-3 minutes, until the liquid reduces slightly and the onions are well-coated.
Step 2: Prepare the Sandwich Layers
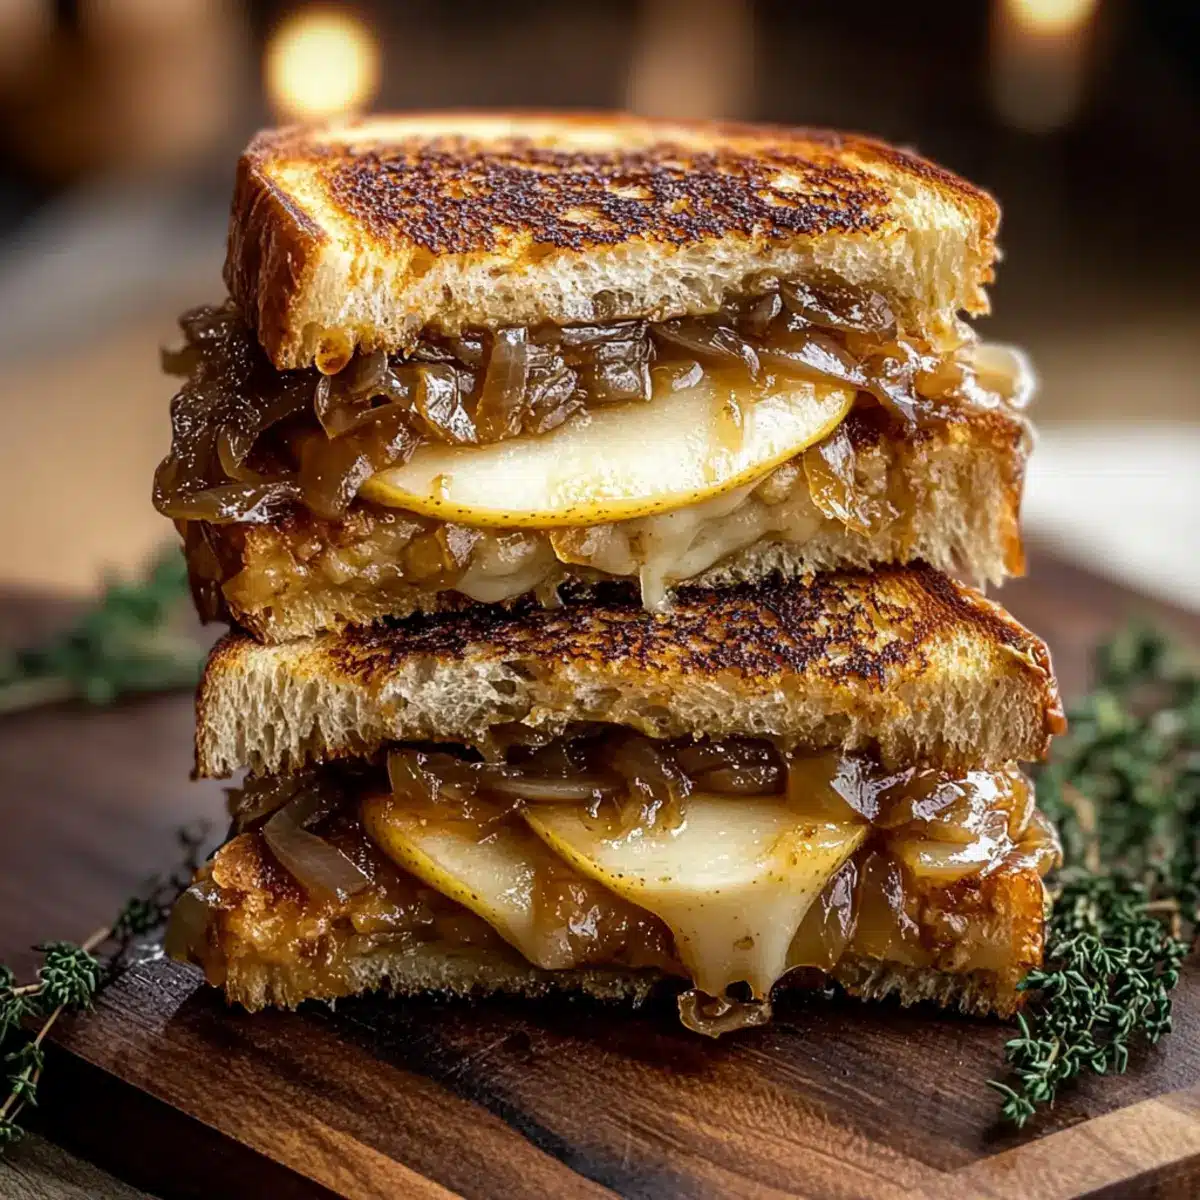
In the same skillet, use the residual heat to melt the remaining butter. Layer half of the shredded sharp cheddar cheese onto two slices of sourdough bread. Spread the sweet caramelized onions evenly over the cheese, then add a layer of thinly sliced apples and pears. Finish by adding the rest of the cheese on top and cover each with another slice of sourdough to create your delicious Pear & Apple Grilled Cheese.
Step 3: Grill to Perfection
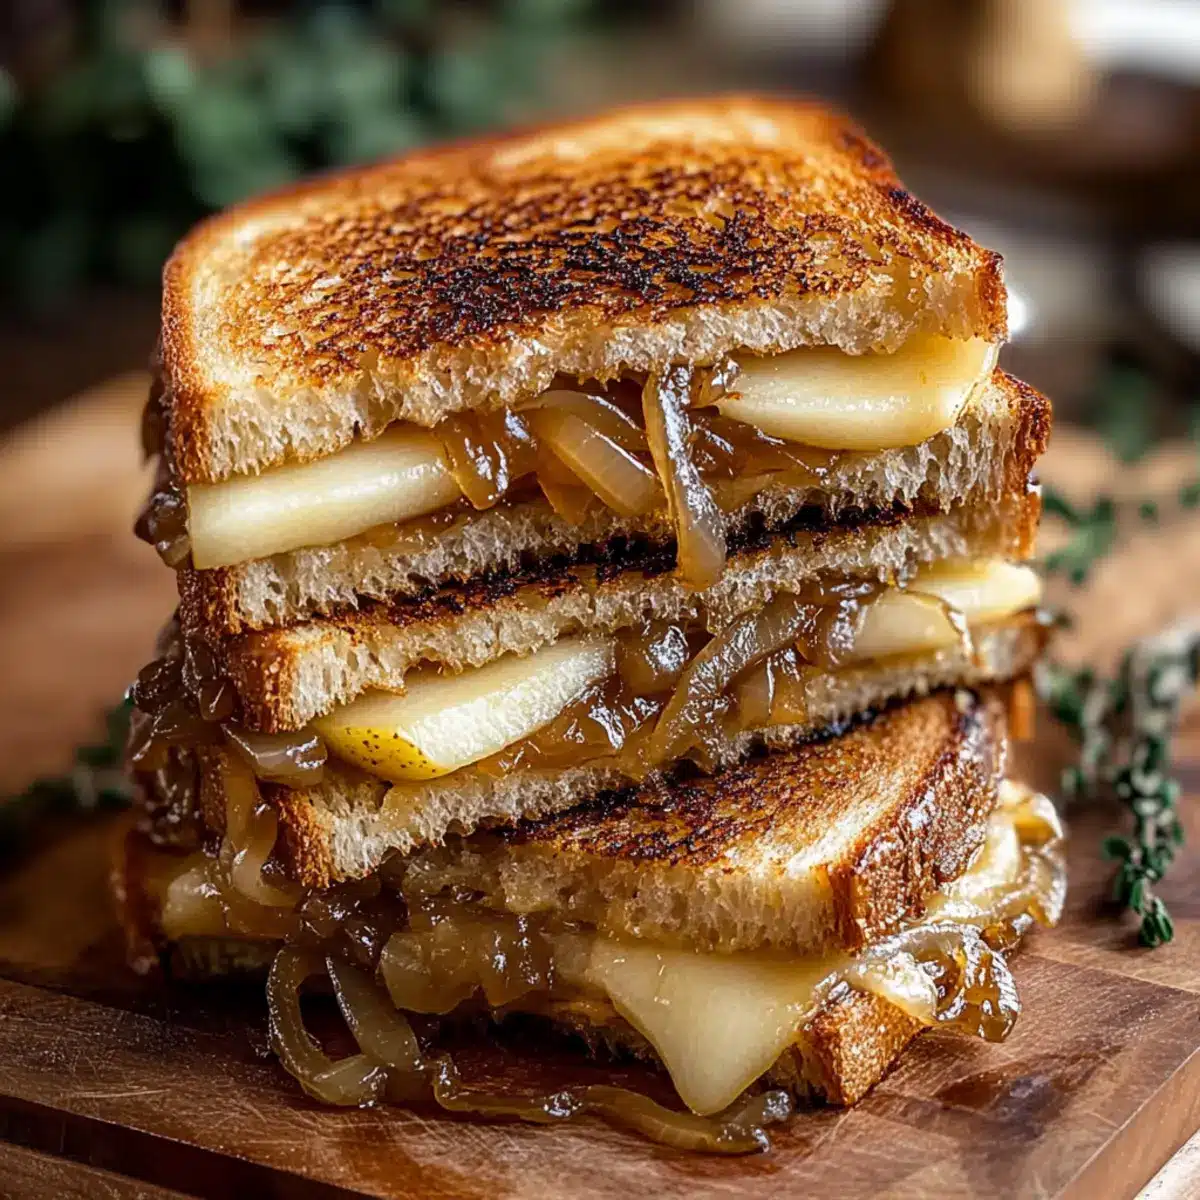
Carefully transfer the assembled sandwiches to the skillet over medium heat. Grill each side for about 4-5 minutes, pressing down gently with a spatula, until the bread is golden brown and crispy. The cheese should be melted and oozing out a bit, creating a mouthwatering sight. When ready, remove the sandwiches from the skillet, allowing them to cool slightly before slicing them in half.
Step 4: Serve and Savor
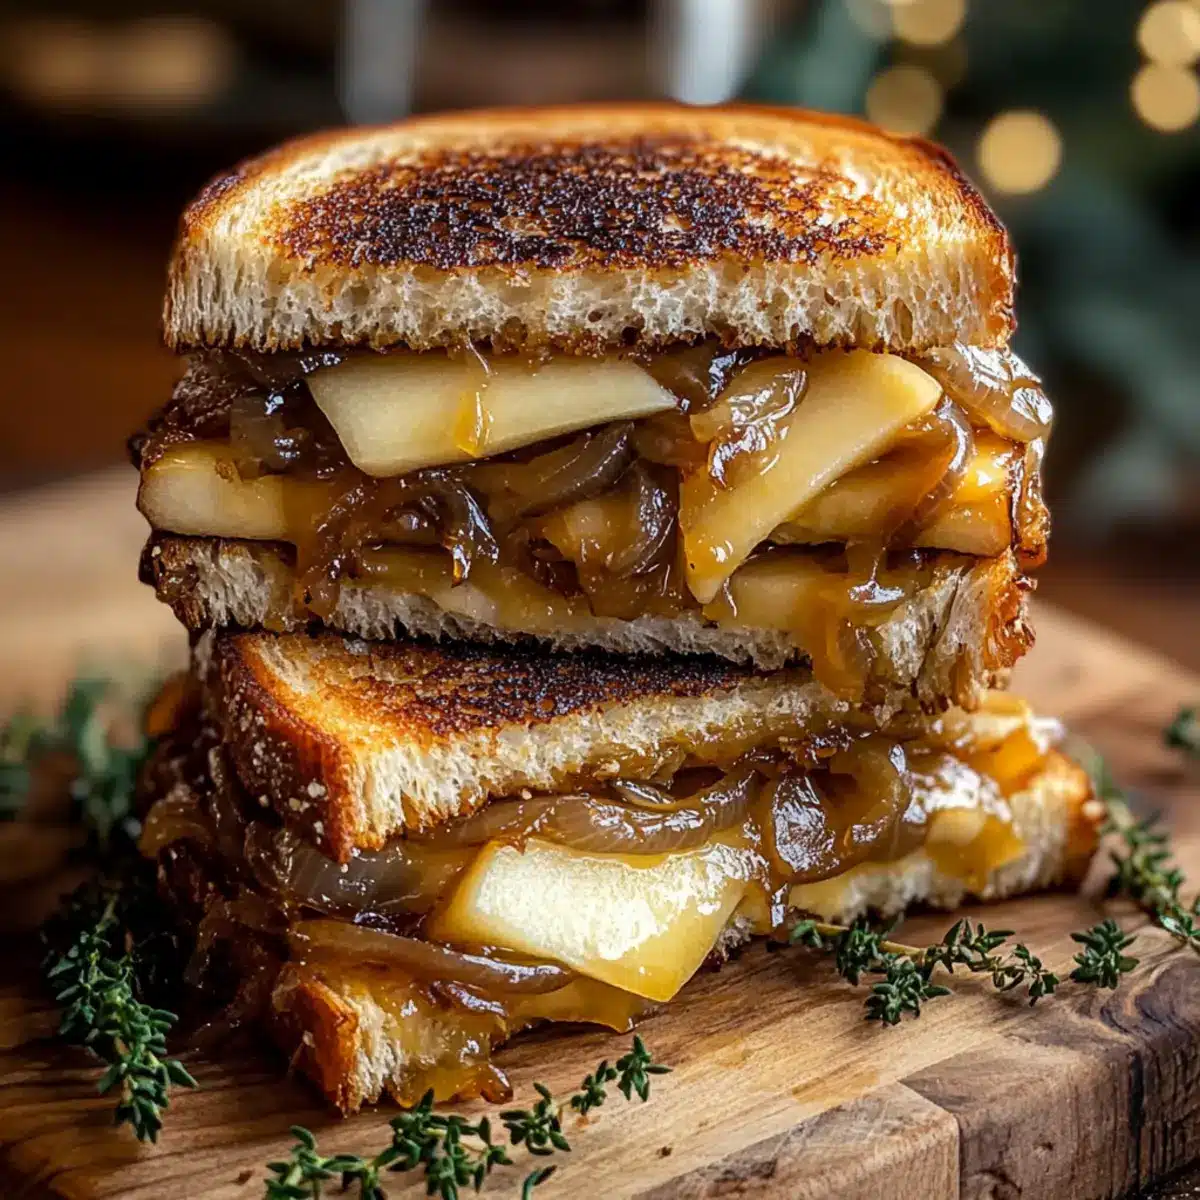
Serve your gorgeous Pear & Apple Grilled Cheese warm with a side of fresh salad or a bowl of hearty soup for a complete meal. The combination of the crispy bread, melty cheese, and sweet fruit will tantalize your taste buds. Take a moment to admire your culinary creation before diving in, sharing this delightful dish with family or friends for an unforgettable experience!
Storage Tips for Pear & Apple Grilled Cheese
- Room Temperature: Enjoy your Pear & Apple Grilled Cheese warm and fresh. If left out, consume within 2 hours for optimal taste and safety.
- Fridge: Store leftovers in an airtight container for up to 2 days. Reheat for a quick meal or snack, bringing back its delightful crispiness.
- Freezer: For longer storage, wrap the sandwiches tightly in plastic wrap and place in a freezer bag. They can be frozen for up to 3 months.
- Reheating: To restore the sandwich’s original texture, reheat in a toaster oven or skillet on medium heat until heated through and crispy, avoiding the microwave to prevent sogginess.
What to Serve with Pear & Apple Grilled Cheese
There’s nothing quite like rounding out your cozy meal with delightful sides that complement your savory creation.
- Mixed Green Salad: A fresh salad with a light vinaigrette brightens the palate, balancing the richness of the grilled cheese.
- Tomato Soup: Classic and hearty, this comforting pairing enhances the experience with its warmth and tangy flavor—perfect for dipping!
- Sweet Potato Fries: The sweetness and crispiness of these fries create a lovely contrast to the creamy cheese and fruit layers in your sandwich.
- Herbed Quinoa: Nutty and earthy, quinoa adds a wholesome touch to your meal, enhancing the overall taste with fresh herbs.
- Crisp Apple Slices: Keep the apple theme alive! Serve sliced apples with a sprinkle of cinnamon for a refreshing, crunchy side that echoes your sandwich flavors.
- Sparkling Water with Lemon: A fizzy drink brightens the meal, cleansing the palate between bites and keeping the vibe light and refreshing.
- Cinnamon Spiced Tea: A warm cup of tea infused with cinnamon ties together the comfort of the meal, bringing warmth and satisfaction with every sip.
- Dark Chocolate Squares: End your meal on a sweet note; rich dark chocolate provides a delightful finishing touch that contrasts the savory elements beautifully.
Make Ahead Options
These Pear & Apple Grilled Cheese sandwiches are perfect for meal prep enthusiasts! You can caramelize the onions and store them in an airtight container in the refrigerator for up to 3 days; this deepens their flavor and saves time during busy weeknights. Additionally, you can slice the pears and apples a day in advance—just toss them in a little lemon juice to prevent browning. When you’re ready to enjoy your delicious sandwiches, simply layer the cheese, caramelized onions, and fruit between slices of bread, grill for 4-5 minutes on each side, and savor the same cozy flavors that taste just as delightful as when freshly made!
Expert Tips for Perfect Pear & Apple Grilled Cheese
-
Evenly Slice Ingredients: Ensure your pear and apple slices are thin and uniform for an even melt and balanced flavors throughout your Pear & Apple Grilled Cheese.
-
Control the Heat: Use medium heat when grilling to avoid burning the bread before the cheese melts completely. Patience is key for that perfect golden crust!
-
Cheese Options: Experiment with different cheese types to find your favorite combination—feel free to mix sharp cheddar with gouda or mozzarella for a creamy twist.
-
Butter Substitution Tips: If you’re looking for a dairy-free option, simply swap unsalted butter with olive oil or a vegan butter alternative to achieve that rich browning effect.
-
Cinnamon Touch: Add a sprinkle of cinnamon on the apple slices before layering for an extra warm, autumnal flavor that complements the sweetness of the pears and enriches your grilled cheese experience.
-
Ideal Bread Choices: While sourdough is perfect, don’t hesitate to explore hearty whole grain or gluten-free breads for variety—it’s a lovely way to tailor your Pear & Apple Grilled Cheese to your taste!
Pear & Apple Grilled Cheese Variations
Feel free to explore these delightful twists and substitutions to make your perfect sandwich truly your own!
-
Cheese Blend: Combine mozzarella and gouda for a creamier taste that melts beautifully. This combination will enhance the flavor profile while retaining that satisfying gooeyness.
-
Add Greens: Toss in fresh spinach or arugula for a gorgeous pop of color and added nutrition. The bitterness of the greens contrasts beautifully with the sweetness of the fruits.
-
Extra Crunch: Incorporate sliced almonds or walnuts for delightful texture and a nutty flavor that complements the sweet and savory ingredients in the sandwich.
-
Spicy Kick: Add a dash of crushed red pepper flakes or jalapeños to elevate the flavor with some heat. This twist transforms your comforting creation into a bold statement sandwich.
-
Fruit Swaps: Swap pears for ripe avocado or use figs instead for a different sweet touch. Both variations bring their own unique textures and flavors, keeping your sandwich exciting.
-
Seasonal Veggies: Experiment with seasonal vegetables like roasted red peppers or zucchini for a savory boost. These add depth and seasonal freshness to each bite, making your grilled cheese a vibrant meal.
-
Dijon Mustard: Spread a little Dijon mustard on the bread before assembly for a tangy twist. This can add an unexpected depth of flavor that balances the sweet elements perfectly.
-
Pesto Upgrade: Spread some basil pesto inside for an aromatic flavor infusion. This adds a lovely herbaceous quality that dances with the sweetness of the pears and apples.
Whether you choose to stick to the classic or venture into creative alternatives, you’re sure to create a dish that brings joy to the table. Enjoy your cooking adventure! For another approachable comfort meal, consider pairing it with a comforting bowl of Cinnamon Apple Oatmeal.
Pear & Apple Grilled Cheese with Caramelized Onions Recipe FAQs
How do I know if my pears and apples are ripe for the best flavor?
Absolutely! When selecting pears, look for ones that yield slightly to gentle pressure near the stem—it indicates they’re ripe and juicy. Apples should feel firm without any soft spots. A slight fragrance can also indicate ripeness, particularly for apples, which should have vibrant skin free of blemishes. Remember, a good balance between sweet pears and tart apples enhances your Pear & Apple Grilled Cheese!
What is the best way to store leftover grilled cheese?
Very! Store your leftover Pear & Apple Grilled Cheese in an airtight container in the fridge for up to 2 days. When ready to enjoy, reheat it in a toaster oven or skillet on medium heat to regain that crispy texture. Avoid microwaving as it can make the bread soggy, which we definitely want to avoid for this delightful sandwich!
Can I freeze Pear & Apple Grilled Cheese?
Yes, you can! If you want to freeze your sandwiches, wrap each one tightly in plastic wrap and place them in a freezer-safe bag. They will last for up to 3 months in the freezer. When ready to eat, allow them to thaw in the fridge overnight, then follow the reheating instructions mentioned earlier to restore their deliciousness!
What should I do if my cheese isn’t melting properly?
Don’t worry; this happens! If your cheese isn’t melting, it might be due to cooking at too high a temperature or using too much low-moisture cheese. Lower the heat slightly and give it more time to melt; this works wonders. Keeping the lid on your skillet can help create steam, which encourages even melting. For a guaranteed melty experience, I often mix cheeses for the perfect gooey outcome.
Can I make this Pear & Apple Grilled Cheese for someone with dairy allergies?
Absolutely! You can use dairy-free alternatives for each ingredient that contains dairy. Swap the unsalted butter for olive oil or a vegan butter substitute, and choose plant-based shredded cheese varieties available on the market today. This way, everyone can enjoy the deliciousness of your grilled cheese creation without worry!
How can I add more nutrition to my Pear & Apple Grilled Cheese?
Very! A fantastic way to boost nutrition is by adding fresh spinach or kale to the sandwich. Simply layer it in with the cheese and fruits before grilling. You could even throw in some walnuts or pecans for a delightful crunch and an even greater flavor profile. The more, the merrier when it comes to creating a wholesome meal for you and your family!
Indulge in Pear & Apple Grilled Cheese Bliss Today
Ingredients
Equipment
Method
- Begin by heating a skillet over medium heat and adding 1 tablespoon of unsalted butter. Once melted, add the thinly sliced onions and sauté for about 10 minutes, stirring occasionally, until they turn a golden brown.
- Next, add 1 tablespoon of balsamic vinegar and continue to cook for another 2-3 minutes, until the liquid reduces slightly and the onions are well-coated.
- In the same skillet, use the residual heat to melt the remaining butter. Layer half of the shredded sharp cheddar cheese onto two slices of sourdough bread.
- Spread the sweet caramelized onions evenly over the cheese, then add a layer of thinly sliced apples and pears. Finish by adding the rest of the cheese on top and cover each with another slice of sourdough.
- Carefully transfer the assembled sandwiches to the skillet over medium heat. Grill each side for about 4-5 minutes, pressing down gently with a spatula.
- When ready, remove the sandwiches from the skillet, allowing them to cool slightly before slicing them in half.
- Serve warm with a side of fresh salad or a bowl of hearty soup.
Leave a Reply