
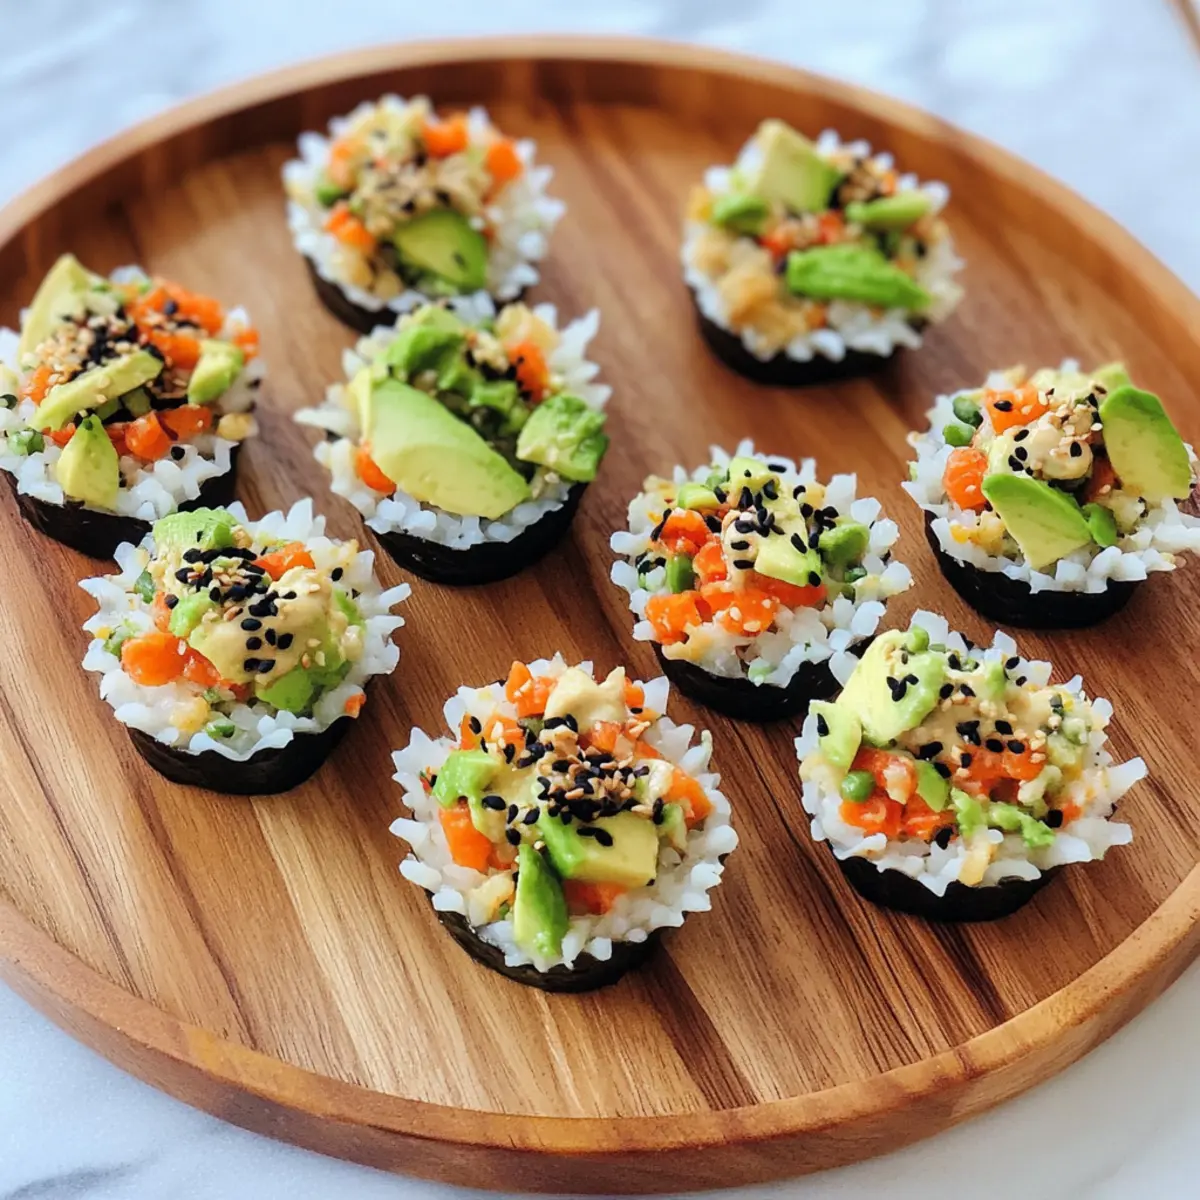
“Have you ever found yourself craving the fresh taste of sushi while feeling too intimidated to roll it up?” With these No-Bake Customized Sushi Cups, you can skip the fuss and dive straight into an explosion of flavor! Each cup is a delightful combination of sushi rice, vibrant veggies, and creamy avocado, making it the perfect healthy snack or appetizer for any gathering. One of the best perks of this recipe is its versatility; feel free to customize the fillings according to your personal taste. Plus, the no-bake prep makes it a breeze to whip up, even on the busiest days. Whether you’re hosting a dinner party or simply want a quick bite, these sushi cups are sure to impress! Are you ready to create your own sushi masterpiece?
Why Are Sushi Cups So Appealing?
Versatile: You can customize each cup with your favorite veggies and proteins, making it a dish everyone will love!
No-Cook Convenience: Forget complicated rolling techniques; simply mix, mold, and enjoy in minutes!
Fresh and Healthy: Bursting with vibrant flavors and wholesome ingredients, these sushi cups are a guilt-free snack option.
Crowd-Pleasing Appetizer: Perfect for parties or casual get-togethers; serve alongside soy sauce or spicy mayo for added appeal.
Unique Presentation: These little cups are not just delicious—they’re visually stunning and will wow your guests!
Sushi Cups Ingredients
• Get ready to explore a delightful array of flavors!
For the Rice Base
- Sushi Rice – The sturdy foundation for your sushi cups; remember to rinse well to remove excess starch for perfect texture.
- Water – Vital for cooking sushi rice; ensures it has the right consistency.
For the Filling
- Finely Chopped Veggies – Adds a refreshing crunch; mix raw veggies like carrots, cucumbers, and bell peppers for a colorful combo.
- Steamed Mukimame (Shelled Edamame) – Packs in protein and texture; if unavailable, regular edamame pods work just as wonderfully.
- Diced Avocado – Provides a creamy richness; about 1/2 small avocado per cup elevates both flavor and satisfaction.
For the Sauce
- Sauce of Choice (Soy Sauce, Tamari, or Coconut Aminos) – Infuses the cups with umami; tailor your choice for dietary preferences (think gluten-free!).
- Mayonnaise – Essential for creating a rich, flavorful spicy mayo; feel free to adjust based on taste.
- Sriracha Sauce – Adds just the right amount of heat; personalize according to your spice tolerance.
- Honey – Balances the heat in your spicy mayo; this can be omitted for a vegan option.
- Sesame Oil – Adds depth to the mayo; optional, but highly recommended for flavor enhancement.
For Garnish
- Black Sesame Seeds – Perfect for a touch of elegance; they boost both visual appeal and taste.
With these ingredients on hand, you’ll be well on your way to crafting the most delightful sushi cups that’ll impress at any occasion!
Step‑by‑Step Instructions for Sushi Cups
Step 1: Cook Rice
In a medium pot, combine 1 cup of rinsed sushi rice with 1 ¼ cups of water. Bring to a boil over medium-high heat, then reduce the heat to low, cover, and simmer for 20 minutes, or until the water is fully absorbed and the rice is tender. Remove from heat and let it cool slightly, ensuring the rice is fluffy and sticky for the sushi cups.
Step 2: Mold Rice
Using a muffin tin, press 2 heaping tablespoons of cooled sushi rice into each cup, compacting it down to create a sturdy base. Make sure the rice fills the bottom and sides of the cups. Once filled, chill the muffin tin in the refrigerator for about 20 minutes, allowing the rice to firm up and hold its shape for your sushi cups.
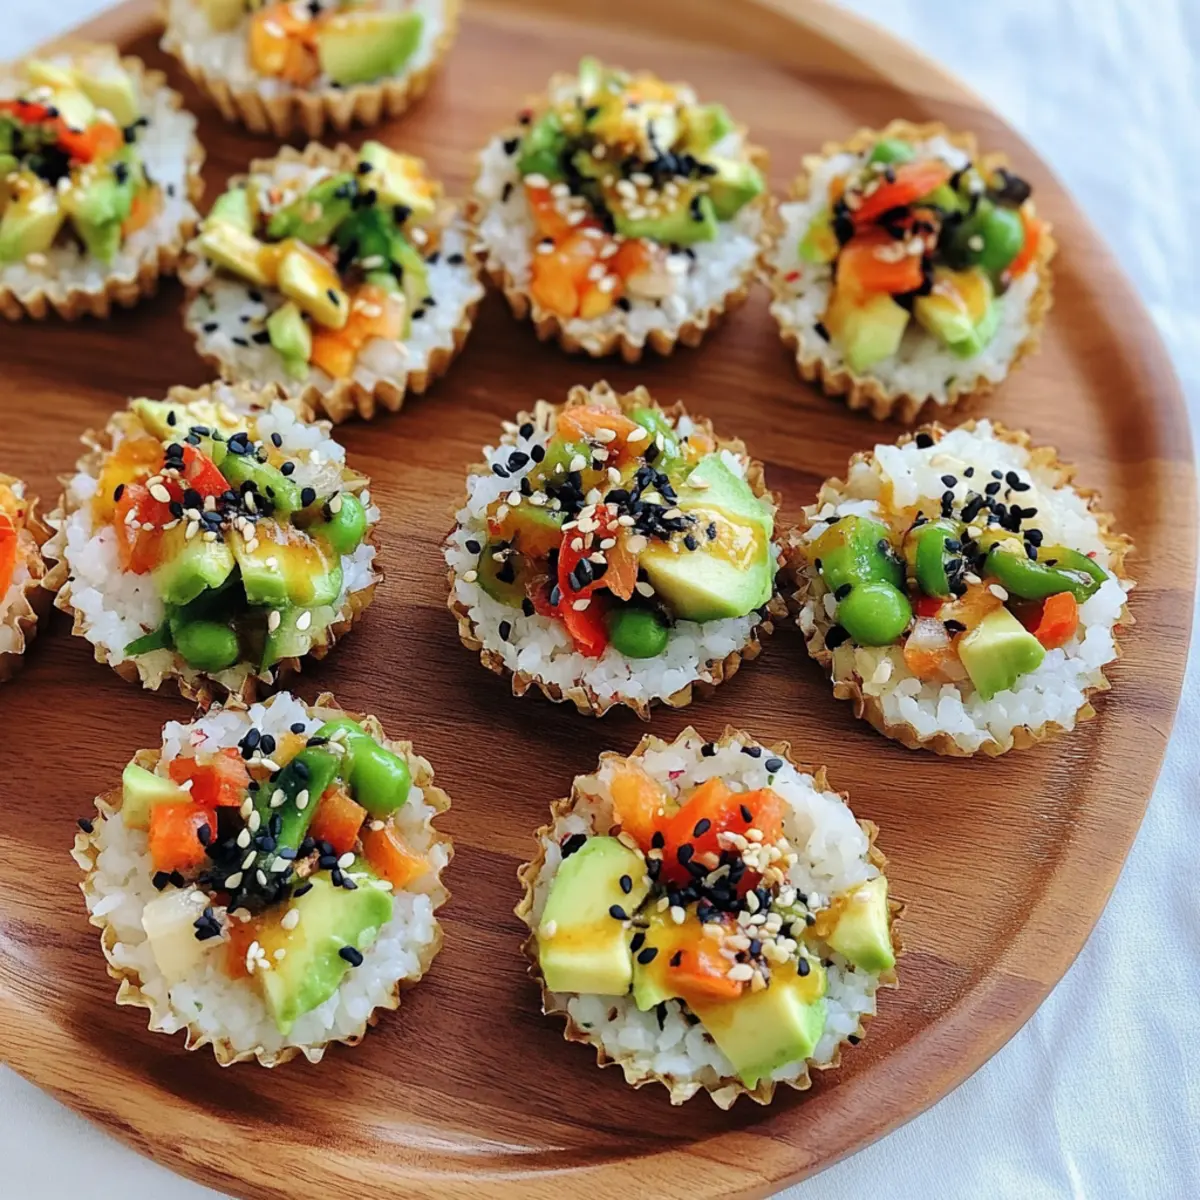
Step 3: Prepare Filling
In a mixing bowl, combine finely chopped veggies, steamed mukimame, and diced avocado. Pour in your sauce of choice, like soy sauce or coconut aminos, and gently toss until all ingredients are well-coated. The vibrant mix adds color and crunch to your sushi cups, making each bite deliciously delightful.
Step 4: Make Spicy Mayo
In a separate bowl, whisk together 1/4 cup mayonnaise, 1 tablespoon Sriracha sauce, and a splash of soy sauce. Optionally, add a dash of honey and sesame oil to balance the spice and enhance flavor. Adjust the Sriracha according to your heat preference. This creamy spicy mayo will complement your sushi cups beautifully.
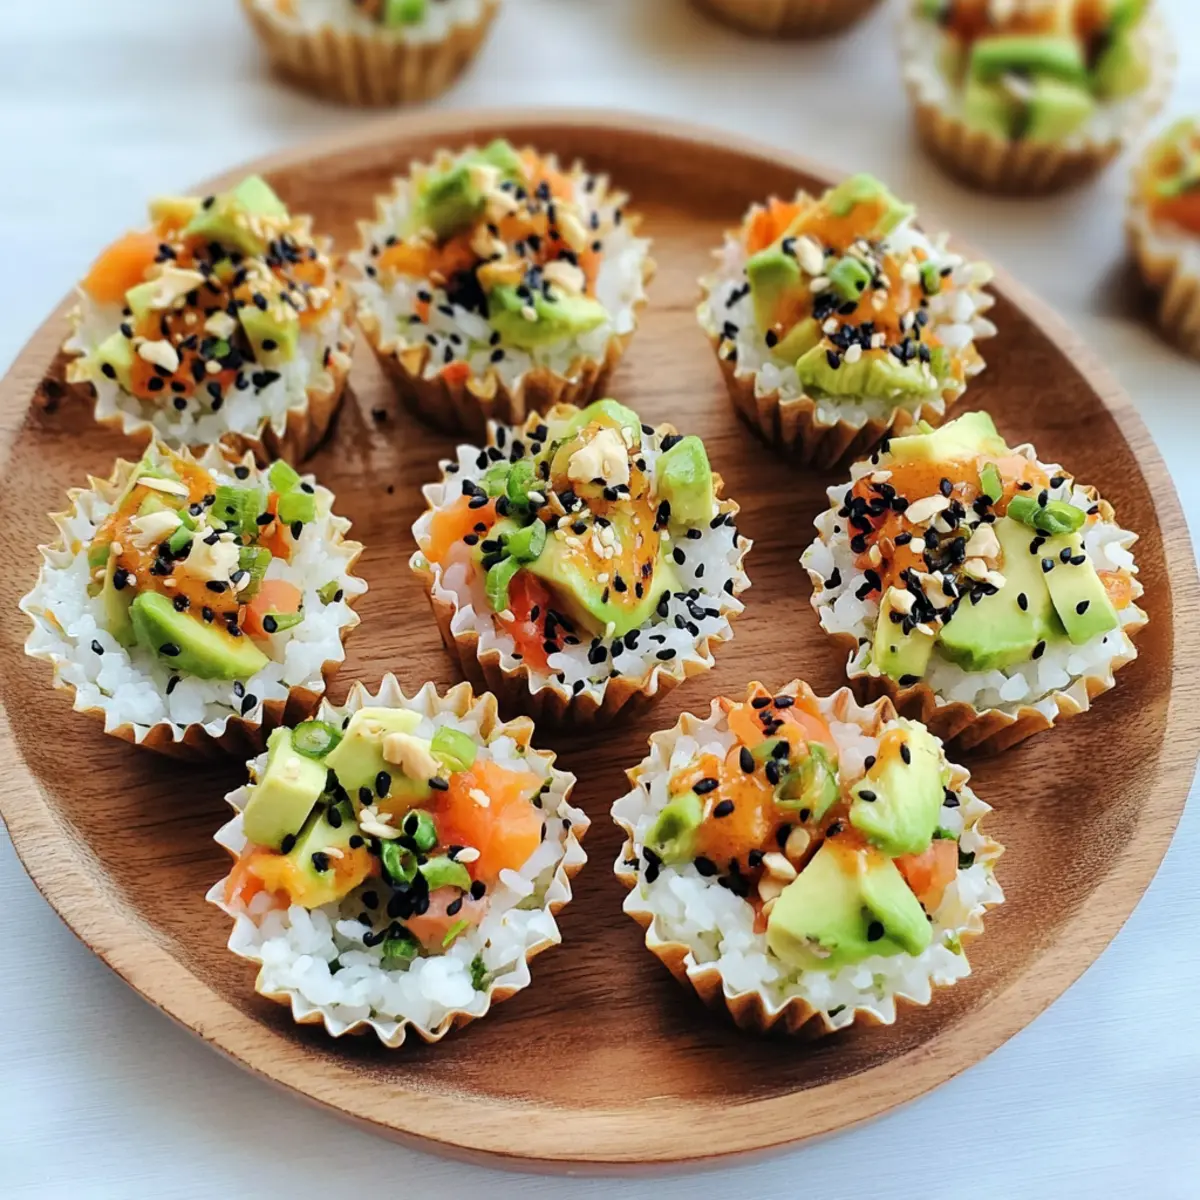
Step 5: Assemble Cups
Carefully remove the rice cups from the fridge and spoon a tablespoon of the filling mixture onto each rice base. Gently drizzle the spicy mayo over the top of each cup, creating a beautiful layer of flavor. Finally, sprinkle black sesame seeds on each sushi cup for a garnish that adds an elegant touch and a nutty crunch.
Sushi Cups Variations & Substitutions
Feel free to put your own spin on these delightful sushi cups—your unique twist could turn them into an exciting new creation!
- Flavor Boost: Add a splash of lime juice to the veggie mix for a zesty pop.
- Protein Punch: Mix in shredded crab, smoked salmon, or diced tofu to elevate the cups.
- Dairy-Free: Substitute mayonnaise with avocado or tahini for a creamy yet dairy-free alternative.
- Spicy Twist: Incorporate pickled jalapeños or kimchi into the filling for an added kick.
- Fruit Fusion: Add diced mango or pineapple for a refreshing fruity twist along with the veggies.
- Noodle Enhancer: Place a layer of cooked soba or rice noodles in the bottom of each cup for extra heartiness. This adds a chewy texture that makes every bite exciting.
- Crunch Factor: Toss in crushed nori or toasted panko breadcrumbs as a topping for an irresistible crunch.
- Garnish Flair: Experiment with microgreens or edible flowers instead of sesame seeds for a beautiful finish.
If you’re looking for more delicious ideas, consider making yogurt granola cups as a complementary snack. They’re a sweet treat that pairs beautifully with savory sushi cups!
Make Ahead Options
These sushi cups are perfect for meal prep enthusiasts! You can prepare the sushi rice up to 24 hours in advance; once cooked, let it cool, then press it into the muffin tin and refrigerate. The filling, which includes chopped veggies and steamed mukimame, can also be mixed a day ahead—just keep it covered in an airtight container to maintain freshness. When you’re ready to serve, simply remove the rice cups from the fridge, add your filling, drizzle with spicy mayo, and garnish with black sesame seeds. This way, you’ll have a delightful, quick snack or appetizer that’s just as delicious as when freshly made!
What to Serve with Sushi Cups
Create an unforgettable experience by pairing these delightful sushi cups with complementary dishes and drinks!
- Crispy Edamame: These lightly salted beans add an addictive crunch and extra protein, enhancing the overall flavor profile of your meal.
- Miso Soup: A warm bowl of miso soup offers umami richness, creating a perfect contrast to the fresh and cool sushi cups.
- Seaweed Salad: The salty, sesame-infused seaweed salad introduces a delightful texture and flavor balance, making each bite more exciting.
- Pickled Ginger: A refreshing palate cleanser, this tangy addition is handy for clearing the taste buds between bites of sushi cups.
- Sake: A chilled glass of sake elevates the meal, bringing an aromatic experience that complements the flavors of the cups beautifully.
- Fruit Sorbet: Light and refreshing, a bowl of fruity sorbet serves as a perfect dessert, offering a sweet contrast after your savory snack.
Elevate your sushi cups by incorporating one or more of these flavorful companions for a delightful spread that everyone will love!
Expert Tips for Sushi Cups
• Silicone Muffin Liners: Using these makes it so much easier to remove the rice cups without falling apart.
• Rinse Your Rice: Don’t skip rinsing; removing excess starch helps achieve that perfect sushi rice texture!
• Customize Vegetables: Avoid soggy cups by choosing crunchy, firm veggies such as bell peppers or cucumbers; they add texture to your sushi cups.
• Adjust the Mayo: Start with less Sriracha in your spicy mayo; you can always add more to suit your heat preference!
• Store Properly: Keep sushi cups in an airtight container and aim to enjoy them within 2 days for the best flavor and texture.
How to Store and Freeze Sushi Cups
Fridge: Store assembled sushi cups in an airtight container for up to 2 days. This keeps them fresh and maintains the texture of the ingredients.
Prep Ahead: You can prepare the rice base and filling separately up to 24 hours in advance, allowing for quick assembly when you’re ready to serve.
Freezer: While it’s best to enjoy sushi cups fresh, you can freeze the rice base for up to 1 month. Just ensure it’s securely wrapped. Thaw in the fridge before use.
Reheating: Avoid reheating assembled cups as the texture may change. Instead, enjoy them cold or at room temperature for optimal flavor and enjoyment.
Sushi Cups Recipe FAQs
How do I select the right sushi rice?
Absolutely! When choosing sushi rice, look for short-grain Japonica rice, which becomes sticky when cooked, making it perfect for molding into your sushi cups. Rinse the rice well under cold water a few times until the water runs clear; this removes excess starch and ensures a fluffy texture after cooking.
How long can I store sushi cups in the fridge?
You can store assembled sushi cups in an airtight container in the fridge for up to 2 days. However, for the best texture and freshness, it’s recommended to enjoy them within 24 hours. If you notice the rice starting to harden or the veggies losing their crunch, it’s time to indulge!
Can I freeze sushi cups?
While it’s best to enjoy sushi cups fresh, you can freeze the rice base separately for up to 1 month. To freeze, let the cooked rice cool completely, then transfer it to a freezer-safe bag or container, removing as much air as possible. When you’re ready to use it, simply thaw in the fridge overnight and mold into cups again.
What should I do if my sauce mixture is too spicy?
Very much! If your spicy mayo is too hot for your taste, add a bit more mayonnaise to dilute the heat, or you can mix in a touch of honey to balance it out. Start small, as you can always add more until it reaches your preferred level of spice.
Are sushi cups suitable for those with dietary restrictions?
Yes! These customizable sushi cups are a great option for various dietary needs. You can easily use gluten-free soy sauce or coconut aminos for those avoiding gluten. For a vegan version, simply omit the mayonnaise or substitute it with a plant-based alternative and skip the honey. To ensure they are pet-friendly, keep all ingredients, especially sauces, away from your furry friends!
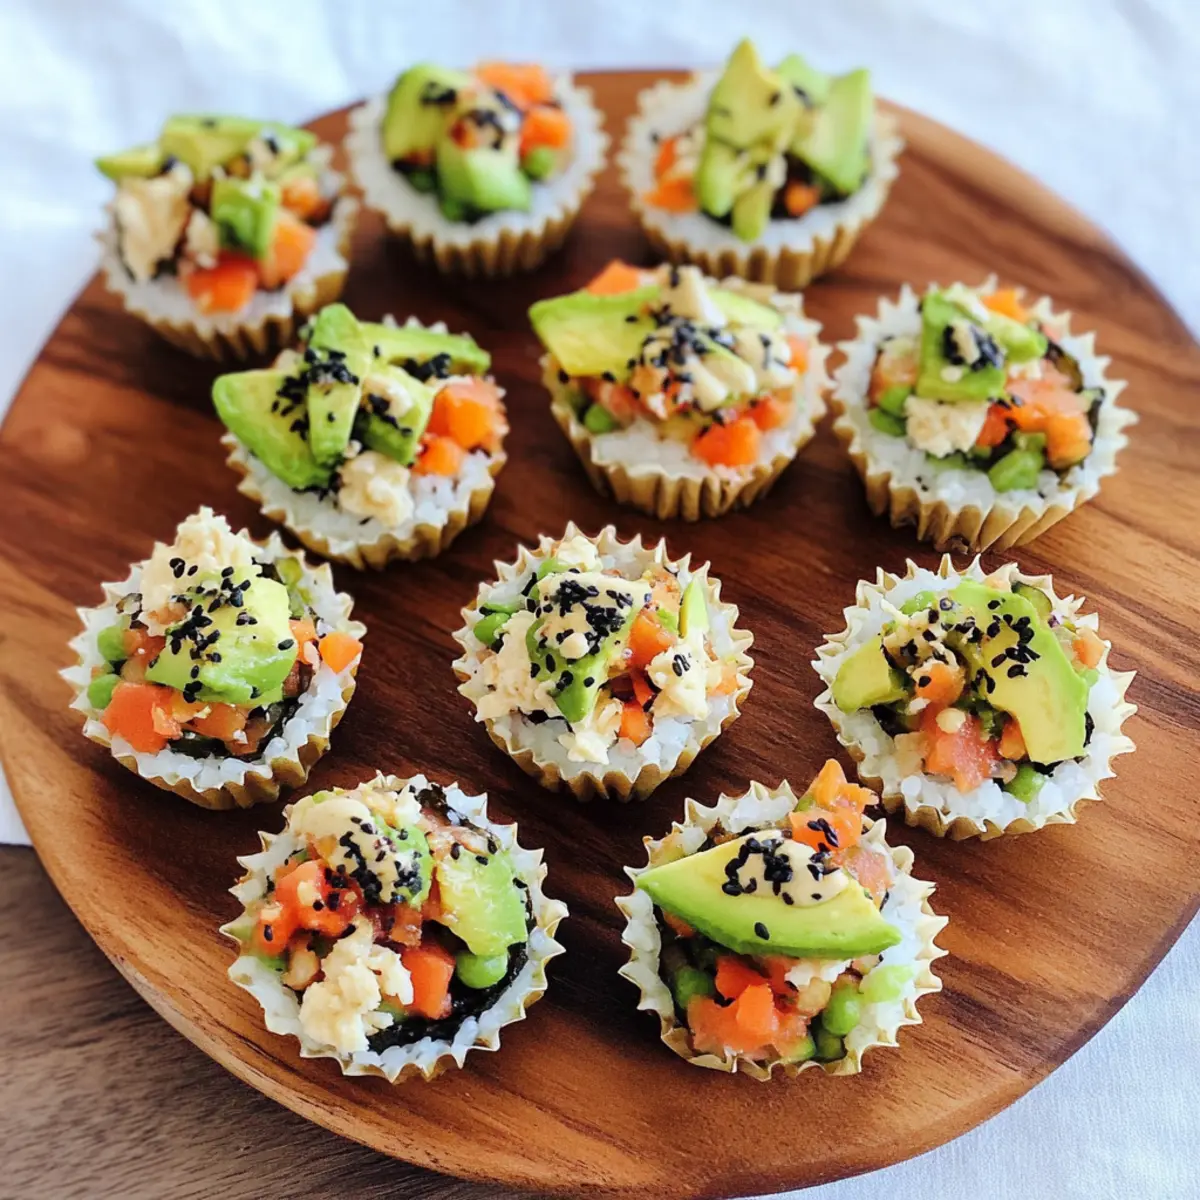
Customizable Sushi Cups for a Perfect No-Bake Snack
Ingredients
Equipment
Method
- Cook the rice by combining 1 cup of rinsed sushi rice with 1 ¼ cups of water in a medium pot. Bring to a boil, reduce heat, cover, and simmer for 20 minutes or until absorbed and tender. Let cool slightly.
- Mold the rice by pressing 2 heaping tablespoons of cooled sushi rice into each muffin tin cup, filling the bottom and sides. Chill in the refrigerator for about 20 minutes.
- Prepare the filling by combining finely chopped veggies, steamed mukimame, and diced avocado in a mixing bowl. Pour in your sauce of choice and toss until well-coated.
- Make the spicy mayo by whisking together 1/4 cup mayonnaise, 1 tablespoon Sriracha sauce, and a splash of soy sauce. Add honey and sesame oil if desired.
- Assemble the cups by spooning a tablespoon of the filling onto each rice base, drizzling with spicy mayo, and sprinkling black sesame seeds on top.
Leave a Reply