
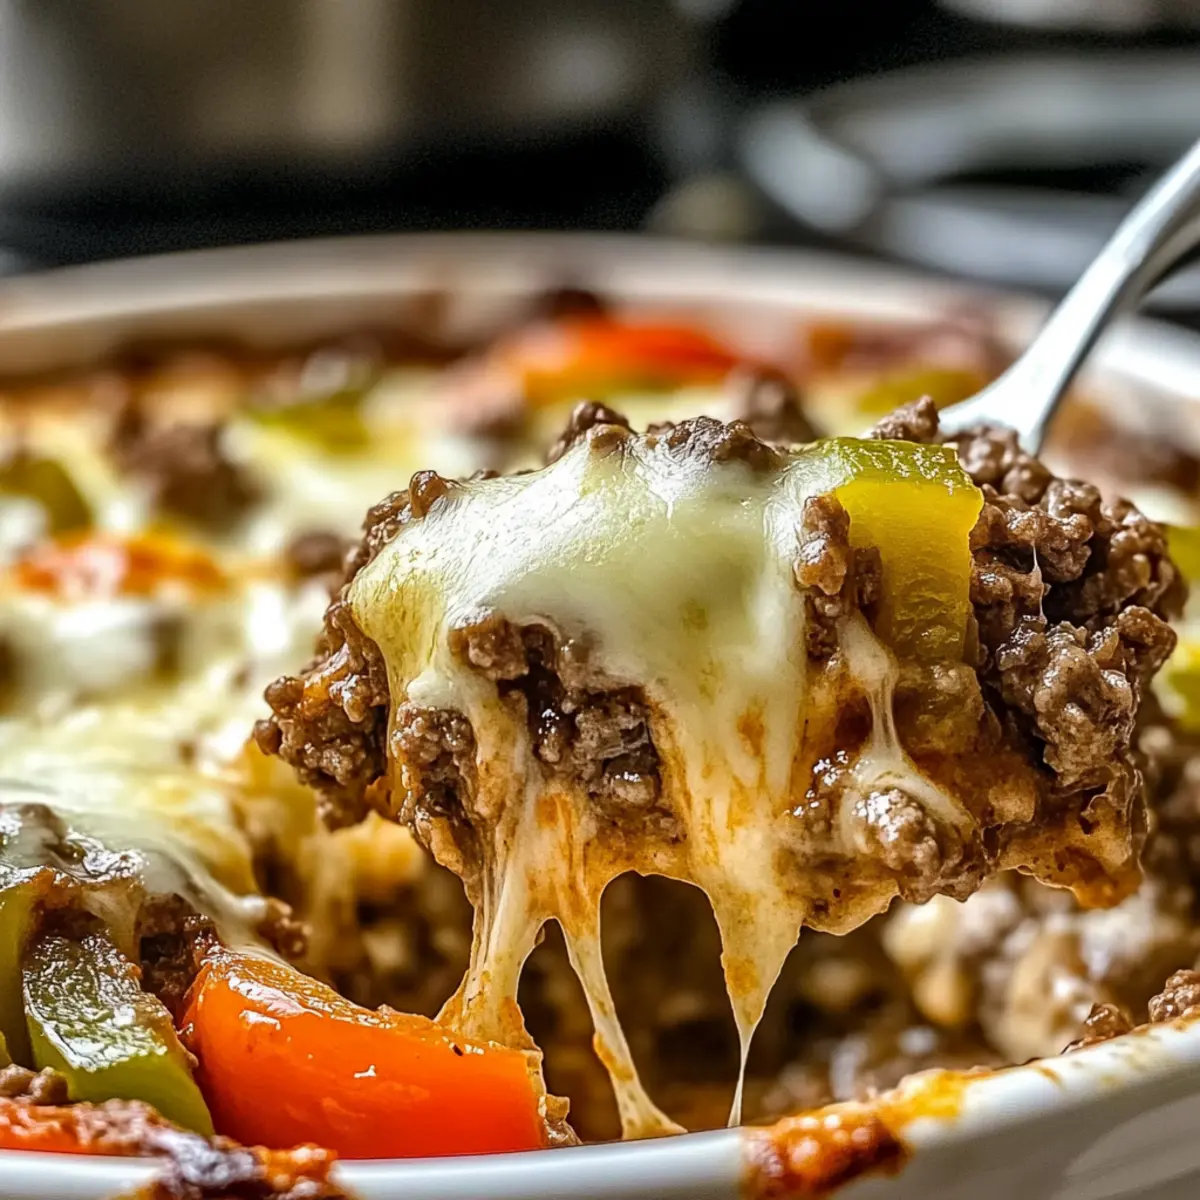
As I was rummaging through my fridge on a busy weeknight, it struck me: why not blend the flavors of a classic Philly cheesesteak into a delightful casserole? Enter my Low Carb Philly Cheesesteak Casserole—a dish that not only satisfies those savory cravings but also aligns with my low-carb lifestyle. Imagine tender ground beef, vibrant bell peppers, and creamy cheeses merging into a bubbling, cheesy masterpiece, perfect for both family dinners and meal prep. This quick-prep wonder is not only a crowd-pleaser but also a wholesome alternative to greasy takeout, letting you savor comfort food without the guilt. Are you ready to transform your weeknight routine with this delicious twist?
Why is this casserole a must-try?
Quick and Easy: This Low Carb Philly Cheesesteak Casserole comes together in under 30 minutes, making it an effortless choice for busy weeknights.
Rich, Comforting Flavors: The meld of tender ground beef, sautéed peppers, and creamy cheeses will transport you straight to flavor heaven.
Healthier Comfort Food: With a delicious low-carb profile, this casserole allows you to indulge without any of the guilt often associated with traditional versions.
Versatile and Customizable: Feel free to add your favorite veggies, like mushrooms, or swap out cheeses to create a personalized dish. Additionally, pairing it with a fresh salad or some garlic breadsticks elevates the experience!
Meal Prep Hero: This casserole holds up well in the fridge, making leftovers perfect for lunch or quick dinners throughout the week. You might also enjoy trying it alongside other easy options like Green Bean Casserole or Buttermilk Pancake Casserole for variety!
Philly Cheesesteak Casserole Ingredients
• Here’s what you need to create this delicious Philly Cheesesteak Casserole!
For the Casserole
- Ground Beef – The backbone of the dish; lean ground beef is ideal for a healthier option.
- Onion – Adds a sweet flavor; feel free to use shallots or green onions as an alternative.
- Bell Peppers – Provides colorful crunch; using a mix of colors makes the dish visually appealing.
- Garlic – Freshly minced garlic adds a robust aroma; garlic powder can be a quick substitute.
- Cream Cheese – Essential for that creamy texture; opt for low-fat cream cheese if watching calories.
- Worcestershire Sauce – Infuses a rich umami flavor; soy sauce works great as a substitute.
- Salt and Pepper – Crucial for seasoning; adjust according to your taste preferences.
- Provolone Cheese – Melts beautifully and contributes to the classic cheesesteak experience; mozzarella is a fine alternative.
- Shredded Mozzarella – Creates a beautifully gooey topping; swap for cheddar if you like a sharper flavor.
- Olive Oil – Perfect for sautéing work; feel free to use avocado oil for a different taste.
This low-carb casserole is sure to bring comfort and satisfaction to your table!
Step‑by‑Step Instructions for Philly Cheesesteak Casserole
Step 1: Preheat and Prepare
Begin by preheating your oven to 350°F (175°C). While the oven heats up, grab a 9×13-inch baking dish and lightly coat it with non-stick spray. This ensures that your Low Carb Philly Cheesesteak Casserole won’t stick, making serving and cleanup a breeze.
Step 2: Sauté the Veggies
In a large skillet over medium heat, pour in a tablespoon of olive oil. Add diced onion and bell peppers, sautéing for about 5-6 minutes until they become soft and translucent. The vibrant colors will brighten up your kitchen! Once softened, add minced garlic and let it cook for an additional 30 seconds until fragrant.
Step 3: Cook the Beef
Next, introduce the ground beef to your skillet, seasoning it with salt and pepper to taste. Cook the beef for about 7-8 minutes, stirring occasionally until browned and fully cooked through. You’ll know it’s ready when there’s no pink left and the aroma fills your kitchen. Stir in the Worcestershire sauce to deepen the flavor.
Step 4: Mix in the Cream Cheese
Reduce the heat to low, and add in the softened cream cheese. Stir continuously until the cream cheese is fully melted and thoroughly incorporated into the beef mixture, creating a rich, creamy texture. This step is crucial for that authentic Philly cheesesteak flavor combined with casserole comfort.
Step 5: Assemble the Casserole
Transfer the flavorful beef mixture into the prepared baking dish, spreading it out evenly. Layer slices of provolone cheese over the beef, making sure each bite will be cheesy. Then, generously sprinkle shredded mozzarella on top; this will melt into a delightful, gooey topping as it bakes.
Step 6: Bake to Perfection
Place the baking dish in the preheated oven and bake for 20-25 minutes. Keep an eye on it, and look for the cheese to be bubbly and golden brown on top, signaling that your Philly Cheesesteak Casserole is ready to impress!
Step 7: Cool and Serve
Once done baking, remove the casserole from the oven and let it rest for about 5 minutes. This resting period helps the layers settle, making serving easier. Now, you’re all set to dish out this comforting delight to your family and savor the delicious, cheesy goodness!
Make Ahead Options
These Low Carb Philly Cheesesteak Casserole components are perfect for meal prep enthusiasts! You can cook the beef and vegetable mixture up to 24 hours in advance. Simply sauté the onions, bell peppers, and ground beef as directed, then let it cool before transferring it to an airtight container to refrigerate. To maintain quality, make sure the cream cheese is fully blended in to avoid any lumps. When you’re ready to serve, layer the mixture with provolone and mozzarella cheese, and just pop it in the oven, baking for 20-25 minutes until bubbly and golden. You’ll enjoy a delicious meal with minimal effort, perfect for busy weeknights!
Expert Tips for Philly Cheesesteak Casserole
- Pre-Cook Ingredients: Plan ahead by pre-cooking the beef and vegetables up to 24 hours in advance, making your weeknight dinner even easier.
- Soften Cream Cheese: Always ensure the cream cheese is fully softened before mixing; this creates a smooth texture and avoids lumps in the casserole.
- Taste Test: Remember to taste your mixture before baking. Adjust the seasoning as needed to ensure a flavorful end result for your Philly Cheesesteak Casserole.
- Visual Appeal: Use a vibrant mix of bell peppers for added color and nutrition, making your dish as pleasing to the eyes as it is to the palate.
- Storage Tips: Leftovers can be kept in an airtight container in the fridge for up to 4 days, making it perfect for quick meals throughout the week.
What to Serve with Low Carb Philly Cheesesteak Casserole?
Elevate your meal experience by pairing this cheesy delight with sides that complement its rich flavors and textures.
- Crisp Green Salad: A light and refreshing salad balances the casserole’s richness, adding a burst of freshness with each bite.
- Garlic Breadsticks: Warm, buttery breadsticks are perfect for soaking up the creamy sauce, enhancing the overall comfort food experience.
- Roasted Brussels Sprouts: The caramelized exterior of Brussels sprouts adds a delightful crunch, while their earthy flavor intertwines beautifully with the casserole.
- Zucchini Noodles: For a low-carb twist, serve this dish on a bed of zucchini noodles; they soak up the flavors while keeping it wholesome.
- Cauliflower Mash: Creamy cauliflower mash offers a velvety texture that mimics traditional mashed potatoes, pairing wonderfully with the casserole.
- Steamed Asparagus: Crisp-tender asparagus brings a vibrant green pop to the plate, providing a fresh contrast to the hearty casserole.
- Red Wine: A glass of full-bodied red wine enhances the savory flavors, making it an excellent companion for this indulgent dish.
- Chocolate Mousse: Finish your meal on a sweet note with rich chocolate mousse; its light texture will perfectly cap off this comforting experience.
How to Store and Freeze Philly Cheesesteak Casserole
Fridge: Store leftovers in an airtight container for up to 4 days. This way, you can easily enjoy your Philly Cheesesteak Casserole as quick lunches or cozy dinners.
Freezer: For longer storage, freeze the casserole in a freezer-safe container for up to 3 months. Be sure to let it cool completely before sealing to prevent freezer burn.
Reheating: When ready to enjoy, thaw in the fridge overnight, then reheat in the microwave or oven until warmed through. You’ll love the taste of home-cooked comfort on your busy days!
Make-Ahead Tip: Feel free to assemble the casserole ahead of time, refrigerate it, and bake when you’re ready. This will save time without compromising the deliciousness!
Philly Cheesesteak Casserole Variations
Let your creativity shine with these tempting twists on the classic dish that can awaken your taste buds!
-
Mushroom Medley: Add sautéed mushrooms for an earthy flavor that enhances the richness of the casserole. They complement the beef beautifully.
-
Lean Protein Option: Swap ground beef for ground turkey or chicken to create a lighter version without sacrificing flavor. Both options bring a delightful twist!
-
Cheese Swap: Use gooey Monterey Jack or pepper jack cheese instead of provolone for a spicy, melty surprise that brings an extra kick.
-
Veggie Boost: Stir in some roasted zucchini or spinach for added nutrients and texture. A colorful mix makes for a more enticing dish!
-
Creamy Veggie Variety: Incorporate a dollop of sour cream or Greek yogurt mixed in to bring a tangy twist while enhancing the creaminess!
-
Gluten-Free Friendly: Use gluten-free Worcestershire sauce to keep the dish friendly for those with gluten sensitivities without losing any flavor.
-
Zesty Addition: Add crushed red pepper flakes or hot sauce before baking for those who crave a spicy kick! Adjust the heat level to your preference!
-
Side Pairing Suggestions: Serve alongside a light, refreshing salad or your favorite low-carb breadsticks to round out the meal beautifully. You might enjoy complementing with a delightful Green Bean Casserole.
Feel free to experiment with these options to create the perfect version of your Low Carb Philly Cheesesteak Casserole that your family will love!
Philly Cheesesteak Casserole Recipe FAQs
What kind of ground beef should I use?
Opt for lean ground beef to keep the casserole lighter yet flavorful. If you prefer, ground turkey or chicken can also be used as a great alternative for a healthier twist.
How should I store leftovers?
Store leftovers in an airtight container in the fridge for up to 4 days. This will keep your Philly Cheesesteak Casserole fresh and ready for quick meals throughout the week.
Can I freeze Philly Cheesesteak Casserole?
Absolutely! To freeze, allow the casserole to cool completely, then transfer it to a freezer-safe container. It can be stored for up to 3 months. Be sure to label it for easy identification later!
What if the cream cheese doesn’t blend well?
If you’re having trouble blending the cream cheese, ensure it’s at room temperature before mixing. You can also use a hand mixer to achieve a smooth consistency, ensuring no lumps in your casserole.
Are there any dietary considerations I should keep in mind?
Definitely! If cooking for someone with lactose intolerance, you can substitute cream cheese and provolone cheese for lactose-free varieties. Additionally, be mindful of any other food allergies your guests may have, especially with ingredients like Worcestershire sauce, which sometimes contains gluten.
Philly Cheesesteak Casserole: Comfort Food Done Low Carb
Ingredients
Equipment
Method
- Preheat the oven to 350°F (175°C) and prepare a 9x13-inch baking dish with non-stick spray.
- In a large skillet, heat olive oil over medium heat. Add onion and bell peppers, sauté for 5-6 minutes until soft. Stir in minced garlic for another 30 seconds.
- Add ground beef to the skillet, season with salt and pepper, and cook for 7-8 minutes until browned. Stir in Worcestershire sauce.
- Reduce heat to low and mix in softened cream cheese until fully melted and combined.
- Transfer the beef mixture to the prepared baking dish, layer provolone cheese, and top with shredded mozzarella.
- Bake in the preheated oven for 20-25 minutes until cheese is bubbly and golden.
- Let the casserole cool for about 5 minutes before serving.
Leave a Reply