
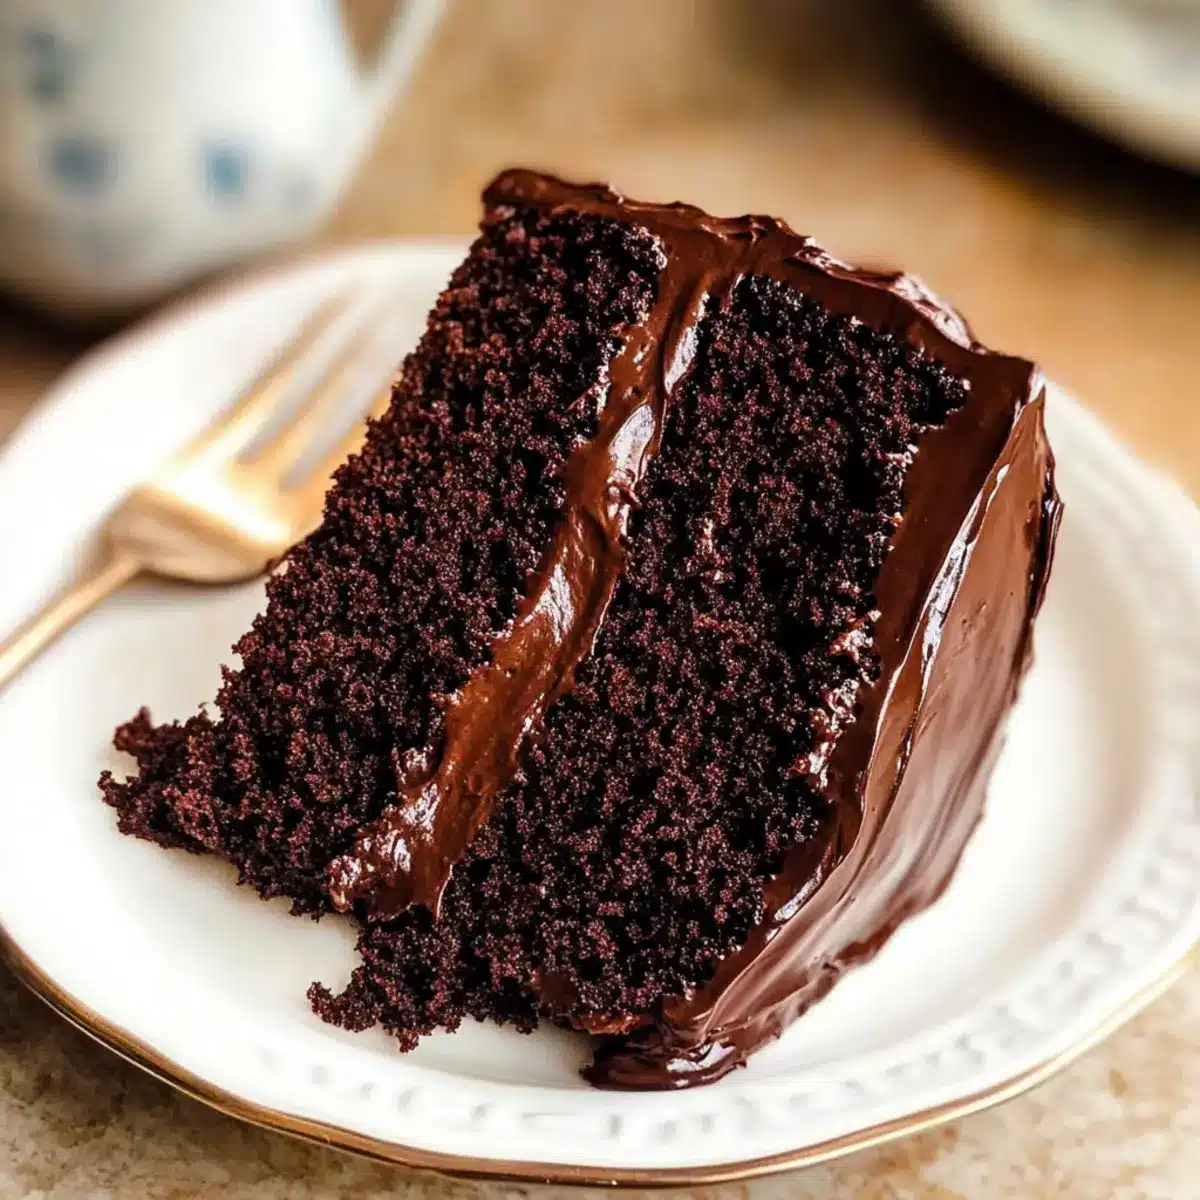
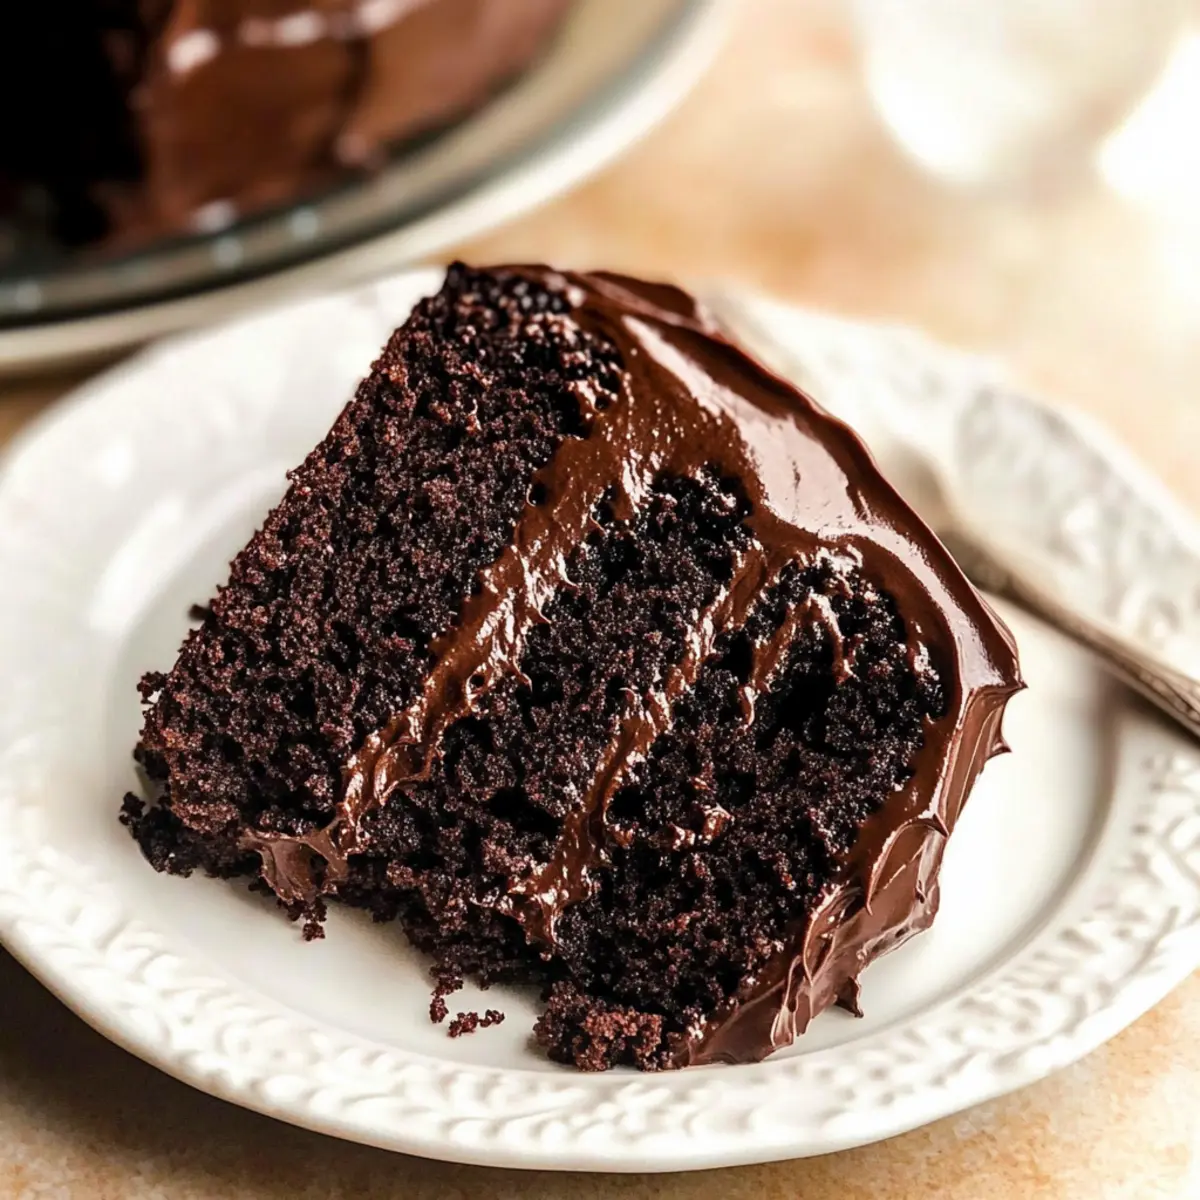
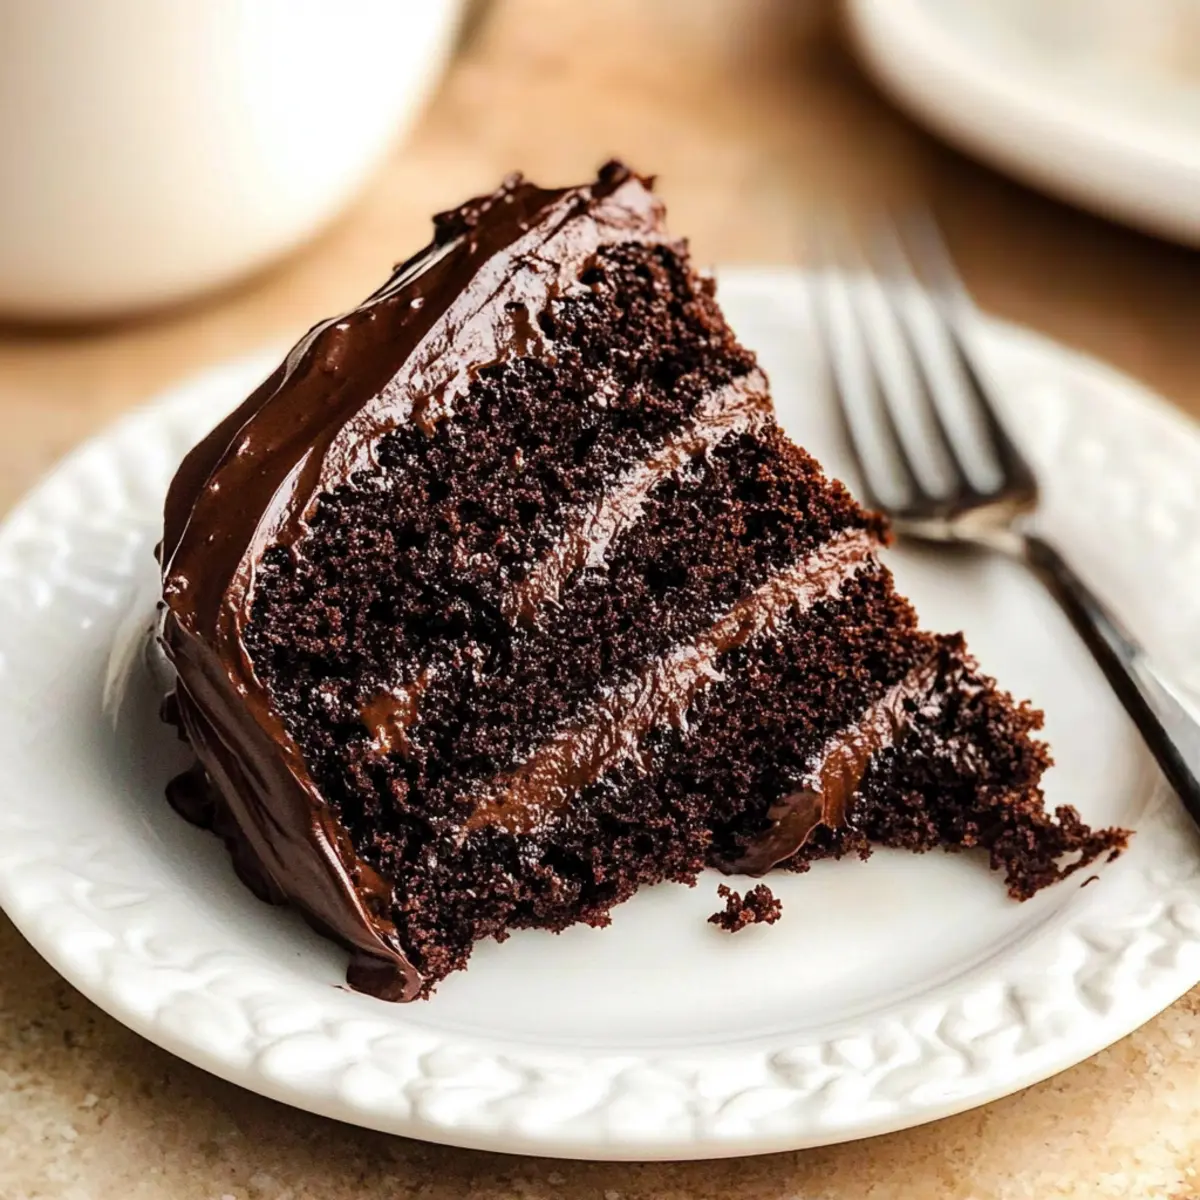
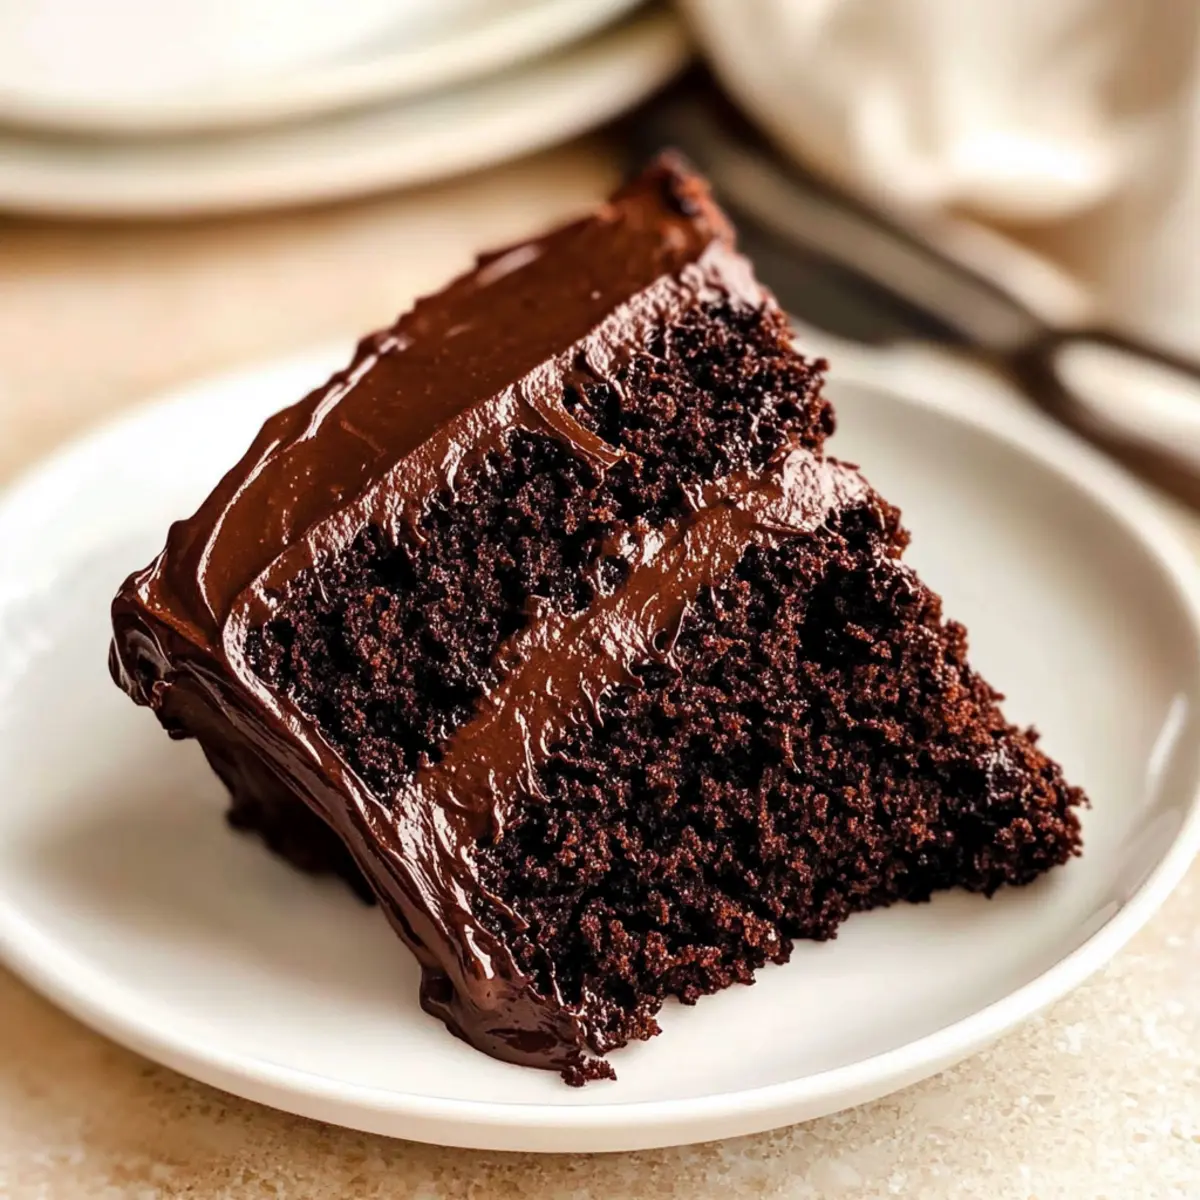
Have you ever found yourself yearning for a slice of childhood nostalgia? Matilda’s Chocolate Cake is the perfect dessert to fulfill that craving! This recipe captures the essence of the beloved film, offering moist, tender layers of rich chocolate sponge topped with luxurious fudge frosting. Not only is this cake a stunning centerpiece for any gathering, but it’s also remarkably simple to make, even if you’re not a seasoned baker. With just a few accessible ingredients, you’ll enjoy a decadent treat that can easily be adapted into cupcakes or layered masterpieces. Plus, it’s ideal for impressing guests at parties or celebrating special moments with loved ones. Why not treat yourself and discover the magic behind this chocolate delight? What’s your favorite way to enjoy chocolate cake?
Why Is Matilda’s Cake So Irresistible?
Unmatched Moisture: The secret lies in the buttermilk and vegetable oil, ensuring each bite is melt-in-your-mouth delicious.
Deliciously Adaptable: Whether you prefer a layer cake for a celebration or delightful cupcakes for a casual treat, this recipe fits the bill perfectly.
Easy to Master: With clear steps and simple ingredients, even beginner bakers will feel like pros whipping up this showstopper.
Rich Chocolate Flavor: The use of Dutch-processed cocoa and a touch of hot coffee elevates the flavors, making every slice a rich chocolate experience.
Crowd-Pleaser: Served warm or cold, this cake pairs beautifully with a scoop of vanilla ice cream or some fresh berries. If you’re loving these ideas, check out my Vegan Chocolate Chip cookies for another indulgent recipe.
Elegant Finish: The glossy fudge frosting not only enhances the presentation but also adds a luxurious touch that’s perfect for any occasion.
Matilda’s Chocolate Cake Ingredients
For the Cake
- All-Purpose Flour – Provides the essential structure for your cake; be sure to measure correctly to prevent dryness.
- Dutch-Processed Cocoa Powder – Gives that rich dark color and intense chocolate flavor; remember to bloom half in coffee for the best results.
- Granulated Sugar – Adds sweetness and contributes to a tender crumb, ensuring your cake remains moist.
- Baking Soda & Baking Powder – Key leaveners for a well-risen cake, allowing it to rise beautifully in the oven.
- Fine Sea Salt – Enhances the chocolate flavor while balancing the sweetness of the sugar.
- Buttermilk – This ingredient adds acidity, resulting in a tender, melt-in-your-mouth texture in your cake.
- Vegetable Oil – Keeps the cake moist for days; unlike butter, it won’t solidify at room temperature.
- Large Eggs – Acts as a binder and enriches the cake’s flavor and texture.
- Hot Brewed Coffee – Used to bloom the cocoa, enhancing the chocolate notes without adding a coffee flavor.
- Pure Vanilla Extract – Adds depth to the overall chocolate experience, making it even more enjoyable.
For the Frosting
- Semi-Sweet Chocolate – High-quality bars (60-70% cocoa) create that perfect mirror shine in the frosting; avoid using chocolate chips.
- Unsalted Butter – Provides richness to the frosting and creates a lovely “snap” when set.
- Heavy Cream – Helps form a smooth emulsion for a pourable, silky frosting.
- Powdered Sugar – Always sift for a smooth, flawless frosting texture.
Make this Matilda’s Chocolate Cake and bring a slice of nostalgia filled with rich flavors into your home.
Step‑by‑Step Instructions for Matilda’s Chocolate Cake
Step 1: Preheat the Oven and Prepare Pans
Begin by preheating your oven to 350°F (175°C). While the oven is warming, take two 8-inch round cake pans and grease them with butter or cooking spray, then line the bottoms with parchment paper for easy release. This preparation ensures that your Matilda’s chocolate cake layers come out smoothly after baking.
Step 2: Bloom the Cocoa Powder
In a small mixing bowl, combine half of the Dutch-processed cocoa powder with a half cup of hot brewed coffee. Stir the mixture well until you achieve a smooth paste. Let it sit for a few minutes to bloom; this step enriches the chocolate flavor in your cake, making it more robust and delicious when baked.
Step 3: Mix Dry Ingredients
In a larger mixing bowl, sift together the all-purpose flour, the remaining cocoa powder, granulated sugar, baking soda, baking powder, and fine sea salt. Sifting helps incorporate air and removes any lumps, ensuring a smooth batter that results in a light and fluffy Matilda’s chocolate cake.
Step 4: Combine Wet Ingredients
Add large eggs, buttermilk, vegetable oil, and pure vanilla extract to the bowl of dry ingredients. Use a whisk to blend everything until the mixture is smooth and homogenous. Taking this step to ensure no lumps remain is crucial for a cake with the best texture and flavor.
Step 5: Incorporate Cocoa Mixture
Once the wet and dry ingredients are well combined, stir in the bloomed coffee-cocoa mixture until fully integrated. This rich chocolate concoction enhances the overall chocolate experience of Matilda’s chocolate cake. Ensure there are no dry streaks of flour left in the batter for optimal flavor and moisture.
Step 6: Pour the Batter
Carefully pour the cake batter evenly into the prepared cake pans, filling each about two-thirds full. Give the pans a gentle tap on the counter to release any air bubbles that may have formed. This positioning will help your cake layers rise evenly during baking, resulting in beautifully shaped layers.
Step 7: Bake the Cakes
Place the pans in your preheated oven and bake for 30-35 minutes. Keep an eye on them during the last few minutes; when a toothpick inserted into the center comes out clean or with a few moist crumbs, the Matilda’s chocolate cake is ready to come out of the oven.
Step 8: Cool the Cakes
Allow the cakes to cool in their pans for about 10 minutes. Then, carefully turn them out onto a wire rack to cool completely. This step is essential; cooling properly will help maintain the moist texture characteristic of Matilda’s chocolate cake while preventing it from becoming soggy.
Step 9: Prepare the Frosting
For the fudge frosting, melt together chopped semi-sweet chocolate, unsalted butter, heavy cream, and sifted powdered sugar in a saucepan over low heat. Stir continuously until the mixture is smooth and uniform. This careful melting creates a luxurious frosting that perfectly complements your cake.
Step 10: Strain and Chill the Frosting
Once melted, strain the frosting through a fine sieve to remove any lumps, ensuring a silky texture. Let it chill in the refrigerator for about 20-30 minutes until it thickens slightly and is spreadable. Chilling allows the frosting to maintain a glossy finish when applied to Matilda’s chocolate cake.
Step 11: Assemble and Frost the Cake
Once your cakes have cooled completely, place one layer on a serving plate. Spread a generous amount of frosting between the layers and then continue to frost the top and sides of the cake. Smooth out the frosting for a stunning presentation. Let it set until the frosting firms up, achieving that beautiful glossy finish you desire.
Step 12: Serve and Enjoy
Your decadent Matilda’s chocolate cake is now ready to be shared! Slice it into pieces and serve with a scoop of vanilla ice cream or fresh raspberries if desired. Each slice delivers a blend of moist cake and rich frosting that is sure to delight everyone at your table.
Make Ahead Options
Matilda’s Chocolate Cake is an excellent choice for meal prep enthusiasts! You can bake the chocolate cake layers up to 3 days in advance and store them wrapped tightly in plastic wrap in the refrigerator to maintain moisture. The frosting can also be prepared 24 hours ahead; just chill it in the fridge until you’re ready to use it. To keep your brownie-like texture intact, make sure to cool the cake completely before wrapping to prevent condensation. When it’s time to serve, simply frost the cake and let it set for a few minutes. This way, you’ll enjoy a luxuriously rich cake without the last-minute rush!
Matilda’s Chocolate Cake Variations
Feel free to unleash your creativity and customize Matilda’s chocolate cake with these delightful twists!
-
Cupcakes: Bake the batter in cupcake liners for an easy, portable treat; adjust the bake time to 18-22 minutes for perfect mini cakes.
-
Dairy-Free: Replace buttermilk with almond milk mixed with vinegar and use vegan butter in the frosting for a creamy, guilt-free indulgence.
-
Gluten-Free: Swap out all-purpose flour for a 1-to-1 gluten-free flour blend, ensuring everyone can enjoy this delectable cake!
-
Flavor Boost: Add a teaspoon of espresso powder to the dry ingredients to elevate the chocolate flavor, creating an even richer taste.
-
Nutty Delight: Fold chopped walnuts or pecans into the batter for a delightful crunch that complements the soft cake texture beautifully.
-
Minty Freshness: Mix in a drop or two of peppermint extract for a refreshing twist that makes each bite feel like a holiday treat.
-
Spicy Kick: Enhance your cake with a dash of cayenne or chili powder for a daring chocolate experience that tantalizes the taste buds.
Whether you dive into these variations or stick with the classic, this cake is sure to impress! And if you’d like more chocolate inspiration, don’t miss my decadent Chocolate Cobbler Decadent and the delightful Cream Cheese Chocolate Chip cookies!
How to Store and Freeze Matilda’s Chocolate Cake
Room Temperature: Keep the cake in an airtight container at room temperature for up to 5 days. This helps maintain its moist texture without drying it out.
Fridge: If your kitchen is warm, you can refrigerate the cake for up to 3 days. Just ensure it’s tightly wrapped to prevent it from absorbing any odors.
Freezer: For long-term storage, freeze the cake by wrapping it tightly in plastic wrap followed by aluminum foil for up to 3 months. Thaw in the fridge overnight before serving.
Reheating: If you prefer warm cake, gently microwave individual slices for 10-15 seconds. This brings the flavors to life, making your Matilda’s chocolate cake even more delightful!
What to Serve with Matilda’s Chocolate Cake
Indulging in a slice of this rich chocolate delight creates the perfect opportunity to craft a memorable meal experience.
-
Creamy Vanilla Ice Cream: Its smooth texture and sweetness create a delightful contrast to the rich chocolate, melting into each bite.
-
Fresh Raspberries: The tartness of these vibrant berries cuts through the cake’s richness, adding a refreshing balance that brightens your palate.
-
Chocolate Ganache: For those extra chocolate lovers, drizzling additional ganache brings a luscious richness, elevating your dessert to a gourmet level.
-
Espresso or Coffee: A strong cup of coffee enhances the deep flavors of the cake, creating a comforting finish to your indulgence.
-
Whipped Cream: Light and airy, a dollop of freshly whipped cream adds a lightness that perfectly complements the dense cake.
-
Chocolate Mousse: For the ultimate chocolate experience, serve a scoop of airy chocolate mousse alongside your cake. The textures perfectly contrast and create a decadent dessert duo.
-
Hazelnut Liqueur: Pour a small glass of this nutty delight to sip alongside your cake, enhancing the chocolate flavor in a delightful way.
-
Caramel Sauce: A drizzle of warm caramel adds a rich sweetness, complementing the chocolate and giving an inviting twist to each slice.
-
Mint Chocolate Chip Cookies: Pair the cake with a few crispy cookies for an unexpected crunch, creating a playful interaction of flavors.
Expert Tips for Matilda’s Chocolate Cake
-
Measure Carefully: Using a kitchen scale for ingredients ensures precision, preventing a too-dry or dense cake and guaranteeing that your Matilda’s chocolate cake comes out perfect every time.
-
Bloom the Cocoa: Never skip blooming the cocoa in coffee, as this step enhances the chocolate flavor significantly, giving your cake a richer taste.
-
Mix Lightly: Combine ingredients just until smooth; over-mixing can develop gluten, leading to a tough cake. Keep that tenderness intact for a melt-in-your-mouth experience!
-
Mind the Temperature: Use a digital thermometer to check your cake; it should reach 205°F (96°C) internal temperature for the best texture.
-
Chill the Frosting: Allow your fudge frosting to cool and thicken before applying it. Warm frosting can lose its glossy finish and result in a less desirable texture on your Matilda’s chocolate cake.
Matilda’s Chocolate Cake Recipe FAQs
How do I choose the right cocoa powder for my Matilda’s chocolate cake?
Absolutely! When selecting cocoa powder, opt for Dutch-processed cocoa powder, as it provides a richer flavor and darker color needed for this cake. Make sure it’s fresh, as stale cocoa can dull the flavor of your cake. Look for a brand that’s labeled as unsweetened and avoid any blends or sweetened versions.
How should I store my Matilda’s chocolate cake?
You can keep your cake in an airtight container at room temperature for up to 5 days. This way, it stays perfectly moist! If you live in a warm climate, consider refrigerating it; just wrap it tightly to avoid drying out. To savor it longer, freezing is a great option—wrap it in plastic wrap followed by aluminum foil, and it will last for up to 3 months.
Can I freeze Matilda’s chocolate cake?
Absolutely! To freeze your Matilda’s chocolate cake, start by ensuring it’s completely cooled. Then, wrap it carefully in plastic wrap, making sure there are no gaps, to prevent freezer burn. After that, wrap it in aluminum foil for an extra layer of protection. When you’re ready to enjoy it, let it thaw overnight in the fridge to bring back that delightful texture.
What if my cake is too dry?
If you find your cake turns out dry, it could be due to overmixing or incorrect measurements. Be sure to measure your flour accurately! It’s best to spoon the flour into your measuring cup, then level it off without packing. If you’re in a pinch and need to salvage it, you can brush a simple syrup (equal parts water and sugar simmered until dissolved) over the layers before frosting—this adds moisture back in.
Can I make Matilda’s chocolate cake dairy-free?
Yes, indeed! To make a dairy-free version, substitute the buttermilk with a mix of plant-based milk and vinegar (1 cup plant milk + 1 tablespoon vinegar works wonders). For the frosting, you can use vegan butter instead of regular butter, ensuring you maintain that luscious, creamy texture. Your guests won’t even know it’s dairy-free!
Is Matilda’s chocolate cake safe for pets?
No, it’s best to keep this cake away from pets, especially dogs. The chocolate content can be toxic to them, so ensure they stick to their safe treats instead! Always be cautious about sharing human food with your furry friends.
Decadent Matilda's Chocolate Cake That Melts in Your Mouth
Ingredients
Equipment
Method
- Preheat your oven to 350°F (175°C) and prepare two 8-inch round cake pans.
- Combine half of the cocoa powder with hot coffee in a bowl and let it bloom.
- In a larger bowl, sift together flour, remaining cocoa powder, sugar, baking soda, baking powder, and salt.
- Add eggs, buttermilk, vegetable oil, and vanilla to dry ingredients and mix until smooth.
- Stir in the bloomed cocoa mixture until fully incorporated.
- Pour batter into prepared pans, filling each about two-thirds full.
- Bake for 30-35 minutes and check for doneness with a toothpick.
- Cool in pans for 10 minutes before transferring to a wire rack.
- Melt chocolate, butter, cream, and sifted sugar together to make the frosting.
- Strain frosting to remove lumps and chill for 20-30 minutes.
- Assemble the cake by layering and frosting accordingly.
- Serve slices with optional vanilla ice cream or fresh raspberries.
Leave a Reply