
The aroma of freshly baked bread wafting through your home is like a warm hug from grandma—comforting and perfect for sparking cherished memories. With this No-Knead Dutch Oven Crusty Bread recipe, you won’t need hours of kneading or specialized skills to achieve that gorgeous, golden crust and airy interior. Using just four simple ingredients, this method makes homemade bread accessible to everyone, even if you’ve never tackled dough before. Plus, the minimal hands-on time means you can easily fit this into your busy week! Imagine serving it warm alongside your favorite soup or slathered with butter, turning a simple meal into something truly special. Ready to roll up your sleeves and dive into the bliss of homemade bread? Let’s get started!
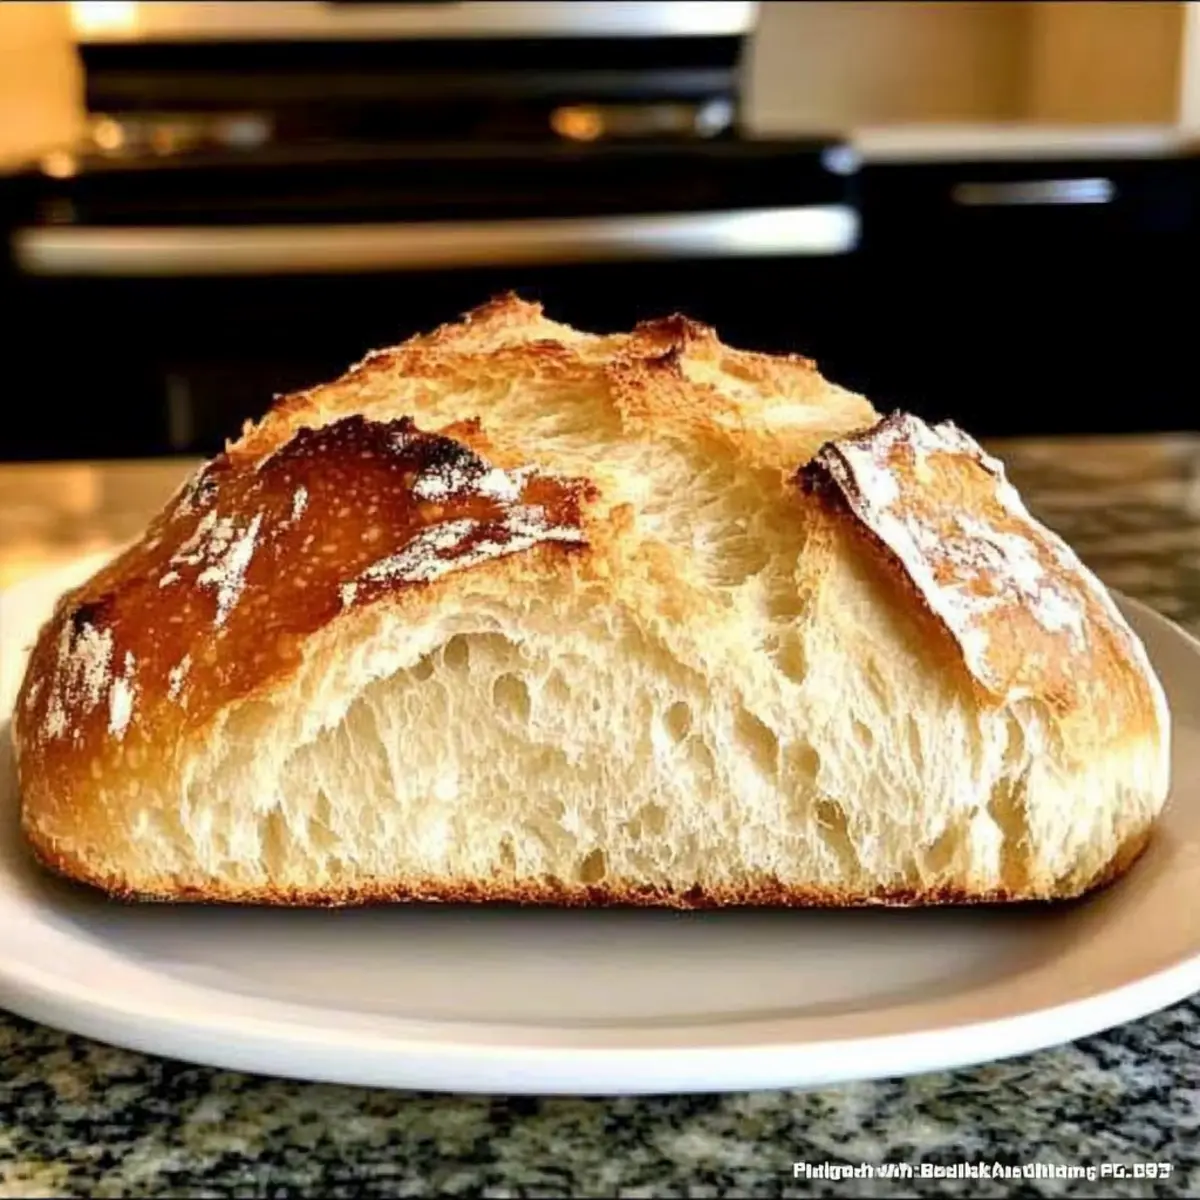
Why Is No-Knead Bread So Special?
Accessible, Even if you’ve never baked bread before, this recipe is brilliantly simple and requires no special techniques. Flavorful and Fresh, The combination of a crispy crust and a soft, airy interior elevates any meal, making it feel like a treat. Versatile, You can customize this dough easily by adding herbs or experimenting with different flours, like in our Cranberry Orange Bread or Homemade Cheesy Breadsticks. Time-Saving, With just minutes of active prep time, the long resting period allows the dough to develop flavor without you lifting a finger. Crowd-Pleasing, There’s nothing quite like the fresh scent of bread baking to bring friends and family together for a warm, delicious experience.
No-Knead Dutch Oven Crusty Bread Ingredients
For the Dough
- All-Purpose Flour – Provides structure and body to the bread; feel free to swap it with bread flour for a chewier texture.
- Kosher Salt – Enhances flavor and controls yeast activity; switch to table salt by reducing the amount slightly due to its finer grain.
- Dry Yeast – Vital for helping the bread rise; ensure it’s fresh, and you can use either active dry or highly active dry varieties.
- Lukewarm Water – Activates the yeast; aim for a temperature around 110°F to ensure it works effectively and doesn’t kill the yeast.
Optional Enhancements
- Herbs (e.g., Rosemary) – Consider adding these for an aromatic flavor boost; they pair beautifully with the crusty bread.
- Additional Flour Variations – Experiment with whole wheat or rye flour to explore different textures and flavors.
This simple list of ingredients makes it easy to master the art of homemade, no-knead Dutch oven crusty bread!
Step‑by‑Step Instructions for No-Knead Dutch Oven Crusty Bread
Step 1: Mix Ingredients
In a large mixing bowl, combine 3 cups of all-purpose flour, 1 teaspoon of kosher salt, and 1/4 teaspoon of dry yeast. Stir the dry ingredients together thoroughly to ensure the yeast and salt are evenly distributed. This dry mix will form the foundation of your No-Knead Dutch Oven Crusty Bread, so take a moment to incorporate everything well.
Step 2: Add Water
Pour in 1 1/2 cups of lukewarm water (around 110°F) into the dry mixture. Using a wooden spoon or rubber spatula, stir until the mixture becomes a shaggy, cohesive dough. It’s okay if the dough seems sticky—this is normal for no-knead bread and contributes to that beautiful airy texture.
Step 3: Let It Rise
Cover the bowl tightly with plastic wrap and let the dough rise at room temperature for 8 to 24 hours. You’ll know it’s ready when it has doubled in size and shows plenty of bubbles on the surface. This long rising time is what makes your No-Knead Dutch Oven Crusty Bread easy and flavorful.
Step 4: Preheat the Dutch Oven
About 1.5 hours before you’re ready to bake, preheat your oven to 450°F. Place your empty Dutch oven (with its lid) in the oven while it’s preheating. This heating step is crucial for developing that perfect crust, so be sure to allow it to warm up thoroughly for about 30 minutes.
Step 5: Shape the Dough
Once the dough has risen beautifully and your Dutch oven is hot, turn the dough out onto a floured surface. Using floured hands, gently shape the dough into a ball, being careful not to knead it. The surface should be slightly tacky, and this step is perfect for creating the shape of your No-Knead Dutch Oven Crusty Bread.
Step 6: Rest Before Baking
Cover the shaped dough loosely with plastic wrap and allow it to rest for about 30-45 minutes. This gives the dough a chance to puff up slightly while your Dutch oven continues to heat. It’s a great time to prepare for the next step!
Step 7: Transfer Dough to Pot
Carefully remove the hot Dutch oven from the oven. Place a piece of parchment paper inside the pot and gently flip the dough onto it. This will help with easy lifting and prevent sticking. With the parchment as a support, lift the dough and set it into the Dutch oven for baking.
Step 8: Bake with the Lid On
Cover the Dutch oven with its lid and place it back in the oven. Bake for 30 minutes. The steam trapped inside will help create that sought-after crusty exterior, so resist the urge to peek while it bakes!
Step 9: Finish Baking
After 30 minutes, remove the lid from the Dutch oven and bake uncovered for an additional 7-15 minutes. Watch for a deep golden color that indicates your No-Knead Dutch Oven Crusty Bread is ready. The crust should look beautifully firm and crackling for that artisanal touch.
Step 10: Cool and Slice
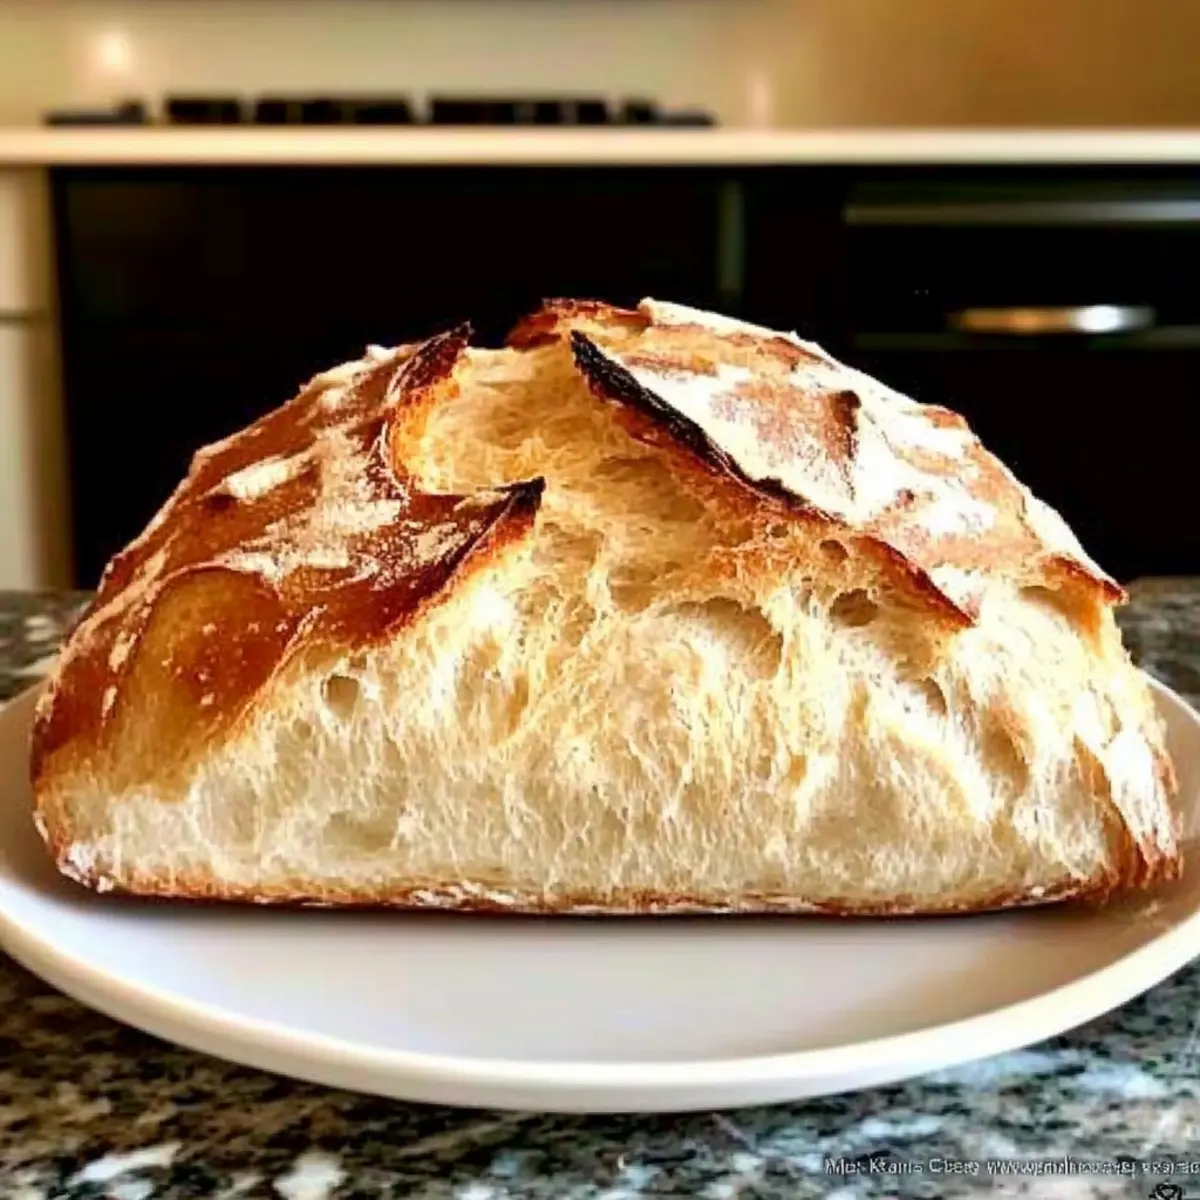
Once baked to perfection, carefully transfer the bread to a wire rack and let it cool slightly. Allowing it to cool will make slicing easier and help maintain that wonderful crust. Once slightly cooled, slice into the loaf and enjoy the fruits of your labor!
Make Ahead Options
Making No-Knead Dutch Oven Crusty Bread is ideal for busy home cooks looking to save time without sacrificing quality! You can prepare the dough up to 24 hours in advance, allowing it to rise overnight in the fridge. Simply follow the initial steps of mixing the ingredients and allowing the dough to rest at room temperature. Then, refrigerate it instead of leaving it out. This way, the dough will develop even more flavor. When you’re ready to bake, let it sit at room temperature for about 30 minutes before shaping and baking as instructed. You’ll still achieve that crusty, artisan quality with just a few moments of effort!
How to Store and Freeze No-Knead Dutch Oven Crusty Bread
- Room Temperature: Keep the bread wrapped in a clean kitchen towel for up to 1 day; this helps preserve the crust while allowing it to breathe.
- Fridge: Avoid refrigerating, as this can lead to a stale texture; store at room temperature instead.
- Freezer: Slice the bread and freeze in an airtight container or freezer bag for up to 3 months. To enjoy later, simply thaw and reheat.
- Reheating: To restore crispiness, warm slices in a preheated oven at 350°F for about 5-10 minutes, or toast them lightly!
Expert Tips for No-Knead Dutch Oven Crusty Bread
- Warm Environment: Ensure your dough rises in a warm place to activate the yeast effectively. A cold environment will slow down this process.
- Preheat is Key: Never skip preheating the Dutch oven. This step is crucial for achieving that desired crusty exterior that makes this recipe so special.
- Use Flour Wisely: If the dough feels sticky while handling, don’t add more flour to the mixture itself. Instead, use flour on your hands to prevent sticking without affecting the dough consistency.
- Decorative Options: For a unique twist, try scoring the top of the dough with a sharp knife. This will not only add a professional look but also help control the bread’s expansion while baking.
- Experiment with Flavors: Feel free to enhance your No-Knead Dutch Oven Crusty Bread by adding herbs or spices directly to the dough—rosemary or garlic offers delightful variations!
What to Serve with No-Knead Dutch Oven Crusty Bread
Imagine a warm gathering around the table, where this crusty bread acts as the perfect centerpiece to elevate your meal experience.
- Savory Soup: A robust minestrone or creamy tomato soup complements the bread’s texture, making every bite delightfully comforting.
- Fresh Salad: A crisp mixed greens salad drizzled with balsamic vinaigrette adds a refreshing contrast to the warm, hearty bread.
- Herbed Olive Oil: Serve a small dish of herbed olive oil for dipping, enhancing the bread’s crusty exterior with an aromatic flavor that’s irresistible.
- Cheese Platter: Pairing with sharp cheddar or a creamy brie creates a delightful tasting experience, transforming your meal into an elegant charcuterie moment.
- Roasted Vegetables: Oven-roasted seasonal veggies add a satisfying crunch and sweetness that harmonize beautifully with the bread’s rustic flavor.
- Wine Selection: A glass of full-bodied red wine, like a Cabernet Sauvignon, enriches the meal, perfectly complementing the flavors of the crusty bread.
- Dessert Option: Try serving a light fruit sorbet for dessert; its refreshing sweetness can cleanse the palate and round off the meal.
No-Knead Dutch Oven Crusty Bread Variations
Feel free to get creative and customize your bread to suit your taste preferences!
-
Herb-Infused: Add 2 tablespoons of chopped fresh herbs like rosemary or thyme to the dry ingredients for a fragrant twist.
-
Garlic Lover’s Dream: Mix in 4-5 minced garlic cloves to the dough for a rich, savory flavor that pairs beautifully with soups.
-
Cheesy Delight: Fold in 1 cup of shredded cheese, such as cheddar or mozzarella, before the rising process for a cheesy crust.
-
Whole Wheat: Swap half of the all-purpose flour for whole wheat flour for a nuttier flavor and denser texture; your bread will be heartier and equally delicious.
-
Sweet Twist: Add 1/4 cup of honey or maple syrup to the water for a subtly sweet bread, perfect for breakfast and spreads!
-
Spicy Kick: Incorporate 1/2 teaspoon of red pepper flakes into the dry ingredients for those who love a hint of heat in their bread.
-
Dried Fruits: Toss in 1/2 cup of chopped dried fruits, such as figs or raisins, to add a touch of sweetness and interest to each slice.
Embrace the journey of baking with each variation, and don’t hesitate to experiment until you find your perfect loaf! For other delightful bread recipes, check out our Pineapple Banana Bread or our zesty Citrus Shortbread Cookies.
No-Knead Dutch Oven Crusty Bread Recipe FAQs
How do I know when my dough is the right consistency?
Absolutely! Your dough should be shaggy and sticky—this is entirely normal for no-knead bread. When stirred, it should hold together but remain moist. If it feels too dry, add a small splash of lukewarm water until you reach the desired consistency.
How should I store leftover No-Knead Dutch Oven Crusty Bread?
For the best results, wrap the bread in a clean kitchen towel and leave it at room temperature for up to 1 day. This method preserves the crust’s texture, so it doesn’t get too soft. For longer storage, slice the bread and freeze it in an airtight container or freezer bag for up to 3 months.
Can I freeze No-Knead Dutch Oven Crusty Bread?
Yes, you can! After slicing, simply place the pieces in an airtight container or a zip-top freezer bag. Ensure you remove as much air as possible before sealing. To enjoy later, thaw the slices in the fridge overnight and reheat them in a preheated oven at 350°F for about 5-10 minutes to restore that lovely crust.
What should I do if my bread didn’t rise properly?
If your dough didn’t rise as expected, don’t worry—this can happen! First, ensure your yeast is fresh; expired yeast can hinder the rising process. Also, consider the temperature of the environment—yeast thrives in warmth. If the dough is still sticky but not rising, give it more time; you can let it rise for an additional few hours to see if it develops the bubbles you’re looking for!
What dietary considerations should I keep in mind when making this bread?
This No-Knead Dutch Oven Crusty Bread is vegetarian-friendly. For gluten-free options, you can use a gluten-free flour blend, but results may vary; I recommend a blend that includes xanthan gum for best results. Always check ingredient labels for potential allergens if serving this to guests with dietary restrictions.
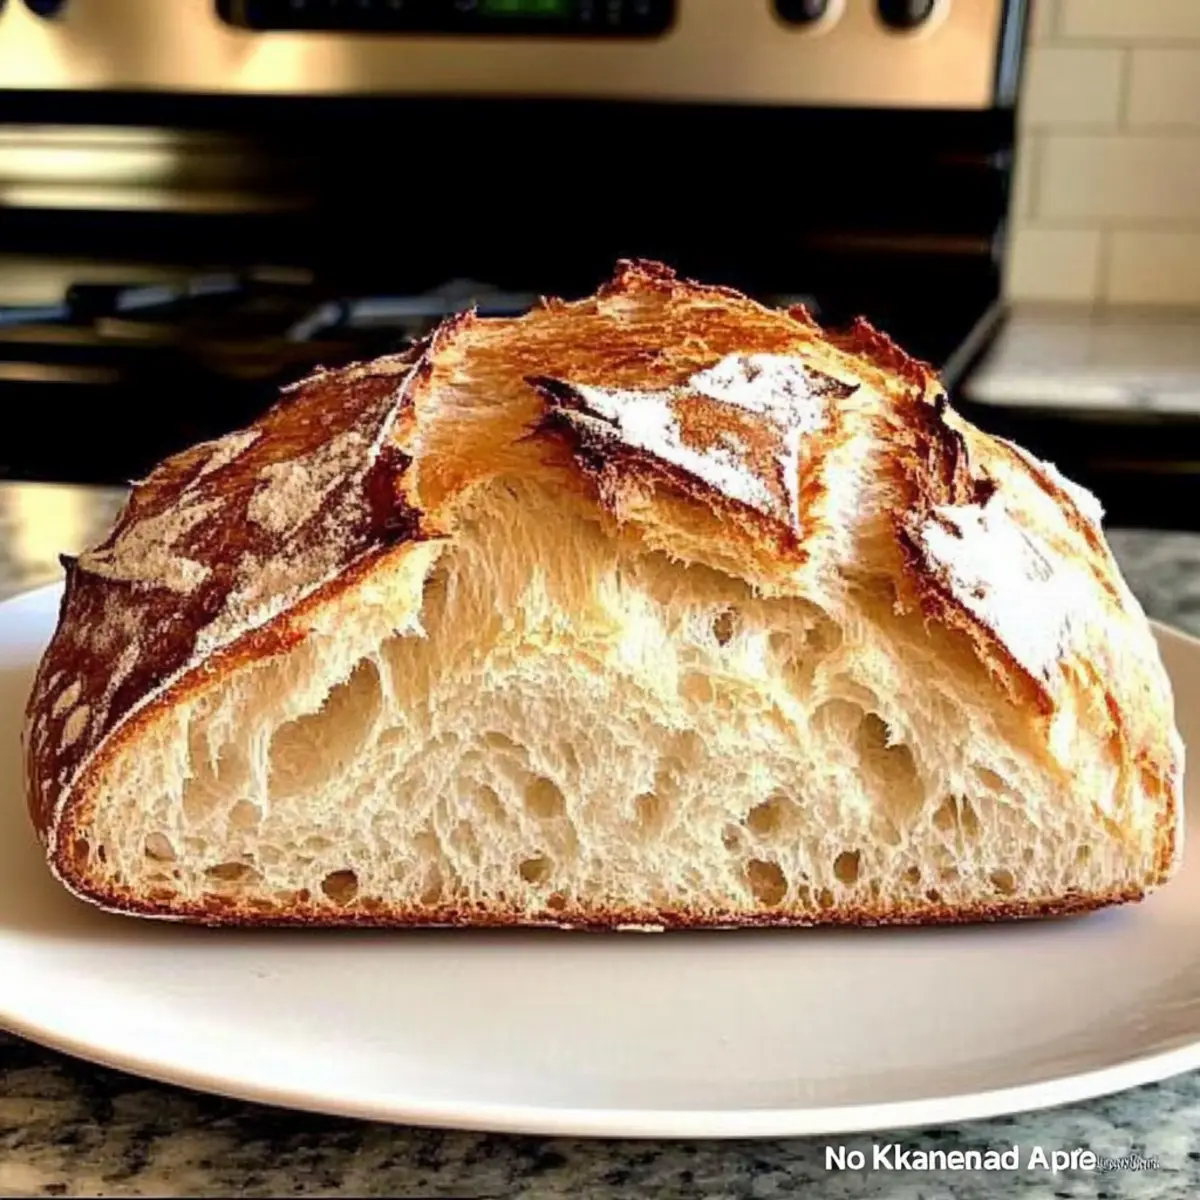
No-Knead Dutch Oven Crusty Bread Made Simple and Delicious
Ingredients
Equipment
Method
- In a large mixing bowl, combine 3 cups of all-purpose flour, 1 teaspoon of kosher salt, and 1/4 teaspoon of dry yeast. Stir thoroughly to ensure even distribution.
- Pour in 1 1/2 cups of lukewarm water into the dry mixture, stirring until it becomes a shaggy, cohesive dough.
- Cover the bowl tightly with plastic wrap and let the dough rise at room temperature for 8 to 24 hours.
- About 1.5 hours before baking, preheat your oven to 450°F with the Dutch oven inside.
- Carefully turn the risen dough onto a floured surface and shape it gently into a ball.
- Cover the shaped dough loosely with plastic wrap and allow it to rest for about 30-45 minutes.
- Remove the hot Dutch oven from the oven, place parchment paper inside, and flip the dough onto it.
- Cover the Dutch oven with its lid and bake for 30 minutes.
- After 30 minutes, remove the lid and bake uncovered for an additional 7-15 minutes until golden.
- Transfer the bread to a wire rack to cool slightly before slicing.
Leave a Reply