
The aroma of warm, fresh bread has a way of transforming a room into a cozy haven, doesn’t it? This Garlic Herb Dutch Oven Bread is my go-to for those moments when I crave that comforting embrace of homemade goodness. With minimal effort and no kneading required, this recipe fits perfectly into busy schedules while bringing a touch of gourmet flair to family dinners or cozy gatherings. Each loaf boasts a delectably crusty exterior and a soft, inviting interior, making it a standout addition to any meal. Plus, it’s vegetarian-friendly, so everyone can enjoy it! Are you ready to immerse yourself in the delightful world of bread baking and fill your home with warmth and flavor?
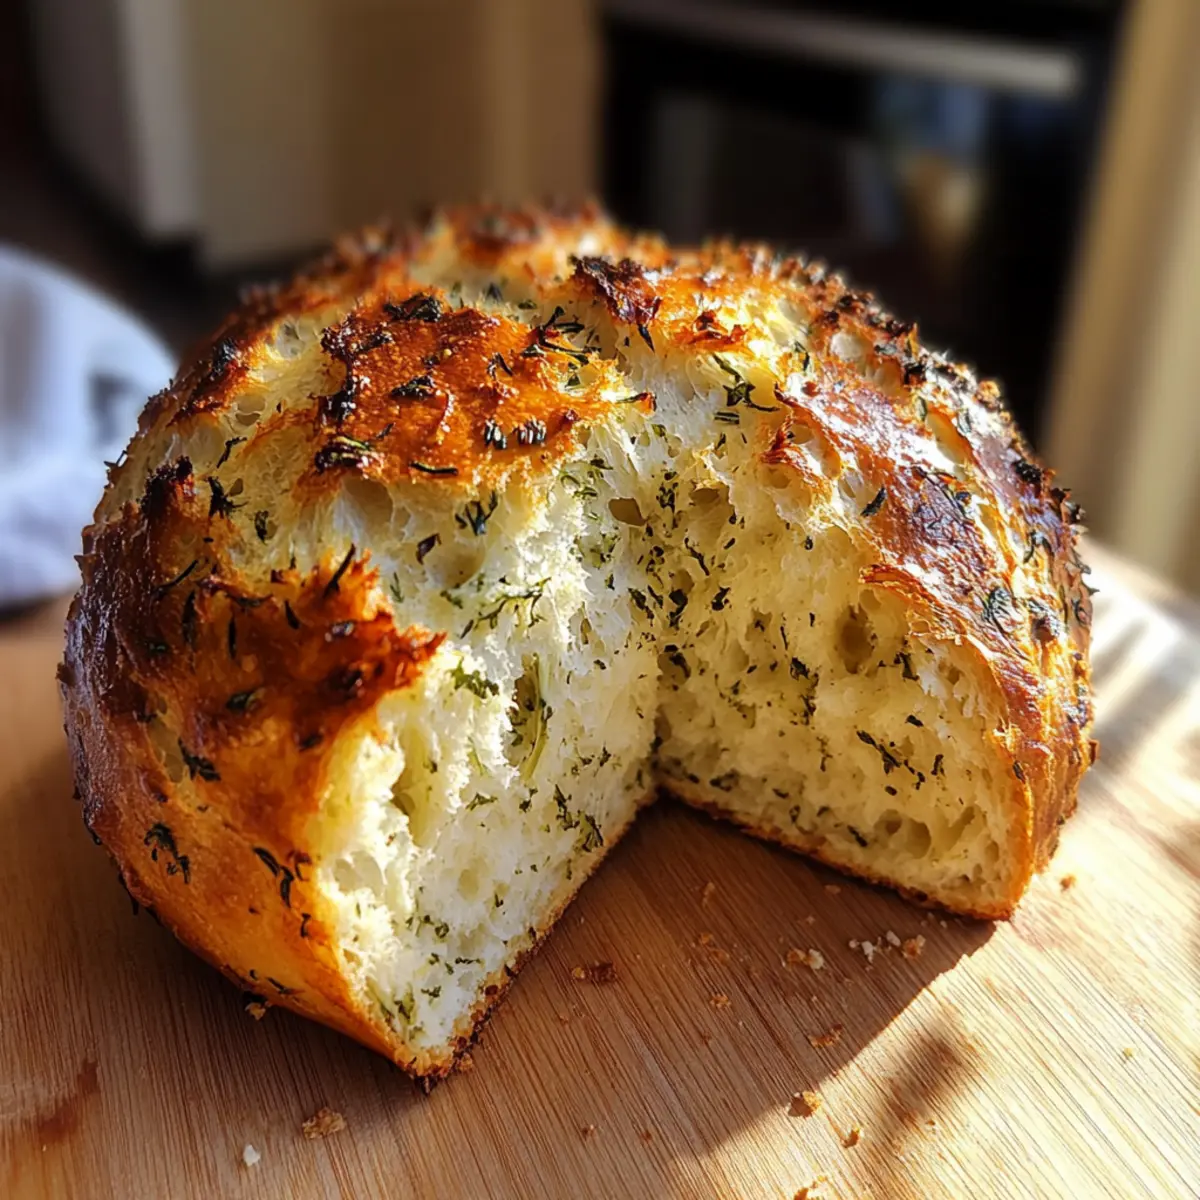
Why is this bread so special?
Simplicity at its Core: This Garlic Herb Dutch Oven Bread needs minimal effort—just mix, rest, and bake.
Irresistible Aroma: Imagine your home filled with the enchanting scent of garlic and fresh herbs as it bakes.
Total Versatility: Whether as a side with a comforting Garlic Parmesan Chicken or spread with butter, it pairs beautifully with nearly any dish.
Impressive Presentation: Its artisanal crust will have your family and guests thinking you’re a professional baker!
Healthier Choice: Made with wholesome ingredients, you can enjoy this delicious bread while keeping your meals nutritious.
Get ready to delight in each fluffy, flavorful bite!
Garlic Herb Dutch Oven Bread Ingredients
For the Bread
• All-Purpose Flour – Provides structure and body; substitute with bread flour for a chewier texture.
• Salt – Enhances flavor and controls yeast activity; use kosher or sea salt for best results.
• Instant Yeast – Helps the dough rise without activation; can be replaced with active dry yeast (activate by dissolving in water for 5-10 minutes).
• Warm Water – Hydrates the flour and activates the yeast; ensure it’s around 100°F (38°C) for optimal rise.
• Minced Garlic – Adds a robust flavor; increase for a stronger garlic taste in your Garlic Herb Dutch Oven Bread.
• Fresh Herbs (e.g., rosemary, thyme) – Imparts freshness and aroma; can substitute with dried herbs if fresh isn’t available.
• Olive Oil – Prevents sticking and aids in crust formation; optional to use other fats like melted butter.
Step‑by‑Step Instructions for Garlic Herb Dutch Oven Bread
Step 1: Mix Dry Ingredients
In a large mixing bowl, combine all-purpose flour, salt, and instant yeast. Stir the dry ingredients together until evenly distributed, ensuring no clumps remain. This step is crucial for a well-risen Garlic Herb Dutch Oven Bread, as it sets the foundation for proper yeast activation.
Step 2: Combine Wet Ingredients
Next, add warm water to the dry mixture, along with the minced garlic and chopped fresh herbs. Stir everything together with a wooden spoon until a shaggy dough forms. The dough should be sticky and slightly lumpy, indicating that it’s adequately hydrated and infused with garlic and herb flavors.
Step 3: Let the Dough Rise
Cover the bowl tightly with plastic wrap and let it rest at room temperature for 12 to 18 hours. This long fermentation period allows the flavors to develop and the gluten to relax, creating the airy texture characteristic of your Garlic Herb Dutch Oven Bread. The dough should expand and appear bubbly by the end of this resting phase.
Step 4: Preheat the Oven
After the resting time, preheat your oven to 450°F (230°C) with a Dutch oven placed inside to heat up. This step is essential for achieving a beautifully crusty exterior on your bread. Allow the Dutch oven to heat for at least 30 minutes, ensuring it’s scorching hot when the dough is ready to be baked.
Step 5: Prepare the Dutch Oven
Once heated, carefully remove the Dutch oven from the oven (use oven mitts!) and drizzle a tablespoon of olive oil inside. Swirl it around to coat the bottom and sides, preventing the Garlic Herb Dutch Oven Bread from sticking. The oil will also contribute to an irresistible crust.
Step 6: Shape the Dough
Transfer your risen dough onto a lightly floured surface. With floured hands, gently shape it into a ball without kneading, which maintains its airy texture. Be mindful not to overwork the dough, as this can inhibit the rise, ensuring each loaf remains light and fluffy.
Step 7: Bake Covered
Carefully place the shaped dough into the hot Dutch oven. Cover it with the lid and bake for 30 minutes. This first phase traps steam, helping the bread develop a beautiful crust. You’ll know it’s working when you start to smell the lovely aroma of garlic and herbs wafting through your kitchen.
Step 8: Bake Uncovered
After 30 minutes, remove the lid from the Dutch oven and continue to bake for an additional 15 to 20 minutes. At this point, the bread should turn a gorgeous golden brown color. Keep an eye on it; the crust should be crisp and the aroma incredibly enticing.
Step 9: Cool and Slice
Once baked to perfection, carefully transfer the bread to a wire rack to cool completely. Allowing the Garlic Herb Dutch Oven Bread to cool will enhance its slicing texture, providing you with that perfect fluffy interior. After cooling, slice into your masterpiece and enjoy the delightful flavors!
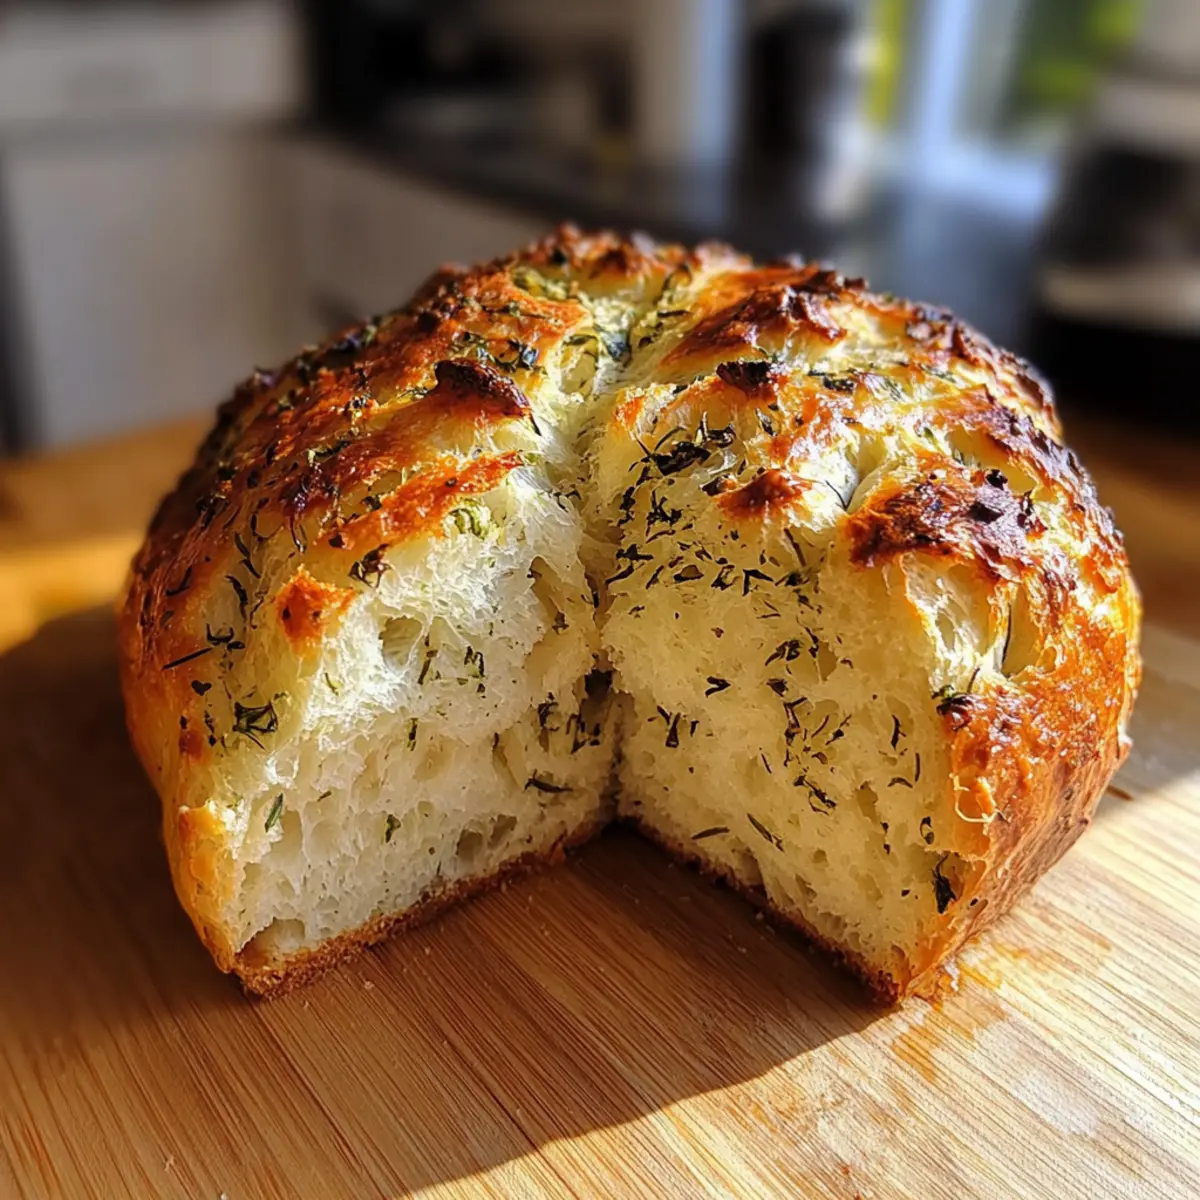
Garlic Herb Dutch Oven Bread Variations
Get ready to explore creative twists that will make your Garlic Herb Dutch Oven Bread even more exciting!
-
Cheesy Delight: Fold in shredded cheese like mozzarella or cheddar for a rich, gooey texture. The melty pockets of cheese will bring extra richness to each bite.
-
Sun-Dried Tomatoes: Mix in finely chopped sun-dried tomatoes for a pop of flavor and color. They add a delightful tang that complements the garlic and herbs beautifully.
-
Vegetable Infusion: Stir in finely diced vegetables such as bell peppers or zucchini for added moisture and nutrition. Not only does this enhance the flavor, but it also gives your bread a colorful appearance!
-
Sweet and Savory: Substitute some flour with whole wheat or spelt flour for a nuttier flavor and increased fiber. It’s an excellent way to elevate the nutrition of your Garlic Herb Dutch Oven Bread.
-
Herb Trio: Blend in a mix of fresh herbs like basil, oregano, and parsley, which will create a vibrant Mediterranean flavor profile. Think of warm summer evenings as you enjoy this bread with some olive oil!
-
Heat Things Up: Add a pinch of red pepper flakes or diced jalapeños for a spicy kick. The warmth of the heat will complement the garlic perfectly.
-
Garlic Lovers Extra: Increase the amount of minced garlic for an even bolder flavor, perfect for those who can’t get enough of garlic goodness! If you’re a garlic enthusiast, this twist is sure to win your heart.
-
Sweet Variations: For a dessert twist, mix in a quarter cup of sugar and some dried fruits like cranberries or apricots. Serve it with cream cheese or butter for a delightful afternoon treat.
This bread pairs blissfully with soups like Honey Garlic Carrots or stands proudly next to a comforting dish like Garlic Parmesan Chicken—what will you try first?
Expert Tips for Garlic Herb Dutch Oven Bread
-
Water Temperature Matters: Ensure your warm water is around 100°F (38°C) for optimal yeast activation; too hot can kill the yeast.
-
Don’t Rush Cooling: Allow the bread to cool completely on a wire rack before slicing to avoid a gummy texture.
-
Experiment Freely: Feel free to adjust garlic and herb amounts according to your taste in this Garlic Herb Dutch Oven Bread; personalizing it is encouraged!
-
Preheat Your Dutch Oven: A hot Dutch oven is key for creating steam that helps form a crusty exterior; leave it in the oven for at least 30 minutes before adding dough.
-
Keep It Loose: Handle the dough gently to maintain its airy nature; resist the urge to knead, or it won’t rise as beautifully.
What to Serve with Garlic Herb Dutch Oven Bread?
The warmth of freshly baked bread invites a variety of delightful pairings that can elevate any meal.
-
Creamy Tomato Soup: The richness of tomato soup complements the garlic and herbs, creating a comforting combination perfect for dipping.
-
Garden Salad: A fresh garden salad adds a crisp, refreshing contrast to the warm, crusty bread, making for a balanced meal.
-
Bruschetta Topping: Use diced tomatoes, basil, and mozzarella for a vibrant topping that enhances the bread and showcases its versatility.
-
Olive Oil & Balsamic Vinegar: Drizzle some quality olive oil with a splash of balsamic vinegar for a simple yet elegant dipping option that highlights your bread’s flavors.
-
Cheesy Garlic Spread: Enhance those garlic notes by spreading a rich, cheesy garlic mixture over warm slices of your bread, creating a delectable appetizer.
Each of these pairings brings a unique flair to the table, allowing you to explore different flavors while enjoying your Garlic Herb Dutch Oven Bread!
Storage Tips for Garlic Herb Dutch Oven Bread
-
Room Temperature: Store your Garlic Herb Dutch Oven Bread in a paper bag at room temperature for up to 3 days. This helps retain its crusty exterior while the interior remains soft.
-
Fridge: If you want to keep the bread for longer, wrap it in plastic wrap and store it in the fridge for up to 1 week. Just note that refrigeration can affect the crust’s texture.
-
Freezer: For even longer storage, freeze the bread in an airtight container or heavy-duty freezer bag for up to 3 months. Thaw at room temperature before enjoying.
-
Reheating: To refresh your bread, preheat your oven to 350°F (175°C) and warm the loaf for 10-15 minutes, bringing back that delightful warmth and texture.
Make Ahead Options
These Garlic Herb Dutch Oven Bread loaves are fantastic for meal prep lovers! You can prepare your dough up to 24 hours in advance; simply mix the dry ingredients, then combine them with warm water, minced garlic, and fresh herbs. After forming a shaggy dough, cover it tightly with plastic wrap and refrigerate. When you’re ready to bake, allow it to sit at room temperature for about an hour before preheating the oven. Just remember, for the best crust, it’s essential to ensure your Dutch oven is preheated properly and to bake it covered for 30 minutes. This way, you can enjoy the delectable aroma and homemade taste without the last-minute rush!
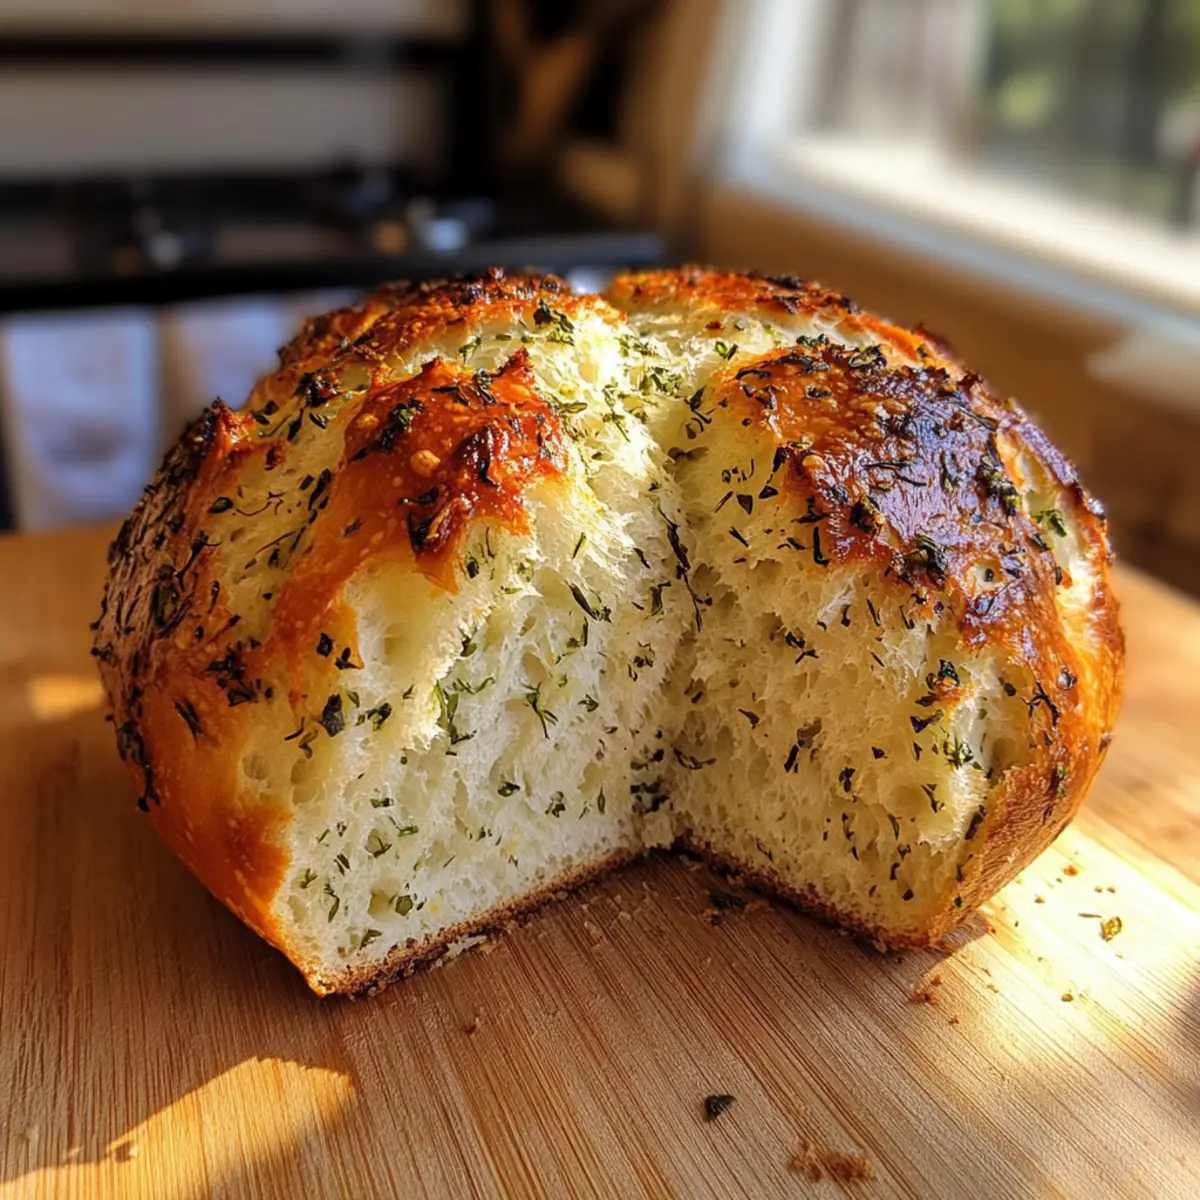
Garlic Herb Dutch Oven Bread Recipe FAQs
How do I choose the best ingredients for this bread?
Absolutely! For the best Garlic Herb Dutch Oven Bread, use high-quality all-purpose flour for structure. Look for flour with a higher protein content if you prefer a chewier texture, like bread flour. When selecting garlic, choose firm, plump cloves with no dark spots, which indicates freshness. Fresh herbs should be vibrant and fragrant; if they appear wilted or yellowed, opt for new ones.
How should I store my Garlic Herb Dutch Oven Bread?
To keep your Garlic Herb Dutch Oven Bread fresh, store it in a paper bag at room temperature for up to 3 days. This method helps maintain its crust while keeping the inside soft. If you want to extend its shelf life, wrap it tightly in plastic wrap and place it in the fridge for up to a week—just be aware that this might soften the crust.
Can I freeze Garlic Herb Dutch Oven Bread?
Definitely! If you’d like to store the bread for longer, freeze it in an airtight container or heavy-duty freezer bag. It can be kept for up to 3 months. To thaw, simply leave it at room temperature for a few hours. For a quick refresh, preheat your oven to 350°F (175°C) and warm the loaf for 10-15 minutes to help regain that freshly baked texture.
What should I do if my dough doesn’t rise properly?
If your Garlic Herb Dutch Oven Bread didn’t rise, it could be due to the yeast. Ensure your warm water is around 100°F (38°C)—too hot can kill the yeast, while too cold won’t activate it. If you’re using active dry yeast, remember that it should be dissolved in water for 5-10 minutes before adding to the mix. Be patient, as the long fermentation period is key—if it’s still not rising, it may indicate stale yeast or environmental issues like temperature.
Are there any dietary considerations for this bread?
Yes! This Garlic Herb Dutch Oven Bread is vegetarian-friendly and can be made vegan by omitting the olive oil or using a plant-based substitute. If you have allergies, be aware that this recipe contains gluten due to the all-purpose flour, so those with gluten sensitivities should seek out alternative flours or gluten-free mixes. As always, check for any other allergens in the ingredient labels of the products you choose to use.
Can I customize the flavors in this Garlic Herb Dutch Oven Bread?
Absolutely! This bread is incredibly versatile. Feel free to adjust the garlic and herbs to suit your taste; I often use a mix of rosemary, thyme, and even add sundried tomatoes or cheese for a delightful twist. Just remember, experimenting can lead to wonderful new flavors, so have fun with it!
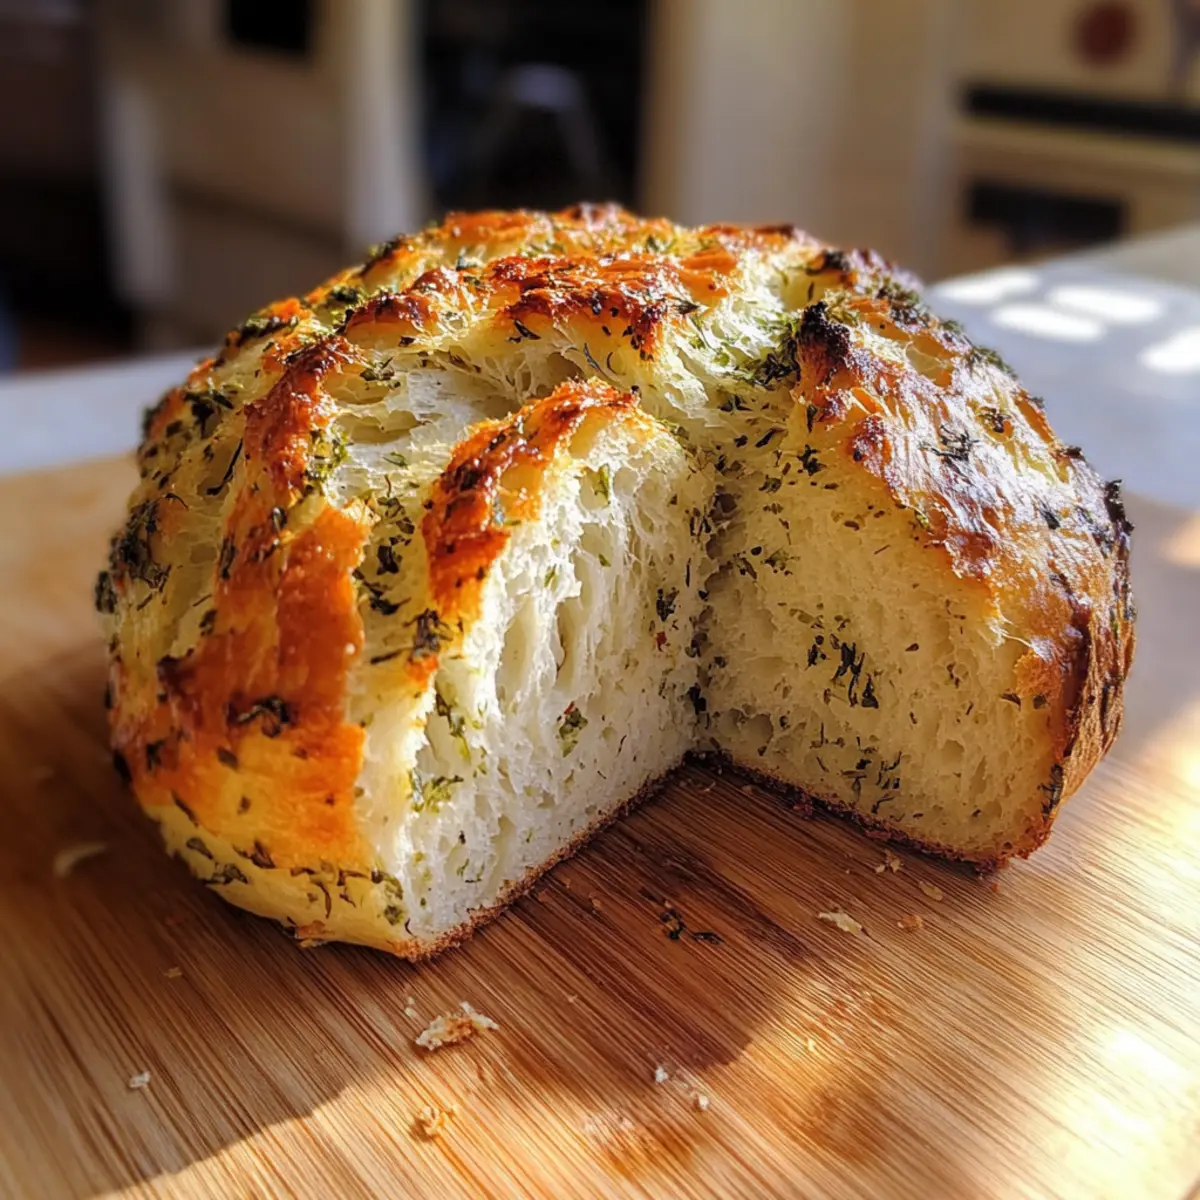
Garlic Herb Dutch Oven Bread: Easy, No-Knead Delight!
Ingredients
Equipment
Method
- In a large mixing bowl, combine all-purpose flour, salt, and instant yeast. Stir until evenly distributed.
- Add warm water, minced garlic, and chopped fresh herbs. Stir until a shaggy dough forms.
- Cover the bowl tightly with plastic wrap and let it rest at room temperature for 12 to 18 hours.
- Preheat your oven to 450°F (230°C) with the Dutch oven inside.
- Remove the hot Dutch oven, drizzle olive oil inside, and swirl to coat.
- Transfer the risen dough onto a floured surface and gently shape it into a ball.
- Place the shaped dough into the hot Dutch oven, cover, and bake for 30 minutes.
- Remove the lid and continue baking for an additional 15 to 20 minutes until golden brown.
- Allow the bread to cool completely on a wire rack before slicing.
Leave a Reply