
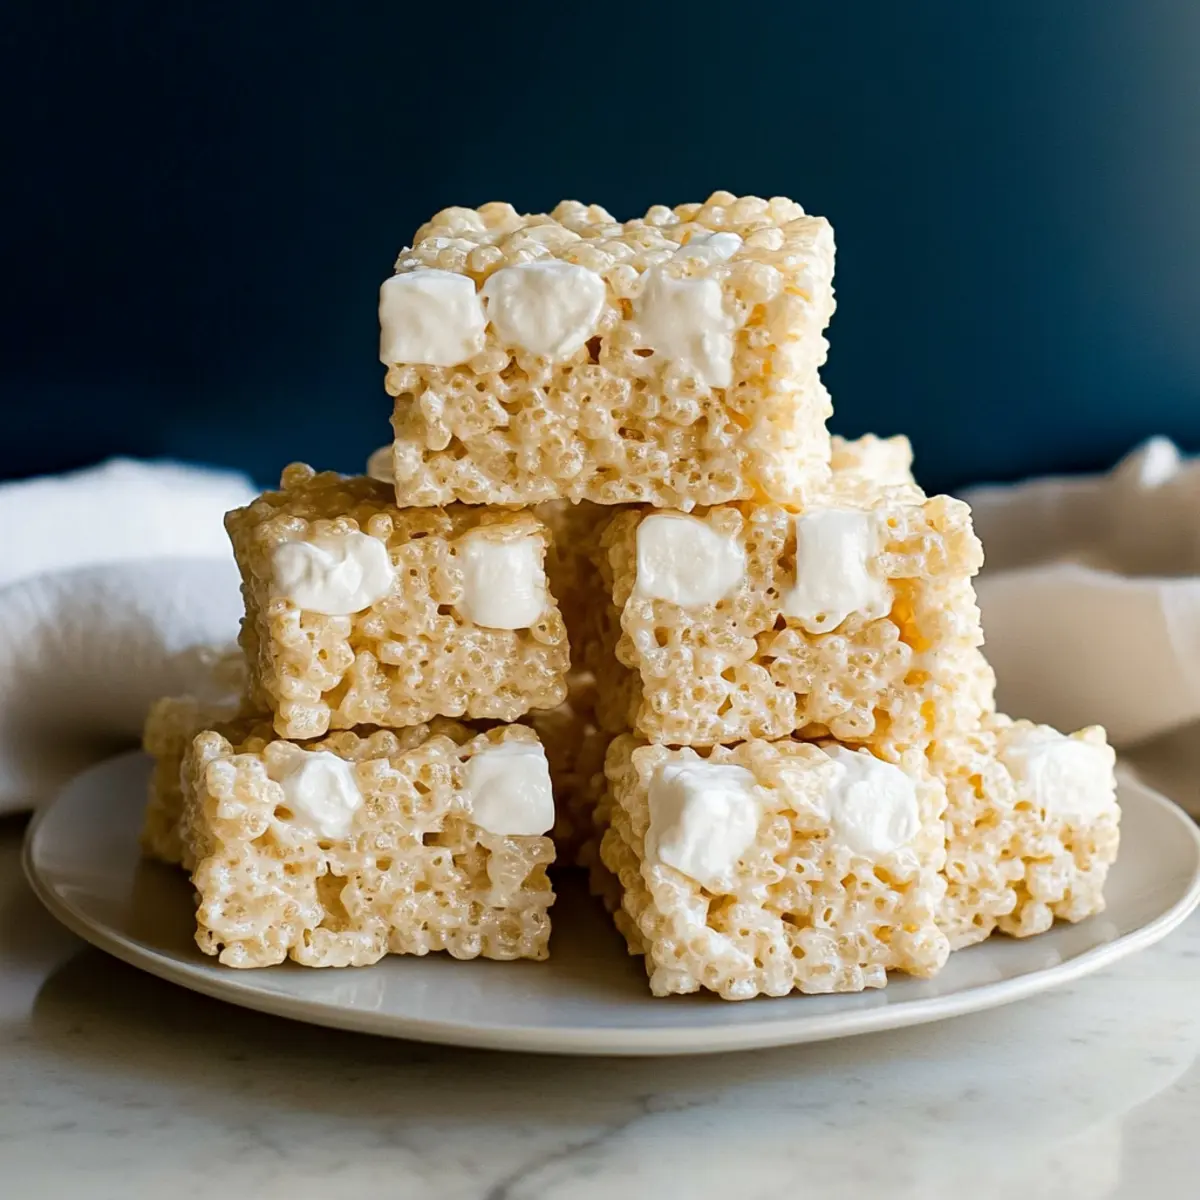
The sweet crackle of Rice Krispies hitting melted marshmallows brings back memories of childhood joy and kitchen adventures. This Ultimate Chewy Rice Krispie Treat Recipe embodies comfort with just three simple ingredients and requires no baking, making it an absolute delight for both experienced home chefs and busy dads looking to impress. The best part? These treats are effortlessly customizable, meaning you can whip them up in a flash or elevate them with a rich, nutty flavor by opting for browned butter. Perfect for gatherings or sneaking a sweet bite during the week, these bites of nostalgia are bound to have everyone reaching for seconds. Ready to dive into a world of gooey goodness? Let’s make some magic together!
Why Make Rice Krispie Treats?
Nostalgic Flavors: These homemade treats evoke childhood memories, letting you experience that sweet joy all over again.
Easy to Customize: Simply add chocolate chips or peanut butter for a delicious twist that’s sure to impress guests.
No-Bake Necessity: With just three ingredients, this recipe requires minimal effort, making it a go-to for any busy home chef.
Crowd-Pleasing Delight: Perfect for parties, family gatherings, or just a sweet snack, everyone will love these chewy bites! Want to try another treat? Don’t miss out on Churro Bites for a crunchy finish to your dessert table!
Rice Krispie Treat Ingredients
For the Treats
- Salted Butter – Adds creaminess and richness; feel free to substitute with unsalted butter but add a pinch of salt for flavor balance.
- Mini Marshmallows – Provide sweetness and binding; use a 16 oz bag for optimal consistency in your Rice Krispie treat recipe.
- Rice Krispies Cereal – Gives the treats their signature crunch and structure; other cereals like Fruity Pebbles can also work, though they’ll make the treats sweeter.
Optional Add-ins
- Chocolate Chips – A delightful way to add richness and texture; fold them in after the marshmallows have melted for a chocolatey surprise.
- Peanut Butter – Mix in ½ cup for a nutty twist that pairs perfectly with the marshmallows.
- Browned Butter – For a deeper, nuttier flavor, consider browning the butter before adding marshmallows; it enhances the overall taste beautifully.
Step‑by‑Step Instructions for Ultimate Chewy Rice Krispie Treat Recipe
Step 1: Prepare the Baking Dish
Begin by preparing your baking dish, either a 9×9 or 13×9-inch size, by spraying it generously with non-stick cooking spray. This step ensures your Rice Krispie Treats will release easily when it’s time to cut and serve. Set the prepared dish aside so it’s ready for the marshmallow mixture later.
Step 2: Melt the Butter
In a large pot, place 1/2 cup of salted butter over medium-low heat. As the butter begins to melt, stir gently, allowing it to coat the bottom of the pot evenly. Keep a close eye on it, as you want the butter to melt without browning, which will take about 2-3 minutes. The result should be a bubbling, golden liquid.
Step 3: Incorporate the Marshmallows
Once the butter is fully melted, add the 16 oz bag of mini marshmallows to the pot. Stir continuously for approximately 3-4 minutes, ensuring the marshmallows melt completely and blend smoothly with the butter. You’ll know it’s ready when the mixture is glossy and free of lumps, resembling a rich, creamy batter.
Step 4: Combine with Rice Krispies
Remove the pot from heat and gently fold in the 7 cups of Rice Krispies cereal. Use a spatula to turn the mixture over, ensuring every piece of cereal is evenly coated in the gooey marshmallow blend. This should take about 1-2 minutes, and you’ll see the cereal transform into a sticky mass as it absorbs the melted marshmallow.
Step 5: Transfer to the Baking Dish
Pour the Rice Krispie mixture into your prepared baking dish. Using a spatula that you’ve lightly sprayed with non-stick spray, spread and press the mixture evenly into the corners. Aim for a level and compact surface to achieve uniform treats, which will need about 5 minutes to set slightly before slicing.
Step 6: Let It Set
Allow the treats to rest at room temperature for at least 30 minutes, or for firmer results, wait 2 hours. This waiting period is crucial for the marshmallows to firm up, resulting in those perfect chewy Rice Krispie Treats. Keep the treats covered if you’re letting them set for a longer duration.
Step 7: Cut and Store
Once the treats have set, use a sharp knife to cut them into squares or rectangles, whichever size you prefer. Store your delightful Rice Krispie Treats in an airtight container; they’ll remain fresh for up to 3 days, ready to be enjoyed whenever a sweet craving strikes!
Make Ahead Options
These Ultimate Chewy Rice Krispie Treats are perfect for making ahead of time! You can prepare and store the mixture up to 24 hours in advance; simply follow all the steps until filling the baking dish, then cover tightly and refrigerate. This helps maintain their delightful texture and flavor. When you’re ready to serve, let the mixture sit at room temperature for about 30 minutes before cutting into squares. You can also make the treats entirely and keep them in an airtight container for up to 3 days. They’ll be just as delicious, allowing you to enjoy this timeless sweet without the last-minute rush!
Expert Tips for Rice Krispie Treats
- Brown the Butter: For a richer flavor, consider browning your butter before adding marshmallows. This adds a delicious nuttiness to your Rice Krispie treat recipe.
- Mixing Consistency: Ensure your marshmallows are completely melted and mixed well with the butter for an even texture. Lumps can lead to inconsistent treats.
- Press Firmly: When transferring the mixture to the baking dish, press it firmly and evenly; a well-packed treat is key to avoiding crumbling later.
- Adjust Sweetness: For a less sweet treat, increase the Rice Krispies to 10 cups. This balances the flavors and makes them enjoyable for everyone.
- Store Properly: Keep your treats in an airtight container. They can be stored at room temperature for up to 3 days, maintaining that sought-after chewy goodness.
What to Serve with Ultimate Chewy Rice Krispie Treats?
Treat yourself to a complete dessert experience that’ll leave your taste buds dancing with joy.
- Fresh Fruit Salad: A light, refreshing bite that balances the sweetness of the treats. Juicy strawberries and tangy oranges make perfect companions.
- Chocolate-Covered Strawberries: The rich chocolate adds an indulgent touch, creating a delightful contrast to the chewy texture of the Rice Krispie Treats.
- Ice Cream Scoops: A scoop of creamy vanilla or rich chocolate ice cream perfectly complements the treats, delivering a delightful contrast of temperatures.
- Nutty Trail Mix: Crunchy nuts and dried fruits add texture and complexity, enhancing the flavors while offering a satisfying crunch.
- Hot Cocoa: Cozy up with a warm cup of cocoa. The rich, chocolatey drink pairs beautifully, turning your dessert into a nostalgic experience.
- Peanut Butter Drizzle: A drizzle of warm peanut butter adds depth and nuttiness, enhancing the classic Rice Krispie treat flavor even more.
- Milk: A timeless classic! Whether cold or warm, milk is the ultimate companion, bringing back memories of childhood snacking.
Rice Krispie Treat Recipe Variations
Customize your delightful Rice Krispie Treats to suit your taste buds and delight your guests!
-
Browned Butter: Elevate your treats by browning the butter to add a nutty, rich flavor. You’ll love the depth it brings.
-
Peanut Butter Dream: Incorporate ½ cup of creamy peanut butter into the melted marshmallow mixture for a delightful twist. The combination is simply irresistible!
-
Chocolate Chips: Fold in a cup of mini chocolate chips after melting the marshmallows for a sweet surprise. They’ll add a luscious texture to every bite.
-
Fruity Pebbles: Swap out Rice Krispies for Fruity Pebbles for a fun, colorful treat with a fruity twist that kids will especially love!
-
Trail Mix Treats: Add a blend of your favorite nuts, seeds, or dried fruits for a chewy, nutritious kick. This makes them a fantastic snack option!
-
Marshmallow Kisses: Include a handful of additional mini marshmallows folded in for extra gooeyness. Each square will have even more marshmallow goodness.
-
Spice It Up: A sprinkle of cinnamon or a dash of nutmeg can introduce a warm spice flavor that transforms classic Rice Krispie Treats into a cozy delight.
-
S’mores Version: Incorporate crushed graham crackers and mini marshmallows, topping with melted chocolate. It’s like taking a campfire treat into your kitchen!
With these incredible variations, there are endless possibilities to keep your desserts exciting. If you’re looking for other tasty treats, try making some Mango Sticky Rice for a refreshing dessert or indulge in Peach Pie Cruffins that offer a delicious handheld option!
How to Store and Freeze Rice Krispie Treats
Room Temperature: Store your Rice Krispie Treats in an airtight container at room temperature for up to 3 days. This keeps them soft and chewy, ready for any snack attack!
Freezer: To freeze, wrap the treats tightly in plastic wrap and then in aluminum foil. They can be frozen for up to 6 weeks. When ready to enjoy, let them thaw at room temperature.
Reheating: If you’d like to enjoy warm treats, place them in the microwave for about 10-15 seconds. This softens them and brings back that delightful gooeyness!
Rice Krispie Treat Recipe FAQs
What ingredients should I use for the best Rice Krispie Treats?
Absolutely! For the best chewy texture, use salted butter for added richness and a 16 oz bag of mini marshmallows to achieve the perfect consistency. If you’re feeling adventurous, substituting with unsalted butter and adding a pinch of salt can also work wonderfully!
How should I store Rice Krispie Treats to keep them fresh?
To keep your Rice Krispie Treats soft and delightful, store them in an airtight container at room temperature for up to 3 days. This way, they’ll maintain that signature chewiness just waiting to be enjoyed with every bite!
Can I freeze Rice Krispie Treats for later?
Yes, indeed! To freeze your homemade treats, wrap them tightly in plastic wrap and then in aluminum foil to prevent freezer burn. They can be frozen for up to 6 weeks. When you’re ready for a sweet snack, let them thaw at room temperature for a couple of hours, and you’ll have that gooey goodness back!
What should I do if my Rice Krispie Treats are too sticky or crumbly?
If your Rice Krispie Treats are turning out too sticky, it might be because the marshmallows didn’t melt completely or the mixture wasn’t packed firmly enough. To fix this, ensure you melt the marshmallows fully until creamy before mixing in the cereal. If crumbly, simply press down more firmly into the baking dish. The more the merrier in terms of packing!
Are Rice Krispie Treats safe for pets?
While Rice Krispie Treats are deeelicious for humans, they aren’t suitable for pets, especially dogs and cats. The sugar and high-carb ingredients can cause upset stomachs or other issues. Always double-check treats before sharing them with your furry friends.
Can I make adjustments for dietary restrictions?
If you’re looking to adjust for dietary restrictions, you’re in luck! Use gluten-free Rice Krispies to cater to gluten sensitivities. Likewise, explore dairy-free options by substituting the butter and marshmallows with suitable alternatives, ensuring everyone can indulge without worry.
Ultimate Rice Krispie Treat Recipe for Chewy Happiness
Ingredients
Equipment
Method
- Prepare your baking dish by spraying it generously with non-stick cooking spray.
- Melt 1/2 cup of salted butter in a large pot over medium-low heat for 2-3 minutes.
- Add 16 oz of mini marshmallows to the pot and stir continuously for 3-4 minutes until melted.
- Fold in 7 cups of Rice Krispies cereal and ensure it's evenly coated.
- Transfer the mixture to the prepared baking dish and press it evenly.
- Let the treats set at room temperature for at least 30 minutes.
- Cut into squares or rectangles and store in an airtight container.
Leave a Reply