
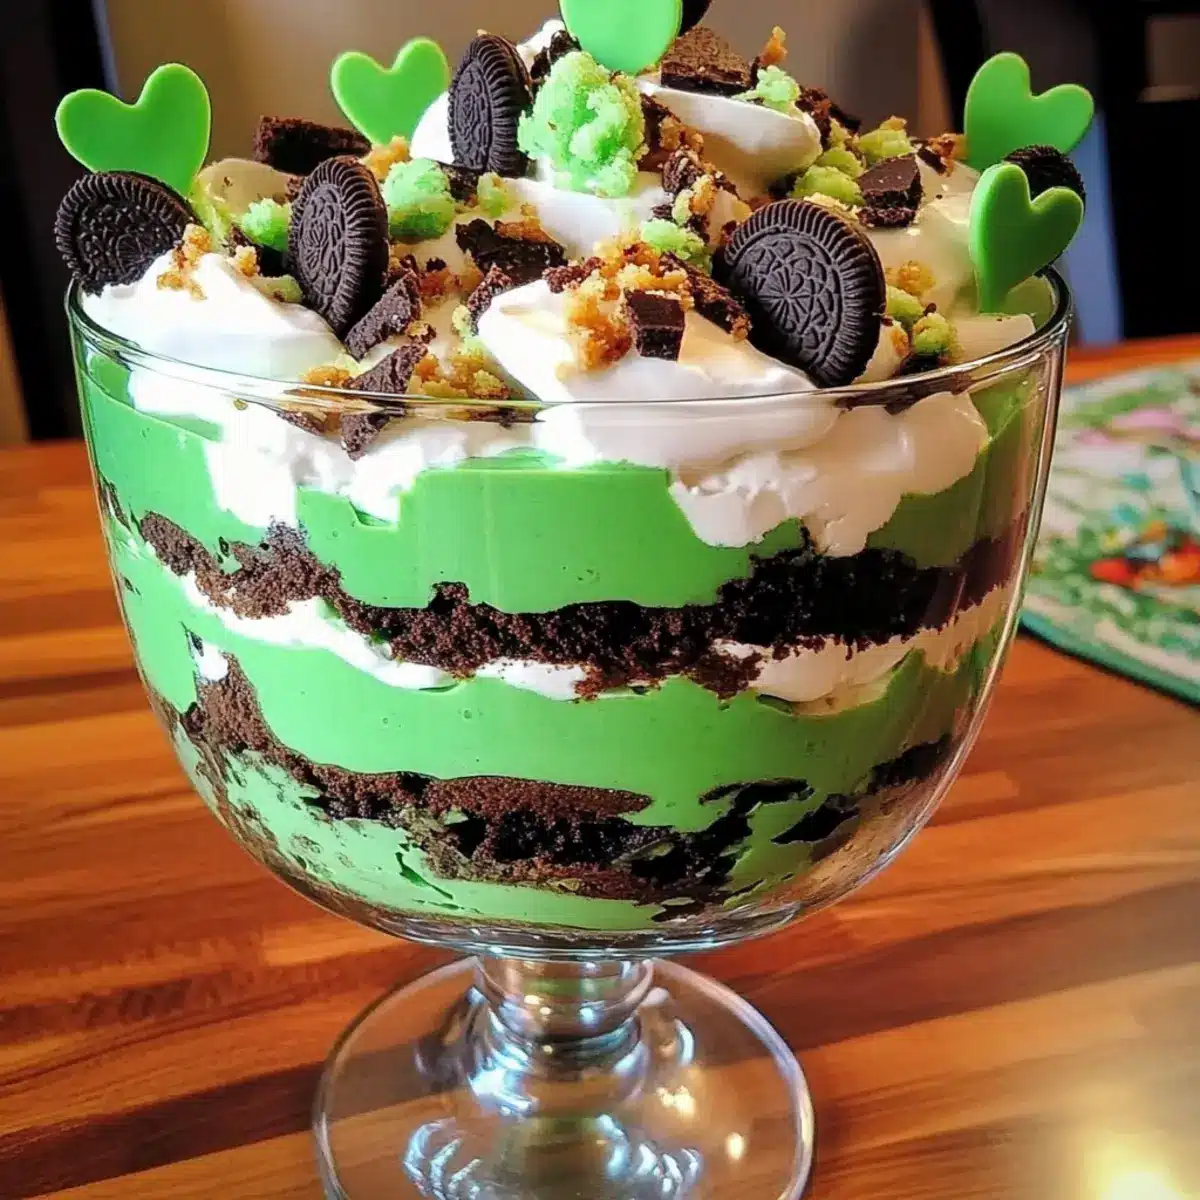
As I watched the vibrant green hues of St. Patrick’s Day decorations go up around me, a delightful idea hit me—making a Festive St. Patrick’s Day Brownie Trifle! This no-bake dessert is not only a visual showstopper with its luscious layers of chocolatey brownies, creamy pudding, and crushed mint Oreos, but it also promises to be a hit at any gathering. Plus, the quick assembly makes it the perfect solution for anyone looking to impress without the fuss. As I dug into each soft, decadent bite, I couldn’t help but feel a rush of festive cheer. Can you picture serving this stunning trifle at your next celebration? Let’s dive into this delicious recipe together!
Why Will You Love This Trifle?
No-bake Convenience: This St. Patrick’s Day Brownie Trifle is the ultimate hassle-free dessert. Quick Assembly: With simple layering steps, you can whip this up in no time, making it great for unexpected guests. Flavor Explosion: The combination of chocolate brownies, creamy pudding, and mint Oreos offers a delightful contrast in flavors that’s sure to satisfy. Visually Stunning: Its vibrant layers not only taste amazing but also bring a festive touch to your table, perfect for impressing friends and family. Customizable Twist: Feel free to swap vanilla pudding for pistachio pudding to jazz it up or add your favorite cookies for a personal touch!
St. Patrick’s Day Brownie Trifle Ingredients
• Discover the simple components of this festive treat!
For the Brownie Layer
- Brownie Mix – A rich base layer that brings a chocolaty delight. Note: Homemade brownies can elevate this trifle even more!
For the Pudding Layer
- Instant Vanilla Pudding Mix – Adds creaminess that perfectly balances out the brownies. Substitution: Try pistachio pudding for a fun green twist!
For the Topping
- Cool Whip – Introduces a light, fluffy texture that complements the chocolate and pudding layers. Substitution: Feel free to use your favorite whipped topping instead.
- Green Food Coloring – Brightens up the pudding for a festive flair. Note: This is optional if using pistachio pudding since it naturally provides color.
- Mint Oreos – Crushed for a delicious minty crunch. Tip: Regular Oreos or any chocolate cookie can work just as well if you prefer!
Step‑by‑Step Instructions for St. Patrick’s Day Brownie Trifle
Step 1: Prepare Brownies
Start by baking the brownie mix according to the package instructions, usually at 350°F (175°C) for about 20-25 minutes in an 8×8 inch pan. Once done, allow the brownies to cool completely in the pan for at least 30 minutes. This cooling step is crucial to avoid melting your Cool Whip later in the St. Patrick’s Day Brownie Trifle layers.
Step 2: Make Pudding
In a mixing bowl, prepare the instant vanilla pudding mix following the package directions, typically whisking with cold milk for about 2 minutes. If you’re opting for a festive twist, add a few drops of green food coloring until you reach your desired color. Set the pudding aside for a few minutes to thicken and create a smooth texture that will beautifully contrast with the brownie layer.
Step 3: Crush Oreos
Take your Mint Oreos and place them in a sealable plastic bag. Use a rolling pin or your hands to crush the cookies into fine pieces. This process should take about 2-3 minutes and will add a delightful crunch to your St. Patrick’s Day Brownie Trifle. Set the crushed Oreos aside while you prepare to assemble the trifle.
Step 4: Assemble Trifle
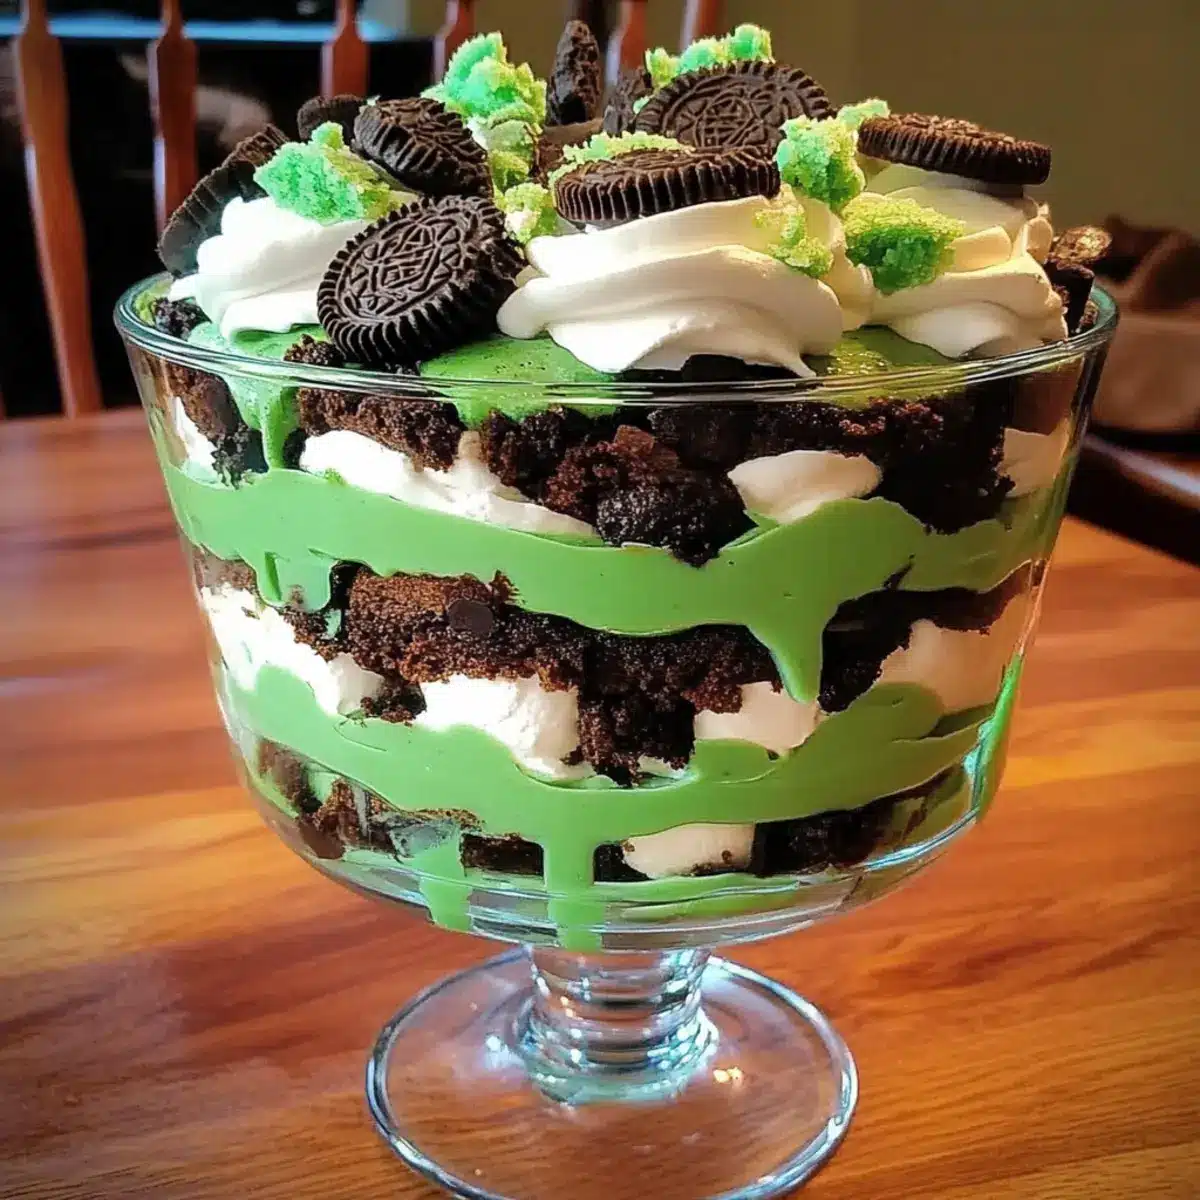
In a large trifle bowl or individual serving cups, begin layering your dessert. Start with a layer of cooled and cut-up brownies at the bottom, followed by a generous layer of the prepared pudding. Next, add a layer of Cool Whip, which creates a light and fluffy texture that balances the rich brownies. Repeat this process, adding more brownies, pudding, and Cool Whip until you’re near the top.
Step 5: Add Crushed Oreos
Once your final pudding layer is in place, take the crushed Oreos and sprinkle them generously over the top. This layer adds an attractive finish and a minty crunch that complements the creamy layers beneath. For an extra festive touch, feel free to add more green food coloring or mint leaves as garnish if desired.
Step 6: Chill
After assembling the St. Patrick’s Day Brownie Trifle, cover it with plastic wrap or a lid and refrigerate for at least 2 hours. This chilling time allows the flavors to meld beautifully and the layers to set, making it easier to serve later. If you have time, chilling overnight will enhance the flavor even more!
Step 7: Serve and Enjoy
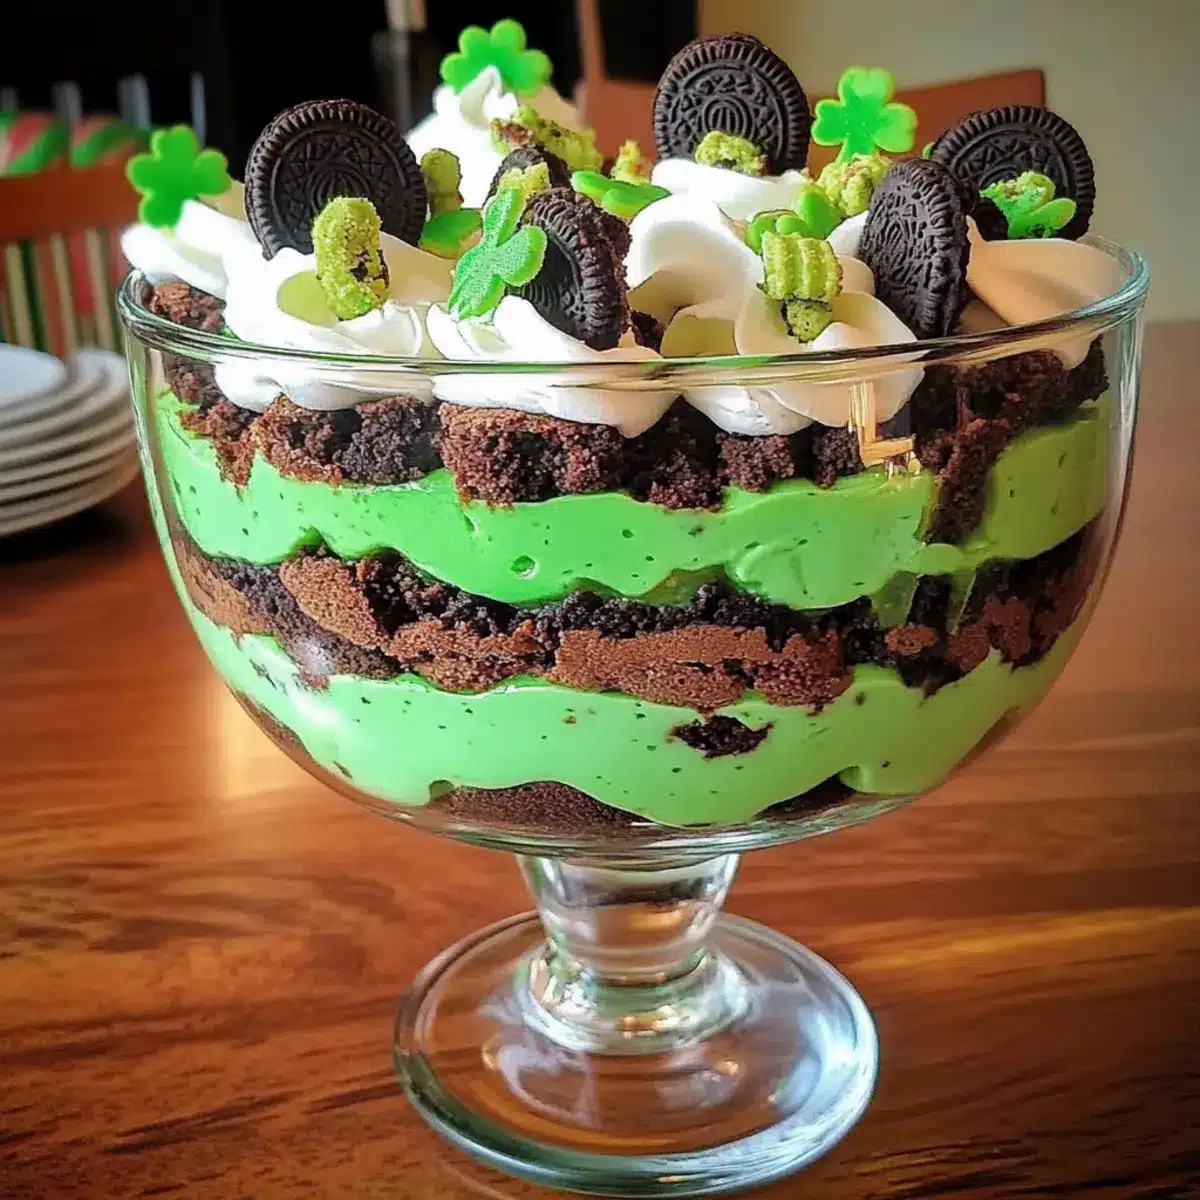
When you’re ready to serve, remove the trifle from the refrigerator and uncover it. Use a large serving spoon to scoop out portions, showcasing the vibrant layers of brownies, pudding, and crushed Oreos. Delight in sharing this festive dessert with friends and family, celebrating St. Patrick’s Day with every rich, creamy bite.
Expert Tips for St. Patrick’s Day Brownie Trifle
-
Chill Time Matters: Ensure you chill the trifle for at least 2 hours; this helps flavors meld and keeps layers intact.
-
Brownies Must Cool: Make sure the brownies are completely cool before layering, or the heat may melt the Cool Whip, making a messy trifle.
-
Layer Strategically: For a beautiful presentation, alternate between brownies, pudding, and Cool Whip. Keep the top layer as crushed Oreos for that delightful crunch.
-
Storage Tips: Store leftovers in an airtight container in the fridge for up to three days. Consume promptly for the best texture in this St. Patrick’s Day Brownie Trifle.
-
Customization Is Key: Don’t hesitate to swap flavors! Pistachio pudding or different cookie brands can bring a unique twist to your trifle.
What to Serve with St. Patrick’s Day Brownie Trifle
Elevate your St. Patrick’s Day gathering with delightful accompaniments that perfectly pair with this festive dessert.
-
Creamy Mashed Potatoes: The rich, buttery flavor makes a wonderful contrast to the sweet trifle, adding a sense of heartiness to your meal.
-
Grilled Corn on the Cob: This sweet and savory side offers a refreshing crunch, balancing the smooth texture of the trifle beautifully.
-
Roasted Brussels Sprouts: Their slightly caramelized, earthy notes pair well with the richness of the trifle, creating a delightful flavor harmony.
-
Irish Soda Bread: A classic pairing, this lightly sweetened bread adds a welcomed rustic touch to your feast, enhancing the festive spirit.
-
Mint Mojito: Cool and refreshing, this cocktail echoes the minty tones from the trifle, creating a delightful thematic drink option.
-
Chocolate Mint Cookies: For the cookie lovers at the table, these treats emphasize the chocolatey goodness of the trifle while adding a fun texture.
-
Fruit Salad: A vibrant medley of fresh fruits provides a tart contrast to the sweet layers of the trifle and adds a burst of color to your table.
-
Coffee or Irish Cream Liqueur: End your meal with the perfect embrace of warm coffee or indulge further with a splash of Irish cream to elevate dessert time.
St. Patrick’s Day Brownie Trifle Variations
Feel free to explore these delightful twists that will make your trifle even more exciting and personalized!
-
Pistachio Pudding: Swap vanilla pudding with pistachio pudding for a fun green hue and nutty flavor. It’s a festive twist that your guests will adore!
-
Chocolate Cookies: Use chocolate sandwich cookies instead of Mint Oreos for a rich, fudgy flavor. The deep cocoa taste pairs beautifully with the layers of creaminess.
-
Peppermint Extract: Add a few drops of peppermint extract to the pudding for an extra minty kick that harmonizes perfectly with the crushed Oreos.
-
Fruit Layers: Incorporate fresh fruits like raspberries or strawberries between the layers for a burst of freshness. Their vibrant colors and juicy sweetness will enhance each bite.
-
Nutty Crunch: Fold in chopped nuts or crushed candy bars between the layers for a delightful texture contrast. Pecans or chocolate toffee bits take this dessert up a notch!
-
Spice It Up: For a bit of heat, sprinkle some cinnamon or nutmeg in the pudding layer. Just a dash creates an unexpected warmth that adds depth to the flavor profile.
-
Lower Sugar Option: Substitute sugar-free pudding mix and whipped topping for a reduced-calorie version that still tastes indulgent without sacrificing flavor.
-
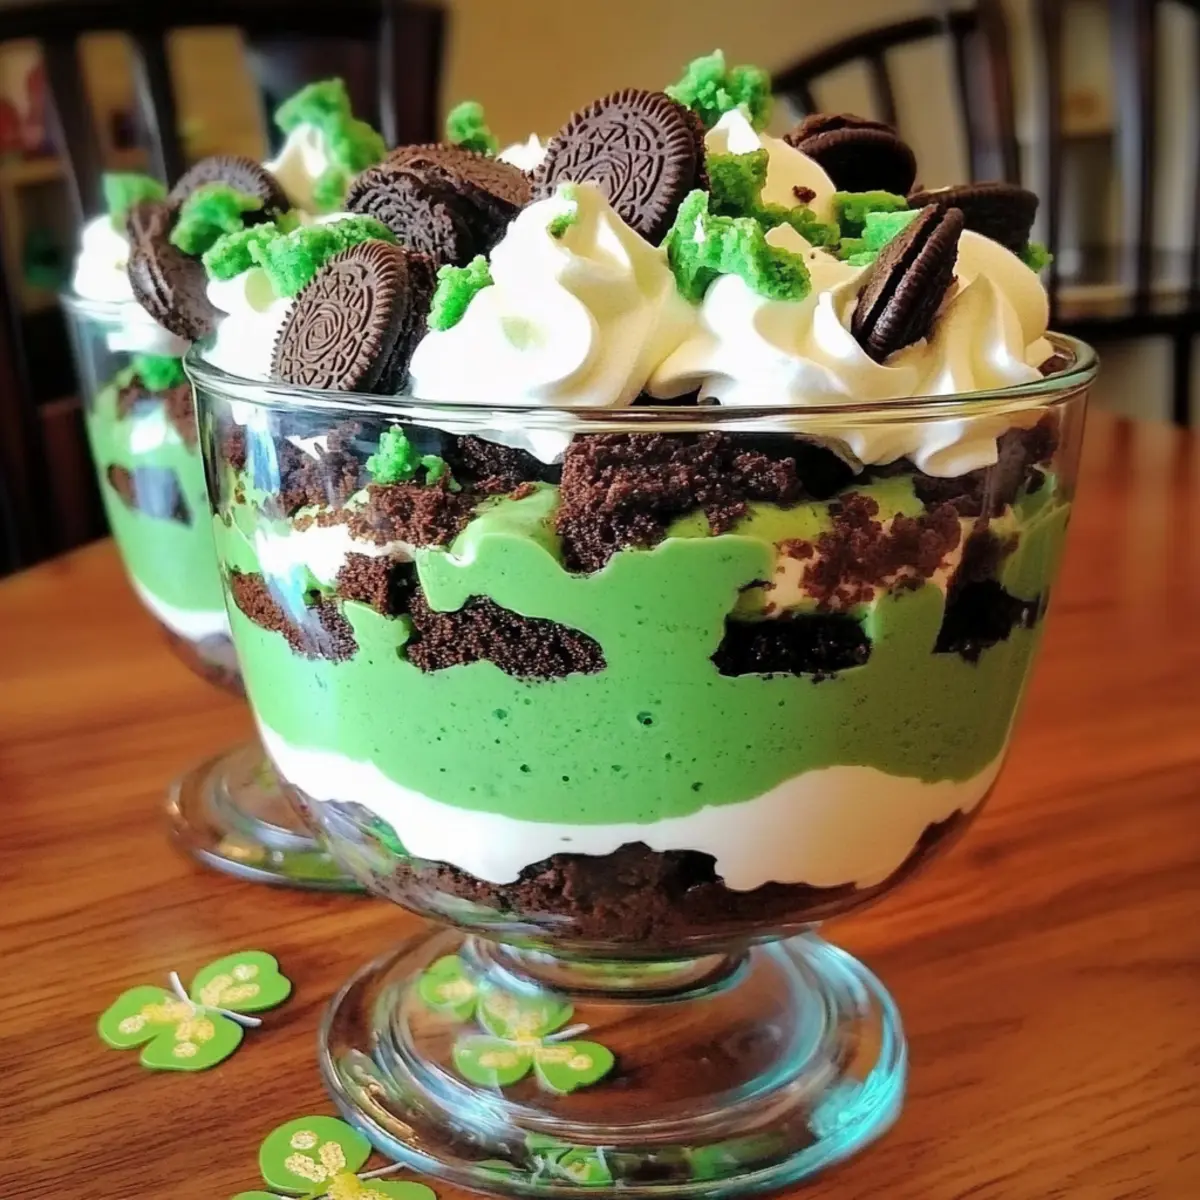
Layered Parfaits: For a unique presentation, serve in individual cups instead. Layer the ingredients beautifully, and you can even create a themed look by using clear cups to showcase those vivid colors!
With these delicious variations, your St. Patrick’s Day Brownie Trifle will be a standout dessert at any festive celebration! For other creative dessert ideas, consider trying my Street Corn Pasta for a savory twist or indulge in my delightful Baked Churro Bites for a treat that pairs wonderfully alongside your trifle. Explore and enjoy!
Storage Tips for St. Patrick’s Day Brownie Trifle
Fridge: Keep your assembled trifle covered in the refrigerator for up to 3 days. This ensures freshness and prevents any unwanted odors from seeping in.
Freezer: While it’s not recommended to freeze the entire trifle due to the creamy layers, you can freeze leftover brownie pieces for future use. Store in an airtight container for up to 2 months.
Reheating: If you’ve frozen leftover brownie pieces, allow them to thaw in the fridge overnight before incorporating them into a fresh trifle or enjoying them as a treat on their own.
Serving Tip: For the best texture and flavor in your St. Patrick’s Day Brownie Trifle, consume it within three days of preparation.
Make Ahead Options
These St. Patrick’s Day Brownie Trifles are a fantastic dessert to prepare ahead, saving you time for celebration! You can make the brownies up to 24 hours in advance and store them in an airtight container to retain their moisture. The pudding layer can also be prepared 1-2 days ahead; simply store it in the refrigerator covered to prevent it from thickening too much. When you’re ready to serve, assemble the trifle by layering the brownies, pudding, and Cool Whip, finishing with the crushed Oreos. This method ensures that your St. Patrick’s Day Brownie Trifle remains just as delicious, allowing for a stress-free and festive treat for your gathering!
St. Patrick’s Day Brownie Trifle Recipe FAQs
How do I choose ripe ingredients for the trifle?
Absolutely! When selecting your ingredients, especially the brownie mix, ensure it’s within the expiration date for the best flavor. If you decide to go with homemade brownies, use eggs that have a fresh smell and are not expired. For the pudding, choose a pudding mix that isn’t clumpy and is well within its shelf life for optimal creaminess.
What are the best storage methods for leftovers?
Very important! Store your St. Patrick’s Day Brownie Trifle tightly covered in the refrigerator, where it can retain its freshness for up to 3 days. Make sure the container is airtight to prevent the layers from absorbing other flavors in the fridge. If you notice the texture starting to change after a couple of days, it’s best to enjoy it quickly.
Can I freeze the trifle for later?
While I don’t recommend freezing the entire trifle due to the creamy layers, you can freeze any leftover brownie pieces for up to 2 months in an airtight container. When ready to use, simply thaw them in the refrigerator overnight and fold them into a new trifle or enjoy them on their own as a delicious sweet treat!
What should I do if my Cool Whip is melting into the brownies?
This is a common issue! To prevent your Cool Whip from melting into the brownies, ensure that the brownies are completely cooled before assembling your trifle. I recommend letting them cool for at least 30 minutes in the pan after baking. Layers should be built with care, and you may want to place the trifle back in the fridge for a few minutes before serving to set the layers.
Are there any dietary considerations I should think about?
Absolutely! If you’re preparing this trifle for a gathering, keep any guests’ dietary restrictions in mind. For those with allergies, make sure to inform them about the ingredients used, especially if substituting with nuts in the pudding or different cookies. Additionally, be cautious with any potential allergens in ingredients like pudding or whipped toppings that might contain dairy or gluten.
Can I make this trifle in advance?
Yes, you can! I often make the St. Patrick’s Day Brownie Trifle up to a day in advance. Assemble the trifle, cover it tightly with plastic wrap, and let it chill in the refrigerator overnight. This not only saves time on the day of your event but also enhances the flavors, resulting in a dessert that’s even more delicious when served!
Irresistible St. Patrick’s Day Brownie Trifle Delight
Ingredients
Equipment
Method
- Bake the brownie mix according to the package instructions, usually at 350°F (175°C) for about 20-25 minutes in an 8x8 inch pan. Allow to cool completely for at least 30 minutes.
- In a mixing bowl, prepare the instant vanilla pudding mix by whisking with cold milk for about 2 minutes. Add green food coloring if desired and set aside to thicken.
- Crush the Mint Oreos in a sealable plastic bag. Use a rolling pin or hands to crush them into fine pieces.
- In a large trifle bowl or individual cups, layer the cooled brownies, pudding, and Cool Whip. Repeat the layers until you reach the top.
- Sprinkle the crushed Oreos generously over the top before serving.
- Cover and refrigerate the trifle for at least 2 hours to allow flavors to meld.
- Serve in portions, showcasing the vibrant layers of brownies, pudding, and crushed Oreos.
Leave a Reply