
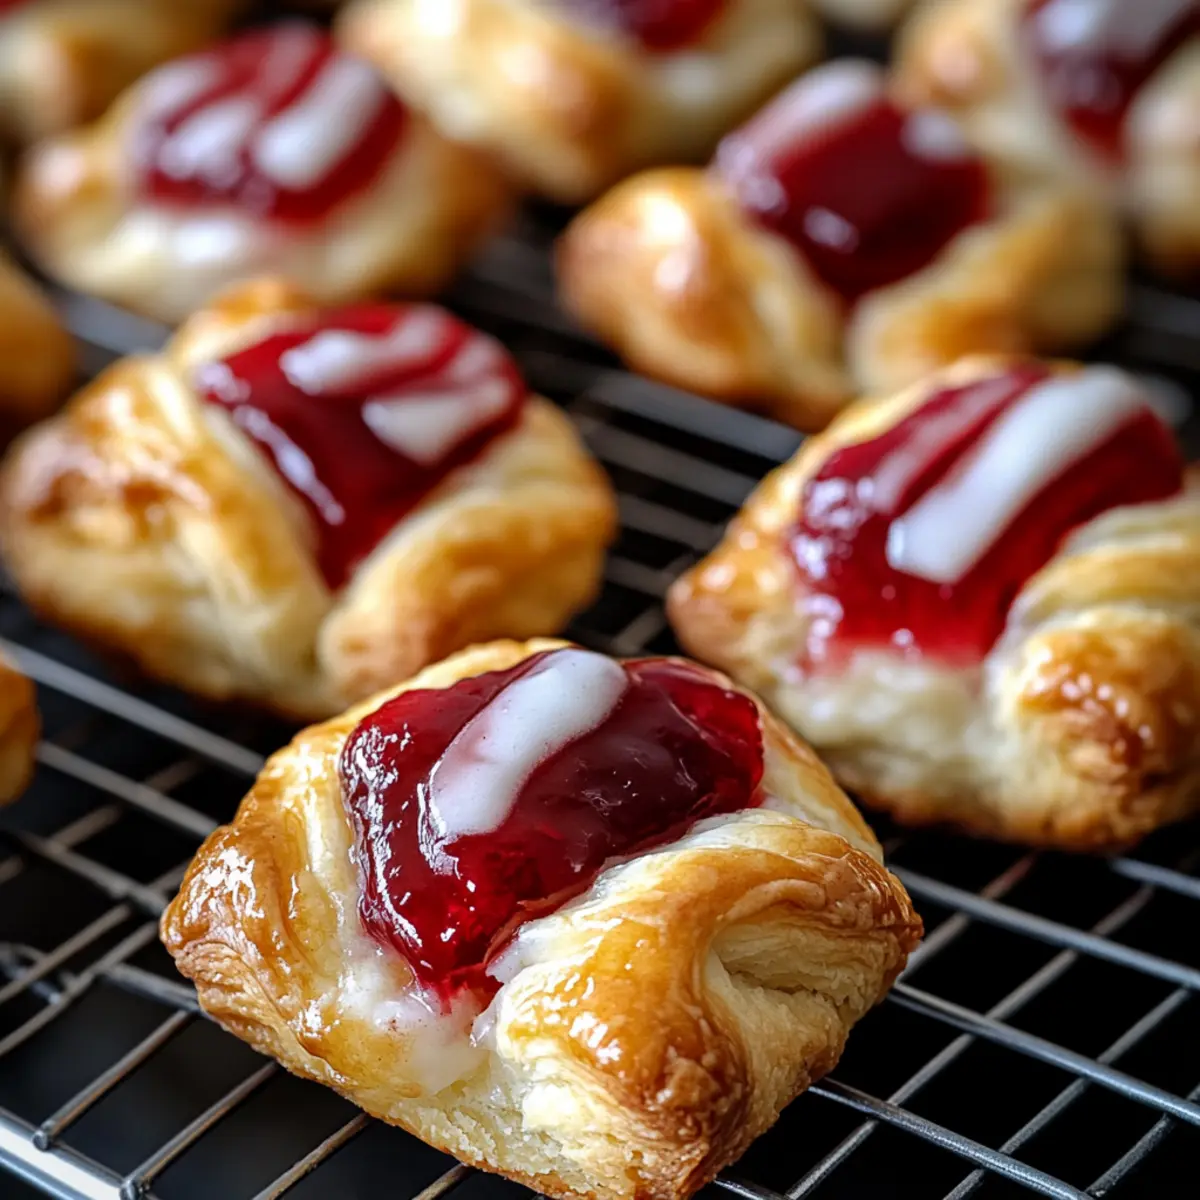
The tantalizing aroma of cherries wafting through the air instantly transports me to my grandmother’s kitchen. Her classic cherry pie was the star of every family gathering, but as a busy home chef, I crave a quicker way to savor those familiar flavors. Enter my Quick & Easy Cherry Pie Bites! These adorable morsels capture the essence of that beloved dessert while offering a speedy, bite-sized treat perfect for any occasion. They’re incredibly simple to whip up, making them an ideal option for last-minute gatherings or when you need a sweet fix without the fuss. Plus, these mini delights are budget-friendly and sure to please a crowd, letting you skip the takeout temptation. Curious how to make these cherry-infused bites? Let’s dive into the deliciousness!
Why Are Cherry Pie Bites The Best?
Bite-Sized Bliss: These Cherry Pie Bites bring your favorite pie to your fingertips, making dessert fun and fuss-free.
Quick Prep Time: With a hands-on time of just 15 minutes, you’ll have these treats ready to bake in no time!
Budget-Friendly: Utilizing simple ingredients like crescent roll dough and cherry filling makes this a wallet-friendly dessert.
Versatile Options: Swap cherries for blueberry or apple to create your personalized bite-sized version. The possibilities are endless!
Crowd-Pleasing Treat: Perfect for parties or cozy nights in, these bites are bound to impress friends and family. Try serving them alongside a cup of coffee, or as a delightful addition to your next gathering!
Cherry Pie Bites Ingredients
-
For the Dough
Crescent Roll Dough – Provides the flaky crust; you can substitute with puff pastry for extra flakiness or homemade pie dough for a traditional touch. -
For the Filling
Cherry Pie Filling – Adds sweetness and tartness; while store-bought is convenient, homemade filling enhances flavor and texture.
Cream Cheese (optional) – Adds a rich, creamy layer under the cherry filling, reminiscent of cheesecake; omit if you prefer a simpler version.
Powdered Sugar – Adds sweetness to the cream cheese filling; not applicable if you do not use cream cheese.
Vanilla Extract – Enhances the flavor profile of the cream cheese; use pure vanilla for a richer taste. -
For Topping/Glaze
Melted Butter – Provides moisture and richness to the dough; can be substituted with oil for a dairy-free version.
Coarse Sugar (optional) – Sprinkle on top before baking for added sweetness and crunch.
Powdered Sugar Glaze (optional) – Mix with milk for an added sweet finish; omit for a less sweet treat.
Step‑by‑Step Instructions for Cherry Pie Bites
Step 1: Preheat the Oven
Begin by preheating your oven to 375°F (190°C). While the oven heats up, line a large baking sheet with parchment paper to prevent any sticking. This will ensure that your Cherry Pie Bites bake evenly and don’t cling to the surface.
Step 2: Prepare the Cream Cheese Filling
In a mixing bowl, combine cream cheese, powdered sugar, and vanilla extract. Using a hand mixer or spatula, blend until the mixture is smooth and creamy, about 2-3 minutes. This delicious cream cheese layer enhances your Cherry Pie Bites and adds a rich, flavorful touch to the filling.
Step 3: Assemble the Bites
Unroll the crescent roll dough on a clean surface and separate it into individual triangles. For each triangle, spoon ½ teaspoon of the cream cheese mixture in the center, then add 1-2 teaspoons of cherry pie filling. Carefully fold the dough over the filling and pinch the seams tightly to seal, ensuring no filling escapes during baking.
Step 4: Prepare for Baking
Place your assembled Cherry Pie Bites on the lined baking sheet, spaced about an inch apart. Using a pastry brush, apply melted butter over the tops of the bites. If desired, sprinkle coarse sugar on top for an extra touch of sweetness and a delightful crunch.
Step 5: Bake the Bites
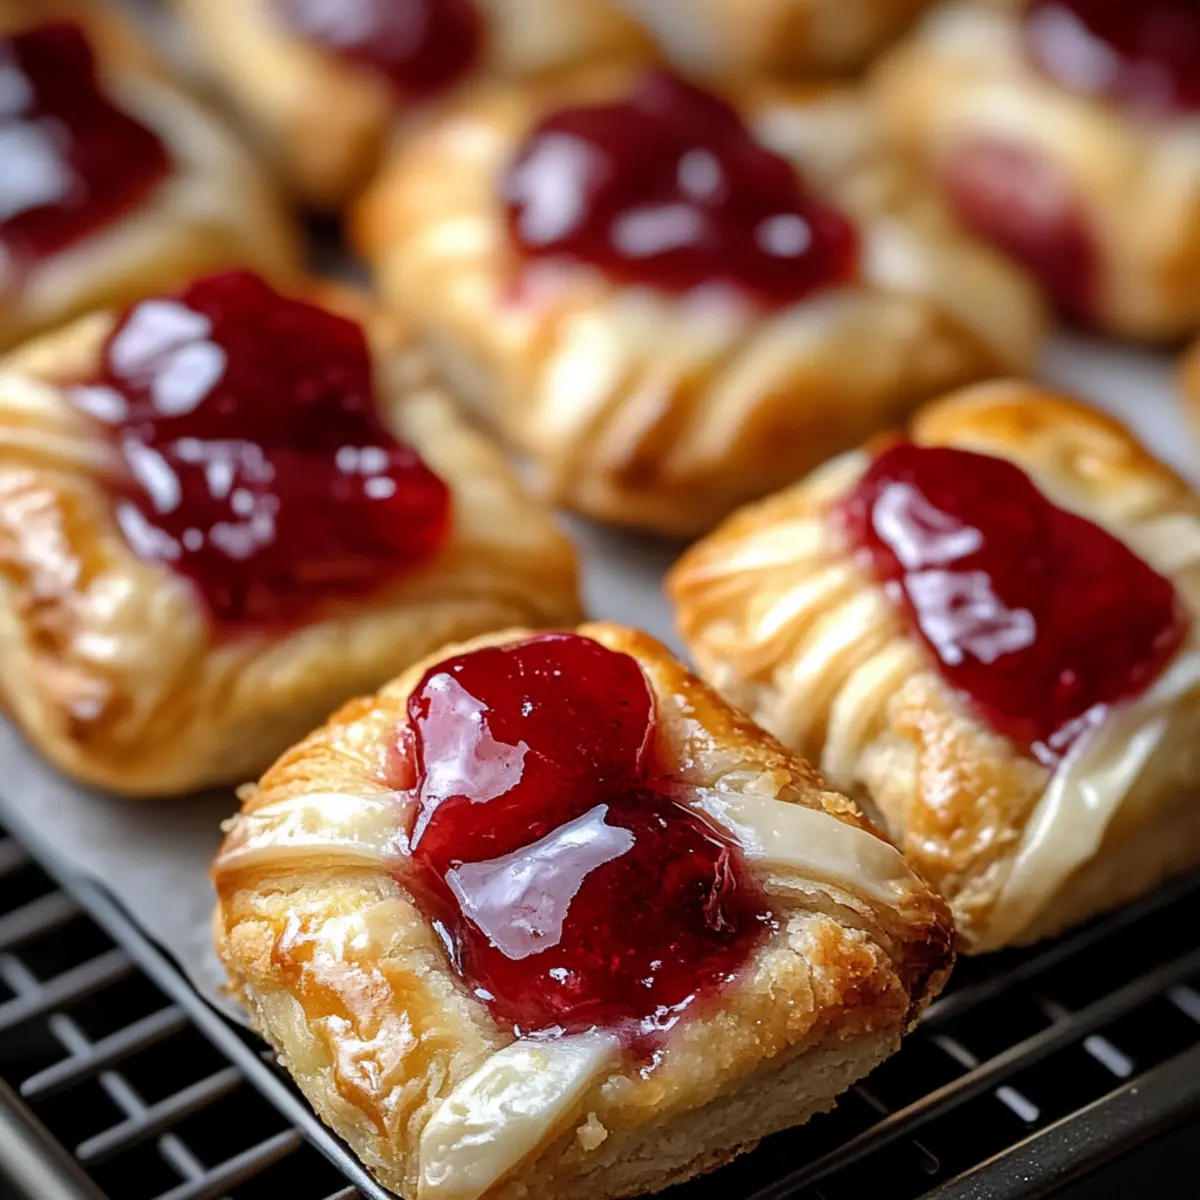
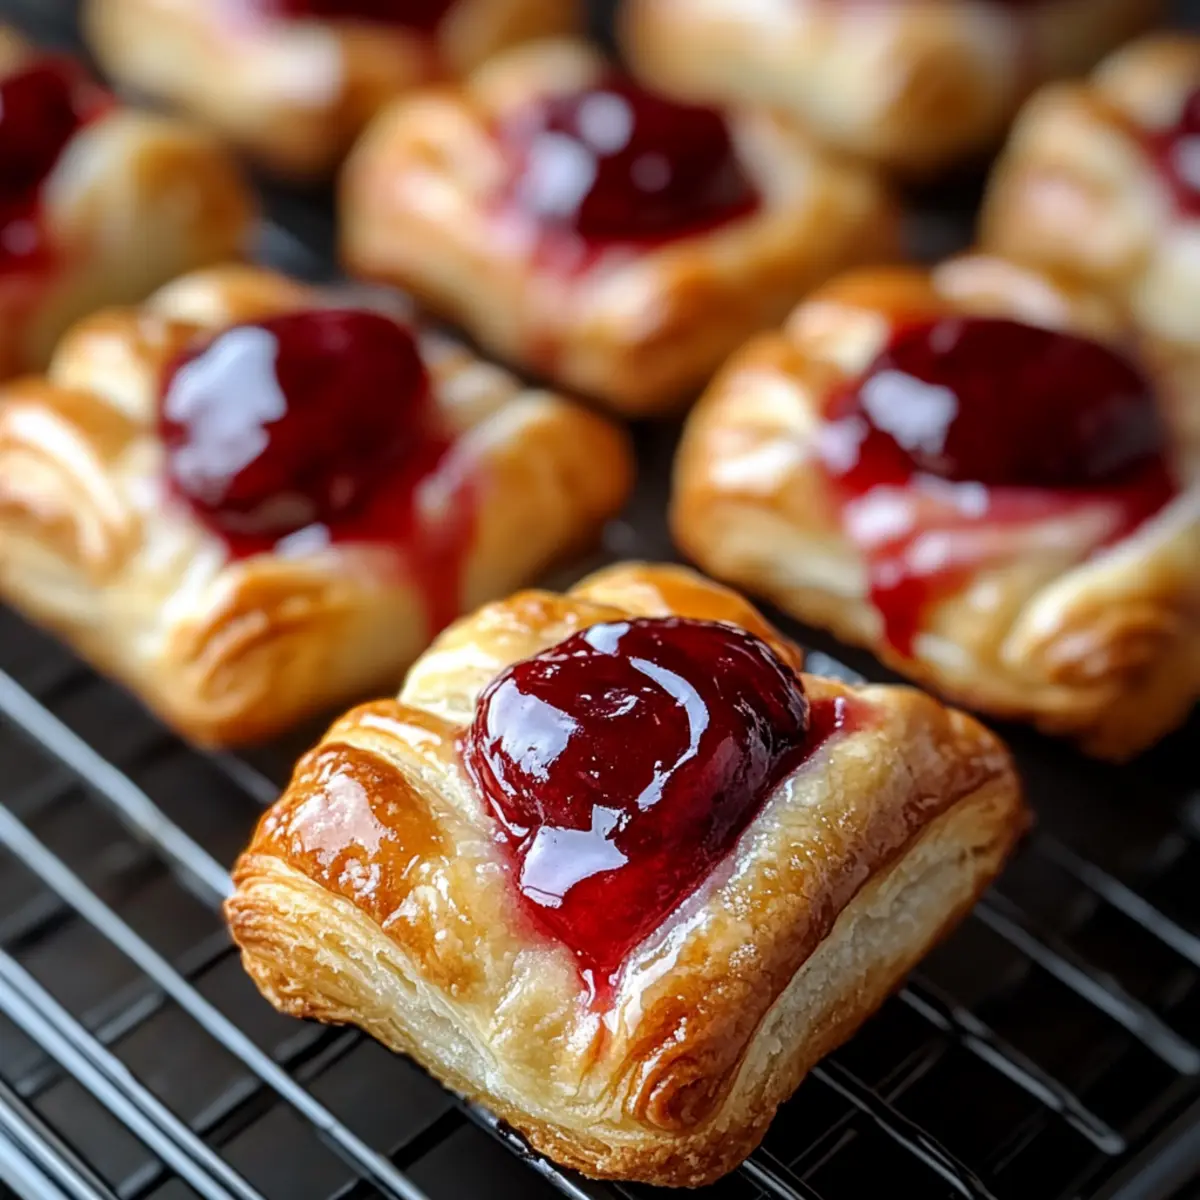
Transfer the baking sheet to the preheated oven and bake for 10-12 minutes. Keep an eye on them as they bake; you’re looking for a golden brown color and a puffed appearance. When done, they should look shiny and flaky, promising a deliciously sweet treat inside.
Step 6: Optional Glaze
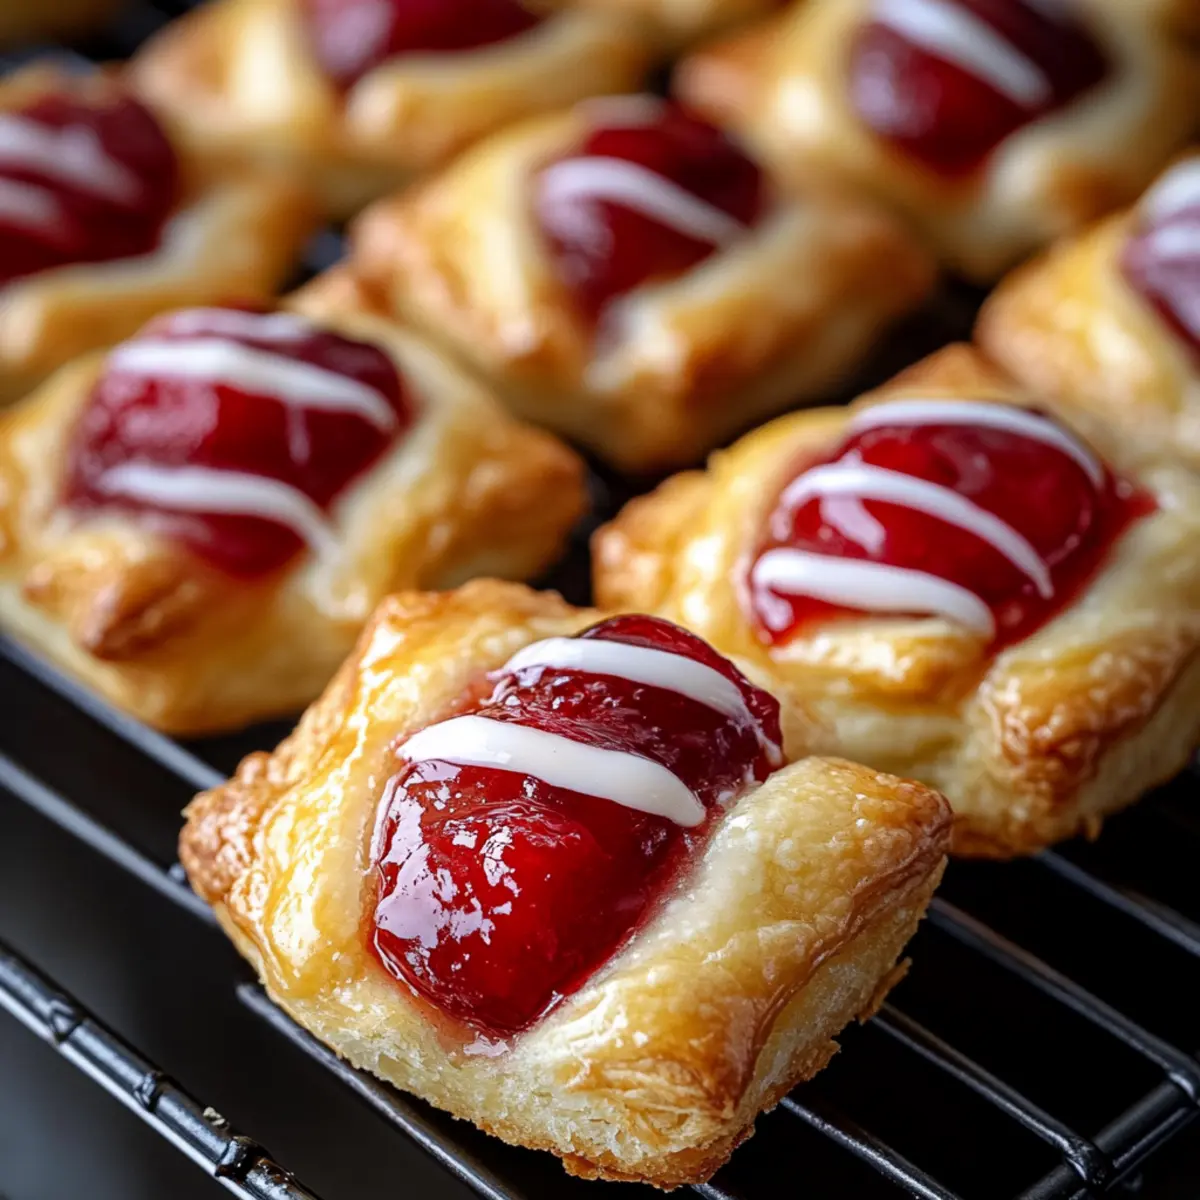
For an added sweet finish, mix together powdered sugar and a splash of milk in a small bowl until it reaches a drizzling consistency. Once your Cherry Pie Bites have cooled for about 5 minutes, drizzle this glaze over the tops for a rich and inviting look. Enjoy your delightful treats with family and friends!
Expert Tips for Cherry Pie Bites
- Control the Filling: Avoid overfilling the bites to prevent them from bursting during baking. Stick to the recommended amounts for a perfect seal.
- Secure the Seams: Pinch the edges securely or use a fork to crimp the seams, ensuring your Cherry Pie Bites stay beautifully intact while baking.
- Make Ahead: You can assemble and refrigerate these bites several hours in advance, or freeze them for later, making them a great last-minute dessert option.
- Texture Variation: For a unique twist, consider replacing cherry filling with blueberry or apple, creating a delightful array of flavors for your bites.
- Dairy-Free Options: Substitute melted butter with oil and skip the cream cheese for a dairy-free version of these delicious Cherry Pie Bites.
- Perfect Baking: Keep an eye on the baking time; they should be golden brown and puffy when done. Removing them too early can lead to undercooked dough.
Make Ahead Options
These Cherry Pie Bites are perfect for meal prep enthusiasts looking to save time during busy weeks! You can assemble the bites and refrigerate them for up to 24 hours before baking. To do this, prepare your filling and assemble the bites as directed, then cover them tightly with plastic wrap or place them in an airtight container to maintain freshness and prevent browning. When you’re ready to enjoy, simply preheat the oven and bake them as instructed without the need for thawing. For longer storage, consider freezing them for up to 2 months; just bake them directly from the freezer, adding a few extra minutes to the cooking time for delicious, quick homemade desserts without the last-minute fuss!
Storage Tips for Cherry Pie Bites
Room Temperature: Store your Cherry Pie Bites in an airtight container at room temperature for up to 2 days to maintain their flaky texture.
Fridge: If you prefer, you can refrigerate the bites for up to 5 days. Make sure they’re in an airtight container to prevent them from drying out.
Freezer: For longer storage, freeze assembled but unbaked bites for up to 2 months. When ready to enjoy, bake them directly from frozen—add a couple of extra minutes to the baking time.
Reheating: Reheat baked Cherry Pie Bites in a preheated oven at 350°F (175°C) for about 5–7 minutes to restore their delicious warmth and crispness.
What to Serve with Cherry Pie Bites
These delightful mini desserts are perfect for creating a memorable gathering or an intimate sweet moment.
- Vanilla Ice Cream: This classic pairing melts into the warm, gooey filling, adding a creamy contrast that elevates each bite.
- Coffee or Espresso: The rich bitterness of coffee complements the sweetness and tartness of the cherry filling, perfect for a cozy afternoon treat.
- Fresh Whipped Cream: Light and airy, whipped cream enhances the flavors without overpowering them, making each bite feel indulgent and special.
- Minty Fruit Salad: A refreshing combination of seasonal fruits adds a bright, fresh element that balances the richness of the bites. Try a mix of berries, melon, and mint for a colorful presentation!
- Lemonade or Iced Tea: A chilled glass of lemonade or iced tea provides a refreshing contrast, cutting through the sweetness and making for a perfect summer treat.
- Chocolate Drizzle: A drizzle of melted chocolate takes these bites to a whole new level, providing a rich, decadent touch that pairs beautifully with cherries.
- Cheese Platter: Serve alongside a selection of soft cheeses, like brie or goat cheese, for an elegant twist. The creamy texture pairs deliciously with the cherries, creating a sophisticated dessert option.
- Pecan Crumble: A sprinkle of pecan crumble on top before baking adds a delightful crunch and nutty flavor, enhancing the overall experience of your bites!
- Cold Glass of Milk: Classic yet unbeatable, a tall glass of cold milk is the ultimate nostalgic pairing, making these Cherry Pie Bites feel like a cherished childhood treat.
Cherry Pie Bites Variations & Substitutions
Feel free to unleash your creative side with these delightful twists!
-
Flavor Swap: Substitute cherry filling with blueberry, apple, or even pumpkin for a whole new taste adventure.
-
Chocolate-Cherry Bliss: Add mini chocolate chips to your cherry filling for a sweet and indulgent fusion that chocolate lovers will adore.
-
Savory Delight: Swap cherries for brie cheese and a dollop of cranberry sauce for a sophisticated appetizer that’s perfect for holiday gatherings.
-
Dairy-Free Version: Replace melted butter with oil and omit cream cheese to whip up these bites without any dairy.
-
Crispy Topping: Instead of coarse sugar, try sprinkling some cinnamon sugar on top before baking for an extra layer of flavor.
-
Nutty Crunch: Mix in chopped nuts, such as pecans or almonds, into the cherry filling for added crunch and depth.
-
Zesty Citrus: Add a hint of lemon or orange zest to the filling for a refreshing citrus twist that brightens up the flavor profile.
-
Mini Tart Version: Use small tart shells instead of crescent dough to create elegant mini cherry tarts, reminiscent of the classic dessert.
Experimenting with these variations will make your Cherry Pie Bites even more special! And if you’re inspired to mix things up a bit, you might also enjoy these Peach Pie Cruffins or even our delightful Baked Churro Bites. The options are endless!
Cherry Pie Bites Recipe FAQs
What is the best way to choose cherries for my pie filling?
Absolutely! When selecting cherries, look for firm, plump fruit without any dark spots or blemishes. The cherries should have a rich color and a sweet aroma. If you’re using fresh cherries for a homemade filling, choose ripe ones, as they will provide the best flavor and sweetness. If they’re not quite ripe, let them sit at room temperature for a day or two.
How should I store leftover Cherry Pie Bites?
Very easily! You can store your Cherry Pie Bites in an airtight container at room temperature for up to 2 days. For longer freshness, refrigerate them for up to 5 days. Just make sure they’re well-sealed to keep them from drying out!
Can I freeze my Cherry Pie Bites? What’s the best method?
Yes, you can absolutely freeze them! To freeze, assemble your Cherry Pie Bites but do not bake them. Arrange them in a single layer on a baking sheet and freeze until solid. Once frozen, transfer them to a zip-top freezer bag and store them for up to 2 months. When you’re ready to enjoy them, bake directly from frozen, adding a couple of extra minutes to the baking time.
What if my Cherry Pie Bites open up while baking?
Don’t worry, it happens! If you find that your bites open during baking, ensure that you’re pinching the seams tightly enough or using a fork to crimp the edges to create a better seal. If this happens, you can also consider using a small amount of dough to patch up any split areas.
Are Cherry Pie Bites safe for people with gluten allergies?
Absolutely! For a gluten-free version, simply substitute the crescent roll dough with gluten-free dough or pre-made pie crust that accommodates your dietary needs. Just be cautious with any store-bought fillings, as some may contain gluten. Always check the labels to ensure they’re safe to consume.
Cherry Pie Bites: Sweet, Flaky Bliss in Every Bite
Ingredients
Equipment
Method
- Preheat your oven to 375°F (190°C) and line a baking sheet with parchment paper.
- In a mixing bowl, combine cream cheese, powdered sugar, and vanilla extract. Blend until smooth and creamy.
- Unroll the crescent roll dough and separate it into triangles. Spoon ½ teaspoon of cream cheese mixture and 1-2 teaspoons of cherry pie filling on each triangle. Fold and seal tightly.
- Place the bites on the lined baking sheet and brush melted butter over the tops. Sprinkle with coarse sugar if desired.
- Bake for 10-12 minutes until golden brown and puffed.
- For the glaze, mix powdered sugar with a splash of milk. Once cooled, drizzle over the bites.
Leave a Reply