
The smell of crispy, golden chicken wafting through my kitchen feels like a warm hug that instantly lifts my spirits. When the craving for fried chicken strikes, we often think of greasy takeout—but not anymore! This Crispy Oven-Baked Fried Chicken recipe gives you all the crunch and flavor without the guilt of deep-frying. By soaking the chicken in buttermilk, each bite remains juicy and tender, while the oven does the hard work of achieving that addictive crispiness. Not only is this healthier fried chicken alternative easier to make than you’d expect, but it also simplifies cleanup, making it a perfect choice for busy weeknight dinners. Ready to take your comfort food game to the next level? Let’s dive into the deliciousness together!
Why Choose Oven-Baked Fried Chicken?
Healthier Choice: Enjoy all the flavor of fried chicken without the excess oil! This recipe gives you crispy bites that are far less greasy.
Buttermilk Magic: Soaking in buttermilk ensures juicy, tender chicken with every bite—an absolute game-changer!
Simple Prep: With just a few ingredients and easy steps, this dish is perfect for any home cook, even beginners.
Crowd Pleaser: This oven-baked wonder is a hit at family dinners or barbecues – just watch it disappear! Pair it with some creamy coleslaw or Garlic Parmesan Chicken for a delightful spread.
Time-Saver: Baked in the oven, it requires minimal hands-on time, allowing you to attend to other tasks while it cooks.
Crispy Oven-Baked Fried Chicken Ingredients
For the Chicken
• Chicken Breasts – Boneless and skinless for easy cooking and juicy bites.
• Buttermilk – Tenderizes the chicken and infuses it with great flavor; substitute with milk mixed with lemon juice or vinegar if needed.
For the Coating
• All-Purpose Flour – Provides structure and a crispy texture to the chicken’s crust.
• Salt – Enhances flavor and elevates the chicken experience.
• Seasoned Salt – Adds depth of flavor; regular salt can work as a substitute in a pinch.
• Pepper – Offers mild seasoning that brightens up the dish.
• Paprika – Contributes a beautiful color and subtle smokiness to the coating.
For the Baking
• Butter – Melts in the pan, helping to create that irresistible crunch while adding richness.
• Ziploc Bag – A convenient tool for easily coating the chicken evenly with the flour mixture.
With these components, you’re just a few steps away from creating your own perfectly crispy oven-baked fried chicken that will wow your tastebuds!
Step‑by‑Step Instructions for Crispy Oven-Baked Fried Chicken
Step 1: Soak the Chicken
Start by placing your boneless, skinless chicken breasts in a bowl or a Ziploc bag filled with buttermilk. Allow them to soak for 20 to 30 minutes in the refrigerator. This crucial step not only tenderizes the chicken but also infuses it with moisture and flavor, setting the stage for the Crispy Oven-Baked Fried Chicken to shine.
Step 2: Preheat the Oven
While the chicken soaks, preheat your oven to 400°F (200°C). This temperature ensures that your chicken will cook evenly and develop that irresistible crispy coating. As the oven warms up, your excitement for this delicious meal will build—imagine the golden chicken you’ll soon enjoy.
Step 3: Prepare the Coating
In a large Ziploc bag or mixing bowl, combine all-purpose flour, salt, seasoned salt, pepper, and paprika. Mix well to ensure even distribution of seasonings, which will enhance the flavor of your Crispy Oven-Baked Fried Chicken. Set this aside, ready for the next step, as your mouth begins to water in anticipation.
Step 4: Melt the Butter
Once your chicken has soaked, place a 9×13-inch baking pan in the preheated oven with about 3 tablespoons of butter. As the butter melts and starts to bubble—this will take around 5 minutes—keep an eye on it to prevent burning. The melted butter will form a deliciously crisp base for your chicken.
Step 5: Coat the Chicken
Remove the chicken from the buttermilk, allowing the excess to drip off, and place it in the prepared Ziploc bag or bowl with the flour mixture. Seal the bag and shake until each piece is evenly coated. This thorough coating is key for achieving that satisfying crunch we all love in Crispy Oven-Baked Fried Chicken.
Step 6: Arrange in the Pan
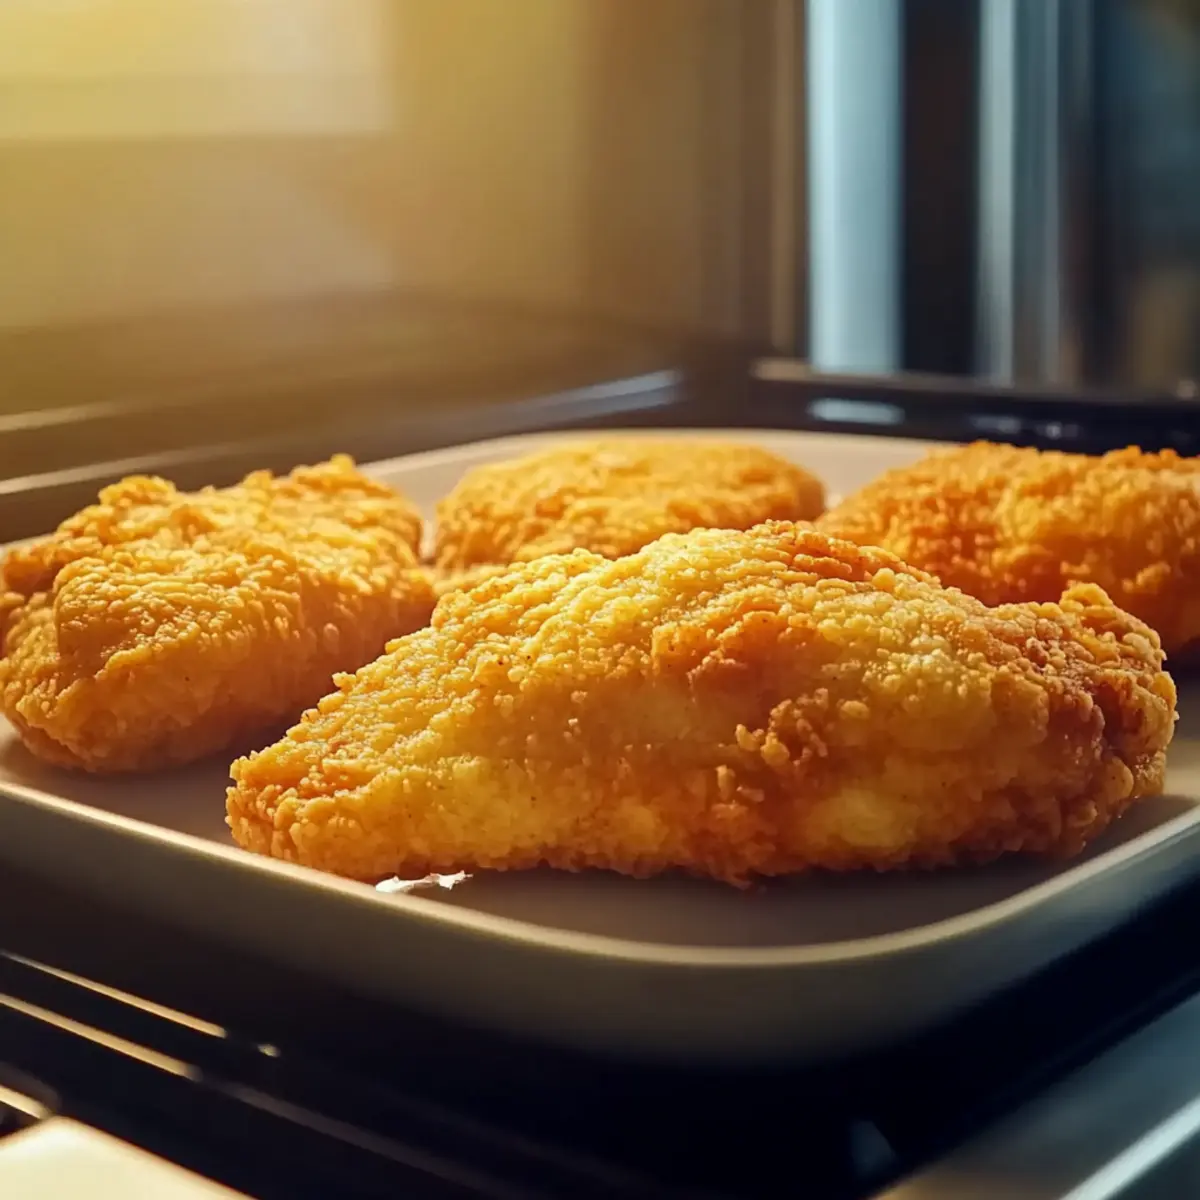
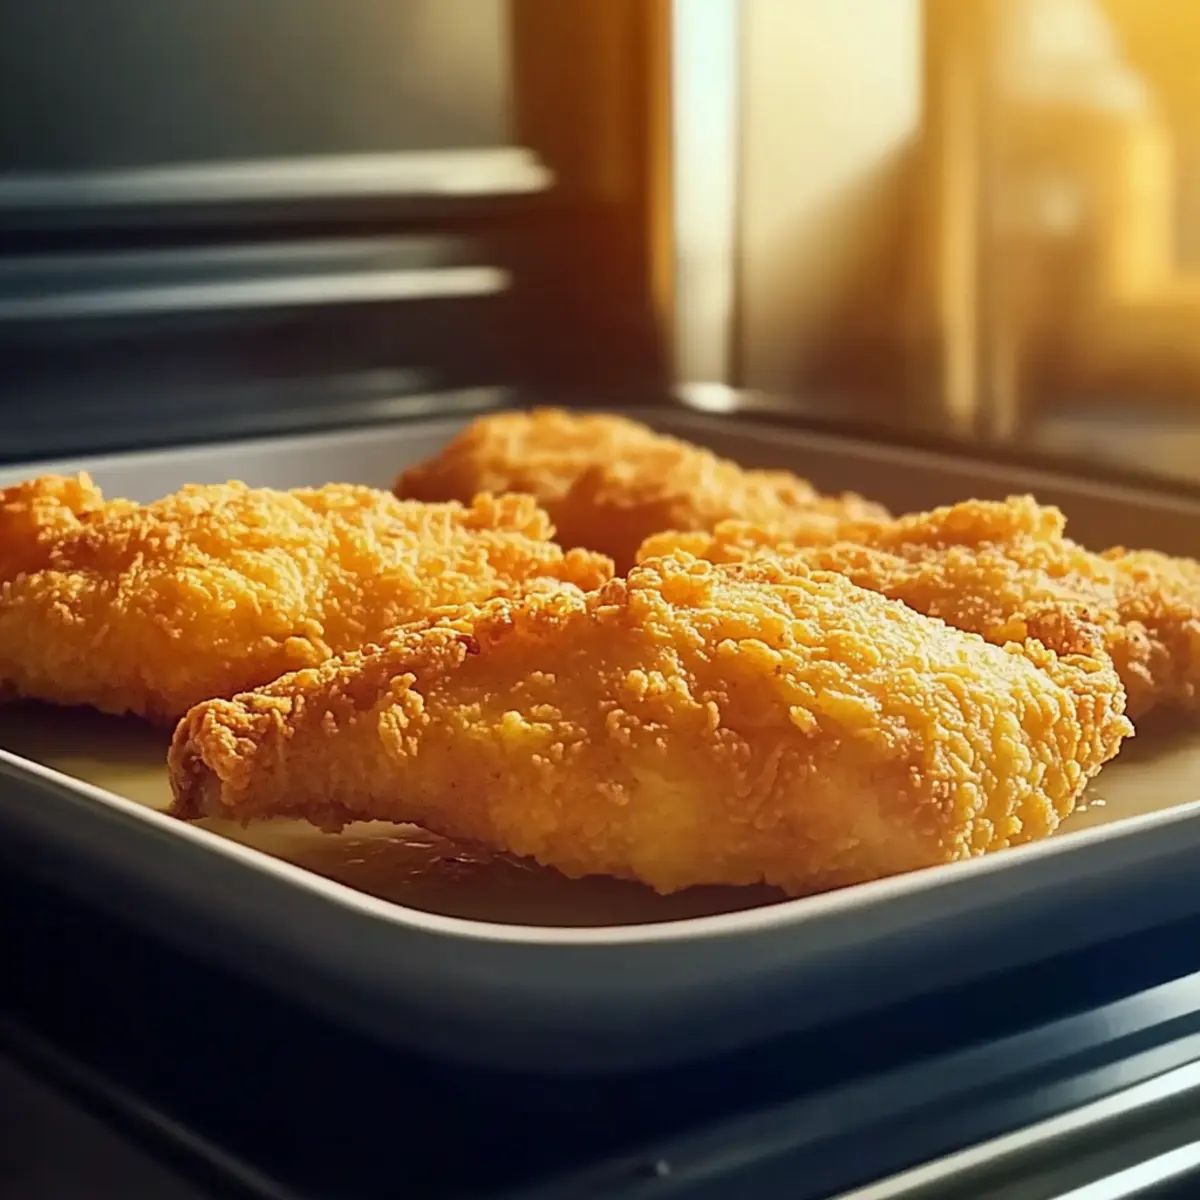
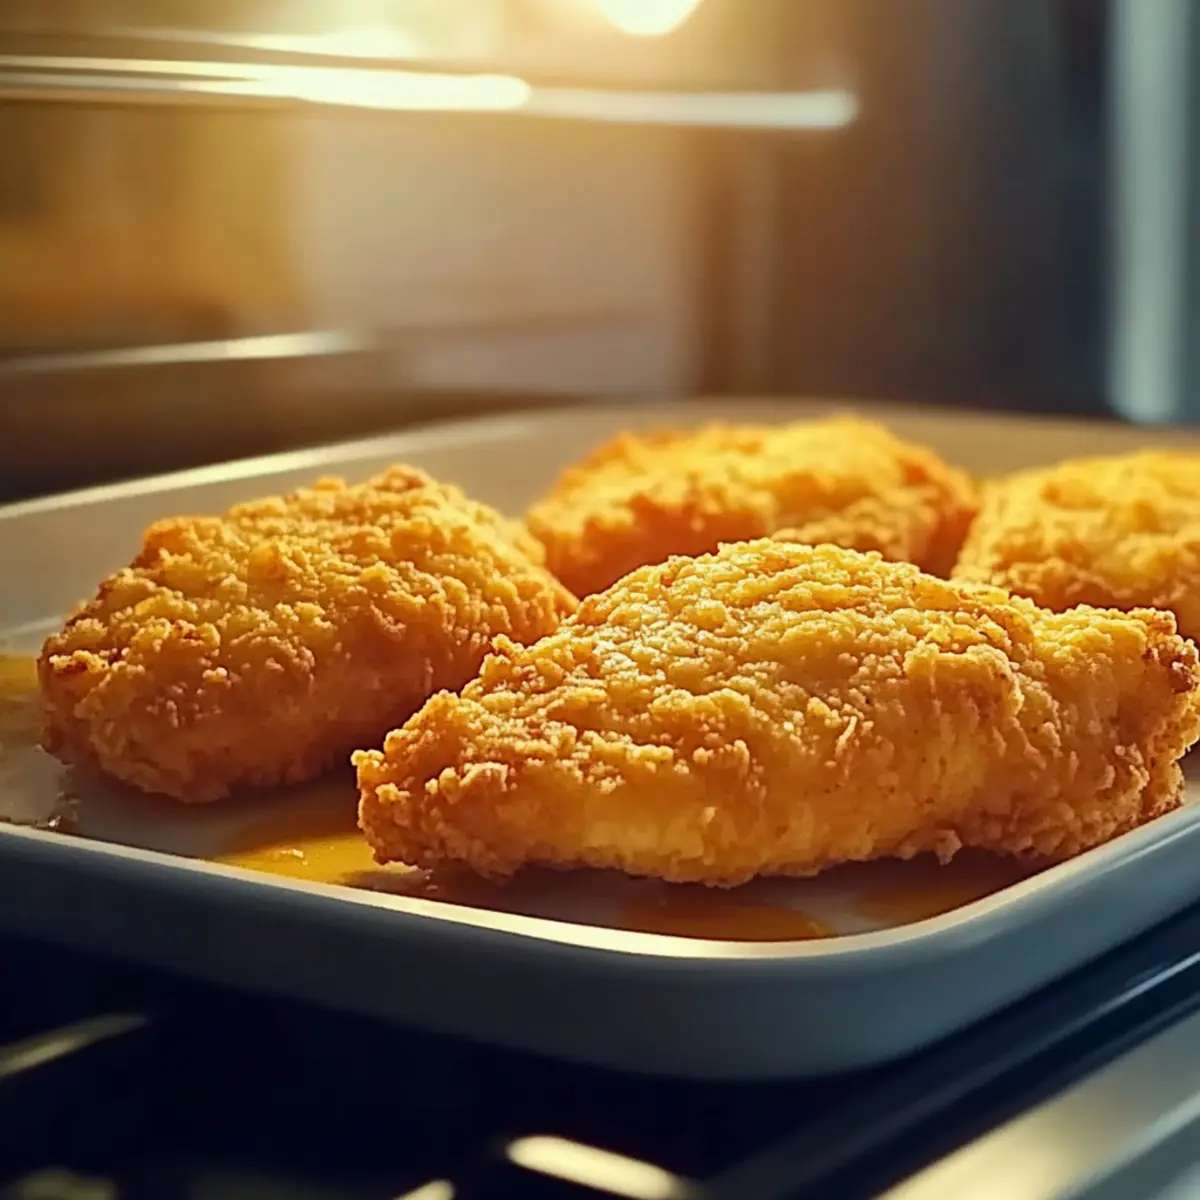
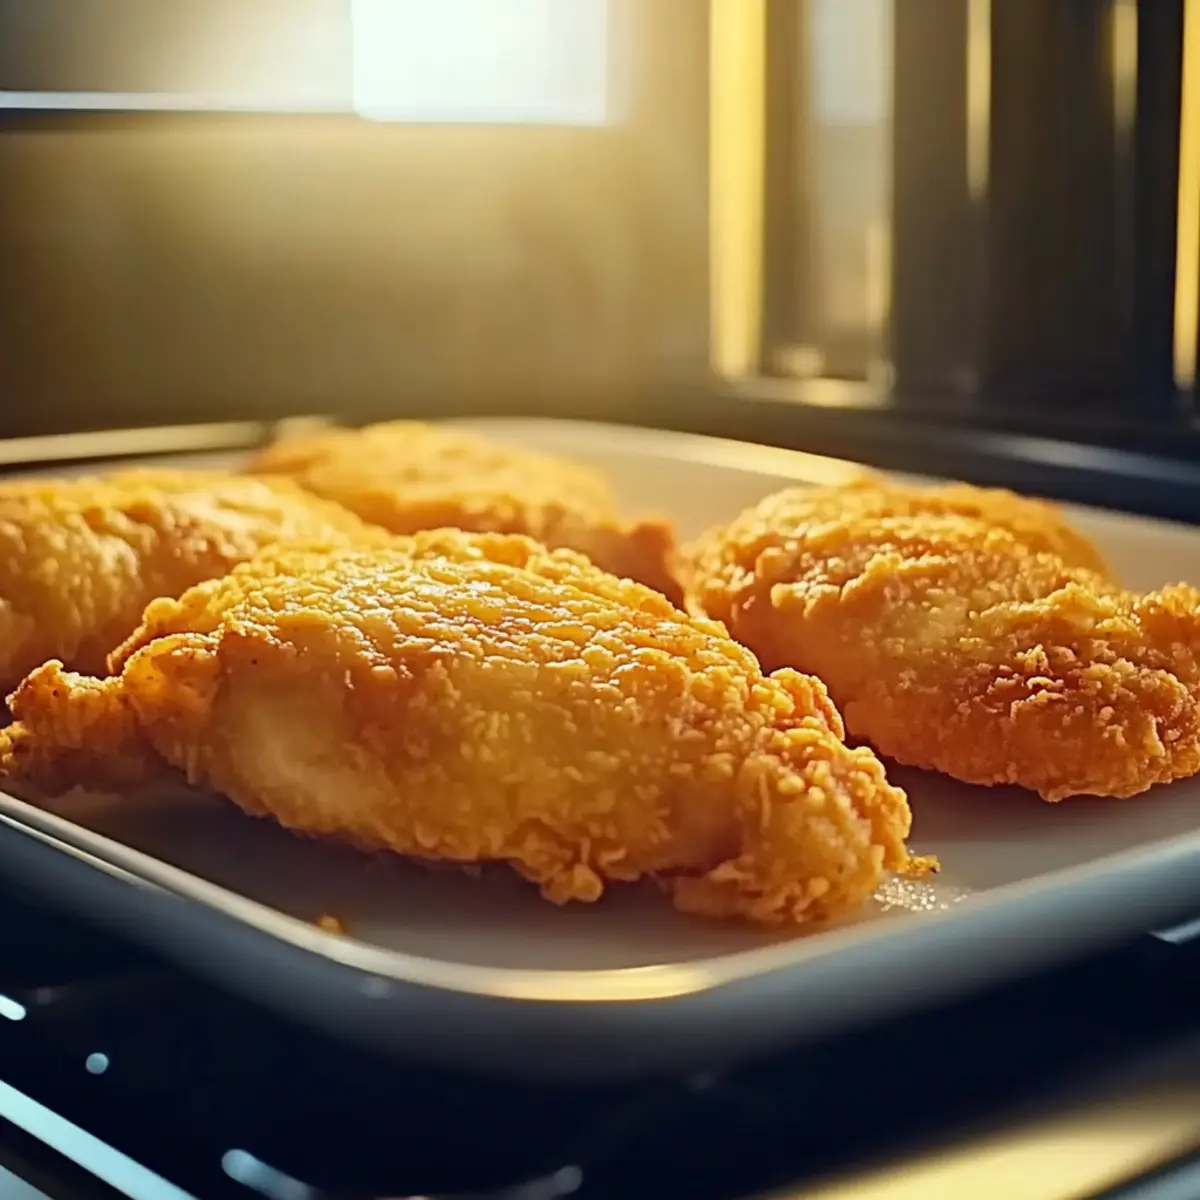
Carefully remove the hot baking pan from the oven, ensuring not to burn yourself. Place the coated chicken breasts in a single layer in the pan over the melted butter. The sizzling sound as they make contact indicates they will absorb the rich flavor while baking. Bake the chicken for 20 minutes without moving them around.
Step 7: Flip and Finish Baking
After 20 minutes, carefully flip each chicken breast using tongs or a spatula. Return the pan to the oven and continue baking for an additional 20 minutes. Keep a close eye on the chicken; it should become golden brown and reach an internal temperature of 165°F (74°C) for perfect doneness.
Step 8: Rest and Serve
Once perfectly cooked, remove the Crispy Oven-Baked Fried Chicken from the oven and let it rest for a few minutes. This resting phase allows the juices to redistribute within the chicken for enhanced flavor and moisture. Serve hot and enjoy all the wonderful flavors with your favorite sides!
Storage Tips for Crispy Oven-Baked Fried Chicken
Fridge: Keep leftovers in an airtight container for up to 3 days. This helps retain the chicken’s tenderness and flavor, making for delicious meals later.
Freezer: If you’d like to store the chicken longer, freeze it in individual portions for up to 3 months. Wrap each piece tightly or use freezer bags to prevent freezer burn.
Reheating: When ready to enjoy your Crispy Oven-Baked Fried Chicken again, reheat in a preheated oven at 375°F (190°C) for about 15-20 minutes until heated through and crispy.
Serving Suggestions: Pair reheated chicken with fresh sides for a quick and easy meal that feels just as comforting as when it was freshly made!
What to Serve with Crispy Oven-Baked Fried Chicken
Craving the warm embrace of a full meal beside that golden, crispy delight? Let’s explore the perfect pairings that will truly elevate your dining experience.
-
Creamy Coleslaw: This classic side adds a refreshing crunch, balancing the savory flavors of the chicken with its creamy tang.
-
Garlic Mashed Potatoes: Smooth and buttery, these mashed potatoes are a comforting companion that soak up the flavor of your crispy chicken with every savory bite.
-
Baked Mac and Cheese: A crowd favorite, the creamy goodness of mac and cheese melds delightfully with the crispy coating, creating a satisfying textural contrast.
-
Roasted Vegetables: Bright, colorful veggies bring earthiness to the table and complement the dish with their charred sweetness. Try tossing them in olive oil and your favorite herbs before roasting.
-
Honey Biscuits: Warm and flaky with a hint of sweetness, these biscuits are perfect to soak up the flavors of your chicken and provide a little delightful indulgence.
-
Sweet Tea: This refreshing drink is just the thing to wash down the crispy bites. Its subtle sweetness makes it a delightful contrast to the savory chicken.
-
Peach Cobbler: Conclude your meal with this warm dessert; the juicy, sweet peaches provide a wonderful finish that everyone will love.
Expert Tips for Crispy Oven-Baked Fried Chicken
- Coating Consistency: Ensure each chicken piece is thoroughly coated in the seasoned flour to achieve maximum crispiness while baking.
- Check Temperature: Use a meat thermometer to confirm the chicken reaches an internal temperature of 165°F. This guarantees safe, juicy results for your Crispy Oven-Baked Fried Chicken.
- Resting Matters: Allow the chicken to rest for a few minutes after baking. This step is vital for locking in the flavors and moisture, making each bite succulent.
- Butter Magic: Don’t skip melting the butter in the pan. It creates a rich, crispy bottom that contrasts beautifully with the tender chicken.
- Flavor Additions: Feel free to experiment! Adding cayenne for heat or herbs for aroma can elevate your Crispy Oven-Baked Fried Chicken to next level deliciousness.
Make Ahead Options
These Crispy Oven-Baked Fried Chicken pieces are perfect for meal prep enthusiasts! You can marinate the chicken in buttermilk up to 24 hours in advance to infuse flavor and ensure tenderness. Simply store the chicken submerged in the buttermilk in the refrigerator. For even more convenience, you can coat the chicken with the flour mixture up to 3 days ahead—just keep it in an airtight container or Ziploc bag in the fridge. When you’re ready to serve, arrange the coated chicken in the hot melted butter and bake as directed. Just follow these steps, and you’ll have mouthwatering fried chicken that’s just as delicious, saving you valuable time on busy weeknights!
Crispy Oven-Baked Fried Chicken Variations
Feel free to get creative with this oven-baked chicken and make it your own! The possibilities are as tantalizing as the flavor.
- Spicy Kick: Add cayenne pepper to the flour mixture for a zesty flavor explosion. Perfect for those who crave a little heat!
- Herb Delight: Toss in your favorite dried herbs, such as oregano or thyme, to the coating for an aromatic twist. Fresh herbs can be used as well; they’ll add vibrant flavor!
- Gluten-Free Option: Substitute the all-purpose flour with a gluten-free blend for a crispy version anyone can enjoy without worry. Just be sure it has a good rising agent for best results.
- Buttermilk Alternative: Mix regular milk with lemon juice or vinegar as a quick substitute for buttermilk. This will tenderize the chicken just as well!
- Cheesy Coating: Sprinkle grated Parmesan cheese into the flour mixture for an added savory depth that cheese lovers will adore. The results are oh-so-satisfying!
- Baking Sheet Swap: For an extra crispy bottom, consider using a wire rack placed inside your baking pan to elevate the chicken while it bakes. Say goodbye to soggy bottoms!
- Asian Twist: Incorporate sesame seeds and a dash of soy sauce into the flour mix for an East Asian flavor profile. This unique twist will surprise and delight your taste buds!
- BBQ Flavor: Brush the chicken with your favorite BBQ sauce during the last 5 minutes of cooking for a smoky, tangy finish. It’ll take your oven-baked fried chicken to a whole new level!
Adding these variations can bring new life to your crispy chicken dinners! If you’re looking for more delicious chicken recipes, consider trying the Italian Chicken Panini or Chicken Caesar Wraps for a delightful twist on your homemade meals.
Crispy Oven-Baked Fried Chicken Recipe FAQs
How do I select the best buttermilk for my recipe?
Absolutely! Look for creamy buttermilk with no separation or lumps. If you’re in a pinch, you can mix 1 cup of regular milk with 1 tablespoon of lemon juice or vinegar, allowing it to sit for about 5 minutes until it thickens slightly—this works wonders!
What is the best way to store leftover Crispy Oven-Baked Fried Chicken?
To maintain its flavor and texture, store leftover chicken in an airtight container in the refrigerator for up to 3 days. Make sure it’s completely cooled before sealing it up, as this helps prevent condensation, which can make it soggy.
Can I freeze Crispy Oven-Baked Fried Chicken?
Yes, you can! Simply wrap each piece in plastic wrap or aluminum foil, ensuring they are tightly sealed, then place them in a freezer-safe container or Ziploc bag. They can be frozen for up to 3 months. Just make sure to label the bags to keep track of freshness!
What should I do if my chicken isn’t crispy enough?
If your chicken isn’t as crispy as desired, there are a few tricks! First, make sure to coat the chicken thoroughly with the flour mixture. Additionally, ensure the butter is hot when you place the chicken in the pan. If it has cooled, it can result in a less crispy texture. Lastly, returning the chicken to a hotter oven for a few minutes can help crisp it back up!
Are there any dietary considerations I should be aware of?
Absolutely! If you or someone you’re serving has allergies, it’s crucial to check all ingredient labels. This recipe relies heavily on chicken, buttermilk, and flour, which are common allergens. For a gluten-free option, you can substitute all-purpose flour with a gluten-free flour blend; just ensure the blend has gumming agents to maintain crispiness.
Crispy Oven-Baked Fried Chicken That Will Wow Your Tastebuds
Ingredients
Equipment
Method
- Soak the chicken breasts in a bowl or Ziploc bag filled with buttermilk for 20 to 30 minutes in the refrigerator.
- Preheat your oven to 400°F (200°C).
- Mix all-purpose flour, salt, seasoned salt, pepper, and paprika in a large Ziploc bag or bowl.
- Melt about 3 tablespoons of butter in a 9x13-inch baking pan in the preheated oven.
- Coat the chicken with the flour mixture by placing it in the bag and shaking until each piece is evenly coated.
- Place the coated chicken breasts in a single layer in the pan over the melted butter and bake for 20 minutes.
- After 20 minutes, flip each chicken breast and bake for an additional 20 minutes until golden brown.
- Let the chicken rest for a few minutes before serving to allow juices to redistribute.
Leave a Reply