
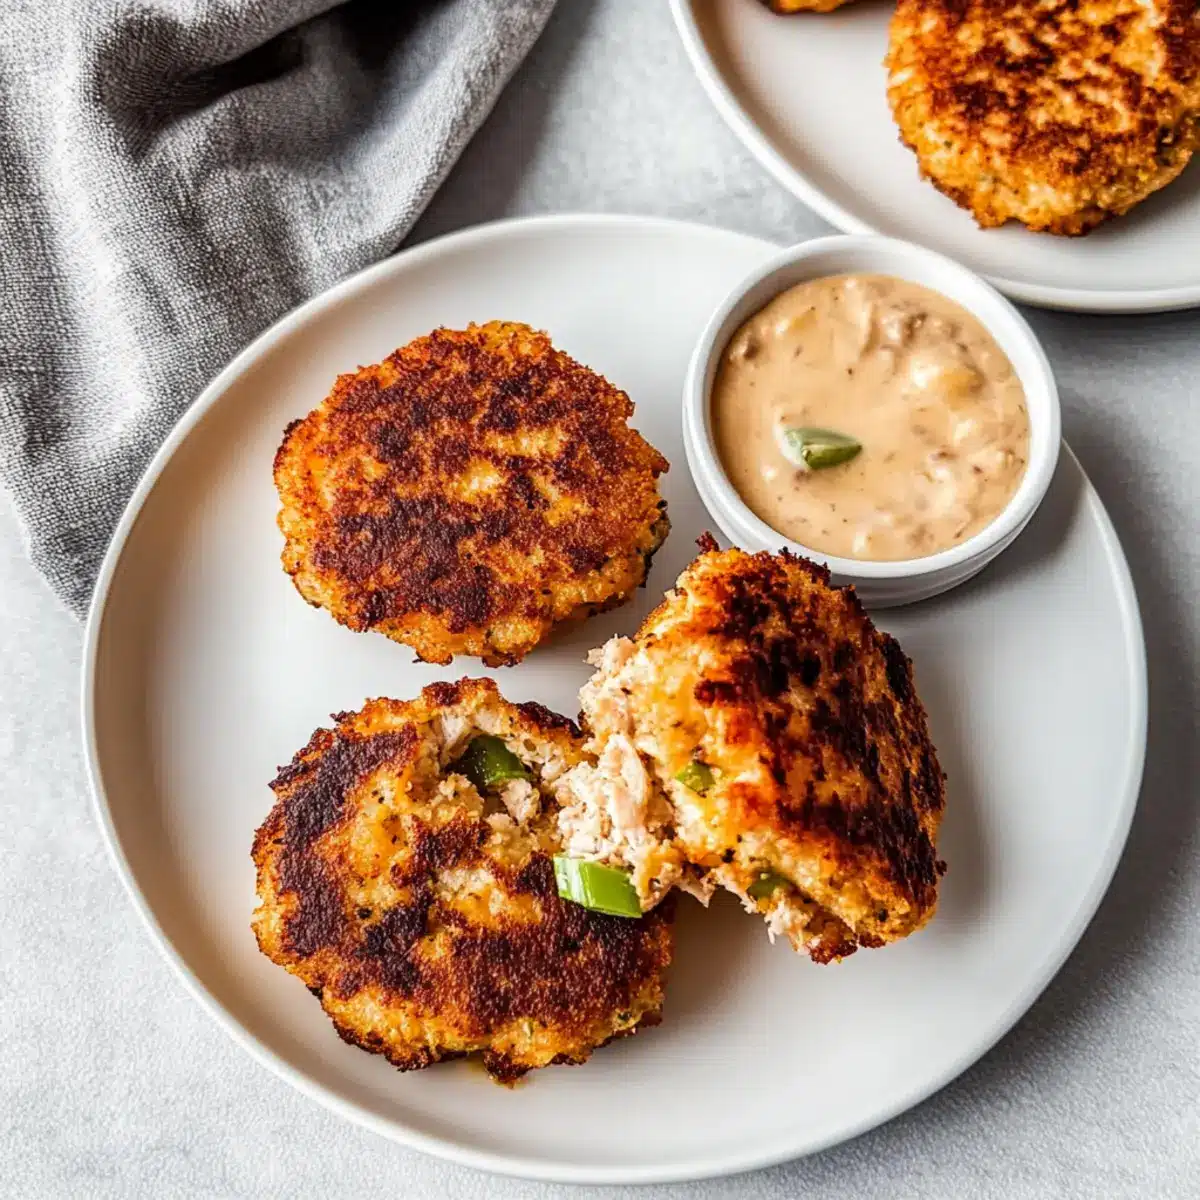
Walking into my kitchen, the delightful aroma of fresh lemon and warm spices transports me back to a summer seaside picnic. Today, I’m excited to share my Easy Air Fryer Tuna Cakes, a recipe that brings that vibrant experience right to your dinner table. With just a handful of ingredients, this dish is not only quick to prepare but also a fantastic alternative to greasy takeout, making it perfect for busy weeknights. In under 15 minutes, you can enjoy perfectly golden, crispy cakes that are surprisingly tender and packed with flavor. Plus, they can easily be made gluten-free for anyone with dietary restrictions. Are you ready to elevate your weeknight dinners with this simple yet satisfying recipe? Let’s dive in!

Why Should You Try Tuna Cakes?
Deliciously Quick: These Air Fryer Tuna Cakes come together in just 15 minutes, perfect for those evenings when you want a homemade meal without the fuss!
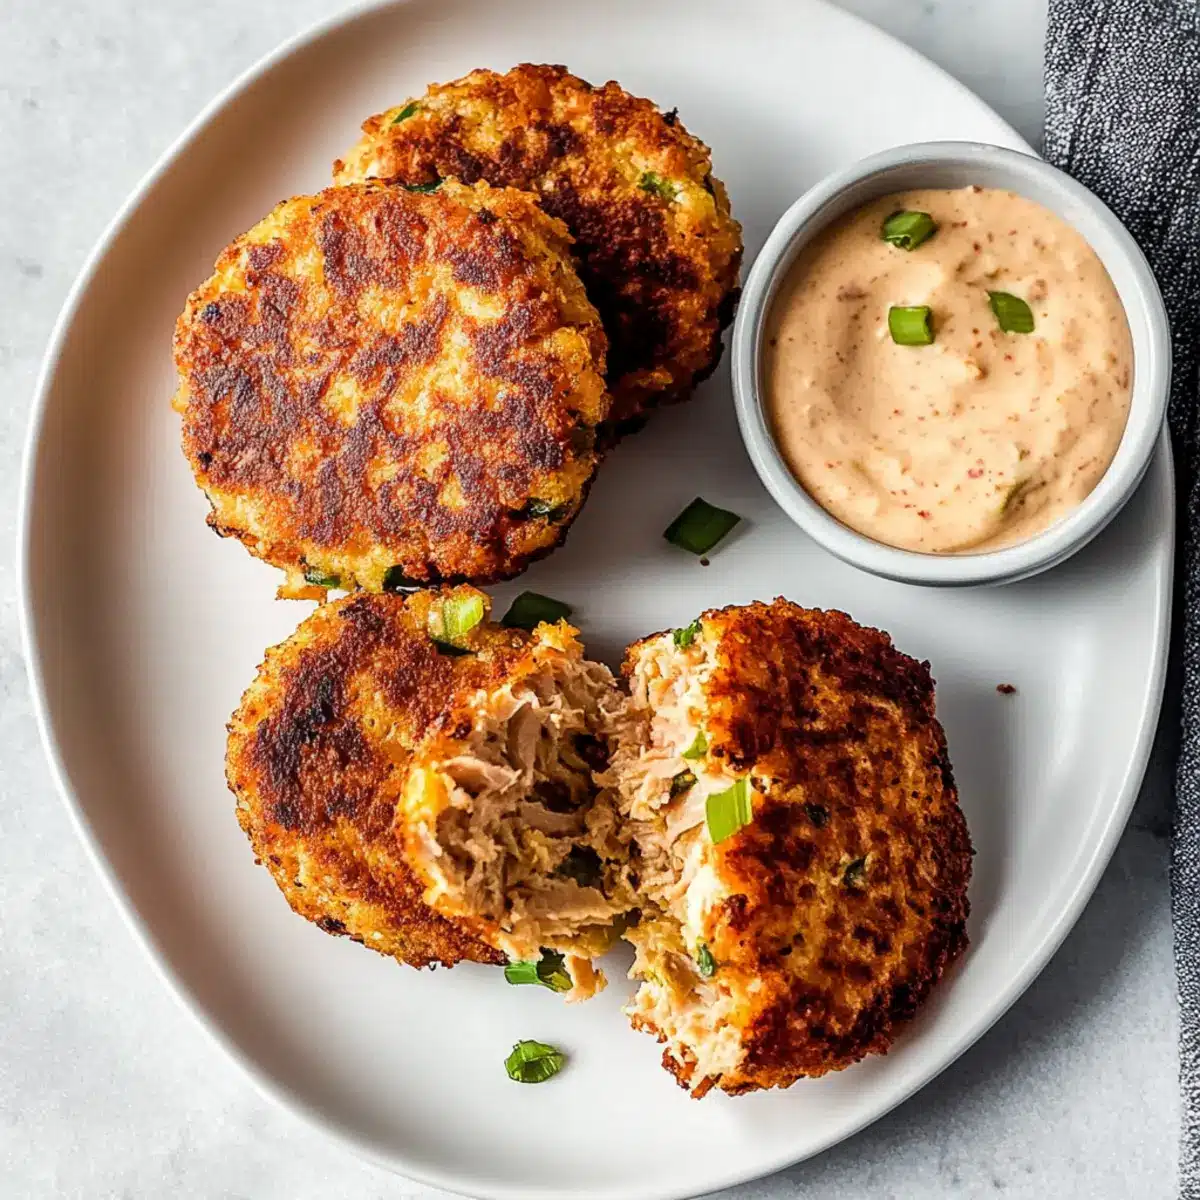
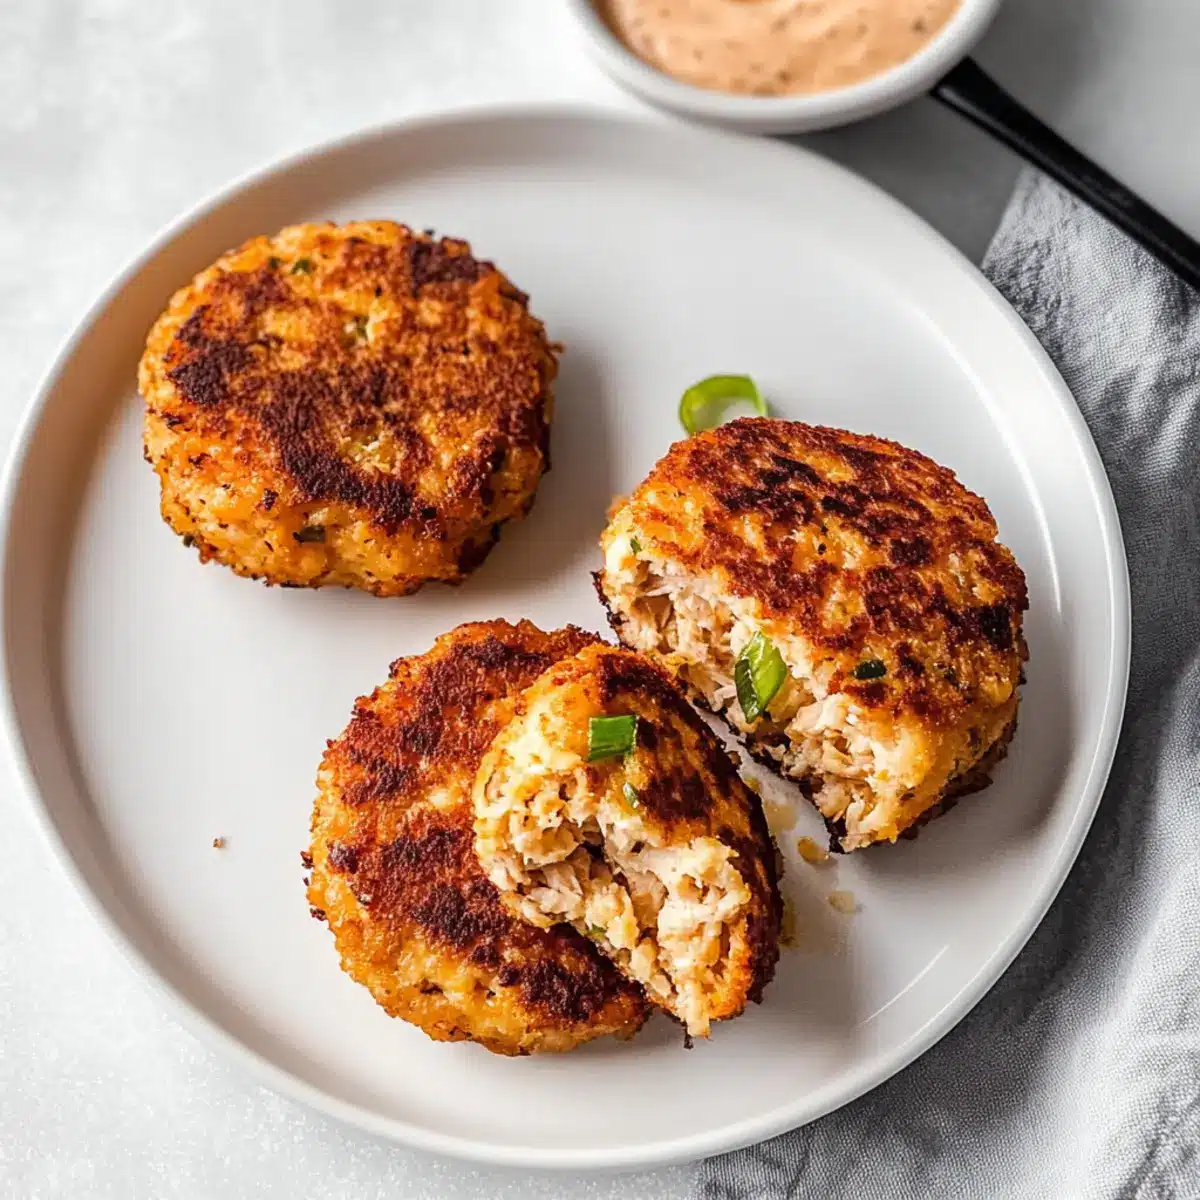
Crispy Perfection: Enjoy the delightful contrast of a crispy exterior and a tender inside, making every bite a delight.
Healthy Alternative: A fantastic substitution for greasy takeout, packed with protein and fewer calories—approximately 83 per serving—these cakes help you stick to your healthy eating goals.
Gluten-Free Option: Easily adaptable with gluten-free breadcrumbs, ensuring everyone can savor this dish without worry.
Crowd-Pleasing Flavor: Perfect for family dinners or casual gatherings, these cakes pair beautifully with a side salad or your favorite dipping sauces, just like with our Mini German Pancakes for a delightful meal!
Don’t miss the chance to whip up this tasty treat that satisfies cravings without compromising on health.
Air Fryer Tuna Cakes Ingredients
For the Cakes
- Chunk Tuna (2 – 12 oz. cans) – The main protein source; make sure it’s well-drained to prevent a soggy mixture.
- Eggs (2) – Binds the ingredients together for a delightful texture and adds richness.
- Seasoned Breadcrumbs (1/2 cup) – Provides structure and crunch; swap with gluten-free breadcrumbs for an easy gluten-free version.
- Mayonnaise (4 Tbsp.) – Adds creamy texture and flavor; Greek yogurt can be a lighter substitute.
- Lemon Juice (2 Tbsp.) – Infuses brightness and acidity, balancing the rich flavors of the cakes.
- Diced White Onion (1/2) – Delivers moisture and flavor; can be replaced with green onions or shallots if desired.
- Salt (1/2 tsp.) and Black Pepper (1/2 tsp.) – Enhances overall flavor; feel free to adjust according to your taste preferences.
With these fresh and simple ingredients, you’re just moments away from creating delicious Air Fryer Tuna Cakes that will elevate your homemade dinner experience!
Step‑by‑Step Instructions for Air Fryer Tuna Cakes
Step 1: Mix Tuna and Ingredients
Start by draining the chunk tuna thoroughly; this prevents sogginess in your Air Fryer Tuna Cakes. In a large bowl, combine the tuna with eggs, seasoned breadcrumbs, mayonnaise, lemon juice, diced onion, salt, and pepper. Gently mix with your hands until everything is well incorporated but still holds together, ensuring a firm texture.
Step 2: Prepare Air Fryer
While your mixture rests, preheat the air fryer to 375°F. Then, spray the basket with cooking spray or brush with olive oil to prevent sticking. This crucial step ensures your tuna cakes come out crispy without the worry of them adhering to the basket, providing the perfect foundation for your Air Fryer Tuna Cakes.
Step 3: Shape Patties
With the mixture ready, take a portion and shape it into patties, about ¾ inch thick. Aim for uniformity to ensure even cooking. Place up to four patties in the air fryer basket, leaving space in between for air circulation. This precise arrangement allows the hot air to flow, delivering beautifully cooked Air Fryer Tuna Cakes.
Step 4: Cook
Air fry the patties for 12 minutes at 375°F, flipping them halfway through the cooking time. Keep an eye on them; they should turn a lovely golden brown and develop a crispy crust. After cooking, use tongs to carefully remove the patties from the basket and let them rest for a minute before serving to enhance their flavor and texture.
Expert Tips for Air Fryer Tuna Cakes
-
Proper Drainage: Make sure to drain the tuna thoroughly to avoid soggy cakes; moisture can lead to a loose mixture that won’t hold its shape.
-
Breadcrumb Balance: If the mixture feels too wet, gradually add more seasoned breadcrumbs until you achieve a firmer consistency appropriate for shaping the patties.
-
Spacing Matters: Don’t overcrowd the air fryer basket. Leave ample space between patties for optimal air circulation, ensuring that your Air Fryer Tuna Cakes cook evenly and crisp up beautifully.
-
Check for Crispiness: For a golden brown crust, adjust cooking time slightly based on your air fryer model. Every air fryer is different, so keep an eye on them!
-
Flavor Boost: Feel free to add herbs and spices like dill, garlic powder, or paprika to enhance flavors. A little creativity goes a long way in making your cakes unique.
How to Store and Freeze Air Fryer Tuna Cakes
Fridge: Store leftover air fryer tuna cakes in an airtight container for up to 3 days. Reheat in the air fryer or microwave, but for best texture, opt for the air fryer.
Freezer: These tuna cakes can be frozen for up to 3 months. Place them in a single layer on a baking sheet to freeze, then transfer to a freezer bag or container.
Thawing: To enjoy frozen cakes, thaw in the fridge overnight before reheating. This helps maintain their flavor and texture while keeping them moist.
Reheating: When ready to serve, reheat in the air fryer at 375°F for about 5-7 minutes, allowing them to regain their crispy exterior.
What to Serve with Air Fryer Tuna Cakes?
Elevate your lovely meal with delightful sides that combine flavors and textures to enhance your dining experience.
-
Crispy Green Salad: A refreshing mix of greens, cucumber, and a zesty vinaigrette balances the rich flavors, adding a crispy crunch to each bite.
-
Tartar Sauce: Creamy and tangy, a classic tartar sauce pairs perfectly, adding a layer of flavor that complements the tuna cakes beautifully.
-
Roasted Veggies: A medley of seasonal roasted vegetables provides comforting warmth and deepens the flavor profile of your meal while adding vibrant colors to the plate.
-
Creamy Coleslaw: The crunchy, creamy texture of coleslaw offers a refreshing contrast, making it an ideal side to serve alongside these delectable cakes.
-
Garlic Bread: Crispy, buttery garlic bread adds an irresistible element that contrasts the lightness of the cakes while soaking up any sauces.
-
Sweet Potato Fries: A perfect blend of sweet and savory, these fries provide a deliciously contrasting flavor and texture, making them a fun addition to your plate.
-
Lemonade or Iced Tea: Sip on refreshing homemade lemonade or iced tea, complementing the bright flavors of the tuna cakes and offering a delightful balance.
Picture the scene – vibrant plates full of color and delightful aromas wafting through your kitchen as everyone gathers around the table, ready to enjoy this comforting dinner!
Air Fryer Tuna Cakes Variations
Feel free to explore your creativity with these delicious twists on your Air Fryer Tuna Cakes, making them even more delightful!
-
Gluten-Free: Substitute seasoned breadcrumbs with gluten-free breadcrumbs for an easy adaptation without losing flavor.
-
Herb-Infused: Mix in fresh herbs such as dill or parsley for a fragrant boost that brightens each bite.
-
Veggie-Packed: Add diced bell peppers or shredded zucchini to the mix for extra texture and nutrition—it’s the perfect way to sneak in more veggies!
-
Spice it Up: Incorporate a pinch of cayenne pepper or red pepper flakes for a subtle kick—this will bring a warm and cozy depth of flavor.
-
Creamy Twist: Swap out mayonnaise for mashed avocado for a creamy, healthy alternative that adds an extra layer of richness.
-
Zesty Lemon: Increase the lemon juice to 3 tablespoons for a more pronounced citrus flavor that complements the tuna beautifully.
-
Pasta Side: Serve alongside a light pasta salad, like Tomato Orzo Dairy, for a heartier meal full of refreshing flavors.
-
Sleek Sliders: Shape the patties smaller for tuna sliders, perfect for gatherings or as an exciting alternative to burgers.
With these variations, you can create a new experience every time you make these tasty cakes. Enjoy the journey of flavors, and remember that it’s all about making it your own!
Make Ahead Options
These Air Fryer Tuna Cakes are a fantastic choice for meal prep, making your weeknight dinners a breeze! You can prepare the tuna mixture and refrigerate it for up to 24 hours in advance—just cover it tightly to maintain freshness. If you prefer, you can also form the patties and store them in the fridge for the same duration, which helps save precious time on busy evenings. To ensure the best texture, shape the patties calmly and avoid touching them too much before cooking. When you’re ready to serve, simply pop the chilled patties into the air fryer, cooking them as directed for perfectly crispy results that taste just as delicious as if made fresh!
Air Fryer Tuna Cakes Recipe FAQs
How do I choose the best tuna for my cakes?
Absolutely! When selecting tuna, opt for high-quality chunk tuna in water or olive oil. Look for brands that use sustainably sourced fish, and make sure the tuna is packed in water if you’re looking for a lighter option. Ensure it’s well-drained to avoid excess moisture in your Air Fryer Tuna Cakes.
What is the best way to store leftover tuna cakes?
For optimal freshness, store leftover air fryer tuna cakes in an airtight container in the refrigerator. They’ll stay good for up to 3 days. When reheating, use the air fryer to maintain that crispy exterior—just set it to 375°F for about 5-7 minutes, and they’ll be as delicious as when first cooked!
Can I freeze air fryer tuna cakes, and how do I do it?
Yes, you can! To freeze, first place the cooked tuna cakes in a single layer on a baking sheet and freeze them for about 1-2 hours until firm. Then, transfer them to a freezer-safe bag or container, where they can be stored for up to 3 months. When you’re ready to enjoy them, simply thaw them in the refrigerator overnight before reheating.
What should I do if my mixture feels too loose?
Very! If the mixture feels too wet, you can easily rectify it by adding more seasoned breadcrumbs, a tablespoon at a time, until you achieve a firmer consistency. This will help your Air Fryer Tuna Cakes hold their shape while cooking. Another tip is to always ensure your tuna is well-drained before mixing.
Are there any dietary considerations I should be aware of?
Definitely! If you’re catering to gluten-free diets, substituting seasoned breadcrumbs with gluten-free breadcrumbs is a straightforward fix. Additionally, if there are allergies, ensure you check the mayonnaise for any potentially harmful ingredients. If you’re making these for pets, be cautious as tuna should only be a treat for cats and dogs, and avoid any added spices, especially onion, which is toxic to them.
How do I enhance the flavors of my tuna cakes?
I often like to experiment with flavors! Adding fresh herbs such as dill or parsley can elevate your cakes. You could also mix in spices like garlic powder or paprika for an extra kick. Just remember to keep the flavor balanced so they complement the tuna rather than overpower it!
Crispy Air Fryer Tuna Cakes for a Flavor-Packed Dinner
Ingredients
Equipment
Method
- Start by draining the chunk tuna thoroughly; this prevents sogginess in your Air Fryer Tuna Cakes. In a large bowl, combine the tuna with eggs, seasoned breadcrumbs, mayonnaise, lemon juice, diced onion, salt, and pepper. Gently mix with your hands until everything is well incorporated but still holds together, ensuring a firm texture.
- While your mixture rests, preheat the air fryer to 375°F. Then, spray the basket with cooking spray or brush with olive oil to prevent sticking.
- With the mixture ready, take a portion and shape it into patties, about ¾ inch thick. Place up to four patties in the air fryer basket, leaving space in between for air circulation.
- Air fry the patties for 12 minutes at 375°F, flipping them halfway through the cooking time. After cooking, use tongs to carefully remove the patties from the basket and let them rest for a minute before serving.
Leave a Reply