
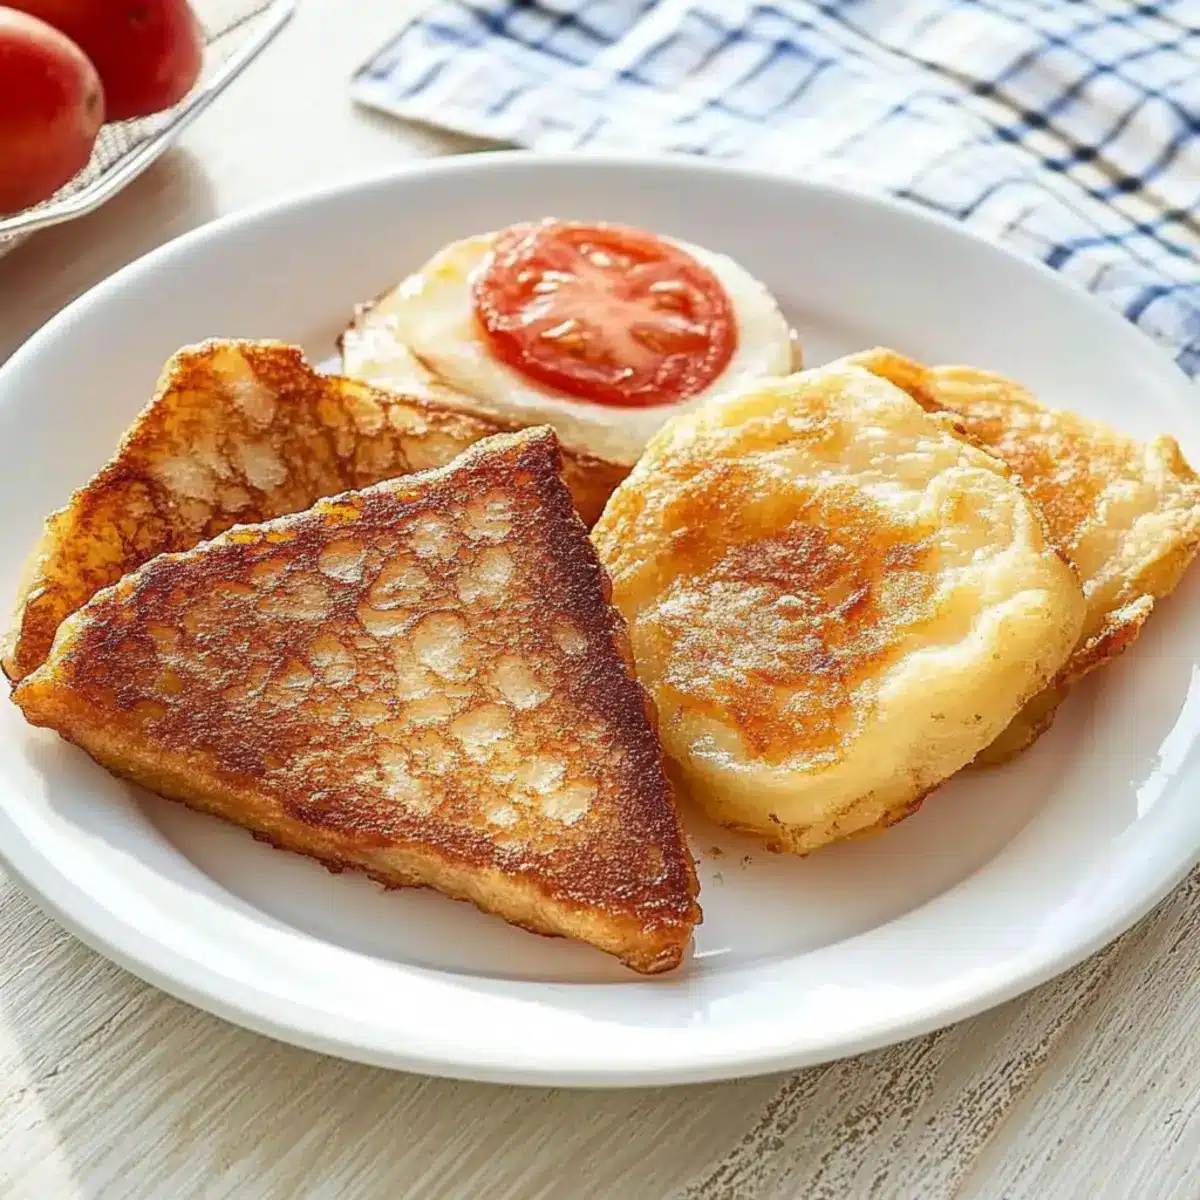
As I stood in my kitchen, the comforting aroma of boiling potatoes filled the air, instantly transporting me to a cozy pub in Ireland. What followed—a simple yet satisfying creation of Authentic Irish Potato Farls—elevated my breakfast game like never before! These delightful treats are not only crispy on the outside and fluffy on the inside, but they also come together in just 30 minutes with only four simple ingredients. Perfect for anyone seeking a quick, egg-free meal, potato farls embody the essence of traditional Irish comfort food. Whether you serve them alongside a full Irish breakfast or enjoy them solo, they’re sure to bring warmth to your table. Ready to whip up these savory gems for your next brunch?
Why are these potato farls so special?
Simplicity at its Best: With just four ingredients, these farls are a breeze to prepare, making them perfect for any home cook.
Crispy and Fluffy: Each bite offers a delightful contrast of textures—golden crispiness on the outside and a light, fluffy interior.
Versatile Delight: Pair them with eggs, grilled tomatoes, or serve on their own; they adapt to your craving and fit any meal.
Quick Cooking Time: Whip them up in just 30 minutes, proving that comforting, homemade meals don’t have to take hours!
Crowd-Pleaser: Whether for brunch or a cozy dinner, these farls are sure to impress family and friends, becoming a beloved favorite just like Potato Bake Cheesy or Sweet Potato Fries.
If you’re excited for a satisfying, authentic dish, get ready to enjoy this scrumptious recipe!
Authentic Irish Potato Farls Ingredients
• Here’s what you’ll need to create delicious farls.
For the Dough
- Medium Potatoes – 3, about 1 lb 7 oz (650 g); these provide the fluffy base for your Irish potato farls.
- All-purpose Flour – ¾ cup (4 oz/115 g); this binds the mixture together; gluten-free flour blends work well as a substitute.
- Sea Salt – 1 ½ teaspoons; enhances flavor, but feel free to adjust according to taste.
- Black Pepper – ½ teaspoon; adds a gentle kick, leaving it out is an option for a milder flavor.
For Cooking
- Butter – ¼ cup, divided; this adds richness for frying and helps achieve that perfect golden crust; plant-based butter can be used for a dairy-free version.
Now that you have everything you need, it’s time to dive into making these irresistible Authentic Irish Potato Farls!
Step‑by‑Step Instructions for Authentic Irish Potato Farls
Step 1: Boil the Potatoes
Begin by peeling and cubing three medium potatoes. Place them in a medium pot, covering them with water and salt. Bring the water to a rolling boil and cook for 20-25 minutes, or until the potatoes are tender and easily pierced with a fork. This will provide the fluffy base for your Authentic Irish Potato Farls.
Step 2: Drain and Sieve
Once cooked, drain the cubed potatoes in a colander and let them rest for about 5 minutes to dry out slightly. This helps improve texture. For the fluffiest results, pass the potatoes through a sieve, ensuring they are light and airy. This step is essential for achieving the perfect consistency in your potato farls.
Step 3: Combine Ingredients
In a large mixing bowl, combine the sieved potatoes with ¾ cup of all-purpose flour, 1½ teaspoons of sea salt, and ½ teaspoon of black pepper. Add 2 tablespoons of melted butter to the mixture, then mix it gently until a dough begins to form. The dough should be soft but not sticky, allowing you to work with it easily while making your Authentic Irish Potato Farls.
Step 4: Shape the Dough
On a lightly floured surface, turn out the dough and roll it into an 8-inch round disc, about ½ inch thick. Use a sharp knife or a pizza cutter to slice the disc into 6 equal pieces, creating wedges. This method allows for even cooking in the next step, ensuring all farls are deliciously crispy.
Step 5: Fry the Farls
Heat a large frying pan over medium heat and melt the remaining 2 tablespoons of butter. Once the butter is sizzling, carefully place the potato farls in the pan. Cook each side for about 4-5 minutes, or until they turn golden brown and crispy. This frying step is key to enhancing the flavor and texture of your Authentic Irish Potato Farls.
Step 6: Serve Warm
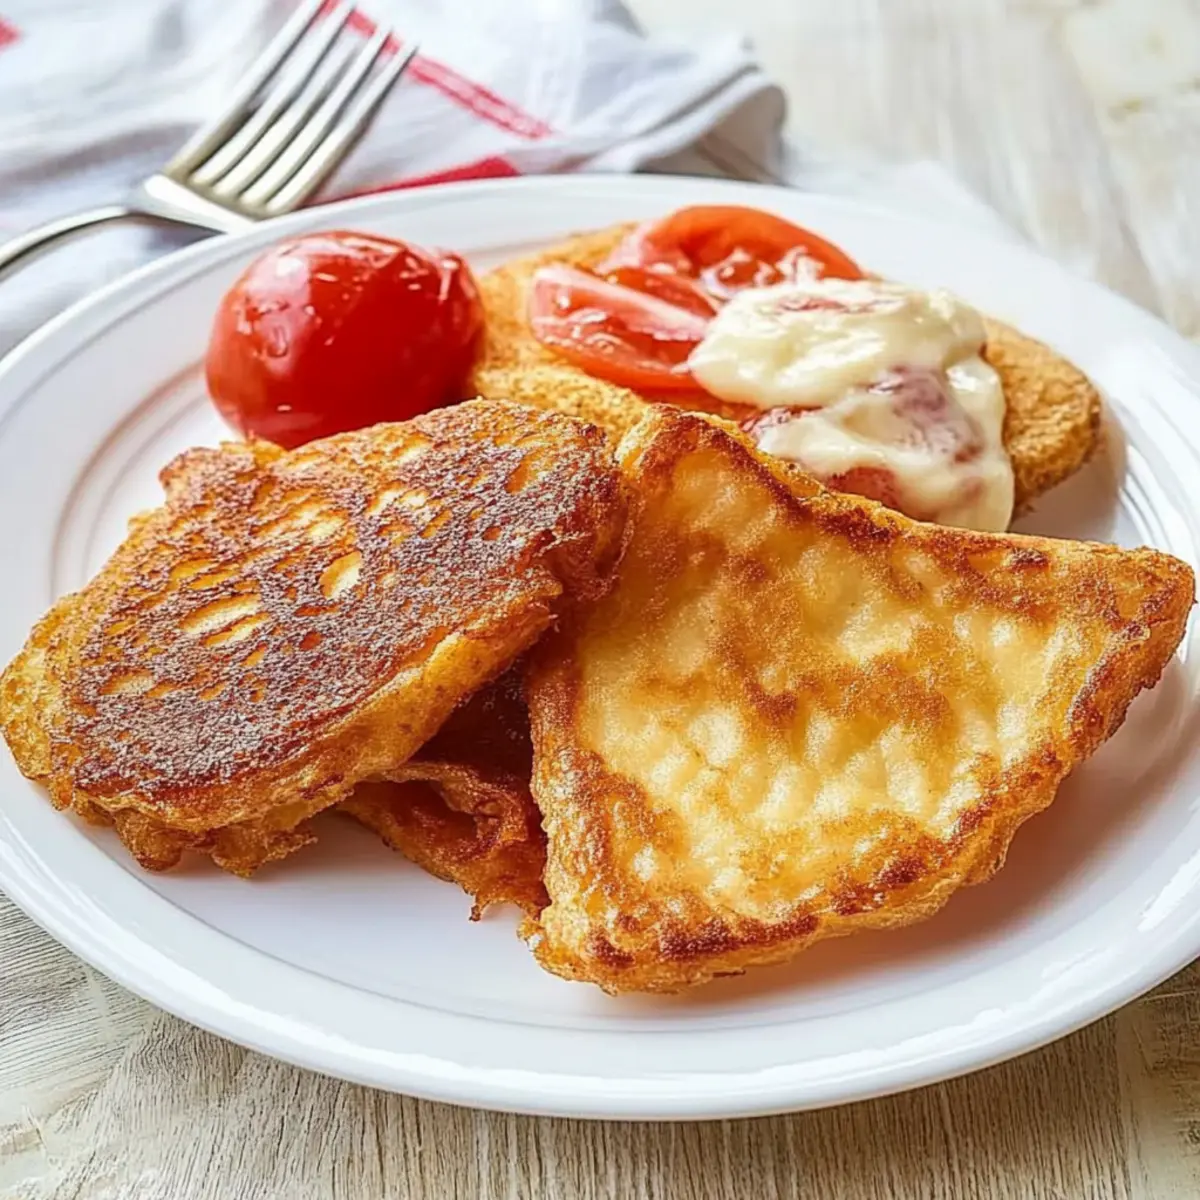
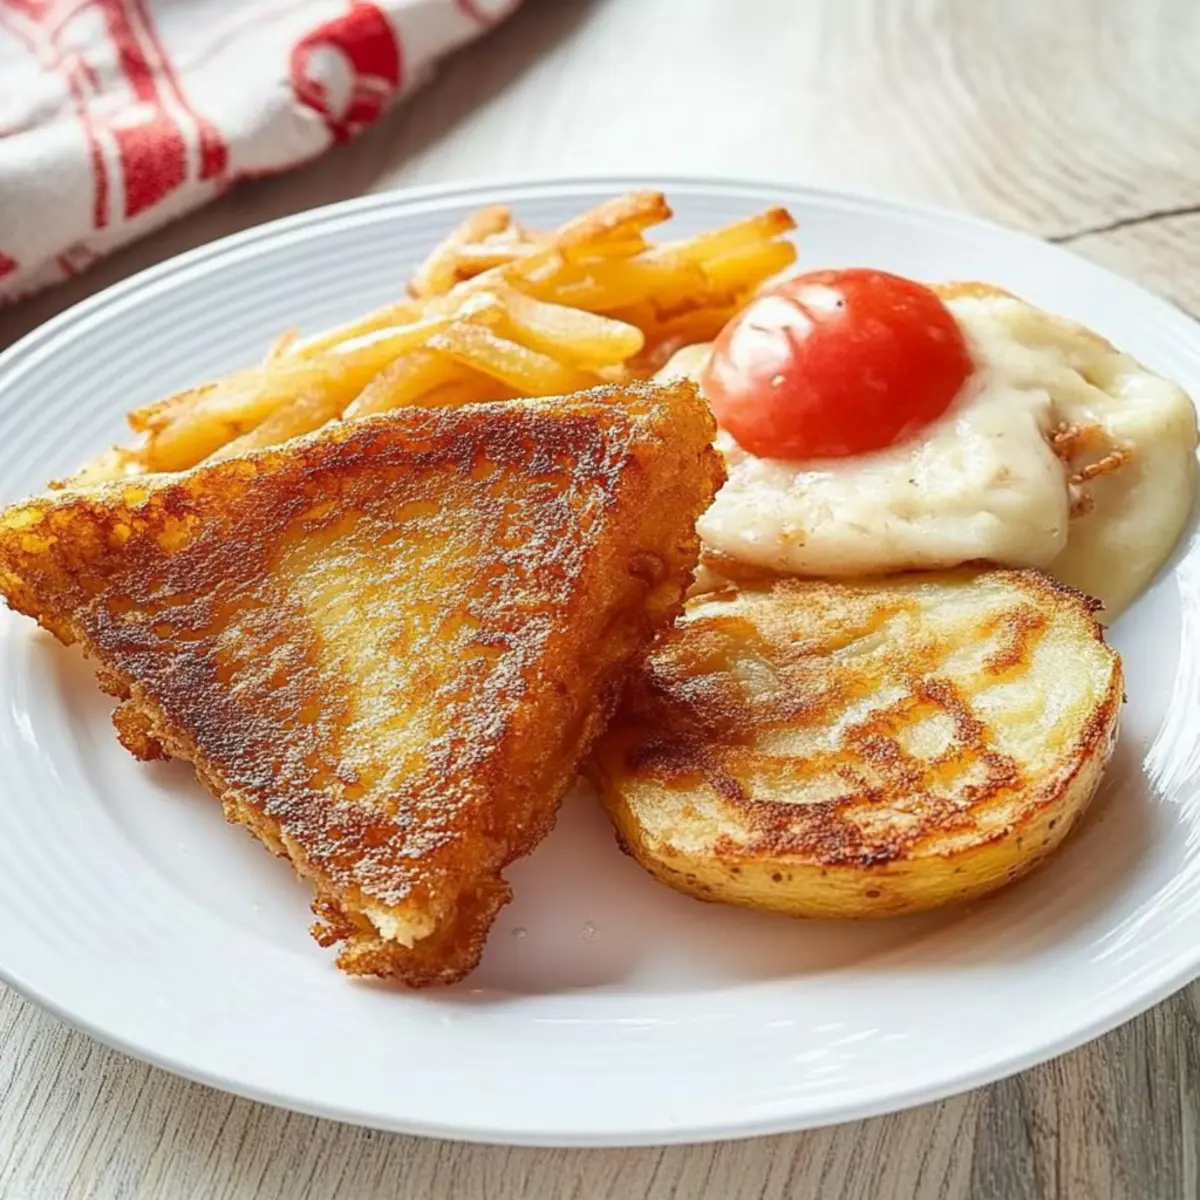
Once golden brown, remove the farls from the pan and place them on a plate lined with paper towels to absorb any excess butter. Serve the farls warm, perhaps alongside eggs, grilled tomatoes, or simply on their own. Their crispy exterior and fluffy interior are sure to be a hit!
What to Serve with Authentic Irish Potato Farls
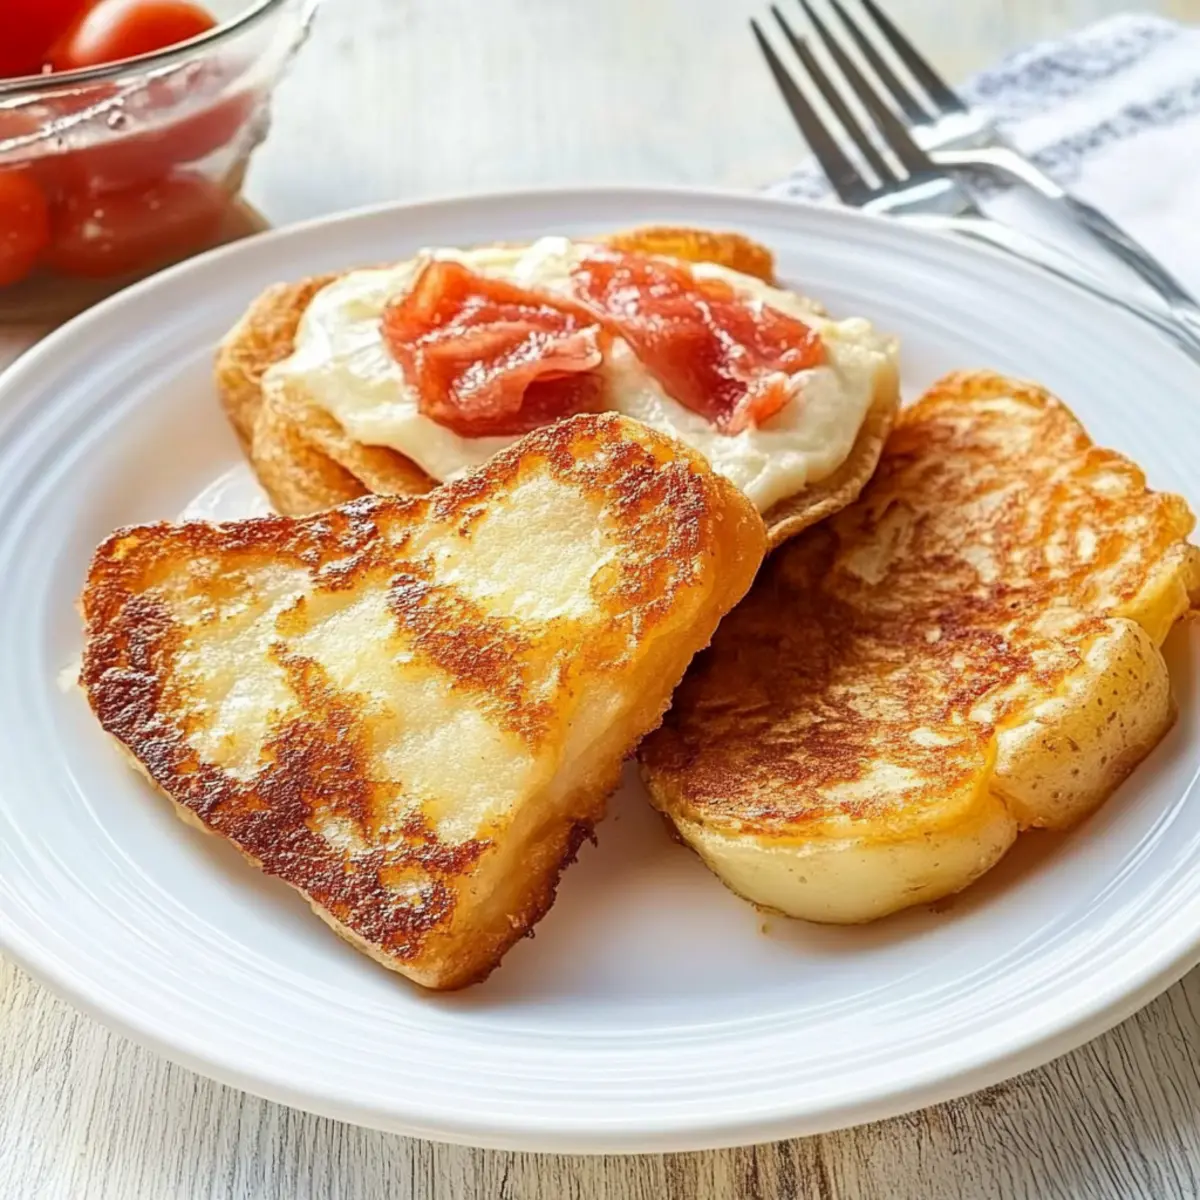
Imagine a cozy breakfast table filled with warmth and delightful aromas, perfect for starting the day.
- Scrambled Eggs: Creamy and fluffy, they provide a lovely contrast to the crispy farls, making each bite a dream.
- Crispy Bacon: The savory saltiness of bacon adds a hearty element, complementing the potato farls beautifully.
- Grilled Tomatoes: Juicy and slightly sweet, these refreshing tomatoes brighten the plate, enhancing the flavor ensemble.
- Sautéed Spinach: A quick stir of fresh spinach brings earthy notes and vibrant color, balancing the richness of the farls.
- Brown Sauce: This traditional condiment adds a tangy kick that plays wonderfully with the mild flavor of the farls.
- Hot Toddy: For a warming drink option, this comforting cocktail provides the perfect cozy complement to breakfast.
Make Ahead Options
These Authentic Irish Potato Farls are perfect for meal prep enthusiasts! You can prepare the dough up to 24 hours in advance by following the initial steps and storing it wrapped in plastic wrap in the refrigerator. When you’re ready to cook, simply roll out the dough and cut it into wedges, then fry as directed. Additionally, you can freeze uncooked farls for up to 3 months. Just lay them on a baking tray to freeze individually, then transfer to a freezer bag. To cook from frozen, just add a few extra minutes to the frying time. This way, you’ll enjoy the delightful flavors of homemade potato farls with minimal effort, even on your busiest mornings!
How to Store and Freeze Authentic Irish Potato Farls
Fridge: Store leftover potato farls in an airtight container for up to 3 days. Reheat in a skillet over medium heat for best results.
Freezer: To freeze uncooked farls, lay them on a baking tray and freeze until solid. Once frozen, transfer to a freezer bag and they will last for up to 3 months.
Reheating: Cook from frozen by placing them directly in a skillet over medium heat with a bit of melted butter. Fry until golden brown and crispy, about 5-7 minutes per side.
Make-Ahead: Prepare the dough in advance and shape into farls. Store them in the fridge for up to a day, ready for cooking when you need a quick meal.
Expert Tips for Authentic Irish Potato Farls
-
Choose the Right Potatoes: Using starchy, fluffy potatoes like Maris Piper or Russet ensures the best texture for your Authentic Irish Potato Farls.
-
Sieve for Fluffiness: Passing the cooked potatoes through a sieve not only removes lumps but also creates a light and airy base, enhancing the farls’ overall texture.
-
Watch the Temperature: Keep the frying pan at medium heat; too high can burn the outside while leaving the inside undercooked. A golden brown color indicates they are ready.
-
Customize Flavor: Incorporating finely chopped herbs or spices into the dough can elevate your potato farls from simple to sensational.
-
Storage Tips: To enjoy them later, store leftovers in an airtight container for up to 3 days or freeze uncooked farls for future meals.
-
Perfect Pairing: Serve your farls warm with eggs and crispy bacon or enjoy them solo with a drizzle of butter for a simple, satisfying treat!
Authentic Irish Potato Farls Variations
Feel free to let your creativity shine and customize these farls to suit your tastes!
-
Cheesy Farls: Mix in grated cheese for a decadent twist—cheddar or mozzarella work beautifully. The molten cheese adds richness and flavor, making each bite irresistible.
-
Herb-Infused: Incorporate fresh herbs like chives or parsley into the dough for a delightful aromatic experience. These herbs will not only enhance the taste, but they also brighten up the farls visually.
-
Bacon-Boosted: Fold in finely chopped cooked bacon or ham to elevate the savory profile. The smoky flavor mingles perfectly with the potatoes, creating a hearty breakfast option that’s hard to resist.
-
Spicy Kick: If you enjoy heat, add a pinch of cayenne pepper or diced jalapeños to the mixture. This twist will awaken your taste buds, giving the farls a zesty flair that pairs beautifully with eggs.
-
Onion Flavor: Mixing in sautéed onions or scallions adds depth and sweetness to the farls. This variation lends a homemade touch reminiscent of rustic kitchens.
-
Sweet Option: For a dessert twist, consider adding a dash of cinnamon and a bit of sugar, turning them into delectable sweet potato farls. With a drizzle of honey or maple syrup on top, they make for a unique breakfast treat.
-
Vegan Version: Substitute the butter with plant-based alternatives and ensure to use a gluten-free flour blend for a completely vegan and gluten-free delight. You won’t miss a beat with these dairy-free farls.
For even more potato inspiration, you might enjoy trying out the flavors in our delicious Sweet Potato Fries or make a hearty batch of Garlic Mashed Potatoes. Let these alternatives guide you, and discover the delightful world of variations just waiting for you!
Authentic Irish Potato Farls Recipe FAQs
What type of potatoes should I use for the best results?
Absolutely! For Authentic Irish Potato Farls, I recommend using starchy, fluffy potatoes like Maris Piper or Russet. These types create a light and airy texture, which is key to achieving that perfect fluffy consistency in your farls. Avoid waxy potatoes, as they tend to make the texture denser.
How should I store leftover potato farls?
You can store leftover farls in an airtight container in the refrigerator for up to 3 days. To reheat, just place them in a skillet over medium heat, allowing them to warm and regain their delightful crispiness. This method ensures you enjoy that original texture.
Can I freeze potato farls?
Yes! To freeze uncooked farls, simply arrange them on a baking tray, ensuring they don’t touch, and freeze until solid. Once they’re frozen, transfer them to a freezer bag for storage—this will keep for up to 3 months. When ready to cook, you can fry them directly from frozen.
What should I do if my potato farls are sticking to the pan?
Very! If your farls are sticking, it’s often due to insufficient butter or oil in the pan. Make sure your skillet is well-greased with melted butter before adding the farls. Additionally, if you notice they’re sticking after cooking for a few minutes, give them a little shake before trying to flip them. This helps detach any suction that might be occurring.
Can I make these potato farls dairy-free?
Of course! Simply substitute the butter with a plant-based butter or any cooking oil of your choice for a dairy-free version. This adjustment allows you to enjoy the delicious flavors of Authentic Irish Potato Farls without sacrificing your dietary preferences.
How can I enhance the flavor of my farls?
For a flavor upgrade, think about adding finely chopped herbs like chives, parsley, or even some grated cheese directly into the dough mixture. This not only elevates the taste but also gives a unique flair to your Authentic Irish Potato Farls. Incorporating these goodies can transform the simple farls into something truly spectacular!
Irresistible Authentic Irish Potato Farls for Breakfast Bliss
Ingredients
Equipment
Method
- Boil the Potatoes: Peel and cube the potatoes. Place them in a medium pot with water and salt. Bring to a boil and cook for 20-25 minutes until tender.
- Drain and Sieve: Drain the potatoes and let them rest for 5 minutes. Pass them through a sieve for a fluffy texture.
- Combine Ingredients: In a mixing bowl, combine the sieved potatoes, flour, salt, and pepper. Add melted butter and mix until a soft dough forms.
- Shape the Dough: Roll the dough on a floured surface into an 8-inch round disc, about ½ inch thick, and cut into 6 wedges.
- Fry the Farls: Heat the frying pan with remaining butter. Cook each side of the farls for 4-5 minutes until golden brown.
- Serve Warm: Remove farls and place on paper towels. Serve warm, alongside eggs or on their own.
Leave a Reply