
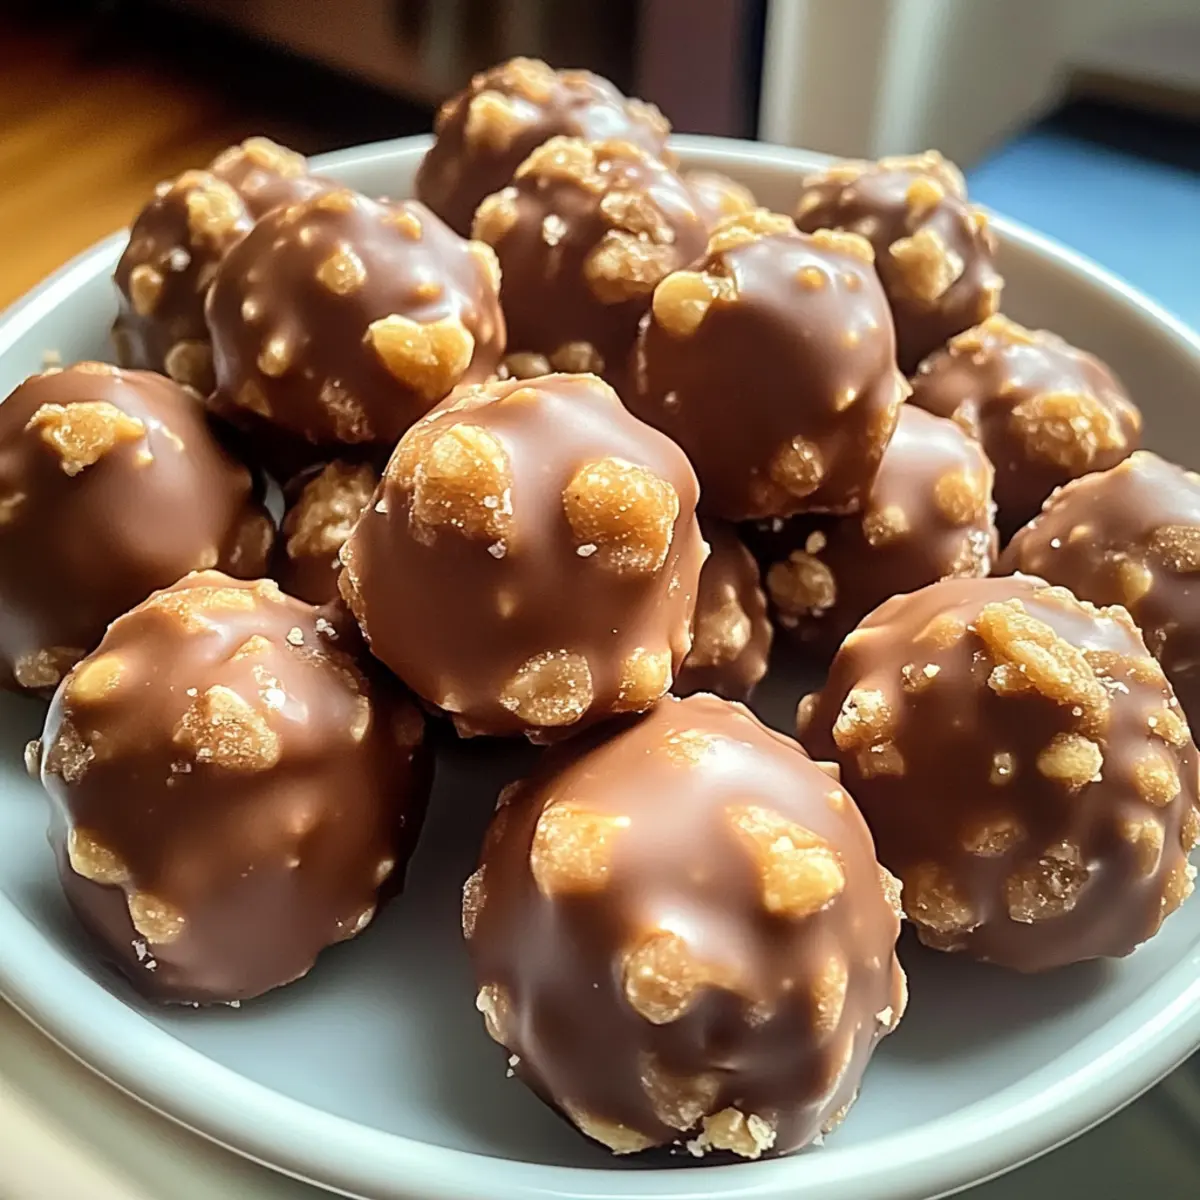
“Something magical happens when you combine peanut butter and chocolate, and it’s all wrapped up in these delightful No-Bake Butterfinger Balls. As I whipped up this quick dessert, the familiar crunch of graham crackers and the unmistakable taste of Butterfinger bars transported me back to carefree gatherings with friends. These creamy, crunchy treats are a showstopper for any occasion and require minimal effort—perfect for those hectic weeks when homemade goodness takes center stage. Plus, they’re incredibly versatile; swap in your favorite candy bars or toppings for a personalized twist. Ready to bring a bit of nostalgia into your kitchen? Let’s dive into the sweet, simple world of Butterfinger Balls!”
Why Are Butterfinger Balls So Irresistible?
Ultimate Nostalgia: These no-bake treats are a delightful throwback, reminding you of carefree childhood gatherings.
Quick & Easy: With minimal prep time, they fit seamlessly into your busy schedule, making homemade sweetness achievable.
Decadent Flavor Combo: The harmonious mix of creamy peanut butter, crunchy graham crackers, and buttery Butterfinger delivers an explosion of taste.
Versatile Variations: Feel free to swap Butterfinger with your favorite candy bars, like Reese’s or Snickers, for a fun twist on this classic treat.
Crowd-Pleasing Appeal: Perfect for parties or family gatherings, these sweet bites will leave everyone asking for seconds! Have a look at our Cheesecake Truffle Balls for another delicious dessert option that’s ready in no time!
Butterfinger Balls Ingredients
For the Base
- Softened Butter – For creaminess and richness; use room temperature butter for easier blending.
- Peanut Butter – Acts as the main base; creamy peanut butter gives the best texture and avoids oil separation.
- Vanilla Extract – Adds aromatic depth to the flavor; opt for pure vanilla extract for the best taste.
- Powdered Sugar – Sweetens the mixture and helps achieve a firm texture; sift if lumps are present.
- Graham Cracker Crumbs – Provides structure and texture; can substitute with cookie crumbs like digestive biscuits.
For the Crunch
- Crushed Butterfinger Bars – Key flavor component adding a unique crunch and sweetness; substitute with other candy bars for variations.
For the Coating
- Chocolate Bark or Chocolate Chips – For coating, giving a smooth and glossy finish; avoid overheating during melting.
For Optional Garnishes
- Additional Crushed Butterfinger Bars – For an extra crunch and flavor boost.
- Festive Sprinkles – Add a pop of color and fun to your treats.
- Coarse Sea Salt – A sprinkle can enhance sweetness with a touch of savory flavor.
These simple ingredients come together beautifully to create delightful Butterfinger Balls that are not only easy to make but also a hit at any gathering!
Step‑by‑Step Instructions for Butterfinger Balls
Step 1: Prepare the Base
In a large mixing bowl, combine ½ cup of softened butter and 1 cup of creamy peanut butter. Use an electric mixer on medium speed and blend until the mixture is smooth and creamy, which should take about 2-3 minutes. The goal is to create a luscious base that brings together the flavors of your Butterfinger Balls.
Step 2: Flavor It Up
Next, add 1 teaspoon of pure vanilla extract to the mixture. Beat on low speed until the vanilla is fully incorporated, around 30 seconds. This aromatic addition enhances the overall flavor of your Butterfinger Balls, making each bite more delightful.
Step 3: Sweeten the Mix
Gradually sift in 1½ cups of powdered sugar, mixing on low speed to avoid a sugar cloud. Take about 2-3 minutes to combine everything thoroughly, scraping down the sides of the bowl as needed. The mixture should begin to thicken, forming a cohesive dough that’s perfectly sweet for your treats.
Step 4: Incorporate Crunch
Gently fold in 1 cup of graham cracker crumbs and 1 cup of crushed Butterfinger bars using a spatula. Mix until the dry ingredients are evenly distributed throughout, creating a balanced texture that highlights the distinct crunch in your Butterfinger Balls. This step adds a delightful surprise with every bite.
Step 5: Shape the Balls
With clean hands, take small portions of the mixture and roll them into 1 to 1½ inch balls. Place the formed balls onto a parchment-lined cookie sheet, ensuring they are spaced apart. This process should yield about 20-24 balls, each brimming with the delicious flavors of Butterfinger.
Step 6: Chill the Balls
Cover the cookie sheet with plastic wrap and transfer it to the freezer for about 30 minutes. This chilling step is crucial as it helps firm up the Butterfinger Balls, making them easier to coat in chocolate while retaining their shape.
Step 7: Melt the Chocolate
While the balls are chilling, prepare to melt your coating. In a microwave-safe bowl, add 1½ cups of chocolate bark or chocolate chips. Heat in 30-second intervals, stirring after each, until the chocolate is completely melted and smooth—taking about 1-2 minutes total. This process ensures a glossy finish for your Butterfinger Balls.
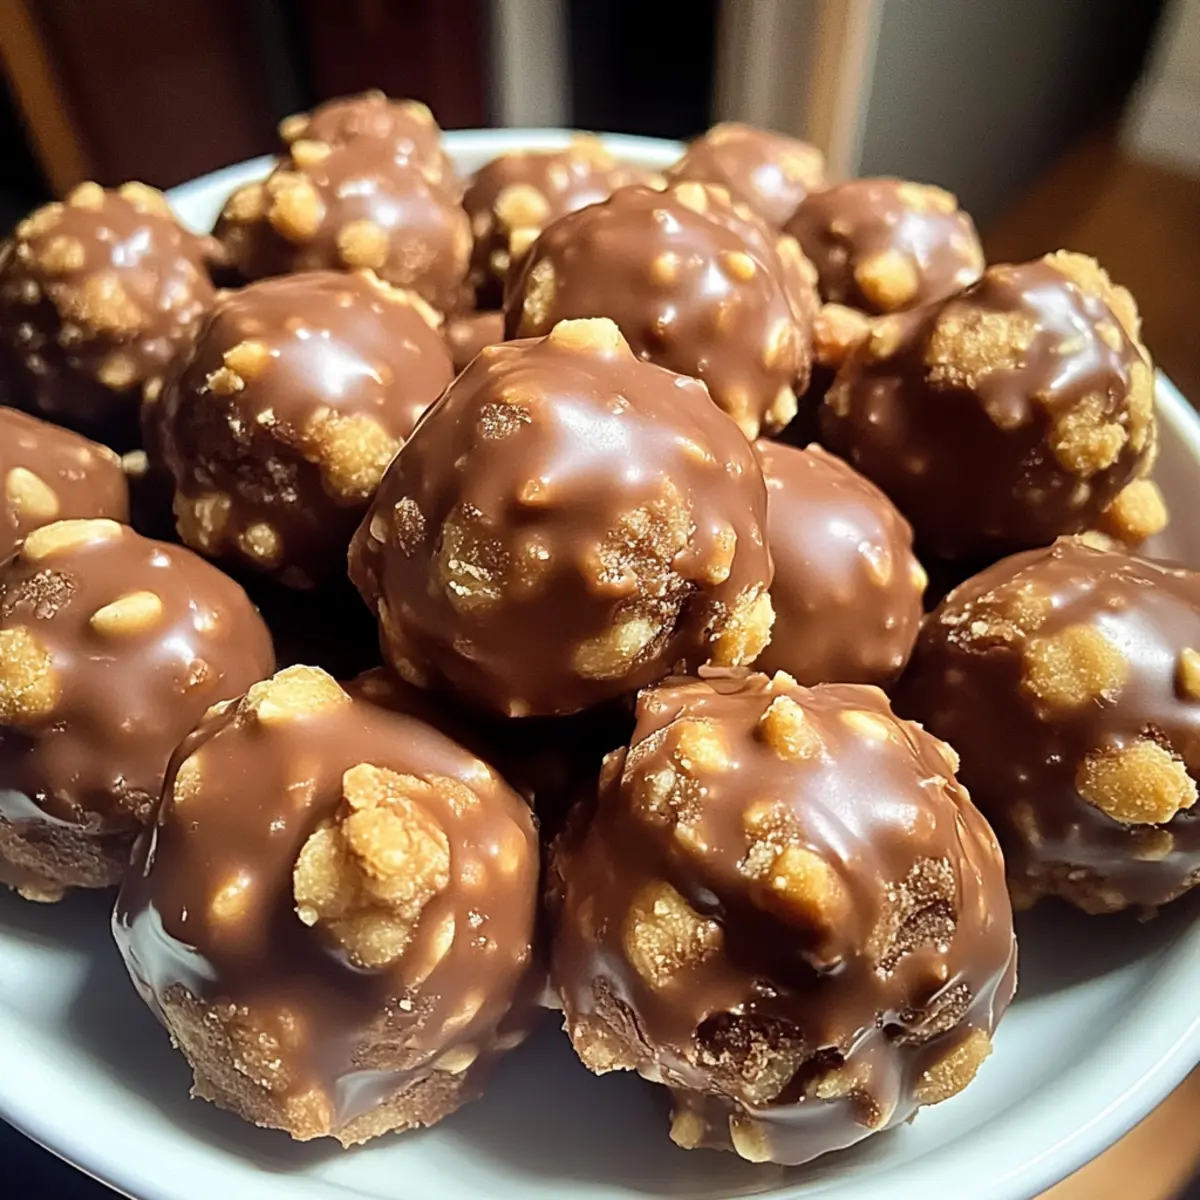
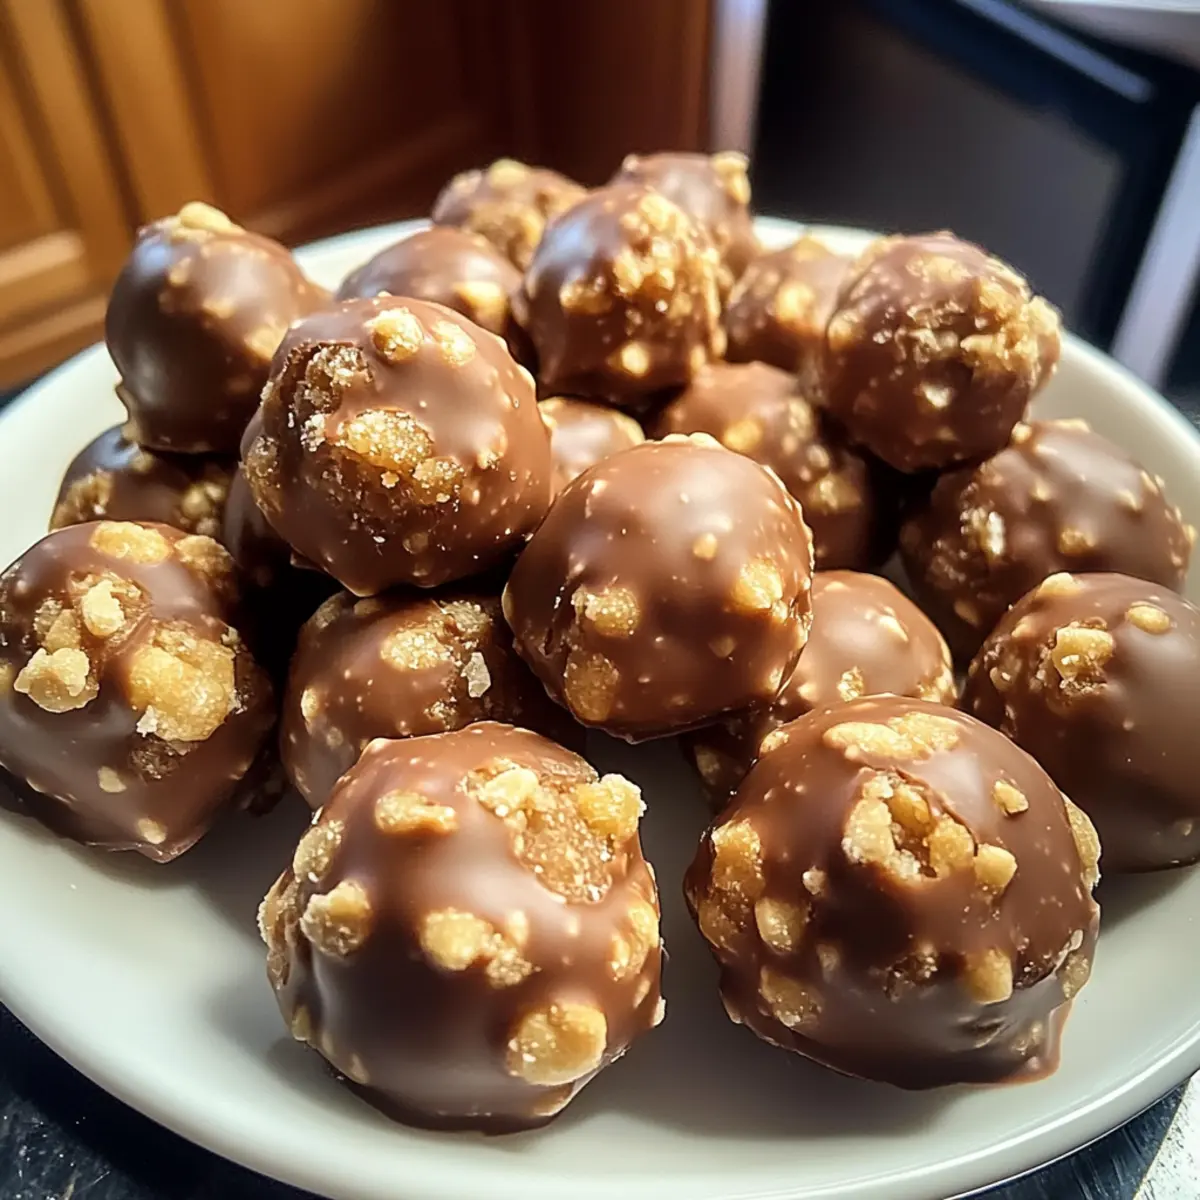
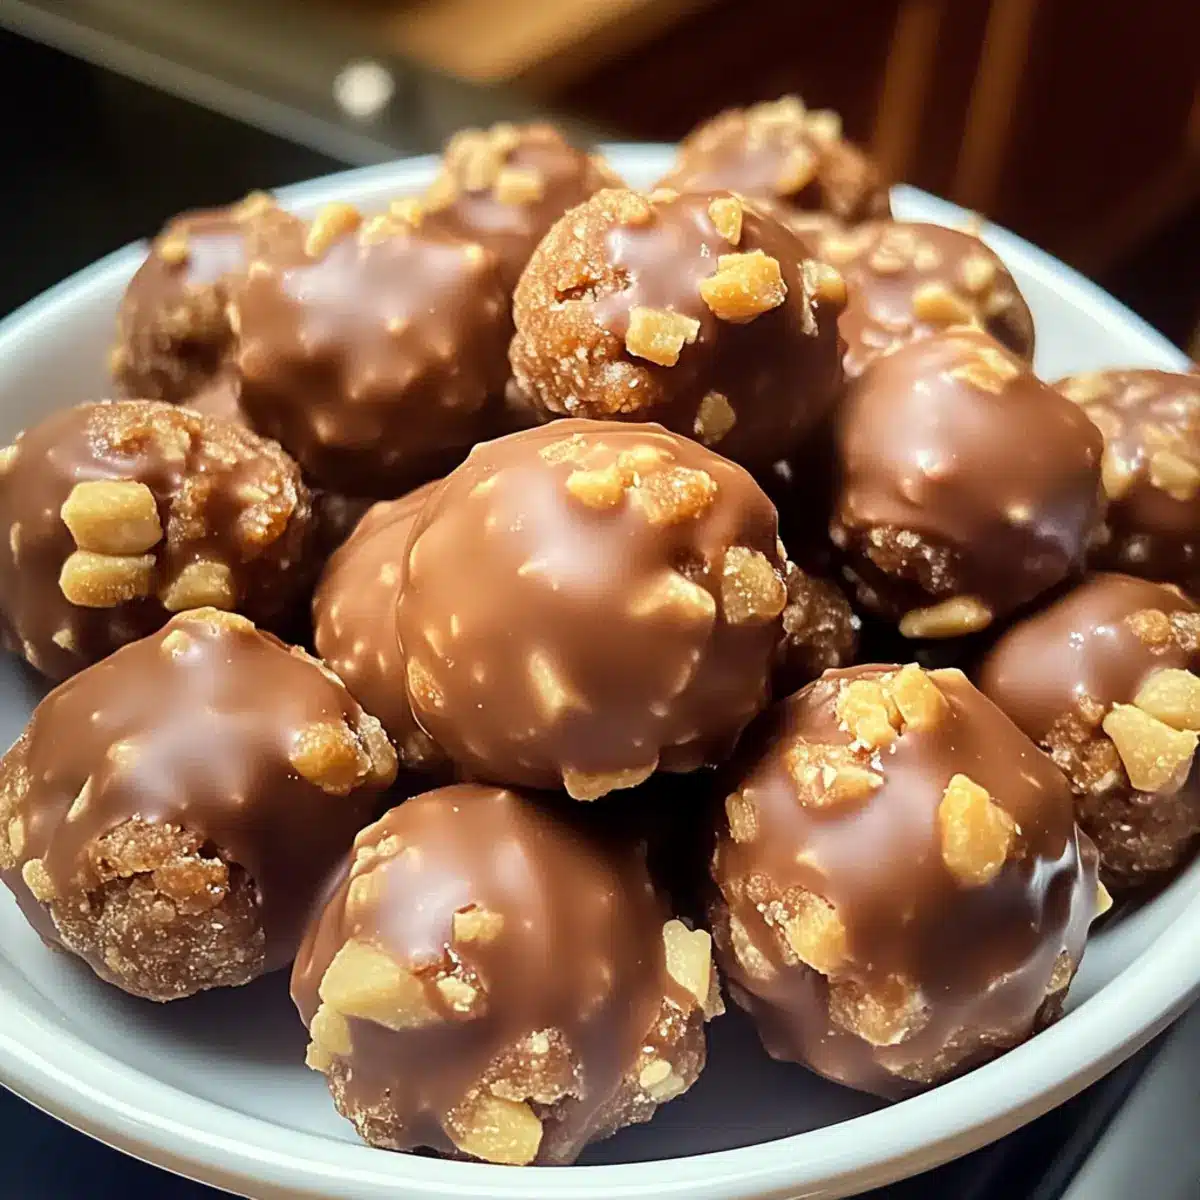
Step 8: Coat and Garnish
Once the Butterfinger Balls are firm, dip each one into the melted chocolate, using a fork to ensure an even coating. Allow any excess chocolate to drip off before placing the balls back on the parchment paper. For extra flair, sprinkle with additional crushed Butterfinger bars or festive sprinkles while the chocolate is still wet.
Step 9: Set the Chocolate
Let your coated Butterfinger Balls sit at room temperature for about 30 minutes or until the chocolate is fully hardened. If you prefer, place them in the fridge for quicker setting. Once firm, your irresistible Butterfinger Balls are ready to be served and enjoyed!
Butterfinger Balls: Customizable Delights
Feel free to let your creativity shine as you put your own spin on these irresistible treats!
- Candy Substitution: Swap Butterfinger with Reese’s for a decadent peanut butter invasion or Snickers for a chewy caramel twist.
- Dairy-Free: Use dairy-free chocolate chips and coconut oil for the coating to enjoy these bites without dairy. They taste just as indulgent!
- Crunchy Coating: Instead of chocolate, roll the balls in crushed nuts or coconut flakes for a delightful crunch and added texture.
- Spicy Heat: Stir in a pinch of cayenne pepper to the peanut butter mixture for a sweet and spicy surprise.
- Seasonal Flavors: Add pumpkin spice in the fall or peppermint extract during the holidays to enhance your Butterfinger Balls’ flavor profile.
- Nut-Free: Use sunflower seed butter instead of peanut butter for those with nut allergies; it’ll add a unique twist and keep everyone safe.
- Divine Decadence: Pour a drizzle of caramel on top for a gooey topping; it enhances the sweetness and adds richness to each bite.
- Festive Finish: Top with a sprinkle of edible glitter or seasonal sprinkles for a special occasion or holiday gathering. They truly become eye candy!
Feeling inspired? Check out our delicious Pineapple Christmas Balls or our delightful Condensed Milk Snowballs for more sweet inspiration!
What to Serve with No-Bake Butterfinger Balls?
Indulge in a delightful meal experience that pairs beautifully with the sweet charm of these creamy treats.
-
Creamy Mashed Potatoes: These fluffy potatoes provide a comforting, buttery side that balances the sweetness of the Butterfinger Balls.
-
Chocolate Milkshake: A thick and luxurious milkshake adds an extra layer of rich, chocolatey flavor—perfect for the ultimate dessert indulgence.
-
Fresh Fruit Salad: A vibrant mix of fruits adds a refreshing contrast, cleansing the palate between bites of the sweet, creamy balls.
-
Salted Caramel Sauce: Drizzle a bit of this luscious sauce over the Butterfinger Balls for an enhanced flavor experience that combines salty and sweet.
-
Ice Cream Sundae: A scoop of your favorite vanilla or chocolate ice cream topped with a warm Butterfinger Ball creates a deliciously indulgent dessert combo.
-
Coffee or Espresso: The rich, bold flavor of coffee pairs perfectly with these sweet treats, giving you a moment of pleasure that’s both cozy and satisfying.
Storage Tips for Butterfinger Balls
- Room Temperature: Butterfinger Balls can be kept at room temperature for up to 2 hours if you’re showcasing them on a dessert table. After that, it’s best to store them in the fridge.
- Fridge: Store in an airtight container in the refrigerator for up to 1 week. Make sure they are well-sealed to prevent absorption of odors from other foods.
- Freezer: For longer storage, freeze Butterfinger Balls in an airtight container or freezer bag for up to 5-6 months. Thaw in the fridge overnight before serving.
- Reheating: If you’d like to soften them slightly before enjoying, let them sit at room temperature for about 10-15 minutes after removing from the fridge or freezer.
Make Ahead Options
These Butterfinger Balls are perfect for meal prep enthusiasts! You can prepare the base mixture (butter, peanut butter, graham cracker crumbs, and crushed Butterfinger bars) up to 24 hours in advance. Simply mix everything as outlined in the recipe, shape the balls, and store them in an airtight container in the refrigerator. This not only saves time but maintains their delicious flavors. When you’re ready to serve, just freeze the prepared balls for about 30 minutes before dipping them in melted chocolate. This ensures they remain firm and easy to coat. Your friends and family will still rave about your Butterfinger Balls, just as delicious as if made fresh!
Expert Tips for Making Butterfinger Balls
-
Room Temperature Ingredients: Make sure your butter and peanut butter are softened to room temperature for easy blending and a creamy texture in your Butterfinger Balls.
-
Avoid Overheating Chocolate: When melting chocolate, do it in short bursts and stir often to prevent scorching and ensure a smooth, glossy finish.
-
Sift Powdered Sugar: Before adding powdered sugar, sift it to avoid lumps in your mixture, which can affect the texture of your delicious Butterfinger Balls.
-
Even Sizing: Roll the mixture into uniform balls (about 1 to 1½ inches) to ensure even coating and consistent texture in every bite.
-
Chill Thoroughly: Don’t skip the chilling step! Freezing the balls for 30 minutes helps them hold their shape during the chocolate coating process.
-
Personalize Your Treats: Feel free to swap Butterfinger for other candy bars or add exciting toppings—get creative and enjoy your unique take on this recipe!
Butterfinger Balls Recipe FAQs
What’s the best way to select ripe ingredients?
Absolutely! For the best flavor in your Butterfinger Balls, ensure your peanut butter is creamy and not too oily—conventional brands work best. If using graham crackers, choose those that are fresh and crisp; avoid any that are stale, as they can affect the texture.
How should I store my Butterfinger Balls?
These delightful treats can be stored at room temperature for up to 2 hours. After that, keep them in an airtight container in the refrigerator for up to 1 week. This keeps them fresh and prevents absorption of odors from other foods that could spoil their flavor.
Can I freeze Butterfinger Balls and for how long?
Yes! You can freeze your Butterfinger Balls for up to 5-6 months. I recommend placing them in an airtight container or freezer bag, separating them with parchment paper to prevent sticking. When you’re ready to enjoy, simply thaw them in the fridge overnight before serving.
What if my mixture seems too crumbly?
Very! If your mixture feels too crumbly and doesn’t hold its shape, try adding a touch more peanut butter or a splash of vanilla extract to moisten it. Mix well and see if that helps achieve the right consistency for rolling.
Are Butterfinger Balls safe for everyone to eat?
Great question! Since this recipe includes peanut butter, it’s important to consider allergies. If making these for a gathering, be sure to let guests know about the peanut content. For those with nut allergies, using sun butter (made from sunflower seeds) can be a delightful alternative.
How can I customize the toppings on my Butterfinger Balls?
For a personal twist, get creative! After coating your Balls in chocolate, sprinkle additional crushed Butterfinger or opt for fun additions like shredded coconut, crushed nuts, or festive sprinkles while the chocolate is still wet. This way, every batch can have its own special flair!
Creamy No-Bake Butterfinger Balls for Sweet Snack Lovers
Ingredients
Equipment
Method
- In a large mixing bowl, combine ½ cup of softened butter and 1 cup of creamy peanut butter. Blend until smooth and creamy, about 2-3 minutes.
- Add 1 teaspoon of pure vanilla extract and beat on low speed for about 30 seconds until fully incorporated.
- Gradually sift in 1½ cups of powdered sugar, mixing on low speed to combine thoroughly for about 2-3 minutes.
- Gently fold in 1 cup of graham cracker crumbs and 1 cup of crushed Butterfinger bars using a spatula.
- Roll the mixture into 1 to 1½ inch balls and place them on a parchment-lined cookie sheet.
- Cover the cookie sheet and chill in the freezer for about 30 minutes.
- In a microwave-safe bowl, melt 1½ cups of chocolate bark or chips in 30-second intervals until smooth.
- Dip each firm Butterfinger ball into the melted chocolate for an even coating.
- Let sit at room temperature for about 30 minutes or until the chocolate is fully hardened.
Leave a Reply