
As I sifted through my pantry searching for inspiration, the allure of butterscotch called to me like an old friend. This Easy Butterscotch Cake showcases that rich, buttery flavor that effortlessly transforms any occasion into a celebration. Not only is it an absolute delight to whip up, but the luscious butterscotch buttercream topping makes it a perfect crowd-pleaser for gatherings or cozy family dinners. With a recipe that’s as simple as it is satisfying, you’ll find yourself turning to this cake time and again. So, are you ready to embrace the sweet nostalgia of homemade desserts with this buttery gem?
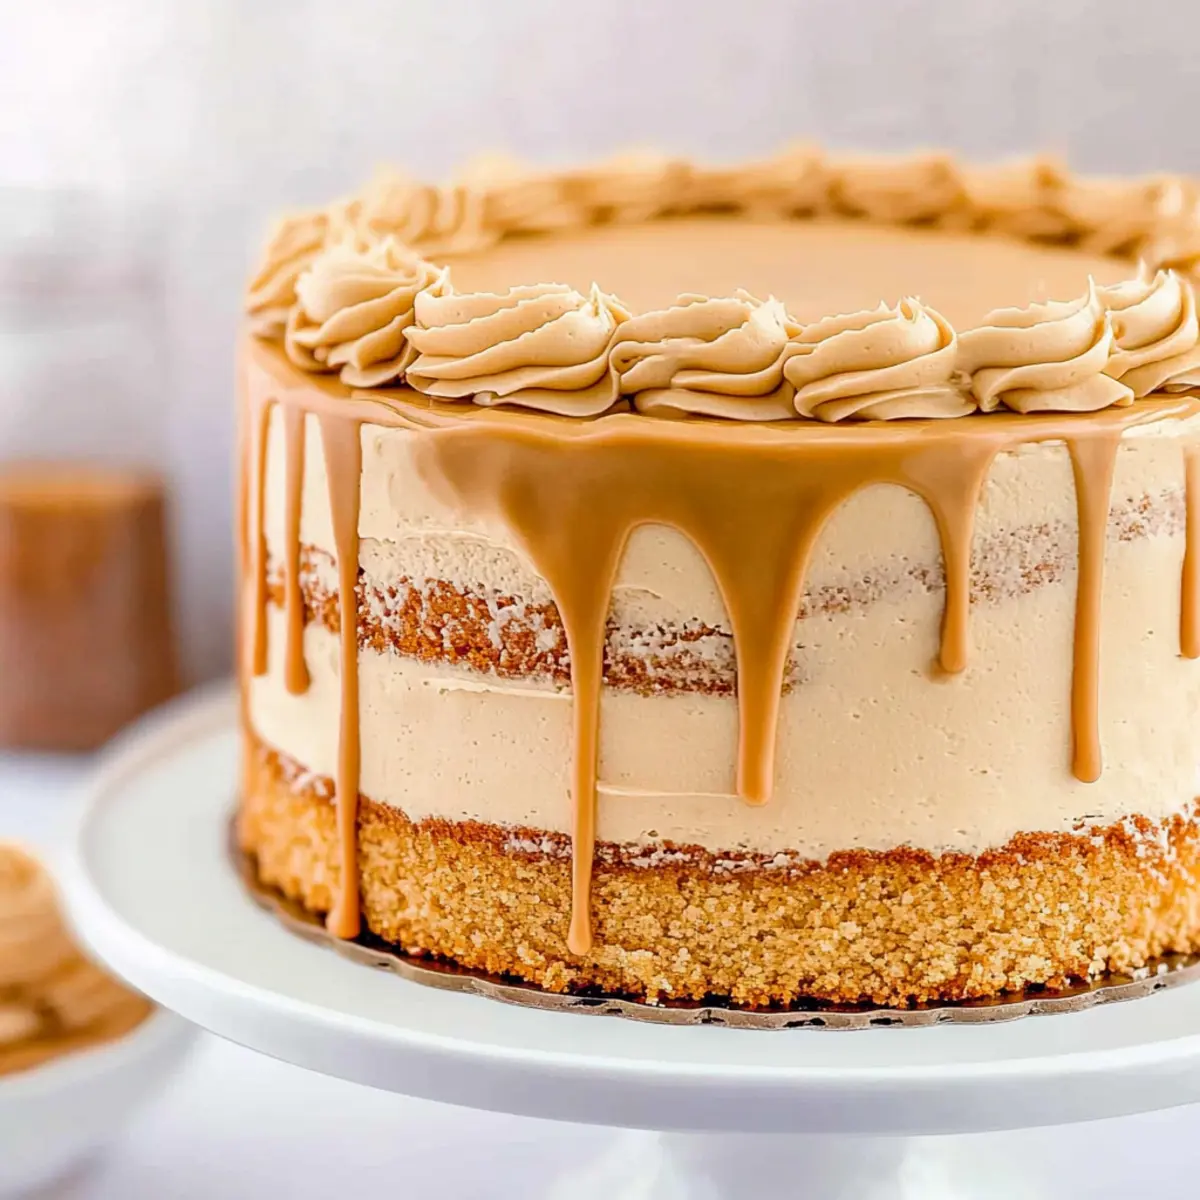
Why is Butterscotch Cake a Must-Try?
Decadent Flavor: Experience the richness of butterscotch in every bite, with a buttery flavor that takes you back to simpler times.
Easy to Make: The simple steps make this cake accessible for bakers of all levels, letting anyone impress their family and friends.
Versatile Options: Feel free to experiment by adding nuts or substituting flavors, adapting it to your taste and making it uniquely yours.
Perfect for Any Occasion: Whether it’s a celebration or a cozy dinner, this cake is a sure-fire crowd-pleaser that fits all vibes.
Make-Ahead Friendly: Save time by prepping layers in advance; frost them just before serving to maintain freshness.
Elevate your dessert game with this phenomenal recipe, and if you’re looking for something equally delightful, try pairing it with a side of Mini Cheesecake Sweet for the ultimate treat!
Butterscotch Cake Ingredients
• The essential components for a buttery delight!
For the Cake
- All-purpose flour – Provides structure and stability; substitute with gluten-free flour for a gluten-free option.
- Butterscotch instant pudding mix – Adds moisture and enhances the butterscotch flavor; can be replaced with vanilla pudding mix if unavailable.
- Baking powder – A leavening agent that helps the cake rise; ensure it’s fresh for best results.
- Salt – Enhances the flavors of the cake; sea salt can be used as a substitute.
- Butter (softened) – Provides richness and moisture; can substitute with margarine or a vegan butter substitute.
- Light brown sugar – Adds sweetness and a slight molasses flavor; dark brown sugar can be used for a more intense flavor.
- Granulated sugar – Helps create a tender cake texture; can substitute with coconut sugar for a healthier option.
- Vegetable oil – Adds moisture without altering the flavor; can be replaced with melted coconut oil.
- Vanilla extract – Provides flavor depth; use pure vanilla extract for best results.
- Rum extract – Enhances the cake flavor; can omit if not available.
- Large eggs – Bind ingredients and provide structure; use flax eggs or chia eggs as a vegan alternative.
- Milk – Adds moisture; can use almond milk or oat milk for a dairy-free alternative.
For the Frosting
- Butter – Forms the creamy base for the buttercream; use softened butter for easy mixing.
- Melted butterscotch chips – Adds that delectable butterscotch flavor to the frosting; use fresh for the best taste.
- Powdered sugar – Sweetens the frosting and gives it a lovely texture; adjust for desired sweetness.
- Heavy whipping cream – Creates a smooth consistency; adjust with milk or cream to thin if necessary.
For the Butterscotch Drip (optional)
- Butterscotch chips – Perfect for creating a luscious drip effect; choose quality chips for the best flavor.
- Heavy whipping cream – Combines with the chips to create a pourable glaze; warm slightly to aid melting.
Step‑by‑Step Instructions for Easy Butterscotch Cake
Step 1: Preheat and Prepare Pans
Preheat your oven to 350°F (175°C). While it’s heating, prepare three 8-inch round cake pans by greasing them with vegetable shortening and dusting them lightly with flour. This ensures easy removal of your delicious butterscotch cake once baked. Set the prepared pans aside while you mix the dry ingredients.
Step 2: Mix Dry Ingredients
In a medium bowl, whisk together 2 cups of all-purpose flour, 1 package of butterscotch instant pudding mix, 1 tablespoon of baking powder, and a pinch of salt. This blend of dry ingredients will provide the necessary structure and richness, enhancing the butterscotch flavor. Make sure there are no lumps for a smooth batter.
Step 3: Cream the Butter and Sugars
In a stand mixer, beat together 1 cup of softened butter, 1 cup of light brown sugar, and 1/2 cup of granulated sugar on high speed until the mixture is light and fluffy, about 3-5 minutes. The fluffy texture is key to making your butterscotch cake tender and delightful. Scrape down the sides of the bowl for even mixing as you go.
Step 4: Add Wet Ingredients
After achieving the fluffy texture, mix in 1/2 cup of vegetable oil, 1 tablespoon of vanilla extract, and 1 teaspoon of rum extract until fully combined. This adds moisture and depth to your butterscotch cake. Ensure the mixture is smooth before proceeding to the next step, which is the incorporation of eggs.
Step 5: Incorporate Eggs
Add 4 large eggs, one at a time, to the creamed mixture, mixing well after each addition. This step is crucial, as eggs provide structure and stability to the cake. After all the eggs are combined, your batter will be rich and creamy, perfect for the next stage.
Step 6: Combine Dry and Wet Ingredients
Gradually add the dry ingredient mixture to the wet ingredients, alternating with 1 cup of milk. Start and end with the dry ingredients, mixing on low speed until just combined. Be careful not to overmix; a few lumps are okay. This method helps keep your butterscotch cake light and fluffy.
Step 7: Divide and Tap the Batter
Pour the batter evenly into the prepared cake pans, filling each about two-thirds full. Use a spatula to smooth the tops, then gently tap the pans on the countertop to release any air bubbles trapped in the batter. This step helps ensure even baking for your delicious cake.
Step 8: Bake the Cakes
Place the pans in the preheated oven and bake for 20-25 minutes or until a toothpick inserted into the center comes out clean. The cakes should be golden brown and spring back when lightly touched. Allow the cakes to cool in the pans for about 10 minutes before transferring them to wire racks.
Step 9: Prepare the Frosting
While the cakes are cooling, make the butterscotch buttercream. In a mixing bowl, beat 1 cup of softened butter until fluffy. Gradually add in 1 cup of melted butterscotch chips, mixing thoroughly. Then, add 4 cups of powdered sugar and 2-4 tablespoons of heavy whipping cream until you reach a smooth, spreadable consistency.
Step 10: Chill the Cakes for Frosting
Once the cakes are completely cool, place them in the refrigerator for about 30 minutes to firm up. This makes them easier to frost and helps prevent the buttercream from melting during application. Prepare your workspace with a cake stand or plate for decoration.
Step 11: Apply Frosting
Begin by applying a thin layer of frosting, known as a crumb coat, on each layer of cake. Chill the cake again for about 15 minutes to set the crumb coat. After this, generously frost the exterior and top of the cake with the remaining butterscotch buttercream. For a touch of elegance, drizzle with melted butterscotch chips.
Step 12: Final Presentation
Your Easy Butterscotch Cake is now beautifully frosted and ready to impress! Slice it into pieces to reveal the moist layers within. Consider serving it alongside a scoop of vanilla ice cream or a cup of coffee for a delightful dessert experience.
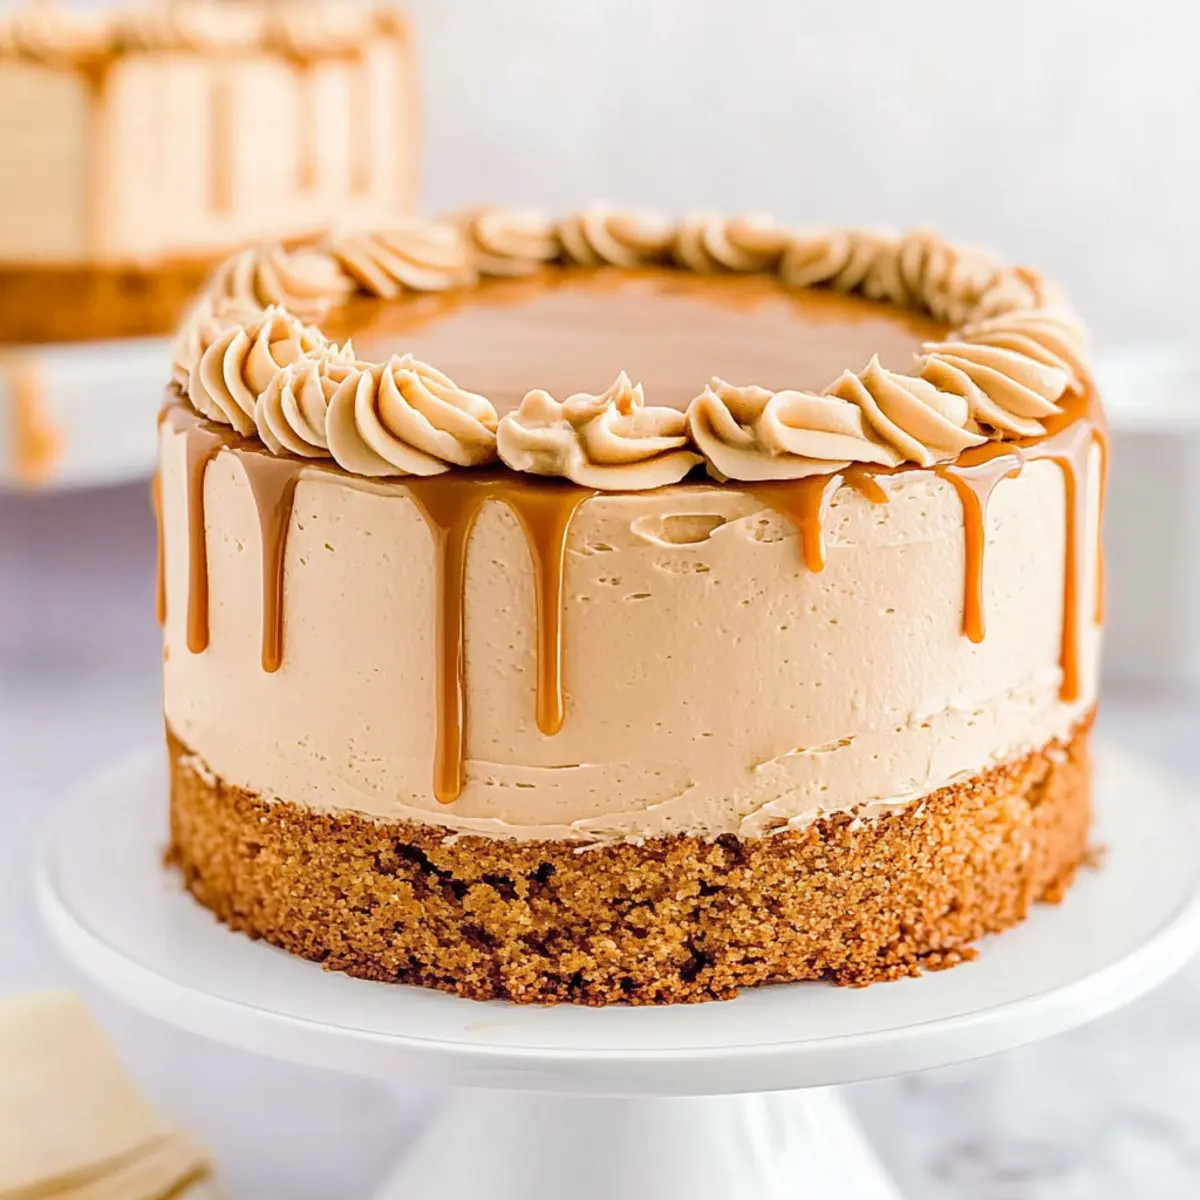
What to Serve with Easy Butterscotch Cake
Picture a cozy gathering where a slice of rich butterscotch cake beckons, ready to create sweet memories with every bite.
-
Fresh Berries: A medley of raspberries and blueberries adds a vibrant burst of tartness to balance the cake’s sweetness. Their natural juiciness beautifully contrasts the cake’s dense texture, making each mouthful delightful.
-
Whipped Cream: Light and airy whipped cream serves as the perfect companion, enhancing the richness of the butterscotch cake. A dollop on the side invites you to create your own harmony of flavors while adding a creamy dreaminess to every slice.
-
Vanilla Ice Cream: The classic pairing of vanilla ice cream adds a creamy, cold touch that complements the warm, buttery notes of the cake. Plus, the melting ice cream creates a luscious sauce that mingles perfectly with the butterscotch flavors—pure indulgence every time.
-
Coffee: A cup of freshly brewed coffee provides a robust accompaniment that cuts through the cake’s sweetness. The slight bitterness enhances the cake’s caramel notes, allowing for a wonderfully balanced flavor experience.
-
Milk: For a nostalgic twist, serving the cake with a glass of cold milk is a simple yet delightful option. The creamy taste of milk accentuates the cake’s rich flavors and makes for a comforting, childhood-like experience.
-
Butterscotch Sauce: For an extra touch of indulgence, drizzle homemade butterscotch sauce over the cake. It amplifies the cake’s flavor while adding an enticing visual appeal that’s sure to impress your guests.
Indulge in these pairings and transform your Easy Butterscotch Cake into a star-studded dessert that everyone will adore!
Make Ahead Options
These Easy Butterscotch Cakes are perfect for meal prep enthusiasts! You can bake the cake layers up to 24 hours in advance; simply cool them completely before wrapping in plastic wrap and refrigerating to maintain freshness. The butterscotch buttercream can also be made ahead—just store it in the refrigerator for up to 3 days. When you’re ready to serve, allow the frosting to come to room temperature, then give it a quick whisk before applying. This way, you’ll have rich, decadent butterscotch cake with minimal effort on the day of your event, ensuring that every slice is just as delicious as if it were freshly baked!
Butterscotch Cake Variations & Substitutions
Feel free to get creative with this cake and open up a world of flavors and textures that will tantalize your taste buds!
- Chocolate Twist: Substitute butterscotch chips with chocolate chips for a heavenly chocolate version that’s equally indulgent.
- Nutty Delight: Add chopped nuts like pecans or walnuts to the batter for a delightful crunch and added richness in every slice. Don’t hesitate to sprinkle a few atop the frosting as well for added visual appeal.
- Coconut Flair: Mix in shredded coconut for an exotic twist that adds texture and a subtle sweetness that pairs beautifully with butterscotch. This pairs wonderfully with a scoop of vanilla ice cream for a tropical treat.
- Dairy-Free Option: Swap out milk for almond or coconut milk and use a vegan butter substitute to create a delicious dairy-free version without compromising on flavor.
- Flavor Variations: Incorporate flavored extracts like almond or hazelnut for a new twist that creates a unique aromatic experience. A dash of almond can elevate the butterscotch notes beautifully!
- Caramel Drizzle: Enhance the indulgence by drizzling a warm caramel sauce over the top of the cake for an extra layer of sweetness and a stunning presentation.
- Spicy Kick: Add a pinch of cinnamon or nutmeg to the batter for a warm, cozy flavor that brings a lovely warmth to the cake. This is perfect for those chilly evenings!
- Layered Perfection: Divide the batter among smaller cake pans for a stunning tiered cake that’s perfect for celebrations, just like our decadent Strawberry Crunch Cheesecake.
Each variation captures its own charm, making this cake the perfect canvas for your baking creativity!
Storage Tips for Butterscotch Cake
Fridge: Store any leftover butterscotch cake in an airtight container in the refrigerator for up to 3 days to maintain its moisture and flavor.
Freezer: If you want to keep the cake longer, wrap individual cake layers in plastic wrap and aluminum foil to freeze for up to 2 months. Thaw in the fridge before frosting or serving.
Reheating: If you prefer your cake warm, heat individual slices in the microwave for 10-15 seconds. Be careful not to overheat, as this can dry out the cake.
Frosting Storage: If you have leftover butterscotch buttercream, store it in a separate airtight container in the fridge for up to 1 week. Rewhip before using to restore its texture.
Expert Tips for Butterscotch Cake
- Cool Completely: Allow cake layers to cool completely before frosting. This prevents the buttercream from melting and sliding off.
- Fresh Ingredients: Use fresh baking powder for the best rise and texture in your butterscotch cake. Old ingredients can lead to dense layers.
- Avoid Overmixing: Mix the batter just until combined to maintain a light and fluffy texture—overmixing can make the cake tough.
- Chill for Frosting: Refrigerating the cakes before frosting helps keep their shape and makes the application of buttercream much easier.
- Quality Chocolate: For the butterscotch drip, opt for high-quality butterscotch chips for a richer flavor and smoother consistency.
- Experiment with Flavors: Don’t hesitate to customize your butterscotch cake by adding nuts or trying different extracts for a unique twist!
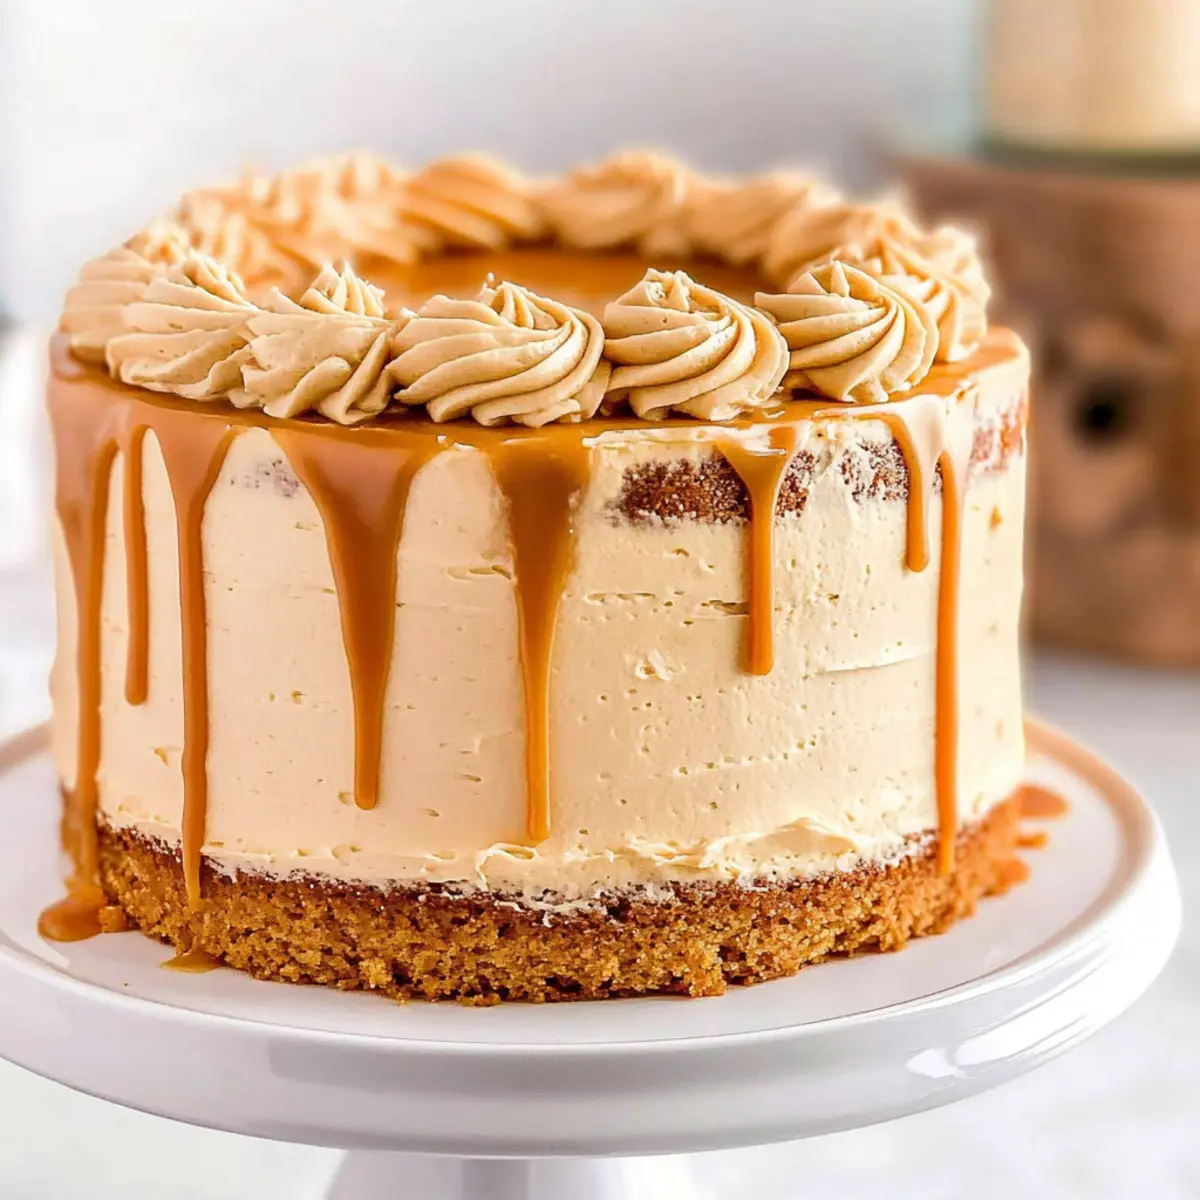
Easy Butterscotch Cake Recipe FAQs
What type of butterscotch chips should I use?
Absolutely! For the best flavor and consistency in your Easy Butterscotch Cake, I recommend using high-quality butterscotch chips. Look for chips that are creamy and rich; they really make a difference in the taste and texture of both the cake and frosting.
How do I know when my cake is done baking?
You can tell your cake is done when a toothpick inserted into the center comes out clean. Additionally, the cake should be lightly golden on top and spring back when you gently press it. If it still has batter on the toothpick, give it an additional 2-5 minutes in the oven.
Can I freeze the butterscotch cake?
Very! You can absolutely freeze your Easy Butterscotch Cake for later enjoyment. Wrap the cooled, unfrosted cake layers tightly in plastic wrap and aluminum foil, then place them in a freezer-safe bag. They will stay fresh for up to 2 months. When you’re ready to indulge, simply thaw them in the refrigerator overnight before frosting.
How should I store leftover butterscotch cake?
To maintain freshness, store any leftover Easy Butterscotch Cake in an airtight container in the refrigerator for up to 3 days. For a delightful treat, simply reheat a slice in the microwave for 10-15 seconds—just be careful not to overheat it and dry it out.
What if my frosting is too thick?
No worries! If your butterscotch buttercream turns out thicker than desired, simply add a splash of heavy whipping cream or milk to loosen it up. Mix on medium speed until you reach your desired consistency. Don’t hesitate to taste as you go; it should be spreadable and velvety!
Can I make this butterscotch cake gluten-free?
Absolutely! To make your Easy Butterscotch Cake gluten-free, simply substitute all-purpose flour with a gluten-free flour blend. Be sure to choose one that includes xanthan gum, as this will help to replicate the texture and structure of the cake. Follow the same instructions, and you’ll still enjoy all that indulgent flavor!
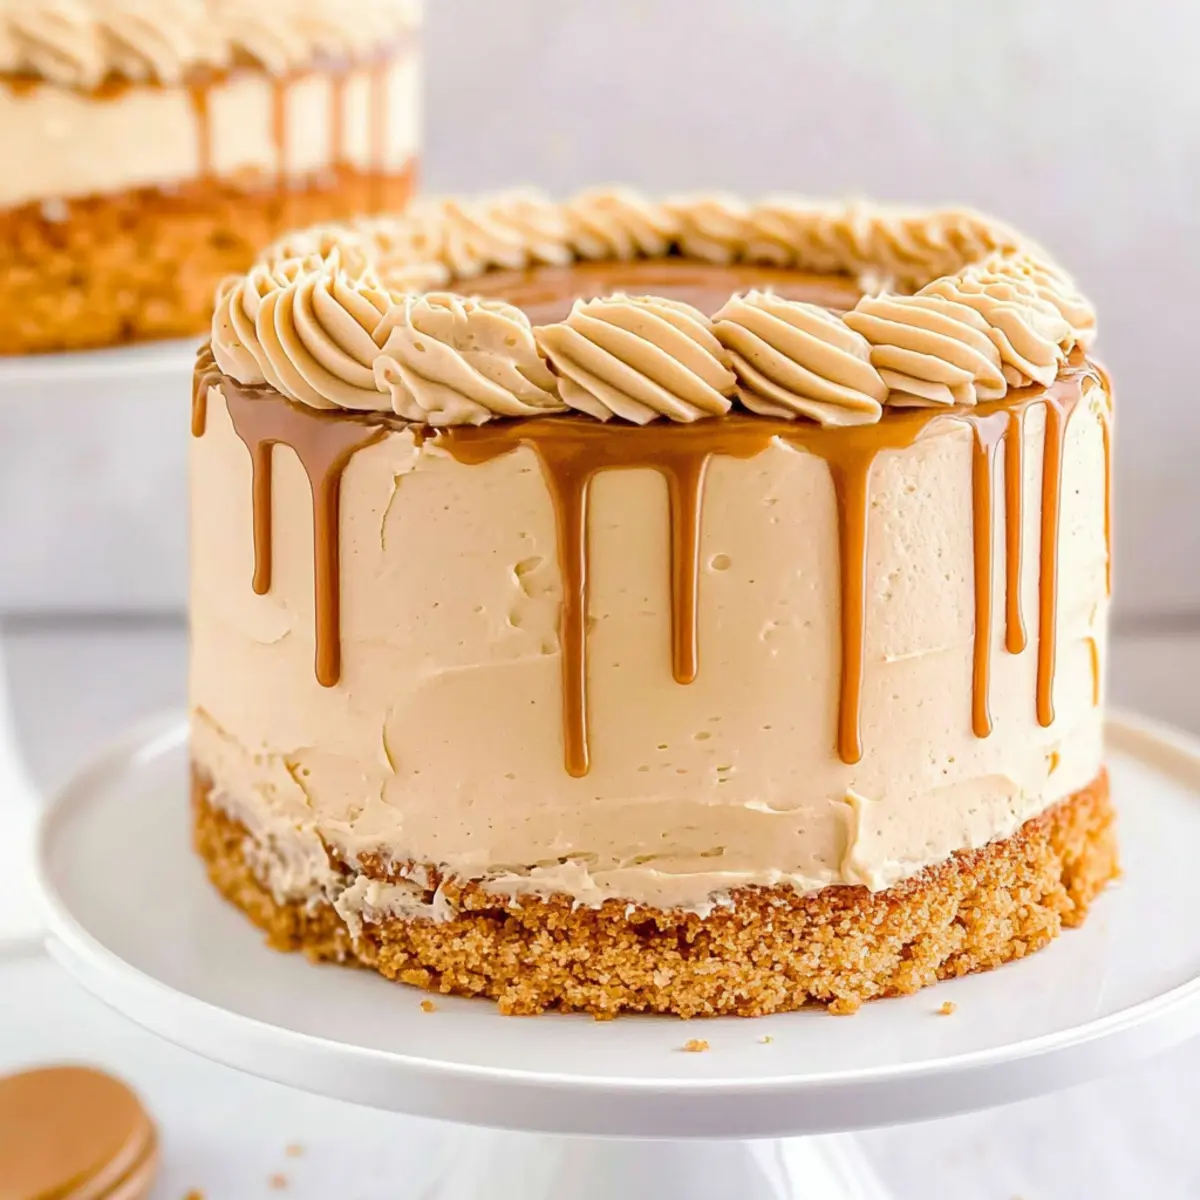
Irresistible Butterscotch Cake That Will Steal Your Heart
Ingredients
Equipment
Method
- Preheat your oven to 350°F. Prepare three 8-inch round cake pans by greasing and dusting with flour.
- In a bowl, whisk together the flour, pudding mix, baking powder, and salt.
- In a stand mixer, beat the butter, brown sugar, and granulated sugar until light and fluffy.
- Mix in vegetable oil, vanilla extract, and rum extract until combined.
- Add eggs one at a time, mixing well after each addition.
- Gradually add the dry mixture to the wet, alternating with the milk until just combined.
- Pour batter into prepared pans, filling two-thirds full, and tap to release air bubbles.
- Bake for 20-25 minutes or until a toothpick comes out clean. Let cool.
- For the frosting, beat butter until fluffy, then add melted butterscotch chips, powdered sugar, and cream until smooth.
- Chill the cakes for 30 minutes before frosting.
- Apply a crumb coat of frosting to each layer, then chill again.
- Frost the exterior and top of the cake with remaining frosting and optionally drizzle with melted butterscotch chips.
- Slice and serve alongside vanilla ice cream or coffee.
Leave a Reply