
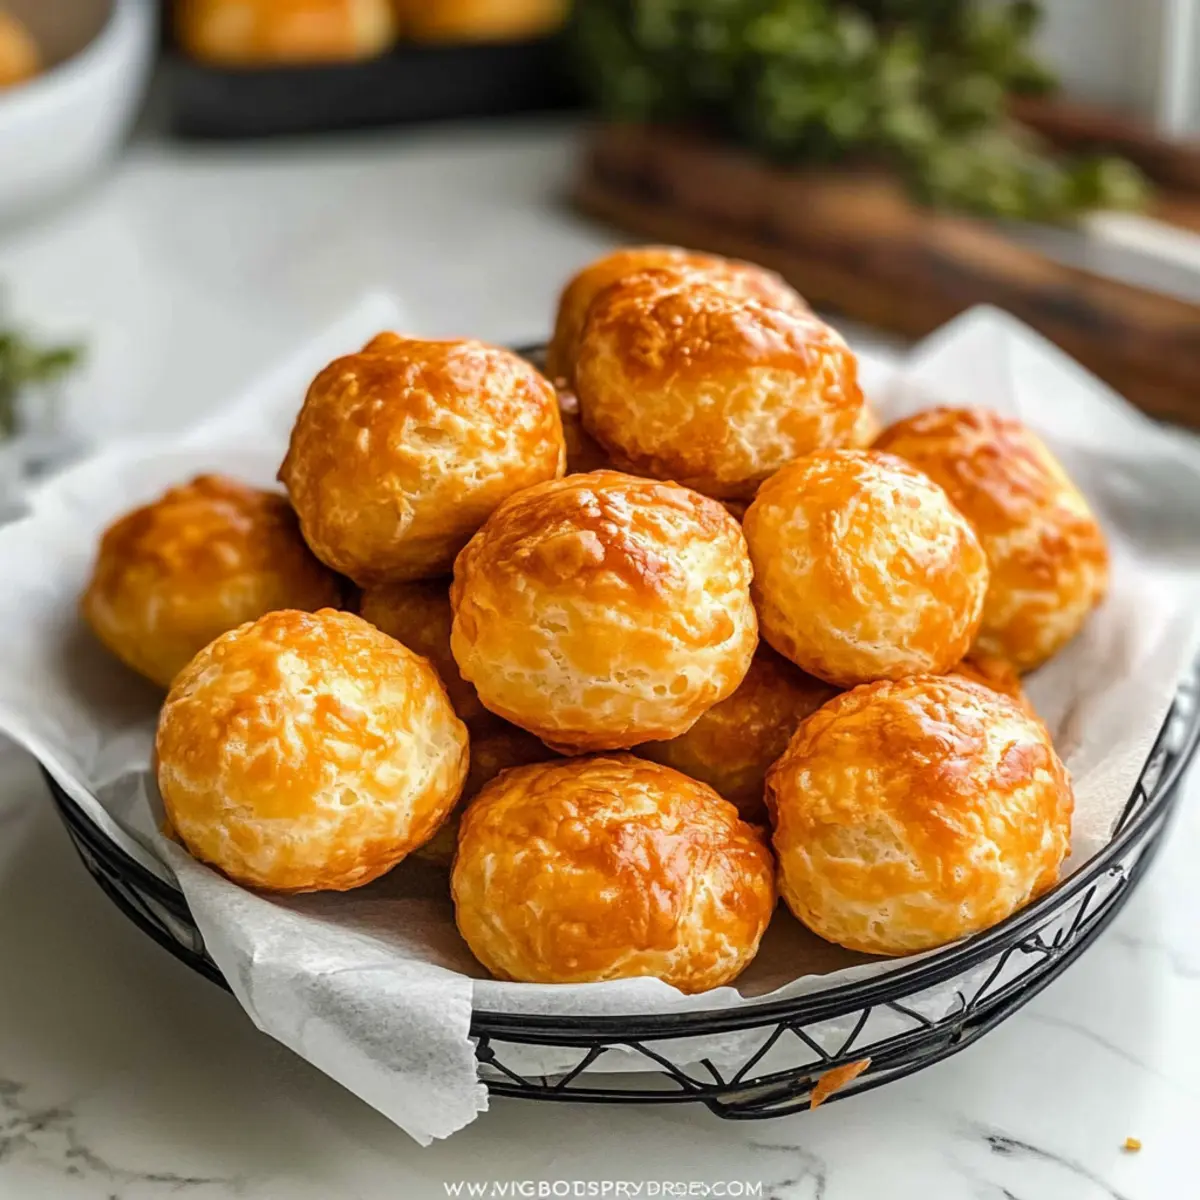
As I stood in my kitchen, the warm aroma of freshly baked gougères filled the air, instantly transporting me to a Parisian café. These homemade cheese puffs, made with Cabot Seriously Sharp Cheddar, are my go-to for any gathering. Not only are they incredibly easy to whip up, but their light, airy texture makes them the perfect crowd-pleasing appetizer. Saying goodbye to fast food has never felt so satisfying! With just a few simple ingredients, you can create something that elevates casual meals and special occasions alike. Whether paired with a glass of wine or served alongside soups and stews, these cheese puffs will leave everyone asking for more. Curious about how to make these delightful bites at home? Let’s dive in!

Why Are These Cheese Puffs a Must-Try?
Deliciously Addictive: One bite and you’ll crave the irresistible flavor of Cabot Seriously Sharp Cheddar melting in your mouth.
Easy to Make: No complicated techniques here; anyone can master these homemade delights in just a few simple steps!
Perfect for Any Occasion: Serve them at dinner parties, game nights, or casual family meals—their versatility shines. For a fresh twist, consider these Mini Cheesecake Sweet treats alongside!
Crowd-Pleasing Appeal: There’s something about warm cheese puffs that makes them a hit with everyone, young and old alike. You might even want to check out our Jalapeno Cream Cheese for a spicy complement!
Make-Ahead Friendly: Prepare them in advance and pop them in the oven right before serving for a stress-free hosting experience.
Cheese Puffs Ingredients
For the Dough
• Milk or Water – Adds moisture to the dough; milk is preferred for a richer flavor.
• Unsalted Butter (½ cup) – Provides fat for richness, helping create the tender texture of the cheese puffs.
• Salt (¼ tsp) – Enhances flavor and balances the richness of the cheese.
• Cayenne Pepper (⅛ tsp, optional) – Adds a hint of heat; adjust to taste for your homemade cheese puffs.
• All-Purpose Flour (1 cup) – Forms the essential structure of the cheese puffs.
• Large Eggs (4, room temperature) – Binds the mixture and aids in achieving that perfect puffiness.
For the Cheese Filling
• Cabot Seriously Sharp Cheddar (1 cup, finely shredded) – The star of the show, this high-quality cheddar delivers bold flavor in every bite!
For the Egg Wash
• Extra Eggs (2 tbsp reserved) – Brushed on top for a beautiful golden finish.
Step‑by‑Step Instructions for Homemade Cheese Puffs
Step 1: Preheat and Prepare
Start by preheating your oven to 425°F (220°C). While the oven heats, line two baking sheets with parchment paper to prevent sticking. Make sure the parchment is smoothed out and well positioned, as this will support your cheese puffs and ensure even baking.
Step 2: Combine Ingredients in Saucepan
In a medium saucepan, combine 1 cup of milk (or water), ½ cup of unsalted butter, ¼ teaspoon of salt, and optional ⅛ teaspoon of cayenne pepper. Heat over medium heat until the mixture reaches a rolling boil, watching closely to prevent spills. The butter should be completely melted, creating a rich and fragrant base for your homemade cheese puffs.
Step 3: Create the Dough
Once boiling, reduce the heat to low and add 1 cup of all-purpose flour all at once. Stir vigorously with a wooden spoon until the mixture forms a smooth dough that pulls away from the sides of the pan, about 2-3 minutes. The dough should feel slightly sticky but coherent. Remove from heat and let it cool for about 5 minutes.
Step 4: Incorporate the Eggs
After cooling, crack 4 large room-temperature eggs into a separate bowl and whisk them together. Gradually add the eggs to the cooled dough, mixing thoroughly after each addition until the mixture is homogenous. The dough should become glossy and smooth, indicating the eggs have been fully integrated into your cheese puff mixture.
Step 5: Add the Cheddar
Now, stir in 1 cup of finely shredded Cabot Seriously Sharp Cheddar cheese, folding it in until evenly distributed throughout the dough. You’ll notice the mixture becoming even richer and cheesier. Make sure every bite will be filled with that mouthwatering cheesy goodness as you prepare to pipe your homemade cheese puffs.
Step 6: Pipe the Dough
Transfer the mixture to a piping bag fitted with a large round tip. Pipe 1-inch circles onto the prepared baking sheets, spacing them about 2 inches apart to allow for puffing. Wet your fingers with a little water to smooth the tops of each dough circle, ensuring they bake nicely and develop an appealing dome shape.
Step 7: Egg Wash for Shine
Before baking, brush the tops of each cheese puff with the reserved 2 tablespoons of egg wash from earlier. This will give your homemade cheese puffs a beautiful golden finish as they bake. If desired, sprinkle a tiny bit of extra cheese on top for an added cheesy crust that enhances flavor and texture.
Step 8: Bake to Perfection
Place the baking sheets in the preheated oven and bake at 425°F (220°C) for 10 minutes. Then, lower the temperature to 350°F (175°C) and continue baking for an additional 18-19 minutes, until the cheese puffs are puffed up and golden brown. Keep an eye on them; the perfect cheese puffs should have a crisp exterior and a soft, airy interior.

Expert Tips for Cheese Puffs
- Choose Quality Cheese: Using high-quality Cabot Seriously Sharp Cheddar enhances the flavor significantly, creating cheese puffs that you’ll love.
- Avoid Over Mixing: Once you add the eggs to the dough, mix just until combined. Over-mixing can lead to dense cheese puffs instead of the light, airy texture you want.
- Watch the Oven Temperature: Ensure your oven is correctly calibrated. An initial high temperature is crucial for the puffs to rise well.
- Smooth the Tops: Before baking, wet your fingers and gently smooth the tops of the dough circles. This helps them rise evenly for beautiful shapes.
- Perfect Storage Tips: If you have leftovers, store them at room temperature for up to 5 days. To enjoy them later, freeze them and reheat in the oven for a delightful snack.
Cheese Puffs: Delicious Variations Await
Feel free to get creative and personalize these cheese puffs to suit your taste, resulting in a delightful twist on a classic recipe.
-
Cheese Variety: Swap Cabot Seriously Sharp Cheddar for Gruyère or Emmental for a unique flavor profile. Each cheese brings its own delightful character, enhancing the overall taste experience.
-
Herbed Delight: Stir in fresh herbs like thyme or rosemary for an aromatic twist. The fragrance will elevate your cheese puffs to the next level, pleasing both the eyes and taste buds.
-
Bacon Lovers: Mix in crispy bacon bits for a smoky flavor that complements the cheese. The crunch of bacon will add a wonderful texture to your puffs.
-
Spicy Kick: Add a bit more cayenne pepper or some jalapeños for an extra spiciness. If you enjoy a little heat, this variation will surely excite your palate.
-
Savory Spin: Incorporate cooked, diced ham or sausage to create a hearty twist. This makes the cheese puffs perfect for brunch or a light meal on their own.
-
Sweet Indulgence: For a unique dessert version, try adding chopped chocolate or a dash of vanilla to the dough, then pair with a dip like rich Cranberry Cream Cheese for balance.
-
Gluten-Free Option: Use a quality gluten-free flour blend in place of all-purpose flour. Enjoy the same airy texture without sacrificing taste!
-
Vegan Alternative: For a plant-based version, try using a vegan cheese and replacing eggs with a flaxseed mixture as a binder. The result is still deliciously satisfying!
Explore these variations or use them as inspiration for your tailored creation. Whatever your choice, be sure to savor the goodness that homemade cheese puffs bring to your table. Happy cooking!
What to Serve with Homemade Cheese Puffs
As the aroma of cheesy goodness wafts through your kitchen, envision a delicious spread that complements your homemade cheese puffs perfectly.
- Light Green Salad: A fresh salad with crisp greens and a zesty vinaigrette adds brightness, balancing the richness of the cheese puffs.
- Creamy Tomato Soup: Nestle your cheese puffs next to a warm bowl of this comforting classic, creating a delightful dunking experience.
- Savory Platter of Charcuterie: A selection of cured meats, olives, and pickles adds heartiness and enhances the cheese flavors beautifully. The variety pleases the palate!
- Wine Pairing: A chilled glass of Chardonnay or Sauvignon Blanc elevates the experience, with fruity notes complementing the sharp cheddar.
- Garlic Butter Shrimp: Juicy shrimp sautéed in garlic butter offer a rich, indulgent pairing, creating an elegant contrast in flavors and textures.
- Roasted Vegetables: Caramelized, seasoned veggies lend their earthy sweetness to the table, blending harmoniously with the cheesiness of the puffs.
- Mini Quiches: These delightful bites add an additional dimension to your appetizer spread, making for a well-rounded offering.
- Fruit Platter: Fresh, juicy fruits like grapes or pears offer a sweet note, refreshing the palate in between bites of gooey cheese puffs.
How to Store and Freeze Cheese Puffs
Room Temperature: Store cheese puffs in a zippered bag at room temperature for up to 5 days to maintain their light texture.
Fridge: If you prefer, place cheese puffs in an airtight container for up to 3 days, but be aware they may lose some crispiness.
Freezer: Freeze cheese puffs for up to 8 weeks. Place them in a single layer on a baking sheet, then transfer to a zippered bag once frozen to prevent sticking.
Reheating: To enjoy frozen cheese puffs, reheat in an oven at 350°F for about 8 minutes for that perfect freshly-baked taste!
Make Ahead Options
These homemade cheese puffs are a fantastic option for meal prep, as they can be prepared in advance and baked just before serving. You can mix the dough and pipe the cheese puffs up to 24 hours ahead of time; simply place them on the baking sheet, cover with plastic wrap, and refrigerate. This keeps their texture just right and allows the flavors to meld. When you’re ready to enjoy them, pop them directly into a preheated oven—there’s no need to thaw! Alternatively, you can freeze the piped cheese puffs for up to 3 months; just bake them straight from the freezer, adding a couple of extra minutes to the baking time for perfectly puffy results. By making these gougères ahead of time, you can minimize kitchen stress and ensure a fresh, delicious bite every time!

Homemade Cheese Puffs with Cabot Seriously Sharp Cheddar Recipe FAQs
How do I choose the right cheese for my cheese puffs?
Absolutely! The flavor of your cheese puffs hinges on the quality of the cheese you choose. I recommend using Cabot Seriously Sharp Cheddar for its bold and tangy flavor that melts beautifully. However, you can also try cheeses like Gruyère or Emmental for a different taste profile. If you’re feeling adventurous, mix different cheeses for a unique flavor twist!
What is the best way to store cheese puffs after baking?
Very important! To keep your cheese puffs fresh, store them in a zippered bag at room temperature for up to 5 days. If you prefer a little extra crispiness, keeping them in an airtight container in the fridge can help for up to 3 days. Just know they may lose some of that delightful crunch.
Can I freeze cheese puffs for later use?
Absolutely! To freeze your cheesy delights, first let them cool completely. Then, place them in a single layer on a baking sheet and freeze until firm. Once frozen, transfer to a zippered bag and label them, where they can last for up to 8 weeks. To reheat, just pop them in a preheated oven at 350°F (175°C) for about 8 minutes until warm.
What should I do if my cheese puffs don’t rise properly?
If your cheese puffs fell flat, don’t worry—there can be several reasons. Make sure you’re using enough eggs, as they are crucial for the puffiness. Avoid over-mixing after adding eggs; gentle folding is key! Additionally, check that your oven temperature is accurate; the initial blast of heat at 425°F is vital for achieving that puff.
Are there any dietary considerations I should be aware of?
Great question! If you’re serving these cheese puffs to guests with dietary restrictions, be aware that they contain dairy and gluten from the cheese and flour. For a gluten-free option, use a gluten-free flour blend and ensure your cheese is gluten-free as well. For lactose intolerance, consider lactose-free cheese alternatives when making your puffs.
How can I ensure my cheese puffs stay crispy when serving?
Definitely a great consideration! To keep your cheese puffs crispy after baking, serve them immediately while still warm. If you need to prepare them ahead of time, bake them, then cool and store properly as mentioned. Right before serving, pop them back into the oven at 350°F for 5-8 minutes to refresh that crisp exterior. Enjoy!
Cheese Puffs That Melt in Your Mouth: A Homemade Delight
Ingredients
Equipment
Method
- Preheat your oven to 425°F (220°C) and line two baking sheets with parchment paper.
- Combine milk (or water), butter, salt, and cayenne pepper in a medium saucepan and heat until boiling.
- Reduce heat to low, add flour, and stir until smooth, about 2-3 minutes.
- Remove from heat, cool for 5 minutes, then incorporate the eggs one at a time, mixing until smooth.
- Stir in the shredded cheddar until evenly distributed.
- Pipe 1-inch circles onto prepared baking sheets, smoothing tops with wet fingers.
- Brush tops with egg wash, and sprinkle extra cheese if desired.
- Bake at 425°F (220°C) for 10 minutes, then reduce to 350°F (175°C) and bake for an additional 18-19 minutes.
Leave a Reply