
As I stood over the sizzling pan, the aroma of melting cheese wafted through the kitchen, calling me back to cozy mornings spent with loved ones. Cheesy Egg Toast is my go-to breakfast for a good reason—it’s quick and delightful, giving a satisfying start to even the busiest of days. With its crispy bread base topped with creamy, cheesy goodness, this recipe invites so much creativity. Whether you prefer a savory twist with fresh herbs and spices or a sweet variation featuring honey and fruit, the Cheesy Egg Toast caters to every craving and caters to both vegetarian and dairy-free diets! Imagine whipping this up in just minutes, perfect for a lazy weekend brunch or a swift weekday pick-me-up. What delicious toppings will you try on your toast today?

Why is Cheesy Egg Toast a Must-Try?
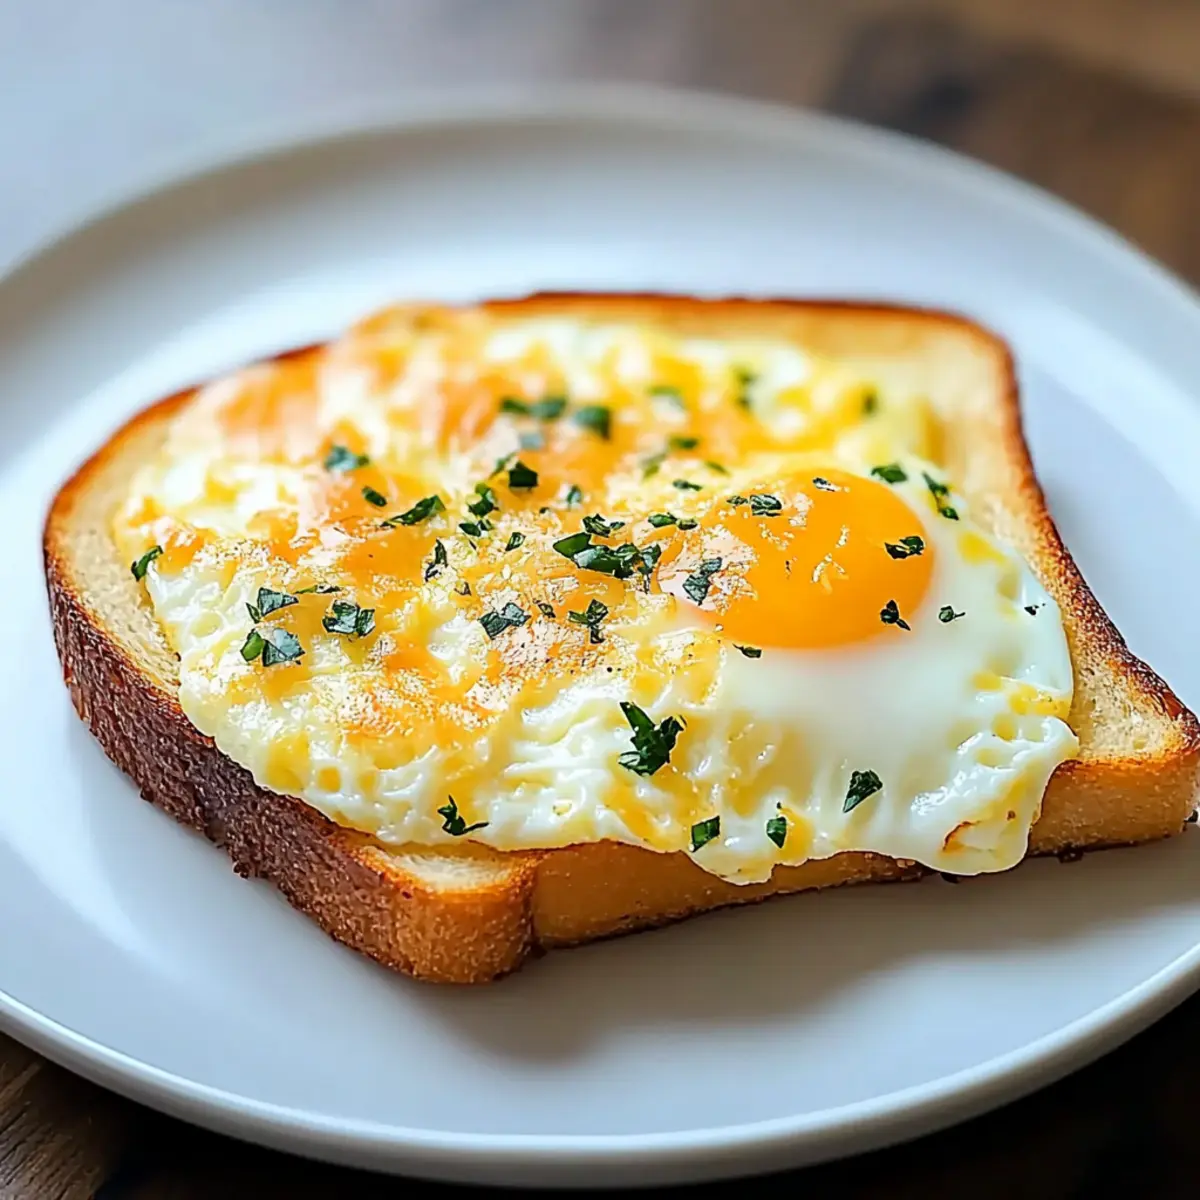
Comforting, Versatile Choice: This Cheesy Egg Toast offers the perfect balance of crispy and creamy, making it a treat for any breakfast lover.
Quick and Easy: Ready in just minutes, it transforms busy mornings into delightful experiences without sacrificing flavor.
Customization Galore: Mix it up! Swap in different cheeses, herbs, or even a hint of spice to create your own signature toast.
Sweet or Savory: Whether you’re in the mood for a savory bite or a sweet twist, such as drizzling honey over fresh fruit, this dish truly satisfies all cravings.
Crowd-Pleasing Appeal: Perfect for family breakfasts or impressing brunch guests; its deliciousness is hard to resist! For more quick breakfast ideas, check out my Breakfast Egg Muffins or Japanese Egg Sandwich recipes.
Cheesy Egg Toast Ingredients
For the Toast
- Bread – Choose thicker slices like sourdough or whole grain for the best texture and support.
For the Egg Mixture
- Egg – This is the main source of protein and can be easily swapped for plant-based alternatives for a dairy-free option.
- Cheese – Use your favorite for rich flavor; options like cheddar or mozzarella work well, or try a dairy-free cheese substitute if needed.
- Herbs – Fresh herbs like chives or parsley can brighten your toast; feel free to omit if you don’t have any on hand.
- Cayenne Pepper – Add a pinch for a spicy kick, adjusting the amount to your spice tolerance.
Optional Add-ins
- Vegetables – Sautéed spinach or mushrooms can enhance the flavor and nutrition of your Cheesy Egg Toast.
- Fruits – Consider using honey and sliced apples or pears for a delightful sweet variation.
With these simple ingredients, you’re just a step away from creating a delectable breakfast that’s perfect for any occasion!
Step‑by‑Step Instructions for Cheesy Egg Toast
Step 1: Preheat Oven or Air Fryer
Begin by preheating your oven to 400°F (200°C) or set your air fryer to 340°F (170°C). This step is essential for achieving that golden-brown finish on your Cheesy Egg Toast. While your appliance heats up, gather your ingredients and equipment, such as a baking sheet or air fryer basket, to streamline the preparation process.
Step 2: Prepare the Bread
Take your thicker slices of bread, such as sourdough or whole grain, and lightly toast them in a toaster or on a skillet until they are slightly crisp on the outside—not browned. This initial toast will create a sturdy base for your Cheesy Egg Toast, ensuring it stays crisp when you add the creamy egg mixture.
Step 3: Mix Egg and Cheese
In a mixing bowl, crack an egg and beat it until it’s fluffy. Add in your choice of cheese—like cheddar or mozzarella—along with any preferred herbs, salt, and pepper. If you enjoy heat, stir in a dash of cayenne pepper. Mix until everything is well combined, resulting in a creamy, flavorful mixture that will coat your toast beautifully.
Step 4: Assemble the Toast
Spread the egg and cheese mixture evenly over the surface of the toasted bread. Make sure to reach the edges to prevent a gooey mess and ensure every bite of your Cheesy Egg Toast is loaded with flavor. The mixture should appear generous but not overflowing, just the right balance to keep it intact.
Step 5: Bake or Cook
If using the oven, place the prepared toast on a baking sheet and bake for 10-12 minutes until it is puffed up and golden brown. If using the air fryer, carefully place your toast in the air fryer basket and cook for 8-10 minutes until it is crispy and the cheese is bubbling. Keep an eye on it during the last few minutes for the perfect doneness.
Step 6: Serve and Enjoy
Once your Cheesy Egg Toast is finished cooking, remove it from the oven or air fryer and let it cool for a minute. Serve immediately, perhaps alongside fresh fruit or a smoothie for a complete breakfast experience. This dish is best enjoyed straight from the kitchen, showcasing its melty cheese and fluffy egg topping on a crispy foundation!

Expert Tips for Cheesy Egg Toast
-
Bread Selection: Choose thicker slices like sourdough or whole grain for better structure. Avoid thin bread, as it may become soggy under the egg mixture.
-
Creamy Texture: Beat the egg until fluffy and well-combined to achieve a creamy texture in your Cheesy Egg Toast. This prevents a dense outcome.
-
Layering Evenly: Spread the egg and cheese mixture to the edges of the toast; this keeps every bite flavorful and prevents overflows during baking.
-
Vegetable Add-ins: Enhance flavor and nutrition by adding sautéed vegetables like spinach or mushrooms. Just be sure to lightly steam them first to reduce moisture.
-
Watch Cooking Time: Every oven and air fryer is different; check your Cheesy Egg Toast in the last few minutes to prevent overcooking or burning.
-
Storing Leftovers: If you have any leftovers, store them covered to prevent drying out. They’re best enjoyed within 2 days to maintain freshness.
What to Serve with Cheesy Egg Toast?
There’s nothing quite like a comforting meal that brings together flavors and textures to create a beautiful start to your day.
-
Fresh Fruit Salad: Bright and refreshing, a blend of berries and melons brings a natural sweetness that balances the richness of the toast.
-
Crispy Hash Browns: These golden-brown bites add a satisfying crunch and are perfect for soaking up any leftover egg and cheese.
-
Smoothies: A creamy smoothie, perhaps with spinach and banana, offers a nutritious drink that perfectly complements the toast’s savory flavors.
-
Greek Yogurt with Honey: Creamy and slightly tangy, this adds a sweet contrast to your toast, perfect for those who enjoy a balanced breakfast.
-
Steamed Asparagus: Tender and vibrant, asparagus adds a touch of green that pairs beautifully with the cheesy richness while providing a fresh crunch.
-
Herbed Salad: A light cucumber and tomato salad dressed in lemon vinaigrette brightens the palate, making each bite of your Cheesy Egg Toast even more enjoyable.
Whichever sides you choose, these options will turn your simple Cheesy Egg Toast into a memorable meal.
Cheesy Egg Toast Variations & Substitutions
Get inspired to personalize your Cheesy Egg Toast with these fun and tasty twists that elevate each bite!
-
Savory Cheese: Use goat cheese or feta for a tangy flavor that beautifully complements the egg. Try mixing in some sun-dried tomatoes or olives for a Mediterranean flair!
-
Sweet Delight: Add a drizzle of honey on top, paired with sliced apples or pears. This delicious combination creates a sweet and savory experience that will surprise your taste buds.
-
Herb Boost: Swap in fresh basil or cilantro instead of the usual herbs. These fresh additions brighten up the dish with vibrant flavors, enhancing its appeal.
-
Spicy Kick: Incorporate a dash of sriracha or hot sauce into your egg mix for an extra zing. This heat can be just what you need to start your day with a little excitement!
-
Veggie-Filled: Don’t hesitate to toss in spinach, bell peppers, or mushrooms into your egg mixture. They add nutritional value and create a more filling toast, perfect for a hearty morning meal.
-
Crunchy Texture: Top your toast with crispy bacon or even toasted nuts for an appealing crunch. This contrast makes your dish more enjoyable while satisfying different texture cravings.
-
Dairy-Free Delight: Use plant-based cheese alternatives and substitute eggs with flaxseed meal or tofu mixed with nutritional yeast for a yummy dairy-free option, ensuring no one feels left out.
Try mixing and matching these suggestions to create your perfect version of Cheesy Egg Toast! For even more breakfast inspo, check out my Breakfast Egg Muffins or hearty Cheesy Root Vegetable recipes. The possibilities are endless, and I can’t wait to hear which combinations you love the most!
Make Ahead Options
Cheesy Egg Toast is perfect for meal prep enthusiasts looking to save time during busy mornings! You can prepare the egg and cheese mixture up to 24 hours in advance by beating the egg with cheese, herbs, salt, and pepper, then storing it in an airtight container in the refrigerator to maintain freshness. The toasted bread can also be prepped ahead; just ensure it’s kept crisp by placing it in a zip-top bag. When you’re ready to serve, assemble the prepared mixture on the toast and cook it in the oven or air fryer as directed, and you’ll enjoy a delicious breakfast with minimal effort!
How to Store and Freeze Cheesy Egg Toast
Fridge: Store leftovers in an airtight container for up to 2 days. Cover with plastic wrap or foil to retain moisture and prevent drying out, ensuring you can enjoy your Cheesy Egg Toast later.
Freezer: If you’ve got extra portions, freeze them in a single layer on a baking sheet. Once frozen, wrap each piece in plastic wrap and seal in a freezer bag for up to 2 months.
Reheating: To reheat, place the toast in the oven at 350°F (175°C) for about 10-15 minutes, or in the air fryer for 5-7 minutes until heated through and crispy again.
Cheesy Egg Toast Recipe FAQs
How do I choose the best bread for Cheesy Egg Toast?
Selecting the right bread is essential! I recommend using thicker slices like sourdough or whole grain, as they provide a sturdy base to support the creamy egg and cheese mixture. Avoid thin slices, which can become soggy. Aim for bread that feels firm to the touch and has a slightly crispy crust for the best results!
What’s the best way to store Cheesy Egg Toast leftovers?
Absolutely! To store leftovers, place them in an airtight container in the fridge for up to 2 days. It’s crucial to cover them with plastic wrap or foil to retain moisture; this helps prevent them from drying out. When you’re ready to enjoy them again, simply reheat in the oven or air fryer for restored crispiness!
Can I freeze Cheesy Egg Toast? If so, how?
Yes, you can! To freeze your Cheesy Egg Toast, first place the assembled toast in a single layer on a baking sheet. Once frozen, wrap each piece tightly in plastic wrap and transfer them to a freezer-safe bag. They can be stored for up to 2 months. When you’re ready to enjoy, bake or air fry from frozen—just add a few extra minutes to the cooking time.
What if I add too many vegetables to the egg mixture? Will it ruin my dish?
Oh, no worries there! If you find you’ve added too many vegetables, it may just make your Cheesy Egg Toast a bit dense. To prevent excess moisture, consider sautéing your veggies until they’re tender and their liquid has evaporated before mixing them in. This will ensure that your toast stays crispy while still being packed with delicious goodness!
Are there any dietary considerations I should be aware of when making this dish?
Very much so! If you’re catering to specific dietary needs, make sure to check for allergies related to eggs, dairy, or gluten in the bread choice. For a dairy-free option, substitute the cheese with a dairy-free alternative and consider using plant-based eggs. You can enjoy this delightful breakfast while keeping everyone’s preferences in mind!

Cheesy Egg Toast: The Ultimate Comfort Breakfast You’ll Love
Ingredients
Equipment
Method
- Preheat oven to 400°F (200°C) or air fryer to 340°F (170°C).
- Lightly toast thicker slices of bread until slightly crisp.
- In a mixing bowl, beat the egg, add cheese, herbs, salt, and cayenne, mixing until combined.
- Spread egg and cheese mixture evenly over toasted bread.
- Bake for 10-12 minutes or air fry for 8-10 minutes until golden brown.
- Let cool for a minute, then serve with fresh fruit or a smoothie.
Leave a Reply