
As I rummaged through my pantry one lazy afternoon, the bright crunch of Rice Krispies caught my eye, sparking a sweet idea. What could be better than whipping up a batch of no-bake Chocolate Peanut Butter Rice Krispie Cups? With just a handful of simple ingredients and minimal prep time, these little delights are perfect for any occasion—be it a festive gathering or a cozy family movie night. Say goodbye to long baking sessions and hello to an irresistible treat that is both quick and customizable! Whether you prefer crunchy peanut butter or a drizzle of dark chocolate on top, this recipe invites you to make it your own. Ready to treat yourself and your loved ones? Let’s dive into the delicious crunch!
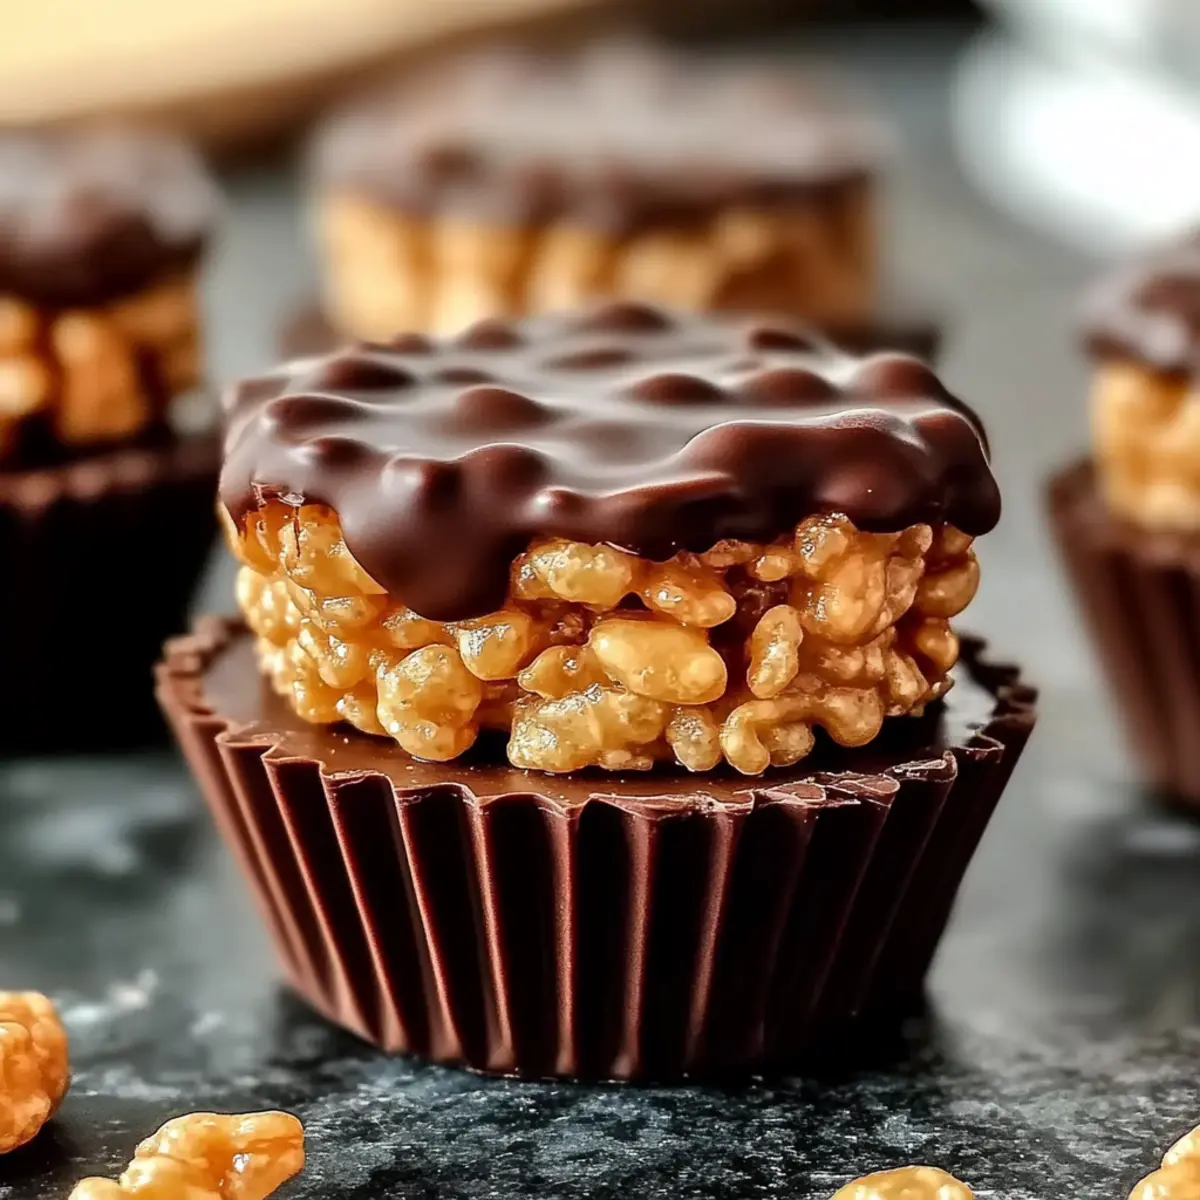
Why are These Rice Krispie Cups Special?
No-Bake Convenience: The delightful combination of chocolate and peanut butter becomes a reality in under 30 minutes, making these Chocolate Peanut Butter Rice Krispie Cups both quick and accessible!
Customizable Flavors: Whether you prefer creamy or crunchy peanut butter, or even a sprinkle of sea salt on top, this recipe caters to your flavor preferences.
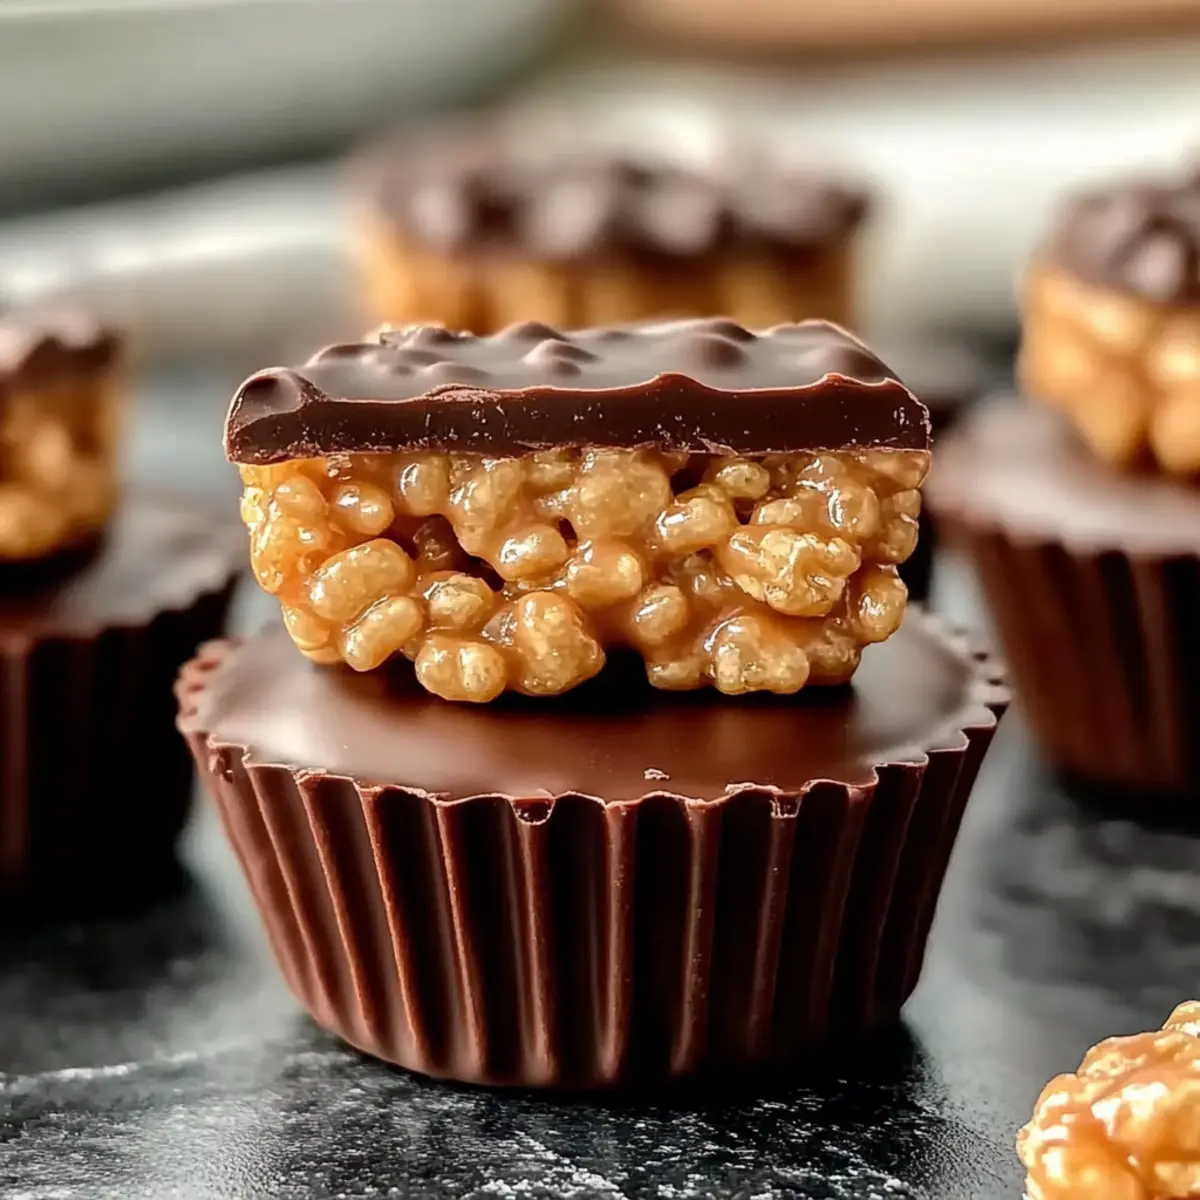
Irresistible Texture: The contrast of creamy chocolate with the crispy Rice Krispies creates a satisfying crunch that will have everyone coming back for more.
Perfect for Sharing: Ideal for parties or movie nights, these treats are sure to impress friends and family alike.
Wholesome Ingredients: With simple staples like Rice Krispies, peanut butter, and marshmallows, it’s a treat you can feel good about enjoying.
So, gather your ingredients and check out my suggestions for Peanut Butter Yogurt or Chocolate Cobbler Decadent for more tasty ideas!
Chocolate Peanut Butter Rice Krispie Cups Ingredients
• Get ready to make a delicious treat with simple ingredients!
For the Base
- Rice Krispies cereal – Essential for that signature crunch; don’t even think of substituting this!
- Creamy peanut butter – Adds richness and binds the mixture; crunchy peanut butter is a fun alternative for extra texture.
- Unsalted butter – Provides moisture and improves binding; using unsalted allows you to control the saltiness perfectly.
- Mini marshmallows – Contributes sweetness and creates a chewy texture; consider vegan marshmallows for a plant-based option.
For the Topping
- Chocolate chips – Offers sweetness and a smooth topping layer; substitute with dark chocolate for a richer flavor.
- Vanilla extract (optional) – Enhances overall flavor; completely optional if you want to keep it simple.
- Sea salt (optional) – Balances sweetness and adds depth; a little sprinkle on top gives a delightful contrast to the flavor.
As you gather these ingredients for your Chocolate Peanut Butter Rice Krispie Cups, prepare for a delightful experience that everyone will love!
Step‑by‑Step Instructions for Chocolate Peanut Butter Rice Krispie Cups
Step 1: Melt Base
In a medium saucepan over low heat, combine 4 tablespoons of unsalted butter and 2 cups of mini marshmallows. Stir gently until the mixture is smooth and fully melted, which should take about 5 minutes. The marshmallows will become gooey and glossy; ensure no lumps remain to create a silky base for your Chocolate Peanut Butter Rice Krispie Cups.
Step 2: Add Peanut Butter
Once melted, remove the saucepan from heat and stir in 1 cup of creamy peanut butter (along with 1 teaspoon of vanilla extract, if desired). Mix continuously until the peanut butter is completely incorporated and the mixture is creamy. This rich blend will form the base of your treats, blending the sweet marshmallows with the nutty flavor of peanut butter.
Step 3: Mix with Cereal
In a large mixing bowl, pour in 6 cups of Rice Krispies cereal. Carefully pour the melted peanut butter and marshmallow mixture over the cereal and gently fold together using a spatula. Aim to coat each Rice Krispie evenly, which will take about 2-3 minutes. You’ll notice the cereal turning sticky but still retaining its crunch, ready for shaping.
Step 4: Shape Cups
Prepare a muffin tin by placing paper liners in each cup or greasing it lightly. Spoon the Rice Krispie mixture into each liner, filling them about ¾ full. Press down gently but firmly with your fingers or the back of a spoon to compact the mixture. This helps maintain their shape and texture, making for delightful Chocolate Peanut Butter Rice Krispie Cups.
Step 5: Add Chocolate Layer
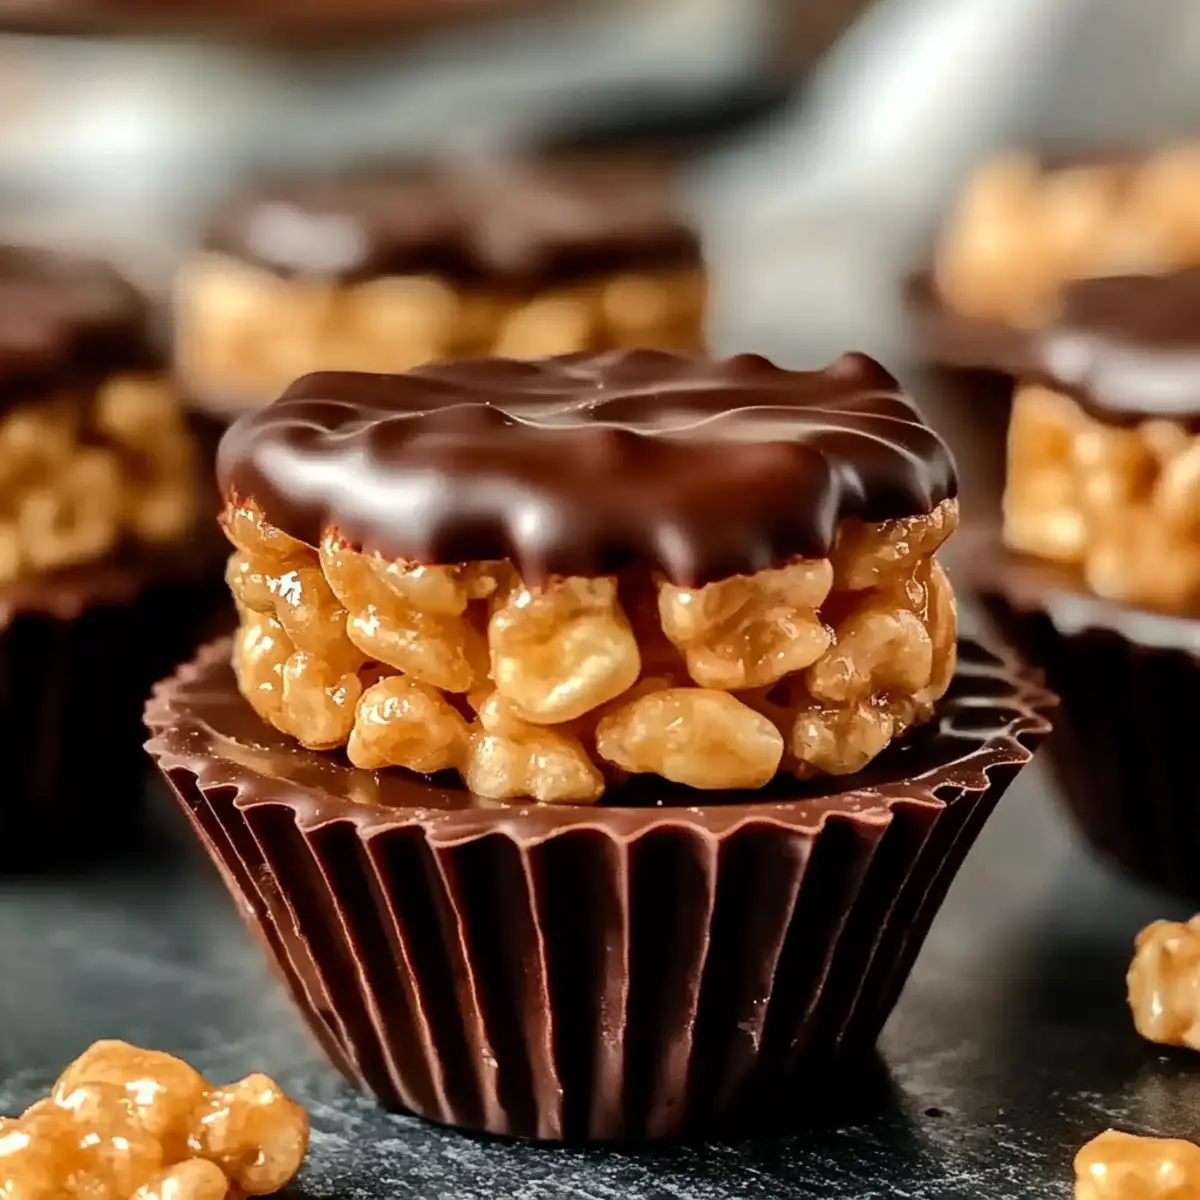
Next, melt 1 cup of chocolate chips using the microwave, heating in 20-second intervals and stirring until smooth. Once melted, spoon the chocolate over each Rice Krispie cup, spreading it evenly across the tops. This chocolate layer adds richness that beautifully complements the creamy peanut butter and crunchy cereal.
Step 6: Set & Serve
Allow the cups to cool at room temperature for about 20 minutes or refrigerate them for faster firming. When the chocolate is set and the cups are firm to touch, gently remove them from the muffin tin and peel off the liners. These delectable Chocolate Peanut Butter Rice Krispie Cups are now ready to be served to family and friends!
Expert Tips for Chocolate Peanut Butter Rice Krispie Cups
-
Low Heat is Key: Always melt your butter and marshmallows over low heat to prevent burning, ensuring a smooth and creamy base for your Chocolate Peanut Butter Rice Krispie Cups.
-
Gentle Pressing: When filling the muffin tins, press down gently but firmly. This helps maintain the delightful crunch of the Rice Krispies while forming perfect cups.
-
Chill for Best Results: After adding the chocolate topping, refrigerate the cups for at least 20 minutes. This solidifies the chocolate layer, giving it an ideal firmness and ease of handling.
-
Avoid Sticky Hands: Lightly grease your hands with butter or oil while shaping the cups. This simple trick prevents the mixture from sticking, making the process much smoother.
-
Customize Wisely: Feel free to experiment with variations, but be cautious with substitutions—some ingredients, like Rice Krispies cereal, are vital for achieving the best texture in your Chocolate Peanut Butter Rice Krispie Cups.
Make Ahead Options
These Chocolate Peanut Butter Rice Krispie Cups are perfect for busy home cooks looking to save time during the week! You can prepare the mixture of Rice Krispies, peanut butter, and marshmallows up to 24 hours in advance. Simply follow the first three steps of the recipe and store the mixture in an airtight container in the refrigerator. When you’re ready to finish, simply spoon the chilled mixture into muffin liners, press down, and add the melted chocolate layer. For best quality, keep the cups in an airtight container at room temperature and enjoy them within 3 days. With these make-ahead tips, you’ll have delicious treats ready for any unexpected cravings or gatherings!
What to Serve with Chocolate Peanut Butter Rice Krispie Cups
Indulging in no-bake treats is always a delight, but there’s something special about pairing them with delicious sides that elevate the experience.
- Fresh Fruit Platter: Sliced strawberries, bananas, and apples add a refreshing contrast to the rich sweetness of the cups.
- Creamy Yogurt Dip: A bowl of vanilla yogurt balances the crunchiness with a silky texture. It’s perfect for dipping!
- Chocolate Milkshake: For the ultimate sweet experience, serve these cups with a thick, creamy chocolate milkshake that everyone will enjoy.
- Nutty Granola: A sprinkle of crunchy granola adds an extra layer of texture, creating a fun contrast you won’t want to miss.
- Green Smoothie: Brighten the table with a fruity green smoothie loaded with spinach, banana, and almond milk, offering a nutritious pairing.
- Popcorn: Lightly salted popcorn provides a delightful contrast in taste and texture, making for a fun snack combo.
- Ice Cream Sundae: Serve alongside scoops of vanilla ice cream drizzled with chocolate sauce; it’s a decadent way to satisfy your sweet tooth.
- Chilled Lemonade: Refreshing lemonade offers a zesty and tangy pairing, cleansing the palate between bites of the sweet cups.
- Cheese Board: A platter of sharp cheese and assorted crackers introduces savory elements that enhance the overall tasting adventure, appealing to every palate.
- Mini Fruit Tart: A small fruit tart complements the peanut butter and chocolate flavors with a burst of freshness from the fruit topping.
How to Store and Freeze Chocolate Peanut Butter Rice Krispie Cups
Room Temperature: Store these delicious Chocolate Peanut Butter Rice Krispie Cups in an airtight container at room temperature for up to 1 week. This keeps them fresh and ready to satisfy your sweet cravings.
Fridge: For a firmer texture, place them in the refrigerator. They will stay well-preserved for up to 2 weeks. Just allow a few minutes at room temperature before indulging!
Freezer: If you want to keep them longer, you can freeze the cups individually wrapped in plastic wrap or in a freezer-safe container for up to a month. Thaw at room temperature for about 5-10 minutes before enjoying.
Reheating: These treats are best served cold or at room temperature, so no reheating is necessary. Just grab and go for a perfect snack any time!
Chocolate Peanut Butter Rice Krispie Cups Variations
Feel free to get creative and tailor these delightful treats to your taste preferences; have fun with these tasty tweaks!
-
Nutty Twist: Add chopped nuts like almonds or pecans for an extra crunch and wholesome flavor. This adds texture and enhances the overall nuttiness—perfect for nut lovers!
-
Crunchy Peanut Butter: Substitute creamy peanut butter for crunchy peanut butter for a delightful texture that makes every bite interesting. The added crunch brings more excitement to these easy-to-make cups!
-
Vegan Swap: Use vegan marshmallows and nut butter to make these treats plant-based friendly. You won’t miss the eggs or dairy, and they’ll be just as delicious!
-
Dark Chocolate Delight: Replace regular chocolate chips with dark chocolate for a richer flavor profile. Not only does it add depth, but dark chocolate also offers a hint of bittersweet, making for an impressive treat.
-
Flavor Blast: Mix in butterscotch chips or toffee bits for an unexpected twist that adds sweet complexity. These flavors combine wonderfully with peanut butter!
-
Spicy Kick: Add a pinch of cayenne pepper or chili powder to your chocolate layer for a surprising kick. The slight heat contrasts beautifully with the sweet and creamy elements.
-
Cereal Swap: Experiment with different cereals such as Cocoa Krispies or cornflakes for unique flavors and textures. Each cereal offers a new way to enjoy these classic treats.
As you experiment, don’t forget to check out my other delicious recipes like Garlic Butter Dinner Rolls or try something wholesome like Peanut Butter Yogurt for even more delightful treats!
Chocolate Peanut Butter Rice Krispie Cups Recipe FAQs
How do I choose the right Rice Krispies cereal?
Absolutely! It’s essential to use authentic Rice Krispies cereal for that signature crunch and texture in these Chocolate Peanut Butter Rice Krispie Cups. Any other cereal might not provide the same flavor or structure, so stick with the classic.
How should I store my Chocolate Peanut Butter Rice Krispie Cups?
For optimal freshness, store your delicious Chocolate Peanut Butter Rice Krispie Cups in an airtight container at room temperature for up to 1 week. If you prefer a firmer texture, keep them in the fridge for up to 2 weeks. Just let them sit for a few minutes at room temperature before enjoying!
Can I freeze these Rice Krispie Cups?
Yes, you can! To freeze your Chocolate Peanut Butter Rice Krispie Cups, wrap them individually in plastic wrap or place them in a freezer-safe container. They will keep well for up to a month. When you’re ready to enjoy, simply thaw them at room temperature for about 5-10 minutes.
What if my mixture feels too sticky?
If your mixture becomes too sticky while shaping the cups, I recommend lightly greasing your hands with butter or oil. This prevents the mixture from sticking to your fingers and makes the process much more manageable.
Are there any dietary considerations with these ingredients?
It’s always good to be mindful! If you have dietary restrictions, you can easily swap out ingredients. For instance, use crunchy peanut butter for an added texture or choose vegan marshmallows for a plant-based version. Additionally, check for any nut allergies and substitute peanut butter with sunflower seed butter for a nut-free option.
What if the chocolate layer doesn’t set properly?
If the chocolate layer does not set properly after cooling, simply pop the cups in the refrigerator for an extra 10-15 minutes. The chill will help firm things up! You could also try melting the chocolate at shorter intervals in the microwave to avoid overheating, leading to a smoother consistency.
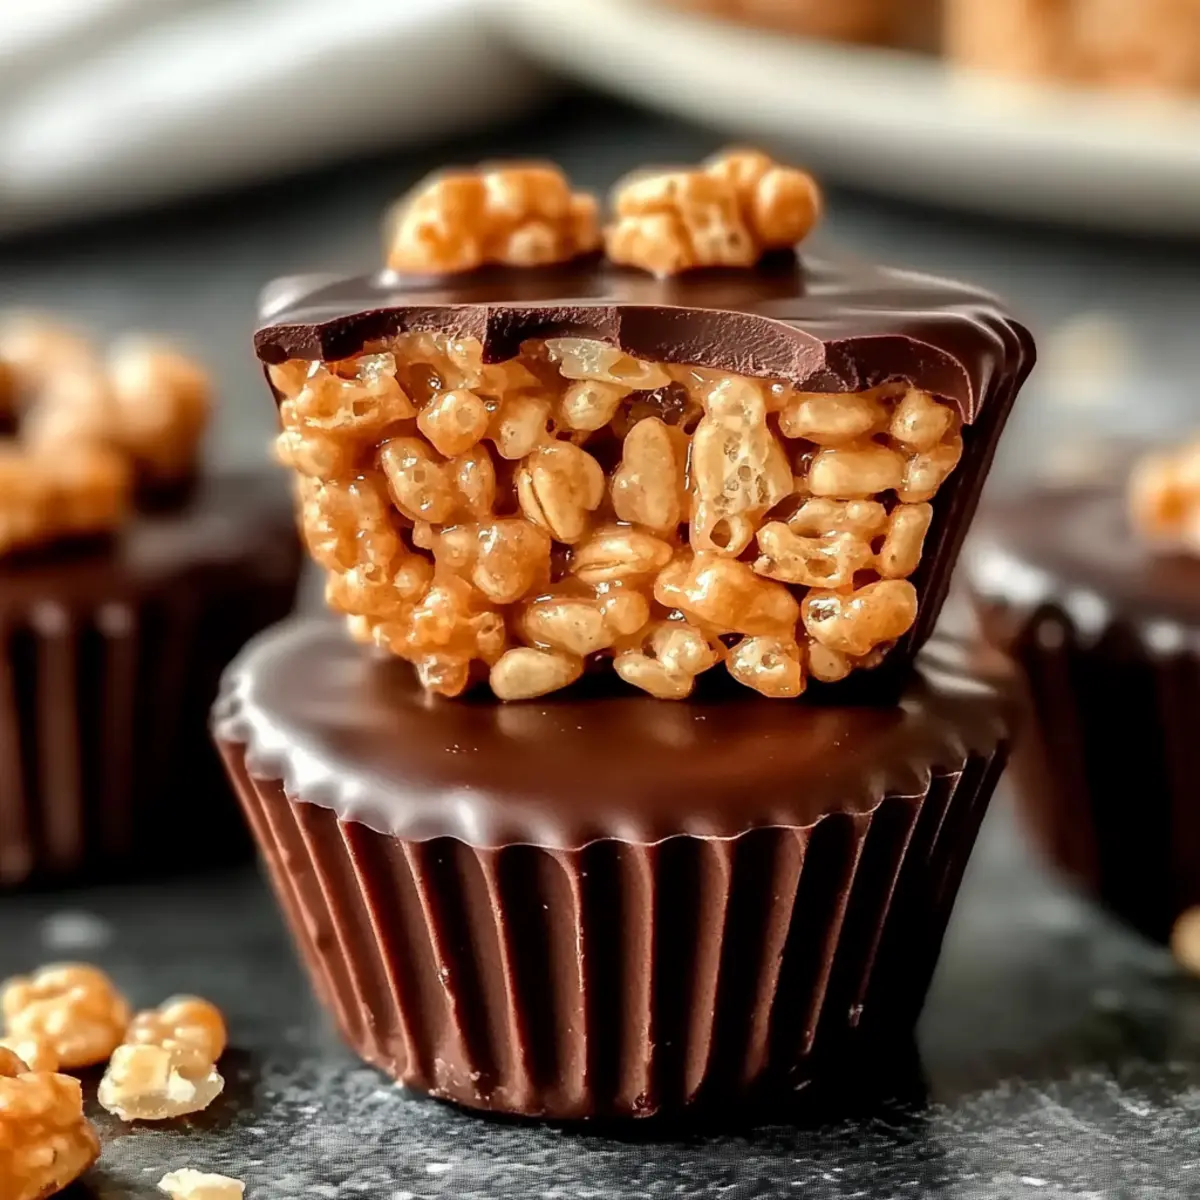
Decadent Chocolate Peanut Butter Rice Krispie Cups You’ll Love
Ingredients
Equipment
Method
- In a medium saucepan over low heat, combine 4 tablespoons of unsalted butter and 2 cups of mini marshmallows. Stir until smooth and melted, about 5 minutes.
- Remove from heat and stir in 1 cup of creamy peanut butter and 1 teaspoon of vanilla extract (if using). Mix until creamy.
- In a large mixing bowl, add 6 cups of Rice Krispies cereal. Pour the melted mixture over the cereal and fold together using a spatula.
- Prepare a muffin tin with liners or grease lightly. Spoon the mixture into liners, filling about ¾ full and press to compact.
- Melt 1 cup of chocolate chips in the microwave in 20-second intervals, stirring until smooth. Spoon chocolate over each cup.
- Let the cups cool at room temperature for about 20 minutes or refrigerate to firms up before serving.
Leave a Reply