
A delightful rush of nostalgia washes over me as I think about the first time I tasted homemade chocolate pudding. It’s an experience that ignites fond childhood memories, bridging the gap between simple ingredients and pure bliss. This quick and easy homemade chocolate pudding isn’t just a dessert; it’s a family favorite that can be whipped up in just 15 minutes, making it the perfect solution for those moments when you crave something sweet but don’t want to spend hours in the kitchen. The deep chocolate flavor and silky texture will charm kids and adults alike, ensuring it becomes a staple in your dessert repertoire. Ready to dive into this delightful treat? Let’s get cooking!
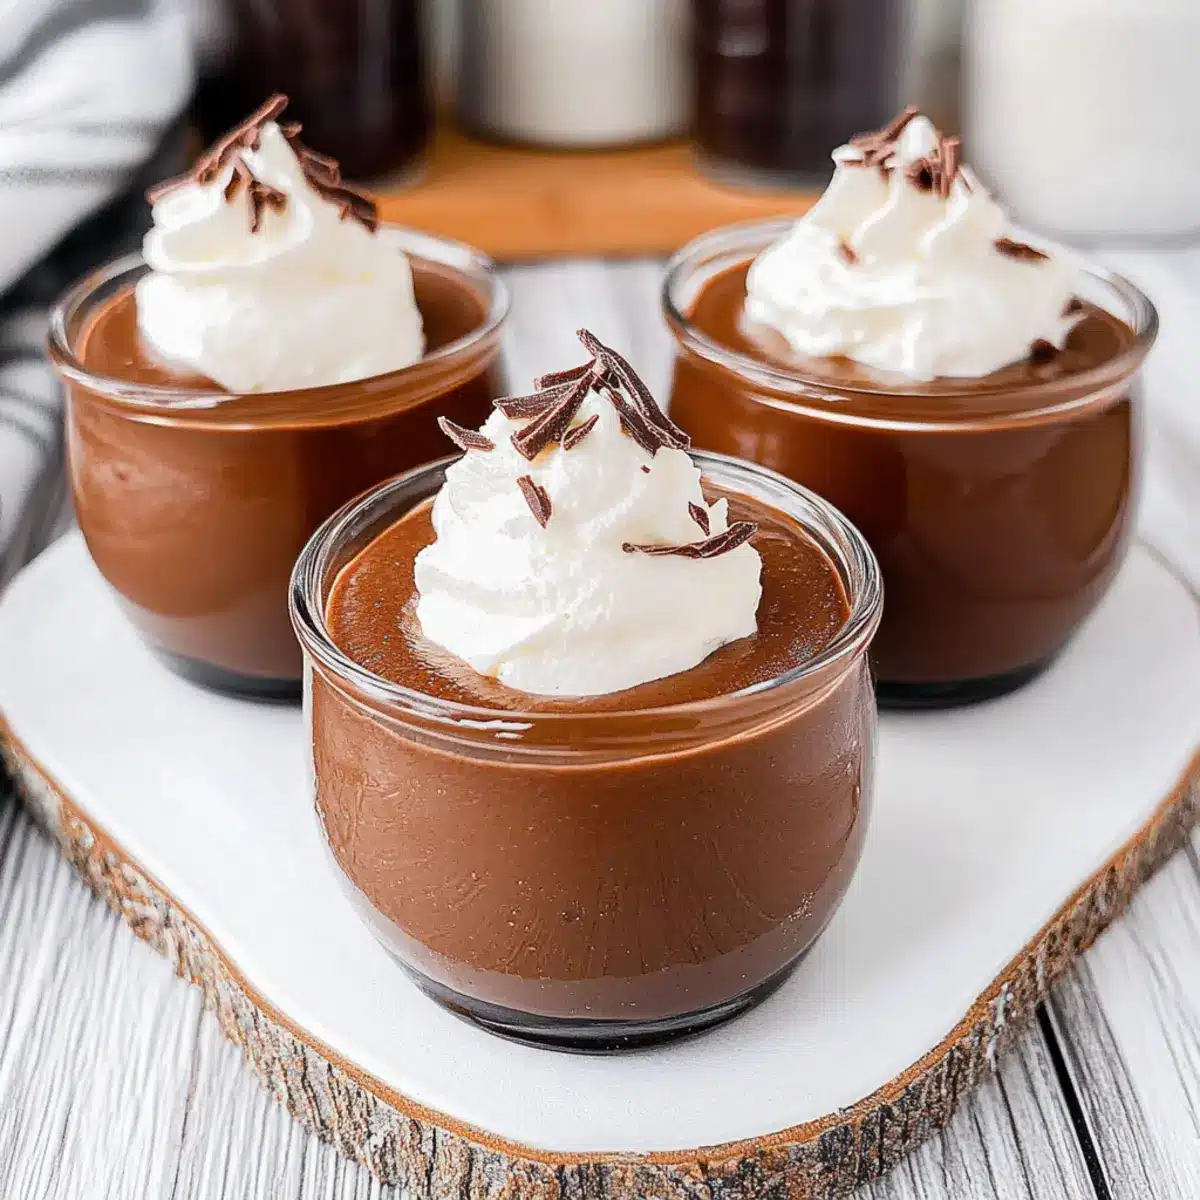
Why Is Homemade Chocolate Pudding a Must-Try?
Simplicity at Its Best: With just a few pantry staples, this recipe is incredibly easy to make, perfect for novice cooks and seasoned chefs alike.
Quick Preparation: Ready in just 15 minutes, it’s an ideal go-to dessert for those busy evenings when you want something sweet without the hassle.
Kid-Approved Delight: The rich, creamy texture and deep chocolate flavor are sure to win over even the pickiest eaters in your family.
Endless Topping Options: Elevate this pudding with your favorite toppings—whether it’s a dollop of whipped cream or a sprinkle of crushed cookies, the possibilities are endless.
Memory Lane: This comforting dessert brings back cherished childhood memories, allowing you to share delightful moments with loved ones around the dinner table.
Whether you’re reminiscing with this treat or introducing it to your family for the first time, this homemade chocolate pudding is bound to impress. Check out tips for layering it with whipped cream and cookie crumbles in our Cream Cheese Chocolate Chip Cookies post!
Chocolate Pudding Ingredients
• Gather these essential ingredients for making delectable homemade chocolate pudding.
For the Pudding Base
- Milk – Provides creaminess and forms the pudding’s base; substitute with almond or oat milk for a dairy-free version.
- Granulated Sugar – Adds sweetness; brown sugar can be used for a richer flavor.
- Unsweetened Cocoa Powder – Infuses the pudding with chocolate flavor; ensure it’s unsweetened for the best results.
- Cornstarch – Thickens the pudding; it’s key for achieving that luxurious texture.
- Salt – Enhances the chocolate flavor; be sure to distribute it evenly during mixing.
For the Richness
- Butter – Adds richness and creaminess; can be omitted for a dairy-free option or replaced with coconut oil.
- Vanilla Extract – Provides a nice flavor complement to the chocolate; always go for pure vanilla for optimal taste.
Now that you have your ingredients, you’re just a whisk away from chocolate indulgence! Enjoy your journey into the world of chocolate pudding that’s bound to become a family favorite.
Step‑by‑Step Instructions for Quick and Easy Homemade Chocolate Pudding
Step 1: Combine Dry Ingredients
In a medium saucepan, whisk together granulated sugar, unsweetened cocoa powder, cornstarch, and salt until well mixed. This step is crucial for achieving a smooth chocolate pudding without lumps. You’ll want to ensure the dry ingredients are fully incorporated, so take a moment to inspect for any clumps.
Step 2: Add Milk Gradually
Slowly pour in the milk while continuously whisking the mixture until it becomes completely smooth. This will help prevent any clumping and create a velvety base for your chocolate pudding. Keep whisking until you see a uniform consistency, free from any dry spots or cocoa clumps.
Step 3: Heat the Mixture
Place the saucepan over medium heat and cook the mixture while stirring constantly. It’s important to keep stirring to prevent the pudding from scorching at the bottom. Continue this until the mixture thickens and starts to bubble, which should take about 10 to 15 minutes. You’ll know it’s ready when you see a few gentle bubbles breaking the surface.
Step 4: Boil and Stir
Once the pudding begins to boil, continue to stir for an additional minute. This step is essential to ensure the cornstarch fully activates, which gives your chocolate pudding that perfect creamy texture. Watch closely as it should start to thicken even more during this time.
Step 5: Add Butter and Vanilla
Remove the saucepan from heat and mix in the butter and vanilla extract until they are smoothly incorporated into the pudding. The butter adds a rich creaminess, while the vanilla enhances the chocolate flavor. You’ll want to achieve a glossy finish that signals your chocolate pudding is a true delight.
Step 6: Cool or Serve
You can serve the chocolate pudding warm straight from the saucepan, or for a chilled option, transfer it to bowls. Press plastic wrap directly onto the surface to keep a skin from forming as it cools. Let it sit for at least 30 minutes at room temperature or refrigerate for a firmer texture, ensuring it’s the perfect dessert when ready to enjoy.
Expert Tips for Homemade Chocolate Pudding
-
Whisk It Well: Always whisk dry ingredients thoroughly before adding milk to prevent clumping. A smooth base is key for the best chocolate pudding.
-
Constant Stirring: Keep stirring as the mixture heats to avoid scorching. If your pudding sticks, it can ruin that silky texture.
-
Know When It’s Ready: The pudding will become glossy and noticeably thicker once it reaches a boil. Trust your senses—it should bubble gently!
-
Cool for Perfect Texture: For a thicker pudding, let it cool in the refrigerator after cooking. This helps set it to that heavenly creaminess, making each bite pure bliss.
-
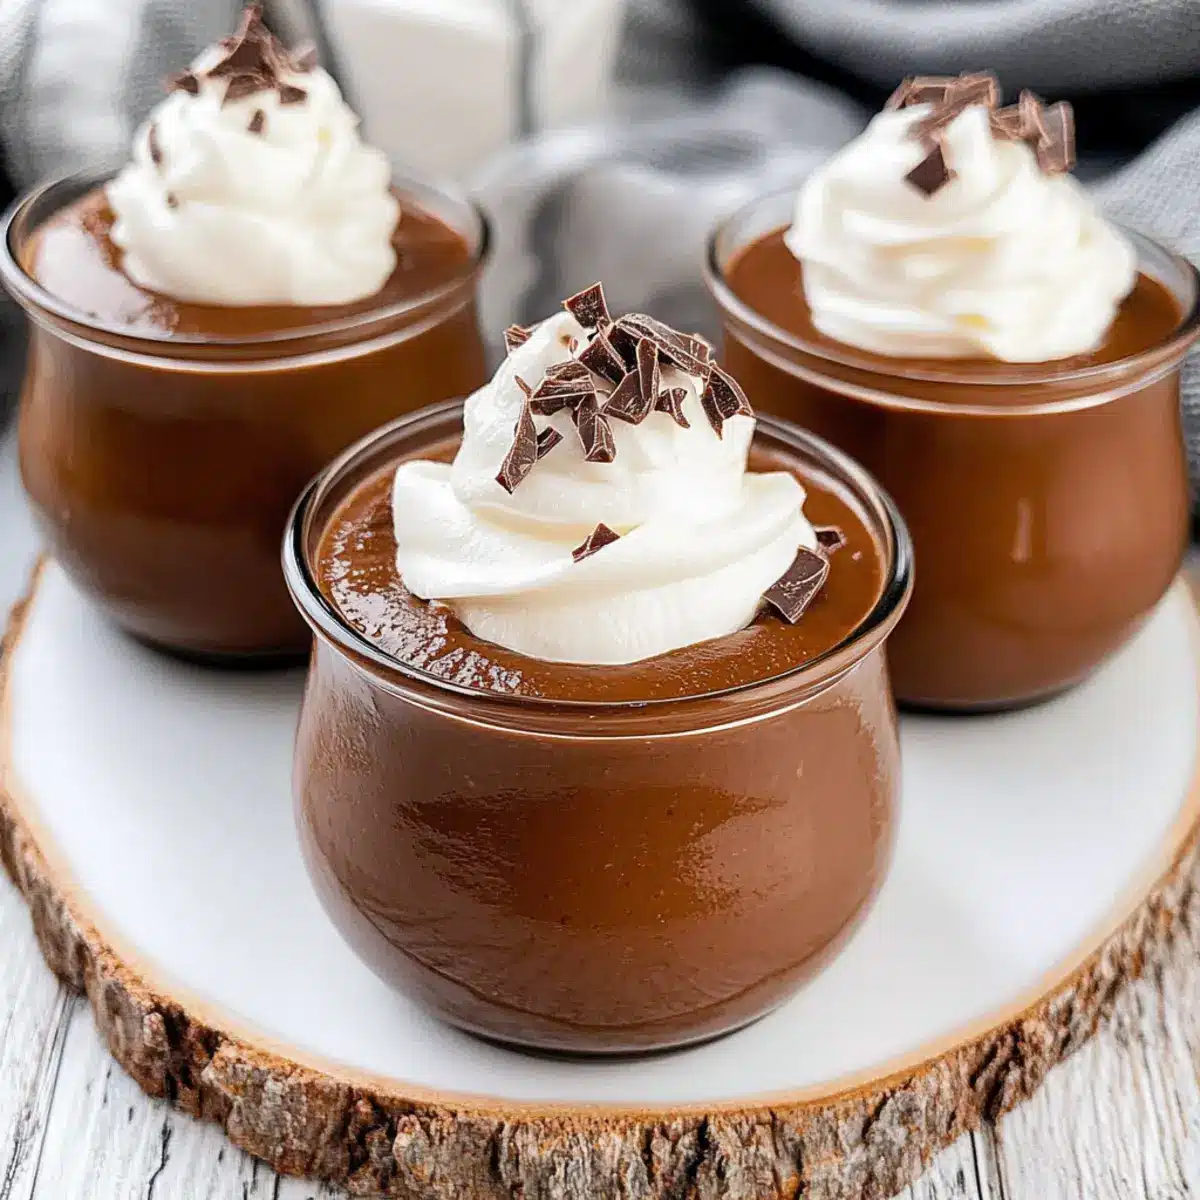
Experiment with Toppings: Don’t hesitate to get creative! Top your chocolate pudding with whipped cream, fresh berries, or broken cookie pieces for added fun and flavor.
What to Serve with Quick and Easy Homemade Chocolate Pudding
Indulging in a bowl of homemade chocolate pudding is just the beginning; let’s elevate your dessert experience with some delightful pairings.
-
Fresh Berries: Juicy strawberries or raspberries add a burst of freshness, complementing the rich chocolate with a delightful contrast. The tartness cuts through the sweetness, making every spoonful balanced and dreamy.
-
Whipped Cream: A dollop of lightly sweetened whipped cream enhances the creaminess, creating a cloud-like topping that melts beautifully over chocolate pudding. It’s an absolute classic that never fails to impress!
-
Crushed Cookies: Sprinkle crumbled cookies, like Oreos or graham crackers, for a delightful crunch that introduces a fun texture. This added element brings a playful twist to each decadent bite.
-
Chocolate Shavings: Elegant chocolate shavings not only enhance the visual appeal but also intensify the chocolate flavor. Each shave melts deliciously into the pudding, inviting pure indulgence.
-
Mint Leaves: Fresh mint leaves offer a refreshing twist, elevating the dessert with a pop of color and flavor. They add a hint of sophistication and can transform a simple dessert into something extraordinary.
-
Coffee: A cup of rich coffee or espresso pairs wonderfully, enhancing the chocolate notes while providing a cozy warmth. Imagine sipping on this alongside your pudding—pure bliss!
-
Coconut Whipped Cream: For a tropical twist, top your pudding with coconut whipped cream. The subtle coconut flavor complements the chocolate perfectly, taking your dessert to another level of deliciousness.
-
Ice Cream: For an extra indulgent treat, serve it with a scoop of vanilla or mocha ice cream. The cold, creamy ice cream mingles beautifully with the warm pudding, creating a heavenly dessert experience.
How to Store and Freeze Chocolate Pudding
Fridge: Store leftovers in an airtight container in the refrigerator for up to 3-4 days. This keeps the chocolate pudding fresh and ready for those late-night cravings.
Freezer: Avoid freezing chocolate pudding, as it can alter the creamy texture. Freezing can result in a grainy consistency once thawed, so it’s best enjoyed fresh!
Reheating: If you prefer your pudding warm, gently reheat it on the stove over low heat, stirring constantly until warmed through. This will help restore its delightful consistency.
Chocolate Pudding Variations & Substitutions
Feel free to get playful with your homemade chocolate pudding and discover delightful twists that cater to your taste buds!
- Dairy-Free: Substitute milk with almond or oat milk for a creamy yet dairy-free delight that everyone can enjoy.
- Sugar Swap: Use brown sugar or coconut sugar instead of granulated sugar for a richer flavor; you’ll be surprised by the depth it adds!
- Flour Alternative: If you’re out of cornstarch, use double the amount of flour to thicken the pudding, though the texture may vary slightly.
- Add a Spiced Kick: Mix in a pinch of cinnamon or a dash of chili powder for a surprisingly delightful warmth that dances on your palate.
- Chocolate Boost: For an extra chocolate fix, include a handful of chocolate chips while the pudding is still warm, creating a melty, decadent finish.
- Nutty Flavor: Fold in a splash of almond extract for a nutty twist that pairs beautifully with the chocolate; it’s a flavor adventure worth trying!
- Vegan Version: Omit the butter and use coconut oil instead to achieve that rich creaminess without any animal products.
- Elegant Toppings: Top with whipped cream, fresh berries, or even crushed cookies for a stunning presentation that appeals to both the eyes and the stomach!
As you experiment, don’t forget to check out our recipe for Vegan Chocolate Chip Cookies for more imaginative ideas on dessert!
Make Ahead Options
These creamy homemade chocolate pudding delights are perfect for busy home cooks looking to save time during the week! You can prepare the pudding base up to 24 hours in advance—just follow the instructions up to the point of adding butter and vanilla. Once it’s cooked, allow it to cool slightly, then cover with plastic wrap directly pressed against the surface to prevent a skin from forming, and refrigerate. When you’re ready to serve, gently reheat the pudding on the stove or microwave until warm, then stir in the butter and vanilla until smooth. This way, you’ll enjoy rich and velvety chocolate pudding with minimal effort on hectic days!
Homemade Chocolate Pudding Recipe FAQs
How do I choose the best cocoa powder for my pudding?
Look for high-quality unsweetened cocoa powder for a rich chocolate flavor. I prefer brands that display “100% cocoa” on the label, as these tend to have a deeper taste. Avoid Dutch-processed cocoa unless specified in recipes, as it can alter the flavor and texture.
What’s the best way to store leftover chocolate pudding?
To keep your chocolate pudding fresh, transfer it to an airtight container and refrigerate it for up to 3-4 days. I recommend placing plastic wrap directly on the surface of the pudding before sealing the container to prevent a skin from forming.
Can I freeze homemade chocolate pudding?
I wouldn’t recommend freezing chocolate pudding, as it can change the texture to a grainy consistency upon thawing. Instead, savor it fresh! However, if you must freeze, pour the pudding into freezer-safe containers, leaving some room for expansion, and consume it within 1 month. Thaw it in the fridge and gently stir before serving.
What common mistakes should I avoid while making chocolate pudding?
Absolutely! One common pitfall is not whisking the dry ingredients thoroughly before adding the milk, which can lead to clumping. Additionally, make sure to stir constantly while cooking to prevent scorching at the bottom of the pan. Lastly, don’t skip the step of keeping the pudding on medium heat until it thickens and bubbles; this is critical for the best texture!
Is this chocolate pudding suitable for children with dairy allergies?
Yes! To make this chocolate pudding dairy-free, simply substitute milk with dairy-free options like almond or oat milk. Additionally, replace the butter with coconut oil or simply omit it to maintain a creamy texture. Always double-check labels for any hidden allergens to ensure safety.
Can I modify the sweetness of my chocolate pudding?
Very! If you prefer a less sweet pudding, feel free to reduce the sugar by about a tablespoon or two, depending on your taste. You can also experiment with natural sweeteners like honey or maple syrup, though this may alter the final texture slightly. Remember, taste-testing along the way is key!
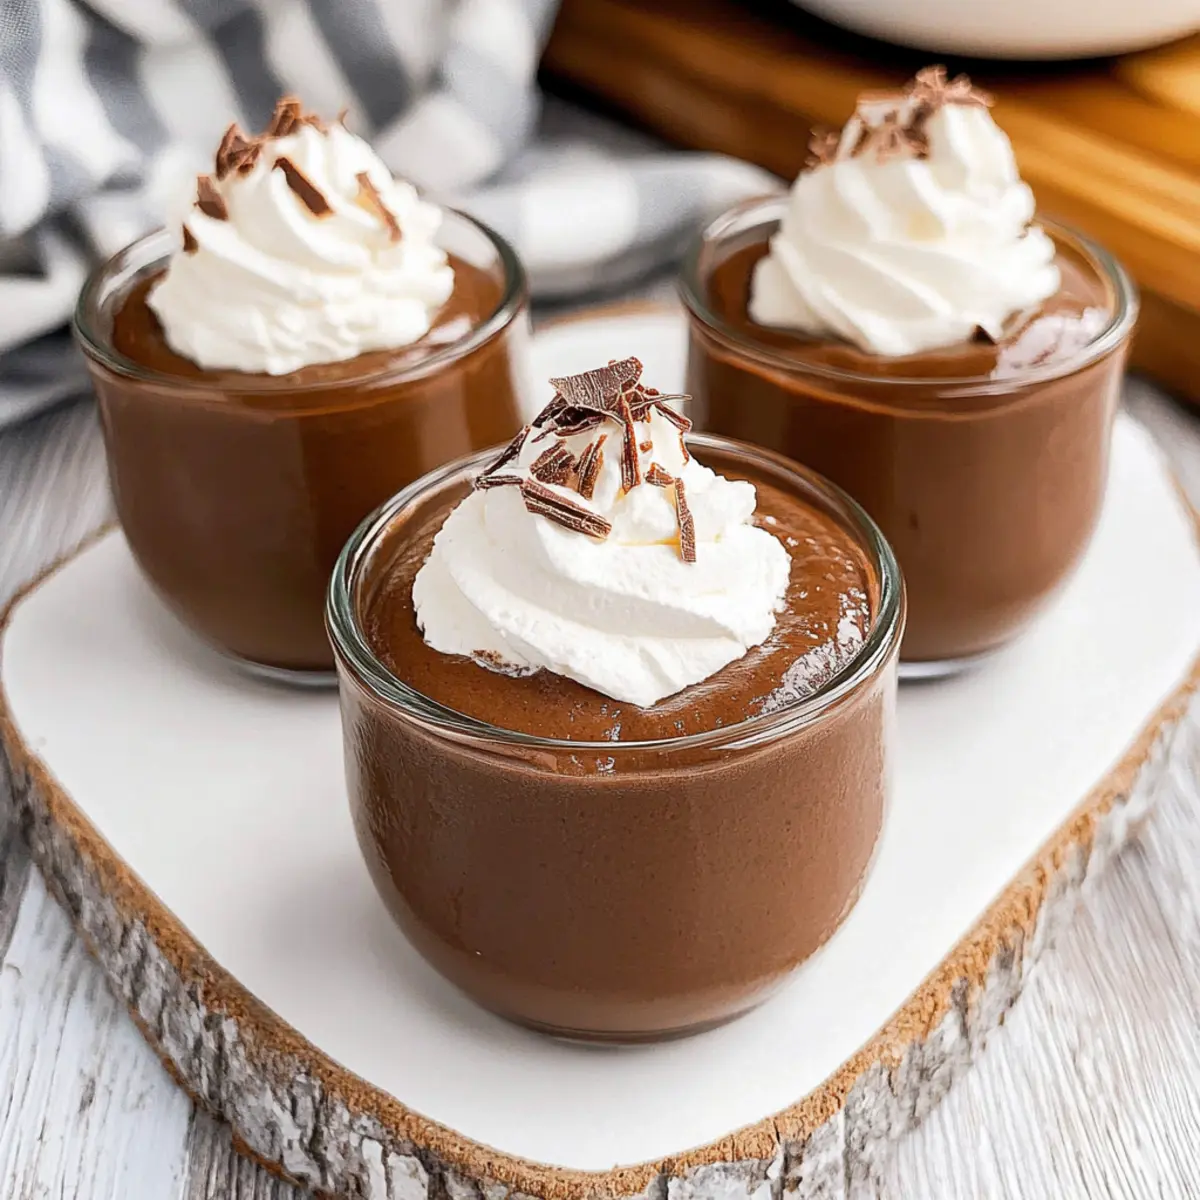
Creamy Homemade Chocolate Pudding: Pure Bliss in Every Bite
Ingredients
Equipment
Method
- In a medium saucepan, whisk together granulated sugar, unsweetened cocoa powder, cornstarch, and salt until well mixed.
- Slowly pour in the milk while continuously whisking the mixture until completely smooth.
- Place the saucepan over medium heat and cook the mixture while stirring constantly until it thickens and starts to bubble.
- Once the pudding begins to boil, continue to stir for an additional minute.
- Remove the saucepan from heat and mix in the butter and vanilla extract until smoothly incorporated.
- Serve warm, or transfer to bowls, cover with plastic wrap, and let cool for 30 minutes or refrigerate for firmer texture.
Leave a Reply