
While browsing through my favorite cookbook, I stumbled upon a recipe that instantly transported me back to my childhood—the Cocoa and Nutella Yeast Cake. The moment I took in the picture, memories of warm, homemade bread slathered with nutty goodness came rushing back. What makes this recipe so irresistible is the pillowy brioche crumb and the delightful cocoa and Nutella filling that whispers ‘indulgence’ with each bite. Not only is this cake a showstopper, perfect for any gathering, but it also comes together quickly enough for a cozy weekend treat. You don’t need to be a master baker to pull off this delicious creation; I’m here to guide you through it step by step. So, are you ready to fill your kitchen with mouthwatering scents? Let’s dive in!

Why is this Cocoa and Nutella Cake special?
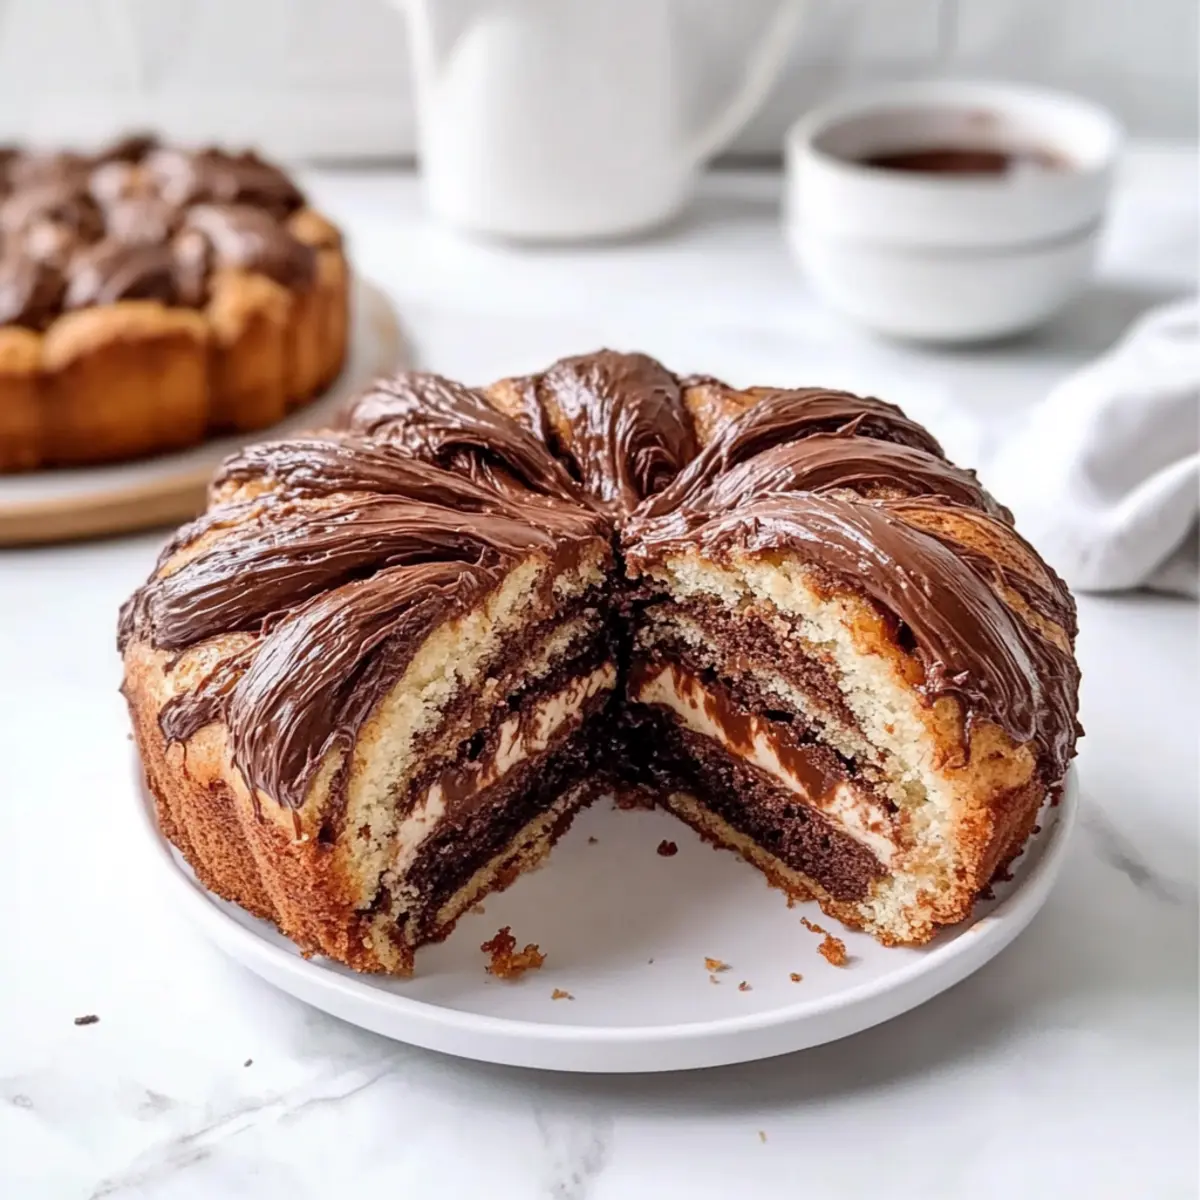
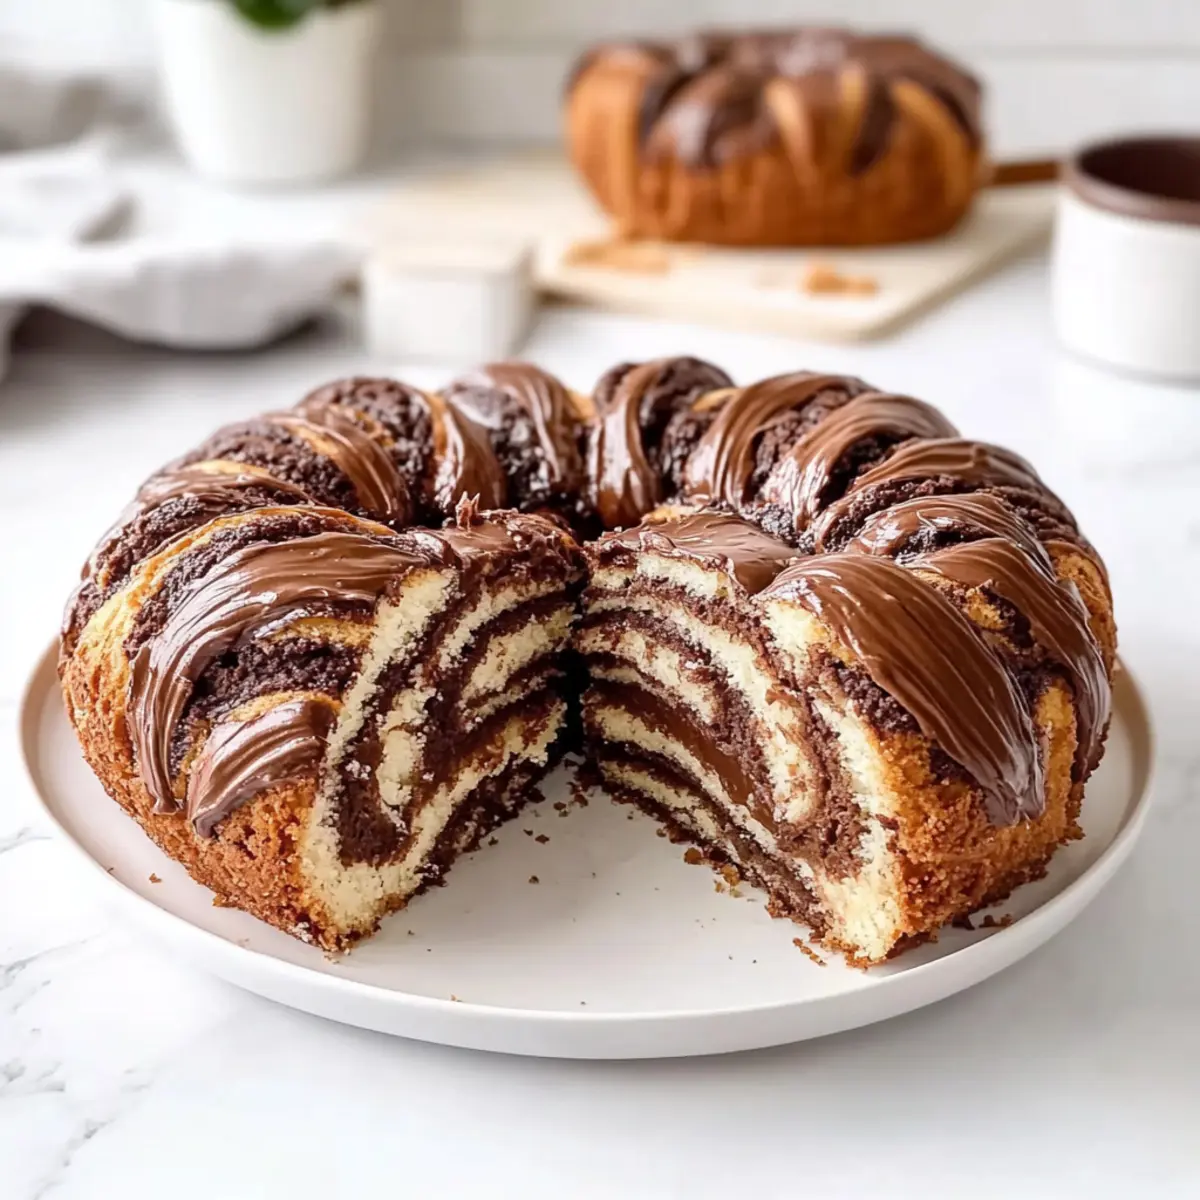
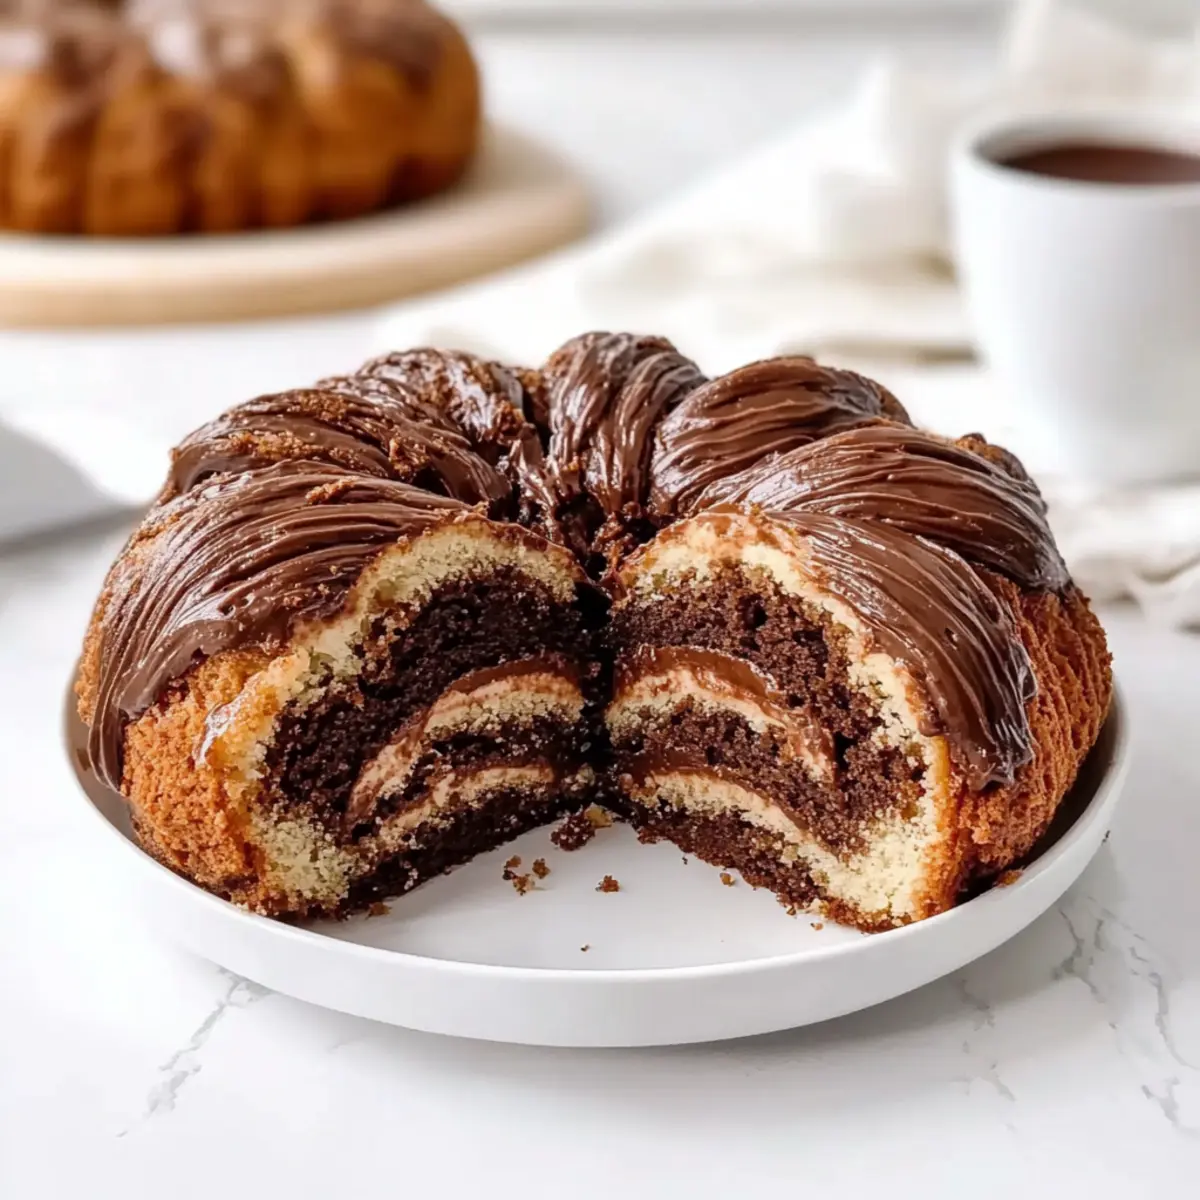
Decadent Layers: This Cocoa and Nutella Yeast Cake features a unique filling system that beautifully blends rich cocoa paste with creamy Nutella, making every slice a taste sensation.
Pillowy Texture: Crafted with enriched dough, the soft, brioche-like crumb melts in your mouth, ensuring a delightful experience with each bite.
Quick and Easy: You don’t need to be a baking expert to create this masterpiece! Follow my easy step-by-step guide, and you’ll be impressing friends and family in no time.
Versatile Fun: Swap out Nutella for other spreads like almond butter or try various flavored syrups for glazing to personalize your cake. Plus, serve it warm with a cup of tea during cozy afternoons or as a showstopping dessert for your next gathering.
Lasting Goodness: Store slices at room temperature for three days, or freeze them for future indulgence—making this cake not just delicious but also practical! Enjoy it alongside the delightful Mini Cheesecake Sweet for a perfect dessert pairing!
Cocoa and Nutella Yeast Cake Ingredients
For the Dough
• All-purpose flour – Essential for the dough’s integrity; no substitutions recommended.
• Granulated sugar – Adjust based on taste; alternatives like coconut sugar can be used but may affect texture.
• Fresh yeast – Provides the rise; can substitute with 8g dry yeast (instant or rapid rise), or bloom active dry in warm milk.
• Large egg – Contributes to richness; replace with a flax egg for a vegan option.
• Sour cream – Necessary for cake’s proper crumb; do not substitute with low-fat yogurt.
• Whole milk – Hydration for the dough; can use almond milk or another dairy-free alternative, but results may vary.
• Unsalted butter – Provides moisture and flavor; alternatives include margarine or vegan butter.
• Salt – Enhances flavor; necessary for balancing sweetness; omit if on a sodium-restricted diet.
For the Filling
• Bittersweet chocolate – Creates a rich cocoa flavor; dark chocolate can be substituted for a richer taste.
• Cocoa powder – Use Dutch-processed cocoa for a deeper taste in the filling.
• Powdered sugar – Adds sweetness; can use granulated sugar if powdered is unavailable, but will alter texture.
• Vegetable oil – Any neutral oil (like canola) works for moisture in the filling.
• Nutella – Richness in filling; can swap with almond butter, pistachio cream, or cookie butter as desired.
For the Glaze
• Granulated sugar (for syrup) – Provides gloss and moisture; any granulated sugar works; follow the same boiling instructions to create the glaze.
Step‑by‑Step Instructions for Cocoa and Nutella Yeast Cake
Step 1: Syrup Preparation
In a saucepan, combine equal parts granulated sugar and water. Heat over medium until the sugar completely dissolves, stirring occasionally; this should take about 5 minutes. Once dissolved, remove from heat and allow to cool. Refrigerate the syrup until ready to use, providing a glossy finish to the Cocoa and Nutella Yeast Cake.
Step 2: Dough Mixing
In a stand mixer, add warm whole milk, sour cream, granulated sugar, a beaten large egg, and fresh yeast. Mix at low speed until combined, then gradually add the all-purpose flour. Continue mixing until the dough forms a rough mass, which should take around 2-3 minutes. The dough will be sticky but begins to take shape, so prepare for further steps.
Step 3: Add Fats
Once the initial ingredients are blended, sprinkle in the salt, and add softened unsalted butter cut into chunks. Increase the mixer speed to medium and knead the dough for about 10 minutes until it becomes smooth and elastic. Perform the windowpane test: stretch a small piece of the dough; if it holds its shape without tearing, it’s ready for rising.
Step 4: First Rise
Transfer the smooth dough into a lightly greased bowl, ensuring all sides are coated. Cover the bowl with a clean kitchen towel or plastic wrap. Allow the dough to rise in a warm, draft-free area for about 1 hour, or until it has doubled in size. Look for a puffy, airy texture indicating the yeast has activated successfully.
Step 5: Filling Prep
While the dough rises, prepare the cocoa filling. In a small saucepan over low heat, melt bittersweet chocolate and unsalted butter together. Once melted, remove from heat and whisk in cocoa powder, powdered sugar, and vegetable oil until smooth and well combined. This decadent mixture will create an irresistible layer in your Cocoa and Nutella Yeast Cake.
Step 6: Dough Assembly
After the first rise, punch down the dough to release excess air. Divide the dough in half and roll one half into a large rectangle on a floured surface. Spread the cocoa filling evenly across the dough, leaving a small border. Roll the dough tightly into a log, pinch the edges to seal, and repeat with the second half, instead spreading Nutella as the filling.
Step 7: Shape and Second Rise
Cut the rolled dough into strips, approximately 1-2 inches wide. Twist or tie them into desired shapes for a beautiful presentation. Place the shaped pieces into a greased baking pan, making sure they are close but not overcrowded. Cover with a towel and allow them to rise for about 35 minutes until they puff up visibly.
Step 8: Baking
Preheat the oven to 170°C (340°F) with the turbo setting. Once preheated, bake the Cocoa and Nutella Yeast Cake for 45 minutes, or until golden brown on the top and fully set. The aroma of cocoa and warm bread will fill your kitchen, so keep an eye on the color—aim for a deep, lovely golden hue for perfect doneness.
Step 9: Glazing
As soon as you remove the cake from the oven, brush the warm surface with the cold syrup you prepared earlier. This step will add moisture and a beautiful glaze, highlighting the rich flavors of the Cocoa and Nutella Yeast Cake. Allow the cake to cool slightly in the pan before serving, ensuring every bite is luscious and delightful.
Storage Tips for Cocoa and Nutella Yeast Cake
Room Temperature: Store leftover cake at room temperature for up to 3 days, wrapped in plastic wrap to maintain its soft texture and keep it fresh.
Fridge: If you prefer chilling your Cocoa and Nutella Yeast Cake, refrigerate it for up to 5 days in an airtight container; just note that this may slightly alter the texture.
Freezer: For longer storage, freeze individual slices of cake in an airtight container or freezer bag for up to 2 months. When ready to enjoy, thaw in the fridge overnight or heat directly in the microwave.
Reheating: Simply warm slices in the microwave for 10-15 seconds to revive that delightful, decadent experience—perfect for satisfying your sweet tooth anytime!
Make Ahead Options
These Cocoa and Nutella Yeast Cakes are perfect for meal prep! You can mix and knead the dough up to 24 hours in advance, allowing it to rise in the fridge instead of at room temperature to develop flavor and prevent over-proofing. The chocolate filling can also be prepared ahead of time and stored in an airtight container in the refrigerator for up to 3 days. When you’re ready to enjoy your cake, let the dough come to room temperature before shaping and following the baking instructions. It will be just as delicious and is a fantastic time-saver for busy weeknights or special occasions!
What to Serve with Cocoa and Nutella Yeast Cake
Indulging in the rich flavors of a homemade cake opens the door to a world of delightful pairings that elevate your dining experience.
-
Fresh Berries: Their tartness balances the sweetness of the cake beautifully, adding a pop of color and freshness to each bite.
-
Vanilla Ice Cream: A scoop of creamy vanilla melts into the warm cake, creating a delicious contrast of temperature and texture that’s simply irresistible.
-
Espresso or Coffee: The strong, bold flavors of a freshly brewed coffee enhance the chocolatey notes, making it the perfect accompaniment for a cozy afternoon treat.
-
Coconut Whipped Cream: Light, airy, and subtly sweet, coconut whipped cream makes each slice feel even more decadent, adding a hint of tropical flair.
-
Chocolate Sauce Drizzle: For the ultimate chocolate lover, a drizzle of rich chocolate sauce elevates the cake, providing a luxurious finish that will delight your taste buds.
-
Cinnamon Sugar Dusting: A sprinkle of cinnamon sugar brings warmth and a touch of nostalgia, enhancing the already delightful flavors while introducing a cozy aroma to each slice.
Pair these options for a memorable dessert experience that will leave your family and friends craving more!
Cocoa and Nutella Yeast Cake Variations
Feel free to sprinkle your own creativity into this delightful recipe and make it truly your own!
-
Nut-Free Twist: Use sun butter instead of Nutella for a nut-free option without losing that creamy richness.
Experimenting with sunflower seeds opens up a world of flavor while keeping allergies in mind. -
Gluten-Free Delight: Substitute all-purpose flour with a 1:1 gluten-free blend for those avoiding gluten.
This variation ensures everyone can enjoy the lusciousness without missing out. -
Chocolate Overload: Add chocolate chips to the dough for an extra chocolaty surprise in every bite.
The melted pockets of chocolate will add a lovely richness that pairs so well with cocoa. -
Boozy Boost: Incorporate a splash of hazelnut liqueur into the filling for an adult twist.
This gives the filling a deliciously sophisticated flavor, perfect for entertaining! -
Fruit Infusion: Mix in fresh or dried berries into the filling for a fruity contrast.
Raspberry or strawberry melding with cocoa creates a delightful tartness that’s simply divine. -
Zesty Kick: Grate some orange or lemon zest into the dough for a citrusy twist against the deep chocolate.
This slight brightness can elevate the whole experience—like sunshine in dessert form! -
Indulgent Layers: Create a layered effect by alternating cocoa filling with cream cheese or mascarpone.
This adds a creamy texture that compliments the richness of the chocolate perfectly. -
Serve it Up Right: Pair it with a scoop of vanilla ice cream for a truly decadent dessert experience.
A warm slice alongside a cool scoop creates a delightful contrast that’s hard to resist!
Feel free to explore these variations, and for a more delightful dessert experience, serve this cake with a slice of Strawberry Crunch Cheesecake for a delectable pairing!
Expert Tips for Cocoa and Nutella Yeast Cake
-
Temperature Matters: Ensure the temperature of the milk is below 115°F to keep the yeast alive and active—killing it will prevent your cake from rising.
-
Windowpane Test: Don’t skip the windowpane test when kneading the dough; it ensures enough gluten development for a soft, pillowy texture in your Cocoa and Nutella Yeast Cake.
-
Nutella Trick: If your Nutella is too thick to spread easily, microwave it for about 10 seconds to soften it—this will make assembly a breeze!
-
Storage Secrets: To maintain freshness, wrap the cake in plastic wrap after it’s completely cooled. It can stay at room temperature for up to 3 days.
-
Creative Variations: Consider swapping Nutella for your favorite nut butter—like almond or cashew—for a unique twist on this Cocoa and Nutella Yeast Cake.
-
Serving Warm: This cake is best enjoyed warm, so consider heating slices in the microwave for a few seconds before serving to enhance the flavors even more!
Cocoa and Nutella Yeast Cake Recipe FAQs
What type of cocoa powder should I use for the filling?
I recommend using Dutch-processed cocoa powder for a deeper flavor in your Cocoa and Nutella Yeast Cake. This type of cocoa powder has a smoother and richer taste compared to regular unsweetened cocoa.
How do I know if my yeast is active?
To check if your yeast is active, dissolve it in warm milk (should be below 115°F) with a pinch of sugar. Let it sit for about 5-10 minutes; if it becomes frothy and bubbly, it’s active and ready to use. This is crucial for the dough to rise properly!
How should I store my Cocoa and Nutella Yeast Cake?
You can store the cake at room temperature wrapped in plastic for up to 3 days. For longer storage, place individual slices in an airtight container and freeze them for up to 2 months. Just thaw overnight in the fridge when you’re ready to indulge.
What should I do if my dough is too sticky?
If your dough is too sticky to handle after mixing, lightly dust your hands and the work surface with flour instead of adding it directly to the dough. This will help you manage it without affecting the dough’s overall hydration, maintaining that desired soft texture.
Can I make this recipe vegan-friendly?
Absolutely! To make the Cocoa and Nutella Yeast Cake vegan, you can replace the egg with a flax egg (1 tablespoon of ground flaxseed mixed with 2.5 tablespoons of water) and use plant-based butter and non-dairy milk. The results will still be delicious!
How long should I let the cake cool before slicing?
It’s best to allow your Cocoa and Nutella Yeast Cake to cool slightly in the pan for about 10-15 minutes before transferring it to a wire rack. This helps set the texture, making it easier to slice while still preserving the softness of the crumb.
Heavenly Cocoa and Nutella Yeast Cake for Sweet Moments
Ingredients
Equipment
Method
- Combine equal parts granulated sugar and water in a saucepan. Heat until the sugar dissolves, approximately 5 minutes. Cool and refrigerate.
- In a stand mixer, add warm whole milk, sour cream, granulated sugar, a beaten large egg, and fresh yeast. Mix at low speed, then add the all-purpose flour gradually. Continue mixing until a rough mass forms, about 2-3 minutes.
- Add the salt and softened unsalted butter. Increase speed to medium and knead for about 10 minutes until smooth and elastic. Test for readiness with the windowpane test.
- Transfer the dough to a lightly greased bowl. Cover and let rise in a warm area for about 1 hour until doubled in size.
- Melt bittersweet chocolate and unsalted butter in a small saucepan over low heat. Stir in cocoa powder, powdered sugar, and vegetable oil until smooth.
- Punch down the dough, divide in half, and roll into a rectangle. Spread cocoa filling over one, roll tightly and seal edges, then repeat with Nutella on the second half.
- Cut rolled dough into strips, twist them, and place them in a greased baking pan. Cover and let rise for about 35 minutes until puffed.
- Preheat oven to 170°C (340°F). Bake for 45 minutes until golden brown.
- Brush the warm cake with the cold syrup prepared earlier. Let cool in the pan before serving.
Leave a Reply