
With the intoxicating scent of freshly baked bread wafting through your kitchen, there’s something undeniably magical about creating a loaf from scratch. This Simple Homemade Bread recipe not only delivers warm and comforting slices perfect for your favorite sandwiches, but it also offers the delightful benefit of being freezer-friendly, providing you with homemade goodness any day of the week. Crafted from just six pantry staples, this bread is an inviting invitation to step away from the fast-food routine and embrace baking at home. You’ll be amazed at how easy it is to achieve that golden crust and soft, airy interior that brings everyone back for seconds. Are you ready to fill your home with warmth and the heavenly aroma of baking bread? Let’s get started!
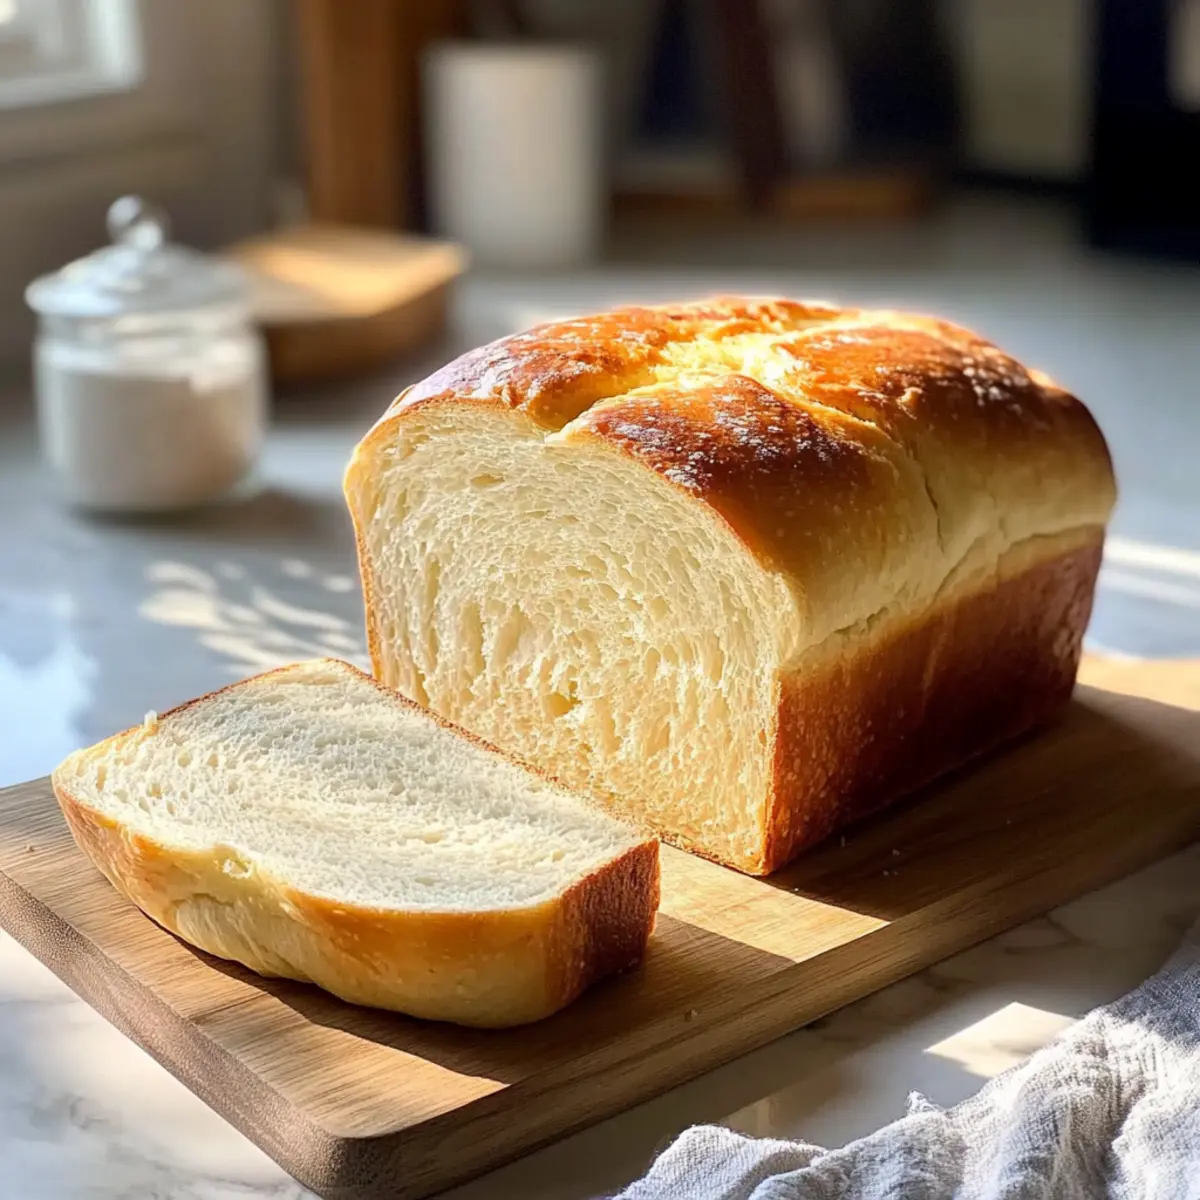
Why Is Homemade Bread So Appealing?
Irresistible Aroma: There’s nothing quite like the scent of freshly baked bread filling your home, instantly creating a cozy atmosphere.
Simplicity Made Easy: With just six ingredients, this recipe is beginner-friendly, ensuring that everyone can enjoy the pleasure of baking.
Deliciously Versatile: Enjoy it as a base for your favorite sandwiches, or serve it warm with soups and salads. The possibilities are endless!
Freezer-Friendly: Make a batch and freeze some for later—always have homemade goodness on hand for unexpected cravings.
Crowd-Pleasing: Homemade bread is sure to impress family and friends, making every meal feel special. Try it alongside dishes like Homemade Green Bean Casserole or even with slices of Cranberry Orange Bread for a delightful feast!
Homemade Bread Ingredients
• Here’s what you need to bake the perfect homemade bread!
For the Dough
- Yeast – Essential for leavening; use fresh yeast for the best rise.
- Warm Water – Activates the yeast; make sure it’s just warm to the touch.
- Sugar (or Honey) – Provides sweetness and helps yeast activate; choose what you prefer.
- Salt – Enhances flavor and keeps yeast in check; never skip this crucial ingredient.
- Oil – Adds moisture and keeps the loaf soft; melted butter is a tasty alternative.
- All-Purpose Flour – The backbone of your bread; swap in whole wheat flour for a nutty twist if desired.
Step‑by‑Step Instructions for Simple Homemade Bread
Step 1: Proof Yeast
In a large bowl or stand mixer, combine the yeast with 1 cup of warm water and a pinch of sugar or honey. Allow it to sit for 5-10 minutes until the mixture becomes foamy and fragrant, indicating that the yeast is active and ready to create a beautiful rise in your homemade bread.
Step 2: Mix Ingredients
Once the yeast is frothy, add the remaining sugar or honey, salt, oil, and 3 cups of all-purpose flour to the bowl. Stir the mixture until it forms a shaggy, cohesive dough. Gradually incorporate more flour, adding just enough until the dough pulls away from the sides of the bowl, creating a slightly sticky ball.
Step 3: Knead Dough
Transfer the dough to a lightly floured surface or keep it in the stand mixer. Knead on medium speed for about 4-5 minutes or by hand for 5-8 minutes, until the dough is smooth and elastic. You’ll know it’s ready when you can stretch it without tearing, which is crucial for achieving that lovely texture in your homemade bread.
Step 4: First Rise
Lightly grease a large bowl with oil and place the kneaded dough inside. Give it a gentle turn to coat with oil, then cover the bowl with a clean kitchen towel or plastic wrap. Let it rise in a warm area for approximately 1.5 hours or until it has doubled in size, showcasing its fluffy potential.
Step 5: Shape Loaves
Once your dough has risen beautifully, punch it down gently to release any air bubbles. Divide the dough into two equal pieces and shape each into a log. Place the shaped loaves into greased loaf pans, cover them again, and allow them to rise once more until they are about an inch above the edges of the pans—this takes about 45-60 minutes.
Step 6: Bake
Preheat your oven to 350°F (175°C) while the dough finishes its second rise. Once risen, place the loaves in the oven and bake for 30-33 minutes. The bread should turn a lovely golden brown and sound hollow when tapped on the bottom—this indicates it’s done and ready to be enjoyed.
Step 7: Cool
Carefully remove the loaves from the pans and, if desired, brush the tops lightly with melted butter for a touch of richness. Transfer them to a wire rack and allow them to cool for at least 10 minutes before slicing. This cooling time helps to maintain the soft inner structure of your freshly baked homemade bread.
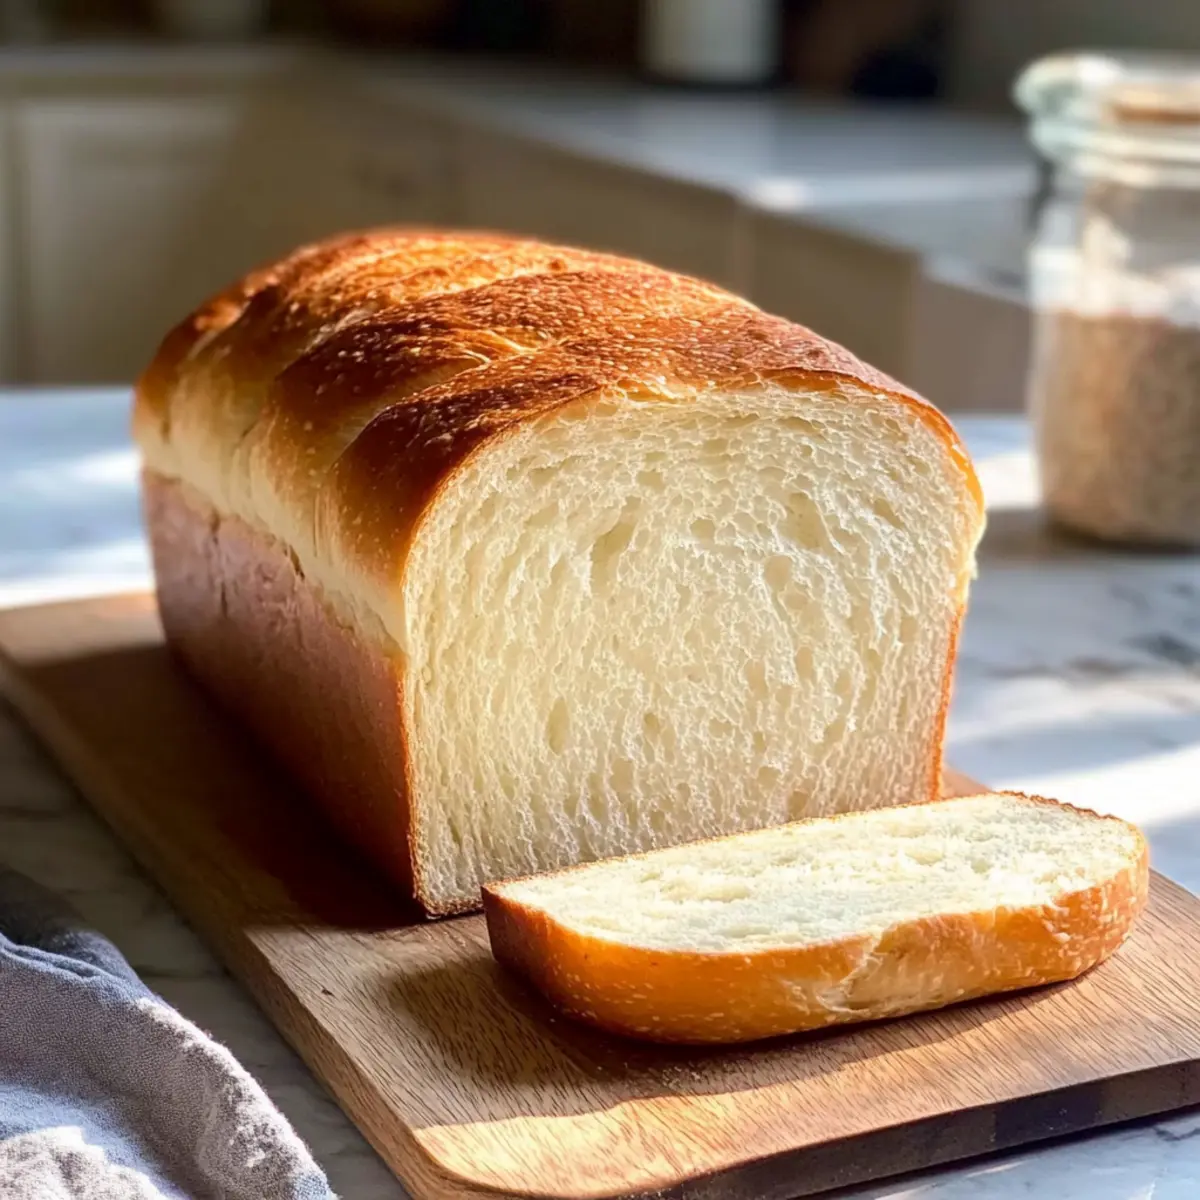
What to Serve with Simple Homemade Bread
With a warm loaf of freshly baked bread, your dinner table transforms into a cozy haven of tantalizing aromas and delightful flavors.
-
Homemade Tomato Soup: The classic pairing, rich tomato soup complements the soft, crusty texture of homemade bread beautifully, perfect for dunking! Enjoy the warmth and savor the tastes as the broth mingles with your bread.
-
Creamy Garlic Mashed Potatoes: These indulgent potatoes boast a velvety texture that pairs well with the bread’s crust, making every bite a heavenly experience. A dollop of butter on top adds another layer of richness!
-
Classic Garden Salad: Fresh, crisp greens tossed with a zesty vinaigrette brighten up the table. The light crunch of the salad contrasts perfectly with the tender bread, making for a delightful balance.
-
Savory Herb Butter: Spread this on warm slices for an aromatic treat. The blend of herbs and butter elevates the simplicity of your homemade bread, enhancing its natural flavors.
-
Cheese Platter: A selection of cheeses, from sharp cheddar to creamy brie, invites an exciting flavor exploration. The bread serves as the perfect canvas for your cheese pairings!
-
Homemade Jam: Sweet, fruity jam on a warm slice of bread creates a lovely breakfast or dessert option. The sweetness beautifully contrasts the rustic bread, bringing a comforting end to your meal.
-
Roasted Vegetable Medley: Earthy vegetables harmonize with the bread, creating a wholesome and hearty addition to your table. The comforting rusticity of the vegetables echoes the warmth of homemade bread.
-
Chardonnay: A chilled glass of chardonnay paired with your homemade bread adds a touch of elegance to a rustic meal. The wine’s bright acidity beautifully offsets the richness of the bread.
-
Chocolate Chip Cookies: For dessert, treat yourself and your family to warm cookies alongside a slice of fresh bread for a nostalgic and satisfying sweet bite. There’s nothing like a classic combo to round out the meal!
Each of these pairings celebrates the warm charm of homemade bread, transforming your dining experience into something truly special.
Expert Tips for Homemade Bread
-
Fresh Yeast Matters: Use fresh yeast to prevent dense bread. Check the expiration date to ensure active rise.
-
Measure Flour Carefully: Accurately measuring flour prevents heavy loaves. Use a scale or spoon and level method for best results.
-
Warm Rising Space: Keep dough warm during rising. If it’s too cold, it won’t rise well. Find a cozy spot, like a turned-off oven with the light on.
-
Take Your Time: Allow the dough enough time to rise fully. Rushing this step leads to a less airy, less enjoyable loaf.
-
Check for Doneness: Tap the bottom of the loaf; it should sound hollow. This ensures your homemade bread is perfectly baked and ready for slicing.
Homemade Bread Variations & Substitutions
Feel free to get creative with this recipe and make it your own—there’s a world of flavor waiting for you!
-
Whole Wheat: Substitute half of the all-purpose flour with whole wheat for a nuttier flavor and added nutrients.
-
Herb-Infused: Mix in dried herbs (like rosemary or thyme) before kneading for a fragrant twist that pairs beautifully with soups.
-
Cheese Lovers: Fold in shredded cheese such as cheddar or mozzarella to the dough before shaping to create a cheesy delight that’s perfect on its own.
-
Sweet Twist: Add a tablespoon of cinnamon and a half-cup of raisins or walnuts for a delightful sweet bread that’s perfect for breakfast. Imagine slathering it with cream cheese!
-
Spicy Kick: Stir in a touch of crushed red pepper flakes or finely chopped jalapeños for a warm and spicy kick. This variation turns your bread into a perfect accompaniment for robust bean soups.
-
Seeded Crust: Sprinkle sesame or poppy seeds on top of the loaves before baking to add texture and a nutty flavor that everyone will love.
-
Vegan Swap: Use flaxseed meal mixed with water instead of oil, and substitute honey with agave syrup for a completely vegan-friendly option.
-
Fruity Addition: Toss in some dried cranberries or chopped olives for a burst of flavor that creates a wonderful contrast. This mix elevates it from simple bread to something extraordinary!
With endless possibilities, you can enjoy delicious slices of homemade bread that go well with everything! As you explore these variations, consider making a batch of Cranberry Orange Bread or pairing your fresh loaves with Homemade Cheesy Breadsticks for an even more delightful experience. Happy baking!
How to Store and Freeze Homemade Bread
Fridge: Store homemade bread in an airtight container for up to 3 days. If you notice it starting to dry out, consider wrapping it in a slightly damp kitchen towel to maintain moisture.
Freezer: For longer storage, wrap the loaves tightly in plastic wrap and then in aluminum foil to prevent freezer burn. Homemade bread can be frozen for up to 3 months, ensuring you have delicious bread whenever cravings strike.
Thawing: To enjoy your frozen bread, simply remove it from the freezer and let it thaw at room temperature for a few hours, or overnight. For an extra touch, heat it in the oven wrapped in foil at 350°F for 10-15 minutes to revive the crustiness.
Reheating: If you have leftover slices, you can microwave them for 10-15 seconds to warm them up or toast them directly for that perfect golden crunch!
Make Ahead Options
These homemade bread loaves are perfect for meal prep enthusiasts! You can prepare the dough up to 24 hours in advance by completing the first rise, then shaping the loaves, placing them in greased loaf pans, and covering them tightly with plastic wrap. Simply refrigerate until you’re ready to bake. When you’re ready to enjoy, take them out and let them rise at room temperature for about 45-60 minutes before baking. This method maintains the bread’s delightful texture and flavor, ensuring that it’s just as delicious as if it were baked fresh. Enjoy the time-saving benefits of having homemade bread at your fingertips!
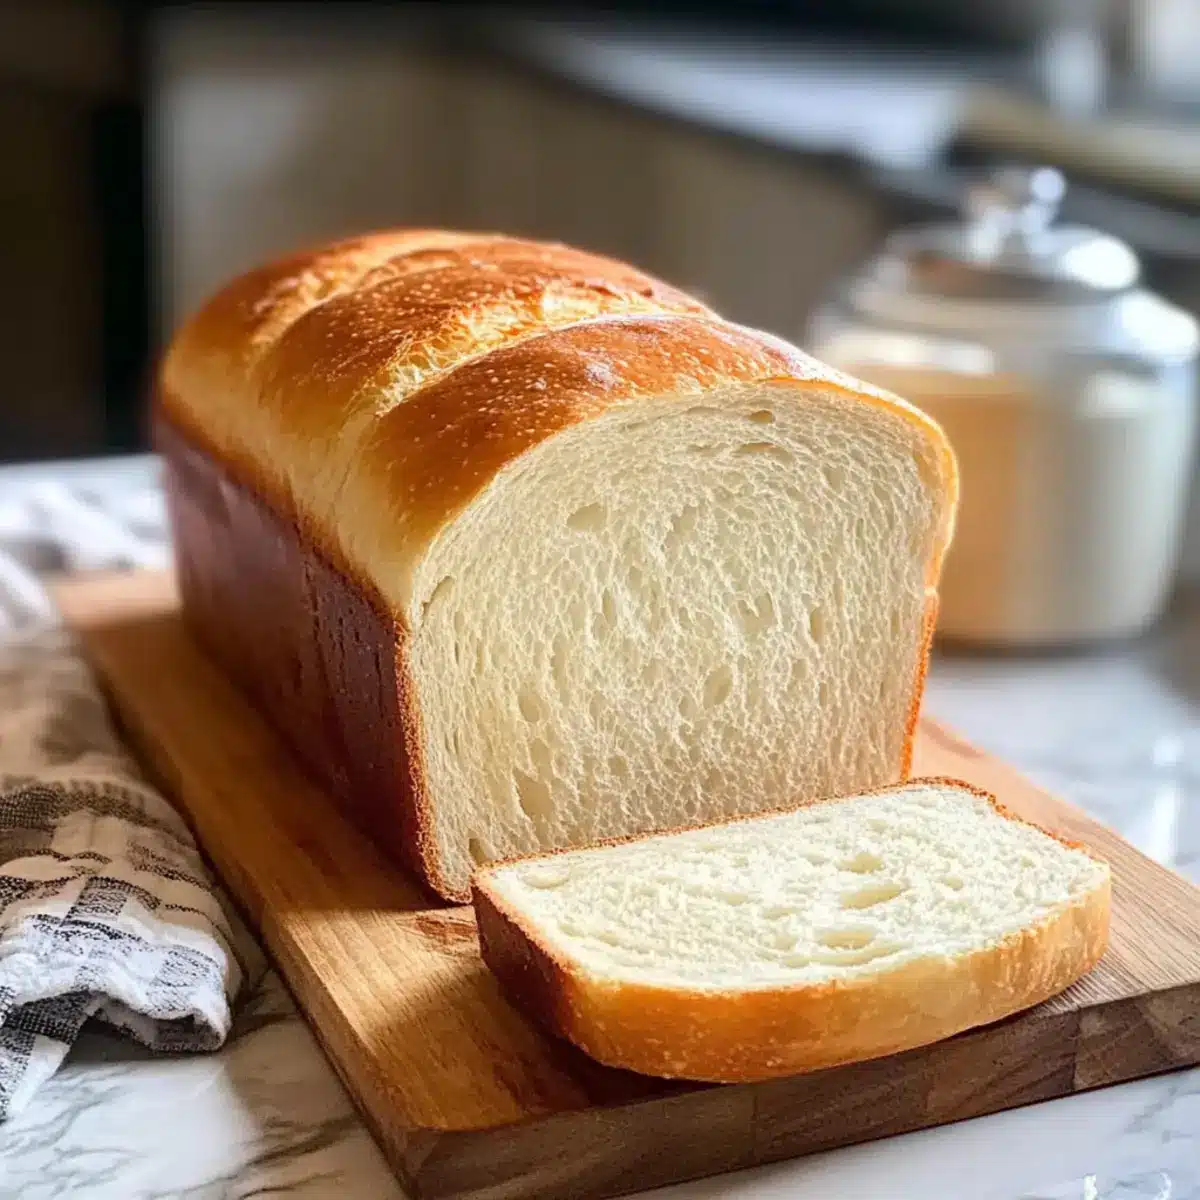
Homemade Bread Recipe FAQs
What type of yeast should I use for homemade bread?
Absolutely! Using fresh yeast is key to achieving that perfect rise and airy texture. Look for packages marked “active dry yeast” or “instant yeast,” and ensure they’re not expired to guarantee a successful bake.
How should I store homemade bread?
For short-term storage, keep your homemade bread in an airtight container at room temperature for up to 3 days. If you notice it starting to dry out, consider wrapping it in a slightly damp kitchen towel to help maintain moisture.
Can I freeze my homemade bread, and how do I do it?
Yes, you can freeze your homemade bread! Wrap each loaf tightly in plastic wrap, then in aluminum foil to prevent freezer burn. It maintains its quality for up to 3 months. When you’re ready to enjoy, thaw at room temperature for several hours or overnight. For an added touch, heat it in the oven wrapped in foil at 350°F for 10-15 minutes to rejuvenate the crust.
What should I do if my bread doesn’t rise?
Very! If your dough doesn’t rise, it could be due to inactive yeast. Ensure the water used to proof the yeast is warm but not hot (about 100°F to 110°F) to encourage activation. Also, check the expiration date of your yeast; if it’s old, it might not perform well. If the dough rises too slowly, try moving it to a warmer area, like a turned-off oven with the light on, which provides a cozy environment for rising.
Can I use whole wheat flour instead of all-purpose for this recipe?
Yes, you can substitute whole wheat flour for part or all of the all-purpose flour! Keep in mind that whole wheat flour absorbs more water, so you might need to adjust the liquid slightly. Start with a 50/50 blend if you’re looking for a balance between health and texture.
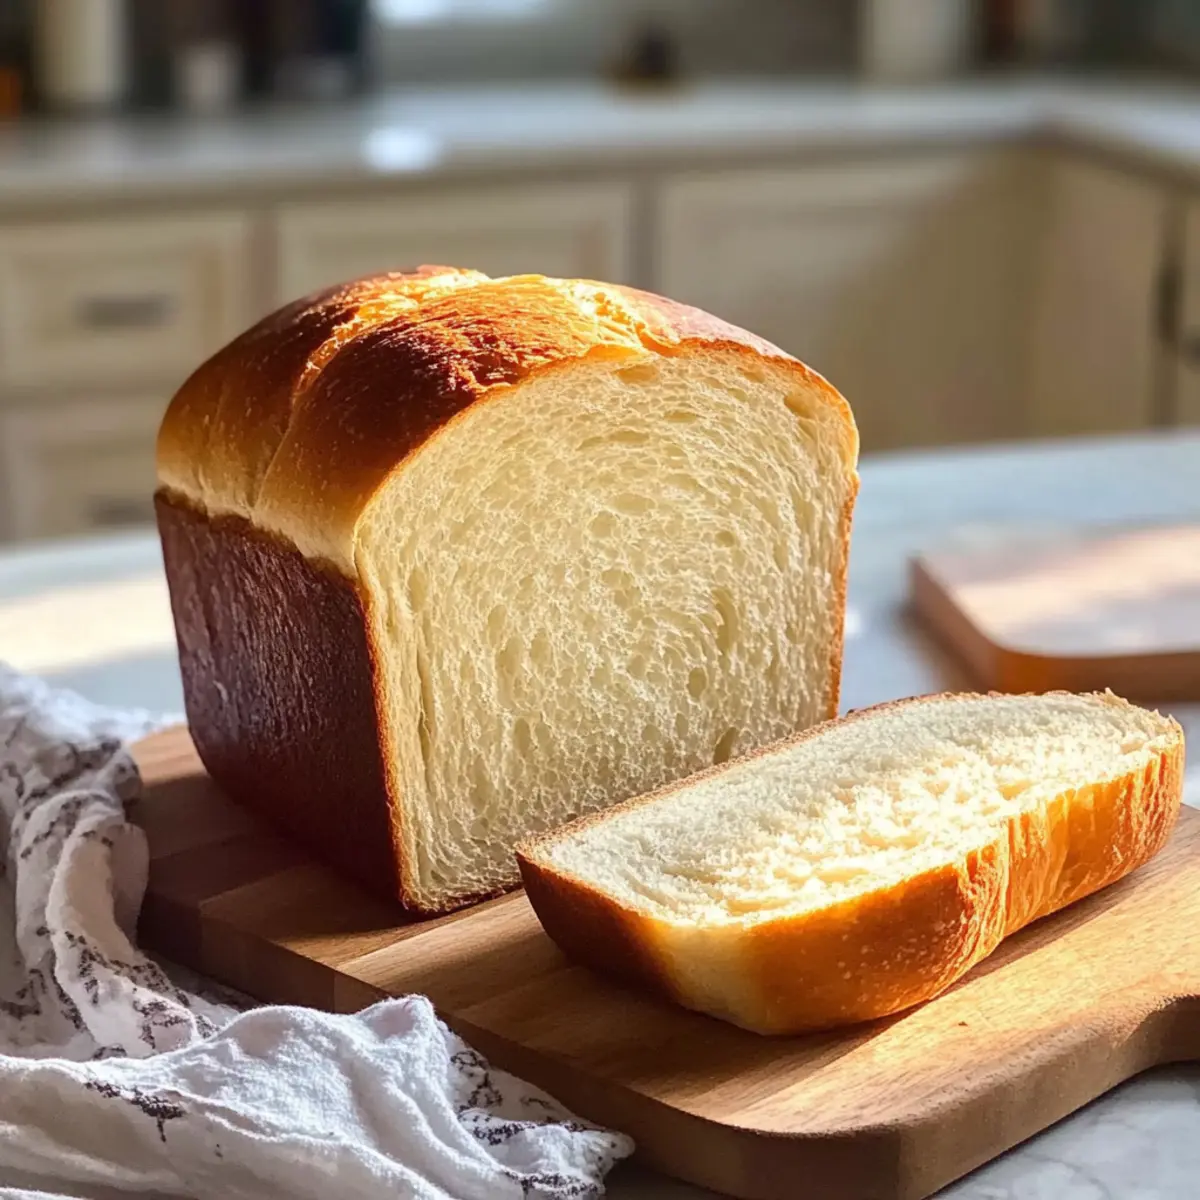
Irresistibly Soft Homemade Bread That You’ll Love Baking
Ingredients
Equipment
Method
- In a large bowl or stand mixer, combine the yeast with 1 cup of warm water and a pinch of sugar or honey. Allow it to sit for 5-10 minutes until foamy and fragrant.
- Once the yeast is frothy, add the remaining sugar or honey, salt, oil, and 3 cups of flour. Stir until it forms a shaggy dough, gradually adding more flour until it pulls away from the sides.
- Transfer the dough to a lightly floured surface or keep it in the stand mixer. Knead for 4-5 minutes until smooth and elastic.
- Lightly grease a large bowl with oil and place the kneaded dough inside. Cover and let rise in a warm area for about 1.5 hours.
- Once risen, punch down the dough, divide it into two pieces, and shape into logs. Place into greased loaf pans, cover, and allow to rise until about an inch above the pans for 45-60 minutes.
- Preheat your oven to 350°F. Bake the loaves for 30-33 minutes until golden brown and hollow when tapped.
- Remove from pans, optionally brush with melted butter, and cool on a wire rack for at least 10 minutes before slicing.
Leave a Reply