
In a world where time is luxury, I stumbled upon a quick triumph that turned my kitchen into a chocolaty haven: Homemade Chocolate Bars. With just three simple ingredients, I can whip up these creamy delights in under five minutes, perfectly customizable to suit any craving. From refreshing Chocolate Mint to the tropical notes of Chocolate Coconut, there’s a flavor to please every palate—even those following low-carb or vegan diets. These bars not only satisfy a sweet tooth but also give me the freedom to experiment without guilt—no refined sugars or elaborate processes here! Have you ever wondered how effortless it could be to make your own chocolate? Let’s dive into this delightful experience together!
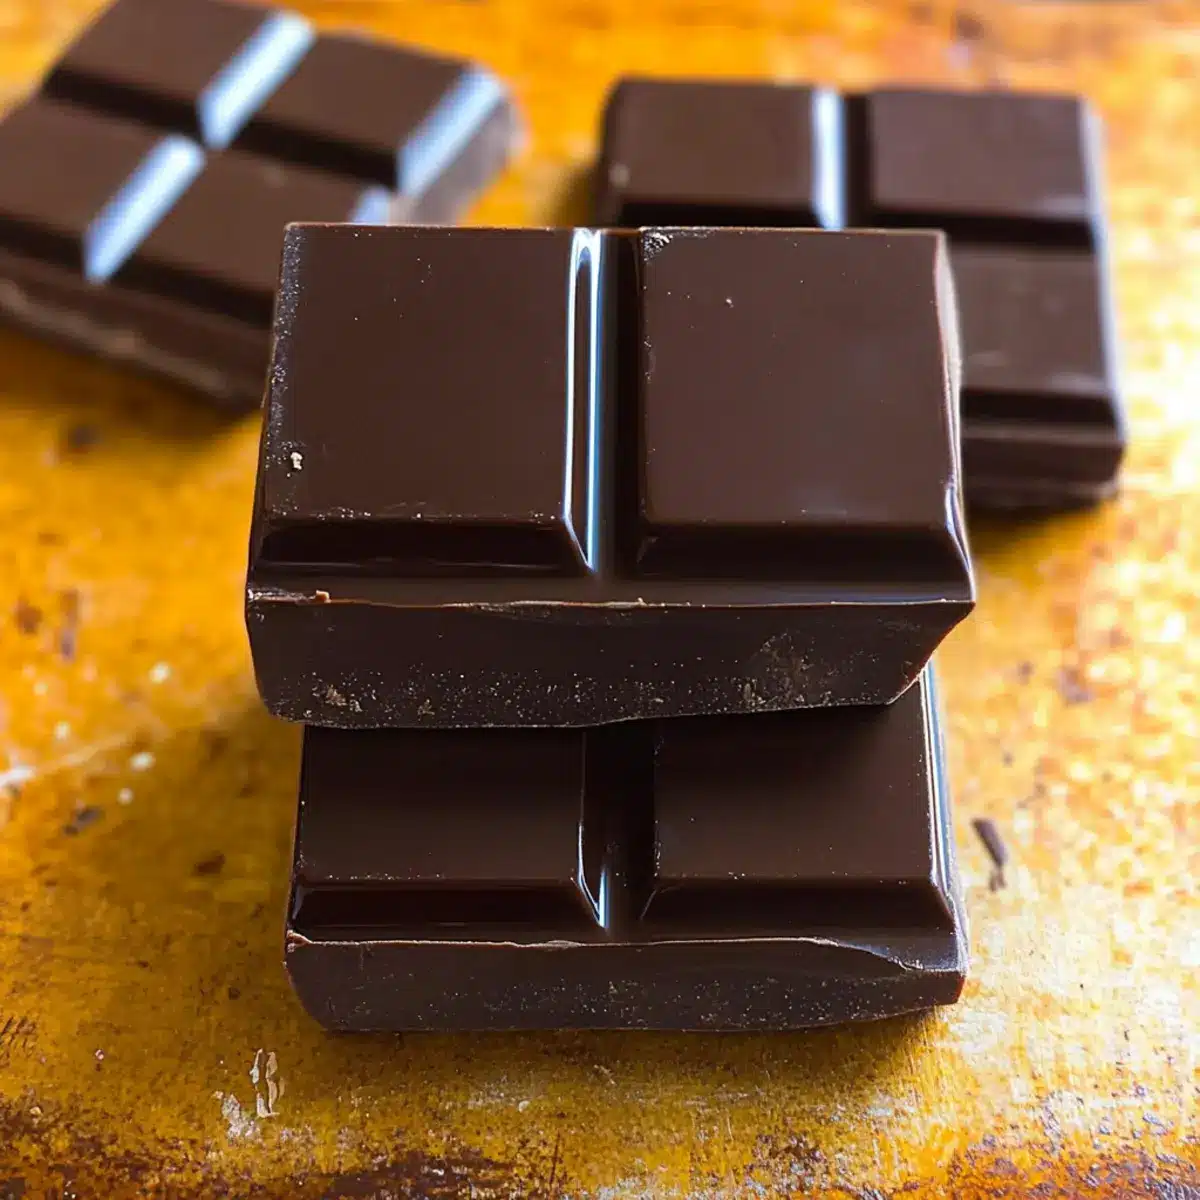
How easy is it to make chocolate?
Simplicity at its finest! You only need three ingredients to make these delicious homemade chocolate bars. Customizable flavor options allow you to experiment—whether you crave rich Chocolate Mint or a nutty Peanut Butter Swirl, there’s something for everyone. Quick preparation means you can whip them up in under five minutes, perfect for those busy days. Guilt-free indulgence is at your fingertips, with options to go sugar-free or vegan, ensuring everyone can enjoy these delights. Plus, they make an impressive treat for guests or a sweet surprise for yourself! Why not pair them with a warm cup of herbal tea for the ultimate cozy experience?
Homemade Chocolate Bars Ingredients
• Get ready to create!
For the Base
- Cacao or Cocoa Powder – Adds deep chocolate flavor; substitute with carob powder for a caffeine-free option.
- Coconut Oil – Provides richness and smooth texture; for a coconut-free version, use cocoa butter or unsalted butter.
- Pure Maple Syrup/Honey/Agave – Sweetens the chocolate bars; use liquid stevia or a compatible sugar substitute for a sugar-free option.
For Optional Flavorings
- Extracts/Flavorings – Enhance taste with favorites like vanilla or mint; feel free to get creative with nut butter for added protein!
Step‑by‑Step Instructions for Homemade Chocolate Bars
Step 1: Melt Oil
Begin by gently warming ⅓ cup of coconut oil in a small saucepan over low heat. Stir continuously until it is completely melted and transparent, which should take around 2-3 minutes. Avoid boiling the oil; you want it just warm enough to blend smoothly with the other ingredients later.
Step 2: Combine Ingredients
In a mixing bowl, combine the melted coconut oil with ⅓ cup of cacao or cocoa powder and your chosen sweetener, like maple syrup or honey. Whisk the mixture vigorously for about 1-2 minutes until it forms a thick, glossy paste. The homemade chocolate bars’ mixture should have a rich, creamy consistency that is well blended without lumps.
Step 3: Pour Mixture
Once your chocolate mixture is well combined, carefully pour it into silicone candy molds or a lined flat container. Use a spatula to spread it evenly, ensuring all corners are filled. At this point, you can gently tap the container on the countertop to eliminate air bubbles for a smooth finish on your homemade chocolate bars.
Step 4: Chill
Place your filled molds or container in the refrigerator and let them chill for about 1-2 hours. This will allow the chocolate to set firmly. You’ll know they’re ready when the bars are hard to the touch and have a matte finish, offering a perfect texture for your delicious treats.
Step 5: Store
After chilling, carefully pop your homemade chocolate bars out of the molds or slice them into pieces if you used a container. Store the bars in an airtight container in the fridge for up to two weeks or freeze them for longer freshness. Make sure to keep them away from strong odors, as chocolate can absorb flavors easily.
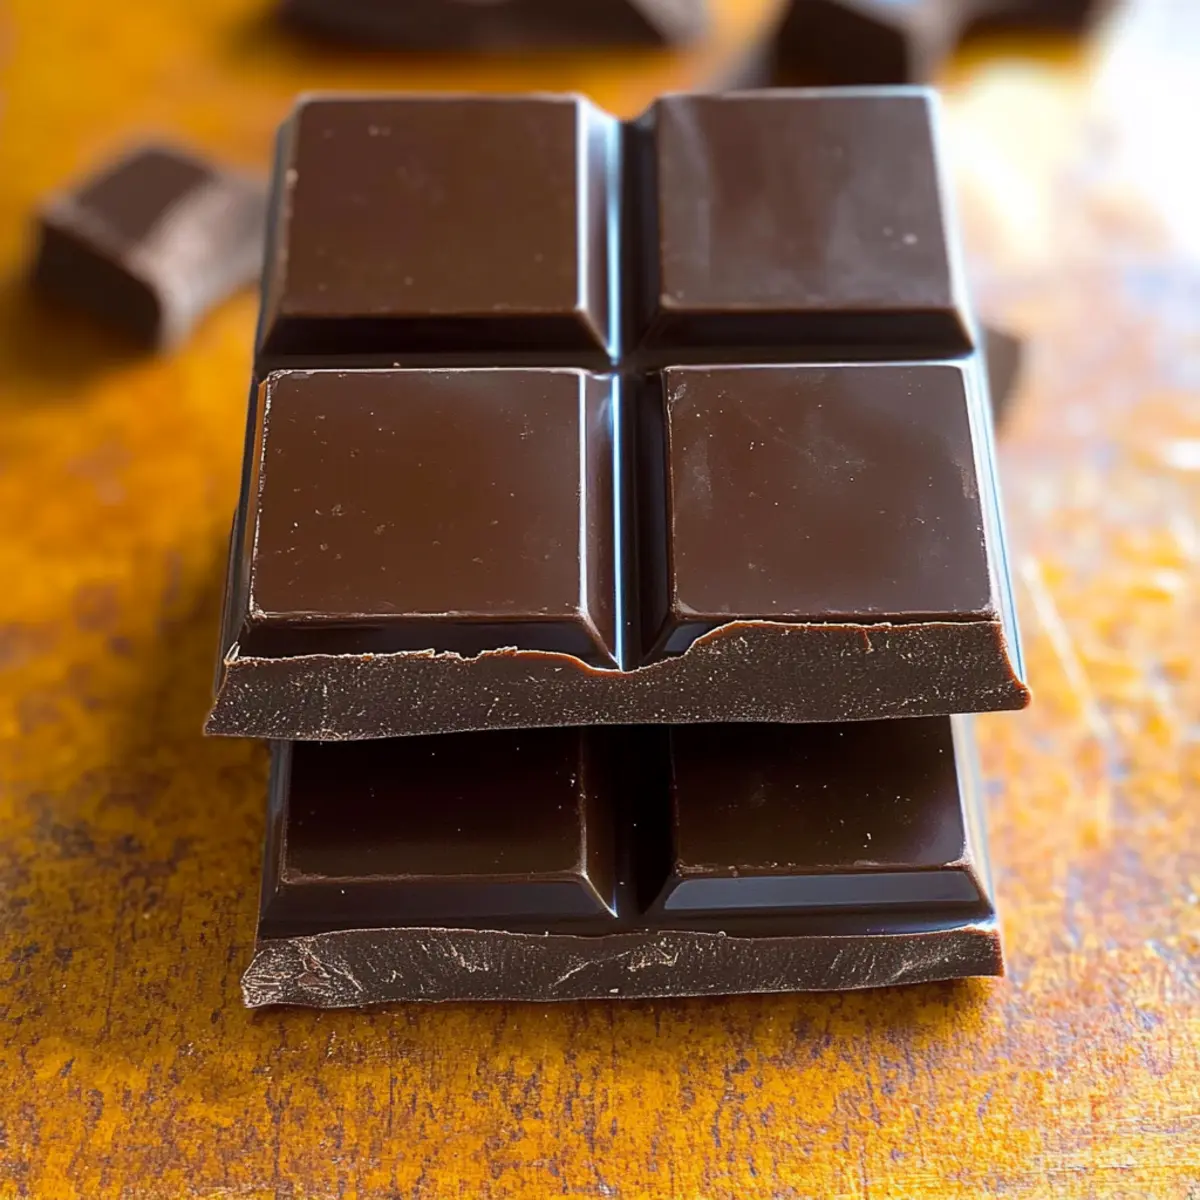
What to Serve with Homemade Chocolate Bars
Indulging in homemade chocolate bars opens up a delightful world of pairing possibilities that can elevate your treat experience.
-
Fresh Berries: Juicy strawberries or raspberries add a zesty contrast, enhancing the chocolate’s richness with refreshing notes.
-
Herbal Tea: A warm cup of chamomile or peppermint tea creates a soothing balance, making it the perfect pairing for your sweet indulgence.
-
Nuts and Seeds: A handful of toasted almonds or pumpkin seeds introduces a satisfying crunch, complementing the creamy texture of the chocolate bars.
-
Coconut Whipped Cream: This light, airy topping provides a tropical twist while adding a fluffy texture that pairs beautifully with the dense chocolate.
-
Ice Cream: Serve your chocolate bars alongside a scoop of vanilla or coconut ice cream for a delightful contrast of temperature and creaminess.
-
Dark Chocolate Dip: For a double-chocolate experience, serve with a small bowl of melted dark chocolate for drizzling or dunking.
-
Nut Butter Spread: A dollop of almond or peanut butter on the side can add richness and depth, turning your treat into a decadent dessert.
-
Coffee or Espresso: A strong cup of coffee enhances the chocolate’s flavors, creating a sophisticated pairing that pleases the palate.
-
Homemade Granola: Pairing your chocolate bars with crunchy granola adds texture and a boost of wholesome flavor, making for a satisfying snack.
-
Fruit Salad: A vibrant fruit salad brings in colors, flavors, and natural sweetness that perfectly complements the rich chocolate experience.
Helpful Tricks for Homemade Chocolate Bars
-
Check Consistency: Ensure your mixture is thick enough to hold shape before chilling. If it’s too runny, add more cocoa powder.
-
Flavor Variations: Don’t shy away from unique ingredients! Mix in nuts, seeds, or spices to enhance your homemade chocolate bars’ flavor profile.
-
Storage Solutions: For on-the-go enjoyment, consider using cocoa butter instead of coconut oil for bars that stay firm at room temperature.
-
Avoid Air Bubbles: When pouring the mixture into molds, tap the container gently on the counter to eliminate air bubbles and achieve a smooth finish.
-
Experiment Boldly: Feel free to try different flavor extracts or mix-ins; every twist offers a new delightful experience with your homemade chocolate bars!
How to Store and Freeze Homemade Chocolate Bars
Fridge: Store your homemade chocolate bars in an airtight container in the fridge for up to 2 weeks. This helps maintain their creamy texture and rich flavor.
Freezer: For longer storage, freeze the chocolate bars in a single layer, then transfer to a zip-top bag for up to 3 months. Thaw them in the fridge before enjoying.
On-the-Go: If you plan to take your homemade chocolate bars with you, use cocoa butter instead of coconut oil for a firmer texture that can withstand warmer temperatures.
Reheating: If you desire a melted treat, gently microwave a bar for a few seconds, checking every 5 seconds until you reach your desired softness.
Homemade Chocolate Bars Variations & Substitutions
Unlock the full potential of your homemade chocolate bars and make them truly your own with these delightful ideas!
- Chocolate Mint: Add peppermint extract and sprinkle cacao nibs to capture a refreshing twist perfect for mint lovers.
- Rocky Road: Fold in mini vegan marshmallows and nuts just before chilling. This classic combo brings a nostalgic crunch and sweetness.
- Espresso Chocolate: Mix in finely ground coffee to amplify the chocolate richness and awaken your taste buds with a caffeine kick.
- Peanut Butter Swirl: Drizzle in melted peanut butter after pouring the chocolate and swirl for a creamy, satisfying contrast.
- Coconut Bliss: Incorporate shredded coconut into the mixture; it adds sweet tropical notes that blend seamlessly with chocolate.
- Spicy Chocolate: Sprinkle in a dash of cayenne or chili powder for a surprising heat that balances beautifully with the sweet.
- Vegan Chocolate Chip: Add dairy-free chocolate chips to the mix for an extra layer of indulgent flavor. These little gems melt perfectly into your bars.
- Keto-Friendly Version: Use a sugar-free sweetener and check out my Vegan Chocolate Chip recipe for an even more indulgent twist!
These variations not only allow you to play with flavors, but they also let you cater to different dietary preferences and make your homemade treats even more special. Enjoy the process, and don’t hold back on your creativity!
Make Ahead Options
These homemade chocolate bars are perfect for meal prep enthusiasts! You can prepare the chocolate mixture up to 24 hours in advance, making it easier to indulge on those busy weeknights. Simply melt the coconut oil and combine it with the cacao powder and sweetener as instructed. Pour the mixture into your molds and refrigerate it, allowing the bars to set for about 1-2 hours. Once chilled, they can be stored in an airtight container in the fridge for up to two weeks or frozen for longer enjoyment. Just remember to let them sit at room temperature for a few minutes before serving to maintain that perfect texture. Enjoy your homemade chocolate bars, just as delicious and ready whenever you need a quick treat!
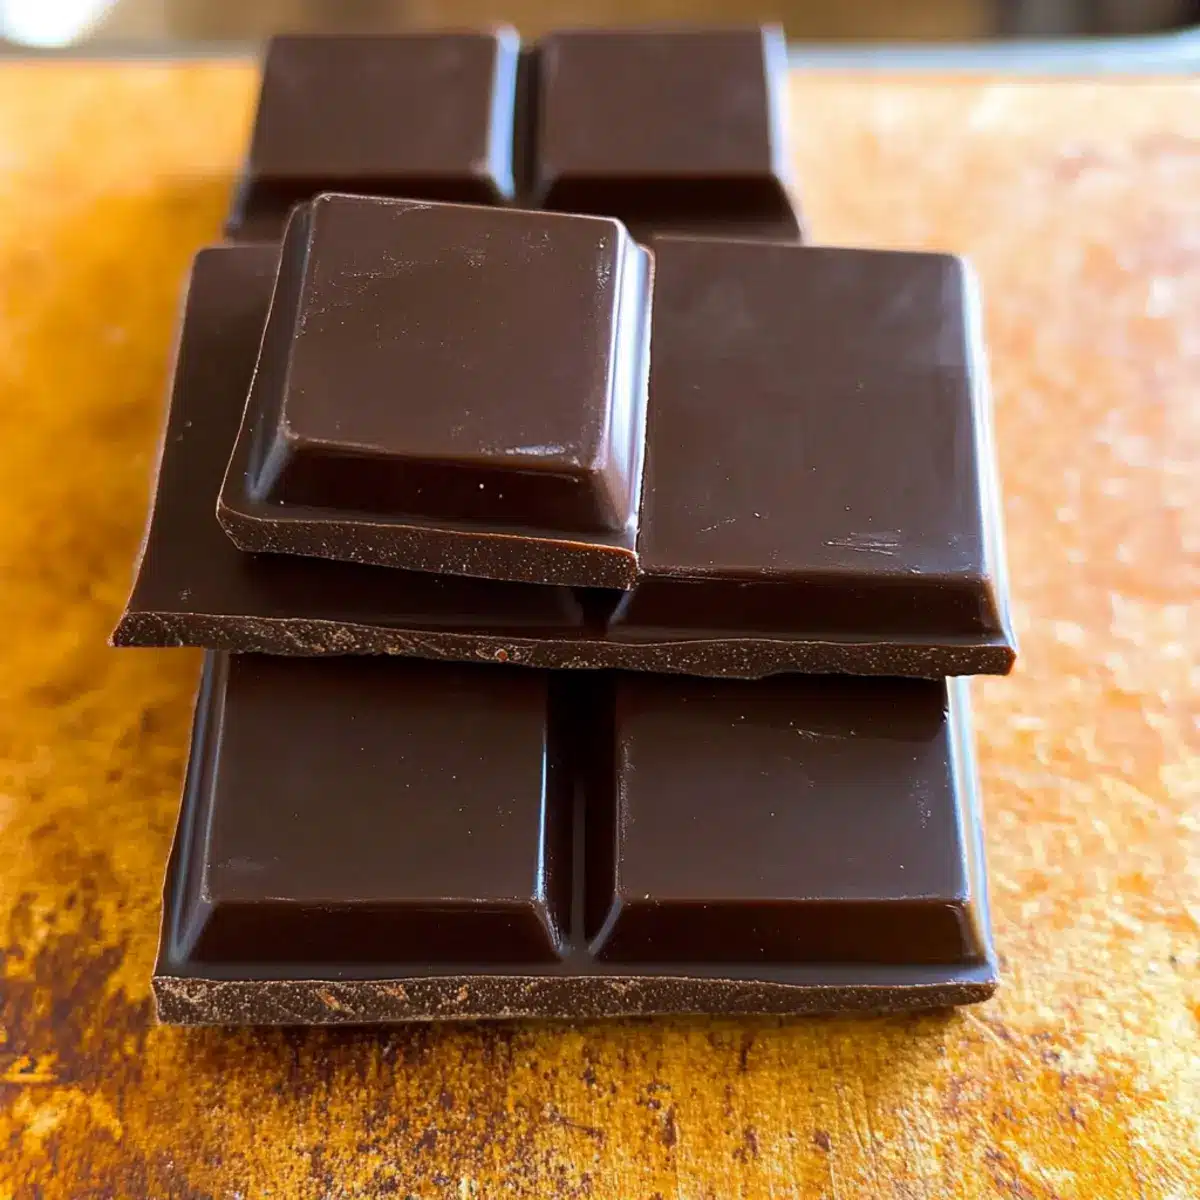
Homemade Chocolate Bars Recipe FAQs
What type of cacao or cocoa powder should I use?
Absolutely use high-quality cacao or cocoa powder for the richest flavor! I often prefer unsweetened cocoa powder for its intense chocolate taste, but if you’re looking for a caffeine-free option, carob powder works wonderfully as a substitute.
How do I store my homemade chocolate bars?
For short-term storage, keep your homemade chocolate bars in an airtight container in the fridge for up to 2 weeks. This helps to preserve their texture and flavor. I recommend using a container that doesn’t interfere with strong odors, as chocolate can absorb them.
Can I freeze my homemade chocolate bars?
Yes, you can! For long-term storage, freeze your chocolate bars in a single layer on a parchment-lined tray. Once firm, transfer them to a zip-top bag and store for up to 3 months. When you’re ready to enjoy, thaw them in the fridge overnight for the best texture.
What should I do if my chocolate mixture is too runny?
Very! If your chocolate mixture doesn’t have the thick consistency you’re aiming for, simply add a bit more cocoa powder until it reaches the desired thickness. Just remember to blend it well, as this ensures no lumps remain, giving you that velvety finish.
Are there any dietary considerations I should be aware of?
Definitely! If you or anyone you’re serving has allergies, be sure to check that your cocoa or cacao powder and sweeteners are free from common allergens. For a vegan option, verify that your sweeteners are plant-based. If making these treats for pets, note that chocolate is toxic to dogs, so always keep them out of reach.
How long does it take for my chocolate bars to set?
The chilling process will take about 1-2 hours in the refrigerator. You’ll know they’re ready when they feel firm to the touch and display a matte finish. The longer you let them chill, the better they hold their shape when you cut or pop them out!
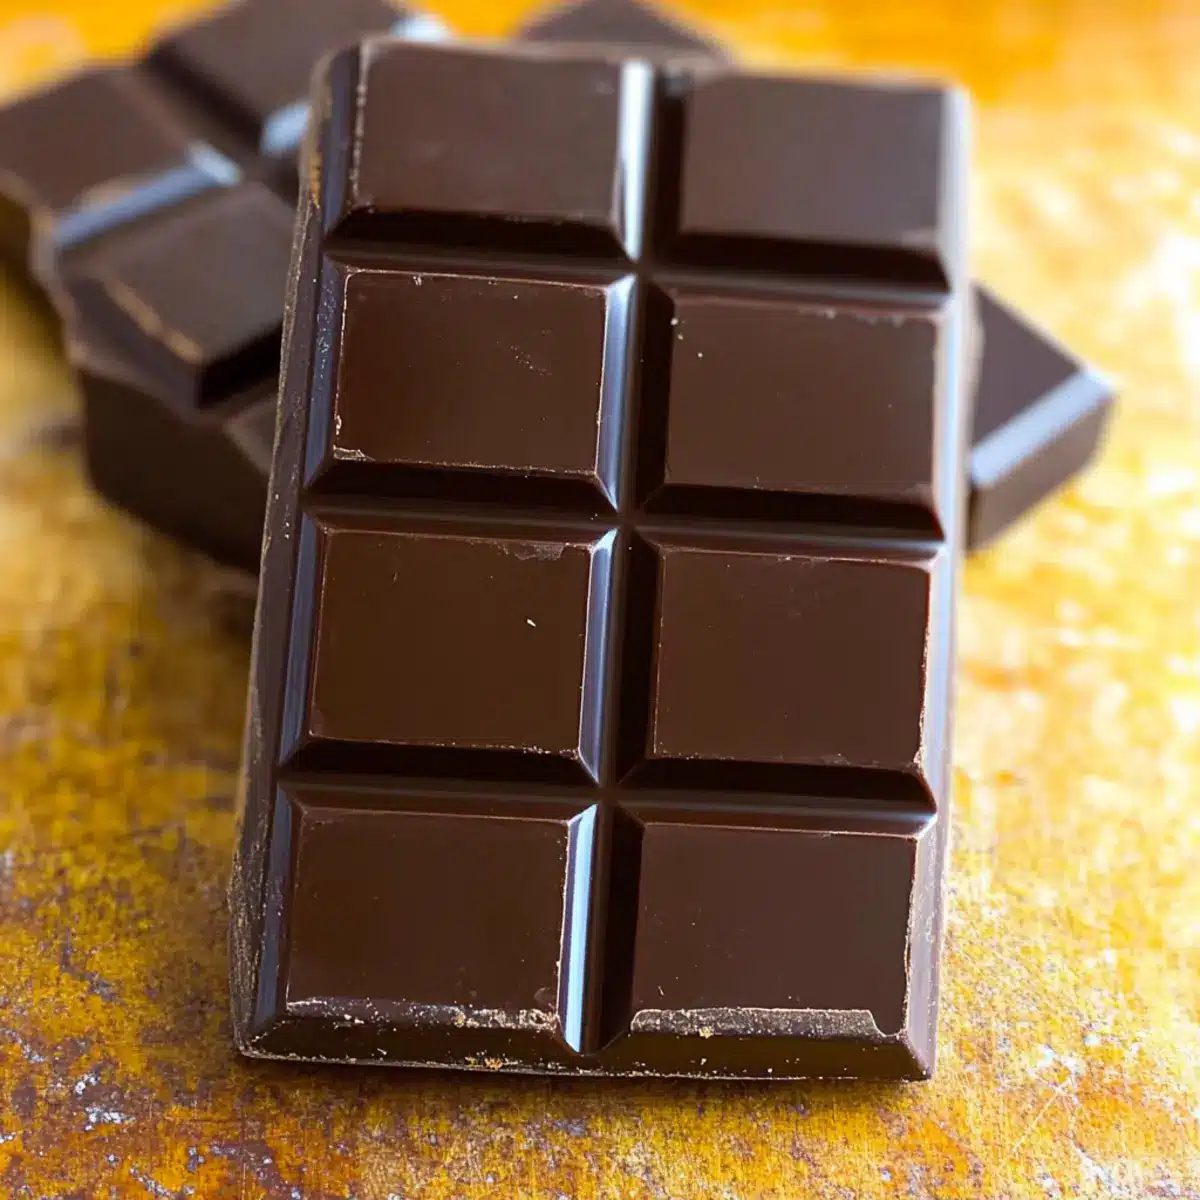
Irresistibly Smooth Homemade Chocolate Bars You Can Customize
Ingredients
Equipment
Method
- Gently warm the coconut oil in a small saucepan over low heat until melted and transparent, about 2-3 minutes.
- In a mixing bowl, combine melted coconut oil with cacao or cocoa powder and chosen sweetener, whisking until it forms a thick, glossy paste.
- Pour the chocolate mixture into molds or a lined flat container, spreading evenly with a spatula.
- Chill in the refrigerator for 1-2 hours until firm and matte in finish.
- Remove from molds or slice if using a container, storing in an airtight container in the fridge for up to two weeks.
Leave a Reply