
The scent of summer wafts through the air, filled with anticipation for gatherings and joyful celebrations. In this spirit, I’m thrilled to share my No-Bake Flag Cheesecake Bars, a dazzling dessert that will be the highlight of any festive occasion! This treat combines a lush, creamy cheesecake with a fun patriotic flair, making it perfect for those summer picnics or backyard barbecues. What I adore about this recipe is how it caters to busy hosts—it’s ready in just 20 minutes and needs no oven at all! Plus, it’s gluten-free-friendly if you choose the right graham crackers, ensuring everyone can indulge. Are you ready to impress your guests and bring a refreshing twist to your dessert table? Let’s dive into this deliciously easy recipe!
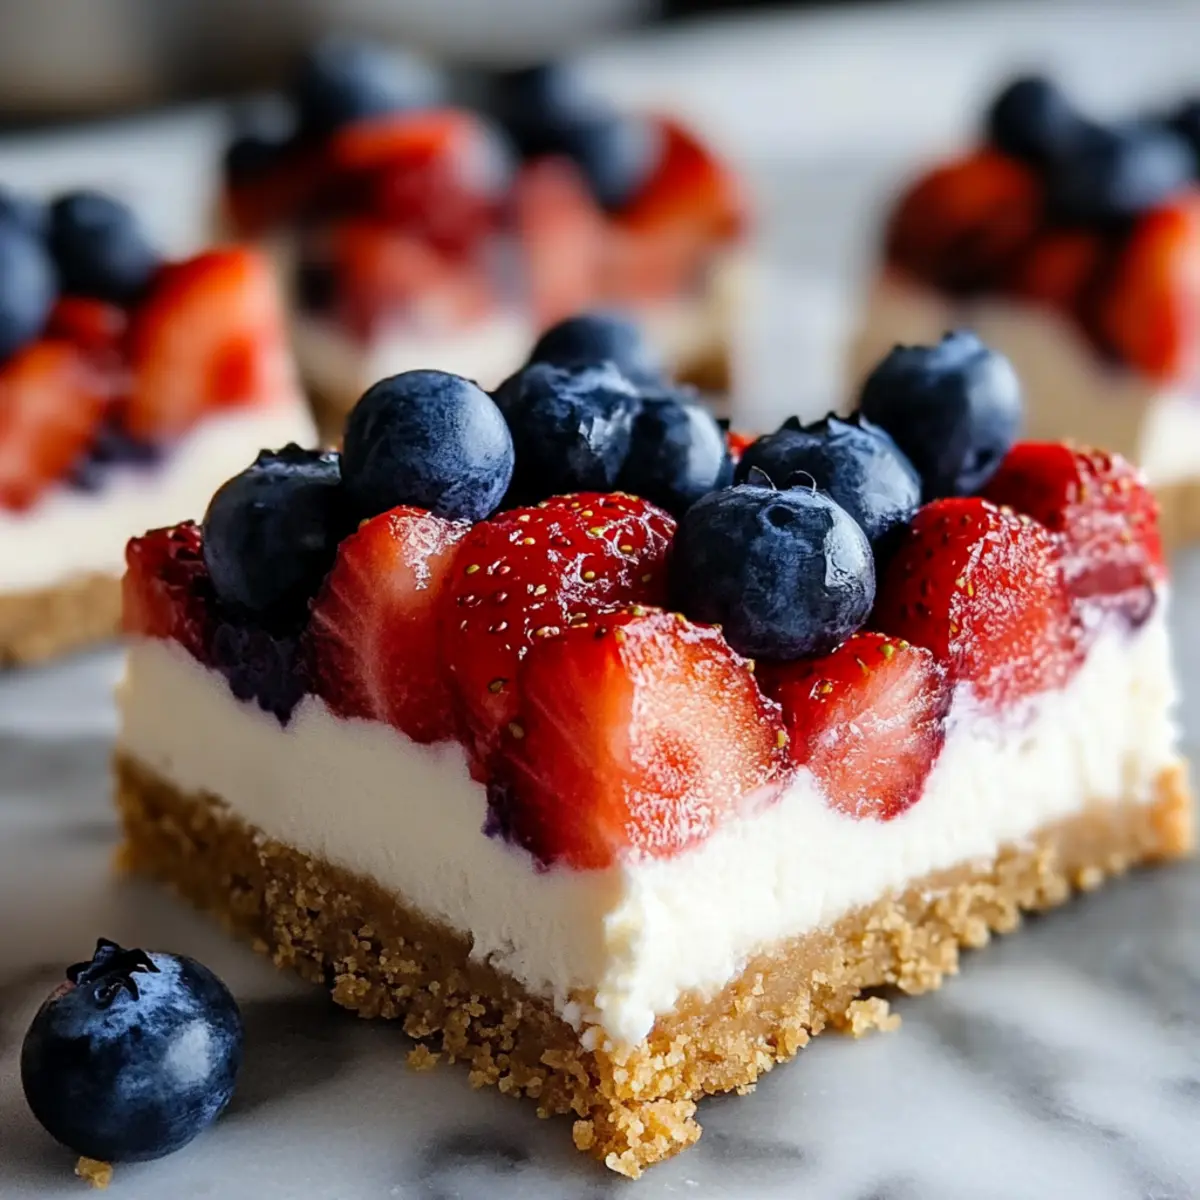
Why Are These Cheesecake Bars Perfect?
Easy Preparation: With just a quick 20-minute prep time, you can whip up these delightful No-Bake Flag Cheesecake Bars without breaking a sweat.
Crowd-Pleasing Appeal: Their vibrant colors and festive design make them the star of any summer gathering, making dessert as fun to look at as it is to eat.
Versatile Options: Feel free to swap out the berries for your favorite fruits or even try a few variations, like using Gingerbread Cheesecake Cookies during the winter months!
Gluten-Free Friendly: Use gluten-free graham crackers to ensure that everyone at your gathering can dive into this delicious treat without concern.
Refreshing Flavor: The luscious cheesecake filling combined with tart berries hits the perfect balance, offering a light yet satisfying dessert experience.
Embrace the joy of summer with this recipe, and share the love of homemade desserts that everyone can enjoy!
No-Bake Flag Cheesecake Bars Ingredients
For the Crust
- Graham Cracker Crumbs – The base for the cheesecake bars; provides crunch and structure.
Alternative: Gluten-free graham crackers can be used for a gluten-free version. - Melted Butter – Binds the crust ingredients together and adds richness.
Prep Note: Ensure it’s fully melted for the best mixing. - Granulated Sugar – Sweetens the crust for balanced flavor.
Alternative: Brown sugar can be used for a deeper flavor.
For the Cheesecake Filling
- Cream Cheese – Core ingredient for the cheesecake layer; adds creaminess.
Prep Note: Use softened cream cheese for easy blending. - Powdered Sugar – Sweetens and smooths the cheesecake filling.
Substitute: Use a sugar alternative for a lower-calorie version. - Vanilla Extract – Enhances flavor profile with a sweet aroma.
Alternative: Almond extract can be used for a different flavor twist. - Heavy Cream – Whipped to create a light, airy texture in the filling.
Note: Whip until stiff peaks form, critical for a fluffy cheesecake.
For Decoration
- Blueberries – For decoration, creating the blue field of the flag; adds tartness.
Alternative: Raspberries can replace blueberries. - Strawberries – Used to form the red stripes on the flag; provides sweetness.
Alternative: Other red fruits like raspberries or cherries can be used.
Dive into this vibrant and refreshing dessert that’s not only beautiful but also a breeze to make with these No-Bake Flag Cheesecake Bars!
Step‑by‑Step Instructions for No-Bake Flag Cheesecake Bars
Step 1: Prepare the Crust
In a mixing bowl, combine graham cracker crumbs, melted butter, and granulated sugar until the mixture resembles wet sand. Press this mixture firmly into the bottom of a 9×13 inch baking pan, ensuring an even layer across the bottom. This forms the delicious crust that will support your No-Bake Flag Cheesecake Bars.
Step 2: Make the Cheesecake Filling
Using an electric mixer, beat the softened cream cheese, powdered sugar, and vanilla extract in a large bowl until smooth and creamy. Scrape down the sides as needed to ensure all ingredients are fully incorporated. This mixture will be the luscious filling of your cheesecake bars, adding the perfect balance of sweetness and richness.
Step 3: Whip the Cream
In a separate bowl, use a hand mixer or stand mixer to whip the heavy cream until stiff peaks form, which may take about 3–5 minutes. The whipped cream adds a light and airy texture to the cheesecake filling. Be gentle when folding the whipped cream into the cream cheese mixture, ensuring you maintain that fluffy consistency.
Step 4: Layer the Filling
Spread the cheesecake filling evenly over the prepared crust in the baking pan using a spatula. Smooth the top so that it’s level, creating a beautiful canvas for decorating your No-Bake Flag Cheesecake Bars. This filling should be rich and creamy, resting beautifully atop the crunchy base.
Step 5: Decorate
Arrange blueberries in the top left corner of the filling to create the blue field of the flag. Next, layer sliced strawberries to form the red stripes across the cheesecake. Use as many slices as needed to achieve a vibrant and festive look that reflects the spirit of summer gatherings.
Step 6: Chill
Cover the cheesecake with plastic wrap and refrigerate for at least 4 hours or until the cheesecake has set fully. For the best results, letting it chill overnight allows the flavors to deepen and ensures perfect slices. Once set, cut into bars and serve chilled, ready to impress your guests with your stunning No-Bake Flag Cheesecake Bars.
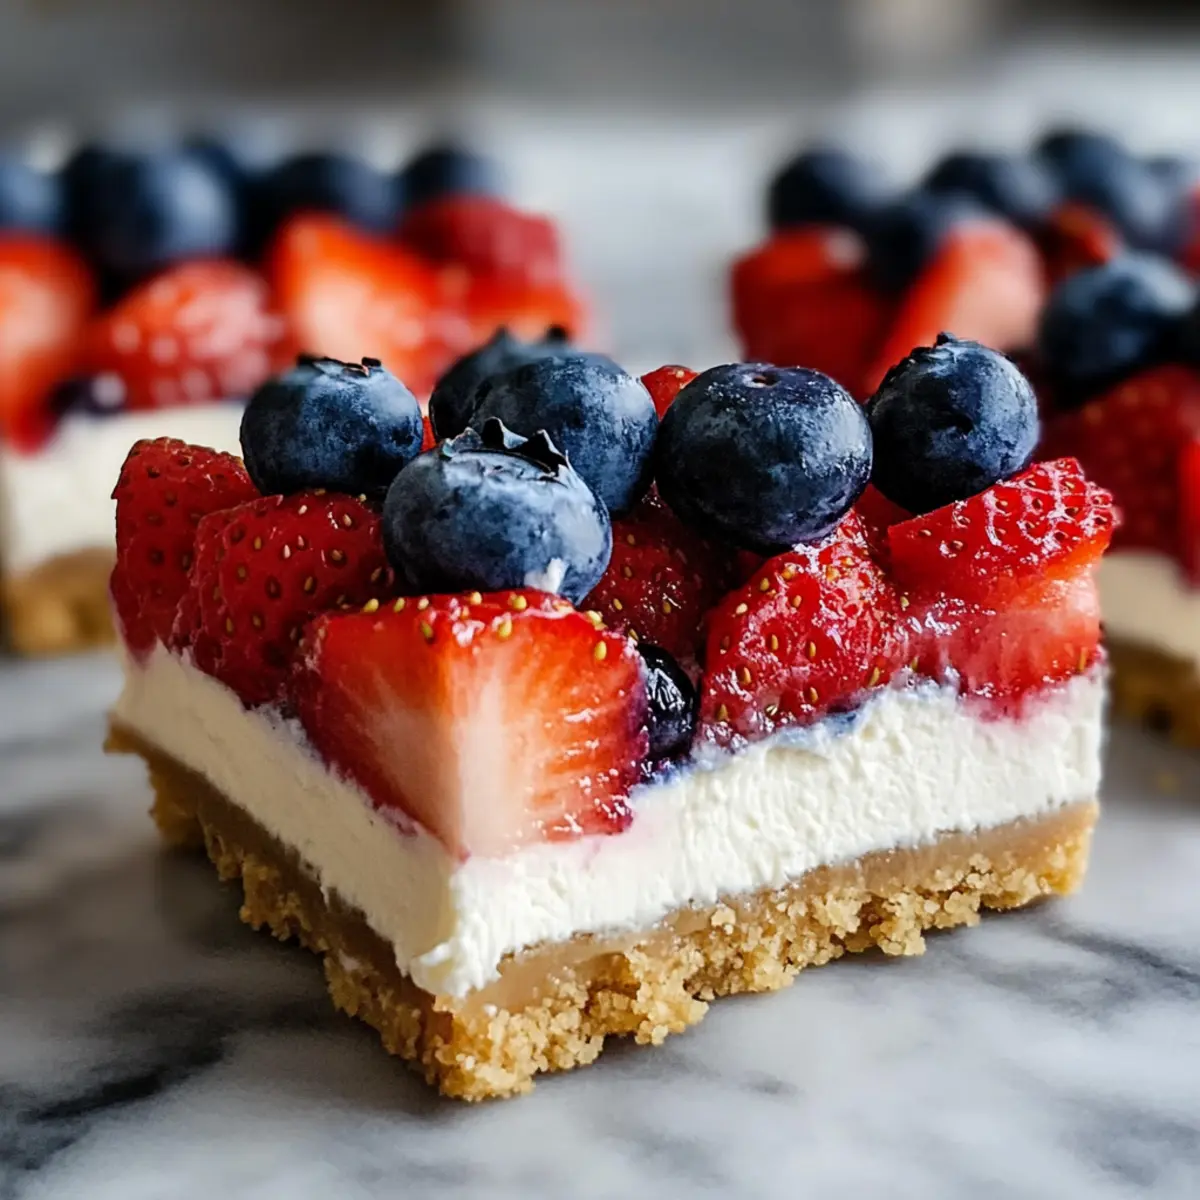
Tips for the Best No-Bake Flag Cheesecake Bars
-
Chill Overnight: Allowing the bars to chill overnight enhances flavors and ensures they set properly, making for perfect, clean slices.
-
Cream Cheese Temperature: Make sure the cream cheese is softened to room temperature before mixing; this will prevent lumps and create a silky filling.
-
Whip Cream Wisely: When whipping the heavy cream, aim for stiff peaks but avoid over-whipping, as this could lead to a grainy texture in your filling.
-
Be Creative with Berries: Feel free to mix and match your berry choices for decorating the cheesecake bars; just remember to keep the overall colors festive!
-
Storage Tips: These No-Bake Flag Cheesecake Bars can be stored in an airtight container in the refrigerator for up to five days, making them a great make-ahead dessert.
No-Bake Flag Cheesecake Bars Variations
Feel free to make these delightful No-Bake Flag Cheesecake Bars your own by experimenting with your favorite flavors and ingredients!
-
Berry Swap: Swap blueberries and strawberries for raspberries and blackberries for a new, tart flavor profile. Seasonal fruits can elevate the taste while providing same beautiful colors.
-
Dairy-Free Delight: Use dairy-free cream cheese and coconut cream for a vegan version. This keeps the luscious texture while accommodating dairy-free diets.
-
Nutty Crust: Replace graham cracker crumbs with ground almonds or a nut-based crumb for a gluten-free alternative with extra flavor and crunch.
-
Flavor Boost: Add a splash of lemon juice or zest to the filling for a refreshing citrus twist that brightens up the cheesecake’s flavor, creating a delightful zing.
-
Sweetness Adjustment: Substitute granulated sugar with honey or maple syrup for a natural sweetener option that pairs beautifully with the cream cheese.
-
Chocolate Swirl: For a decadent touch, fold in melted dark chocolate into the cheesecake filling before layering. This rich addition will leave your guests craving more!
-
Whipped Cream Topping: Top the chilled bars with freshly whipped cream and a sprinkle of crushed graham crackers just before serving for added texture and flavor.
-
Mixed Berries Topping: Combine various berries on top for a colorful medley instead of just two fruits—offering a delightful presentation and mixing flavors for every bite.
No matter how you choose to customize, these bars maintain their celebratory flair! If you’re looking for additional cheesecake inspiration, check out the delightful Gingerbread Cheesecake Cookies or consider trying some lovely Mini Cheesecake Sweets that can also impress your guests!
Make Ahead Options
These No-Bake Flag Cheesecake Bars are a dream for busy home cooks looking to save time! You can prepare the crust and cheesecake filling up to 24 hours in advance—simply follow the first four steps of the recipe, and then refrigerate the layers separately to maintain freshness. For the crust, press it into the pan and cover it tightly with plastic wrap. Whip the filling, store it in an airtight container, and mix in the whipped cream just before layering it over the crust. When you’re ready to serve, finish with your berry decoration (which can also be prepped in advance), cut into bars, and let each bite bring summer joy!
What to Serve with No-Bake Flag Cheesecake Bars?
The perfect pairing can elevate your No-Bake Flag Cheesecake Bars from delightful to extraordinary, enriching your summer gatherings.
-
Fresh Fruit Salad: A colorful mix of seasonal fruits adds brightness and balance, enhancing the refreshing flavors of the cheesecake bars. Toss together strawberries, blueberries, and peaches for a juicy sidekick.
-
Whipped Cream: A dollop of freshly whipped cream provides a light and airy complement, perfecting each bite of creamy cheesecake with added decadence. Top off your bars with a sprinkle of zest for an extra touch!
-
Iced Tea: A chilled glass of sweetened or unsweetened iced tea complements the rich dessert beautifully, refreshing your palate in between bites.
-
Chocolate Ganache Sauce: Drizzle over your cheesecake bars for an indulgent twist. The rich chocolate enhances the creamy filling and offers a delightful contrast in flavors.
-
Mint Leaves: Garnish plates with fresh mint to add a pop of freshness that complements the berries. It also brings a beautiful presentation, making your dessert table even more inviting.
-
Lemonade Spritzer: A light lemonade spritzer with fizz not only refreshes but adds a zesty kick that pairs well with sweetness. Perfect for hot summer days!
-
Coconut Macaroons: For an added crunch and chewy texture, serve with coconut macaroons. Their flavor blends smoothly with the creamy cheesecake, making for a delightful treat.
Consider these pairings to create a complete and satisfying menu that highlights the freshness and fun of your No-Bake Flag Cheesecake Bars!
How to Store and Freeze No-Bake Flag Cheesecake Bars
Fridge: Store leftover cheesecake bars in an airtight container to keep them fresh for up to 5 days. This way, you’ll always have a sweet treat on hand!
Freezer: For longer storage, wrap the bars tightly in plastic wrap or foil and place them in a freezer-safe container. They can be frozen for up to 2 months.
Reheating: These bars are best served chilled straight from the refrigerator. If frozen, thaw them overnight in the fridge before serving for the best texture.
Serving Tip: To enjoy a festive touch, garnish with fresh berries right before serving. These No-Bake Flag Cheesecake Bars are sure to impress!
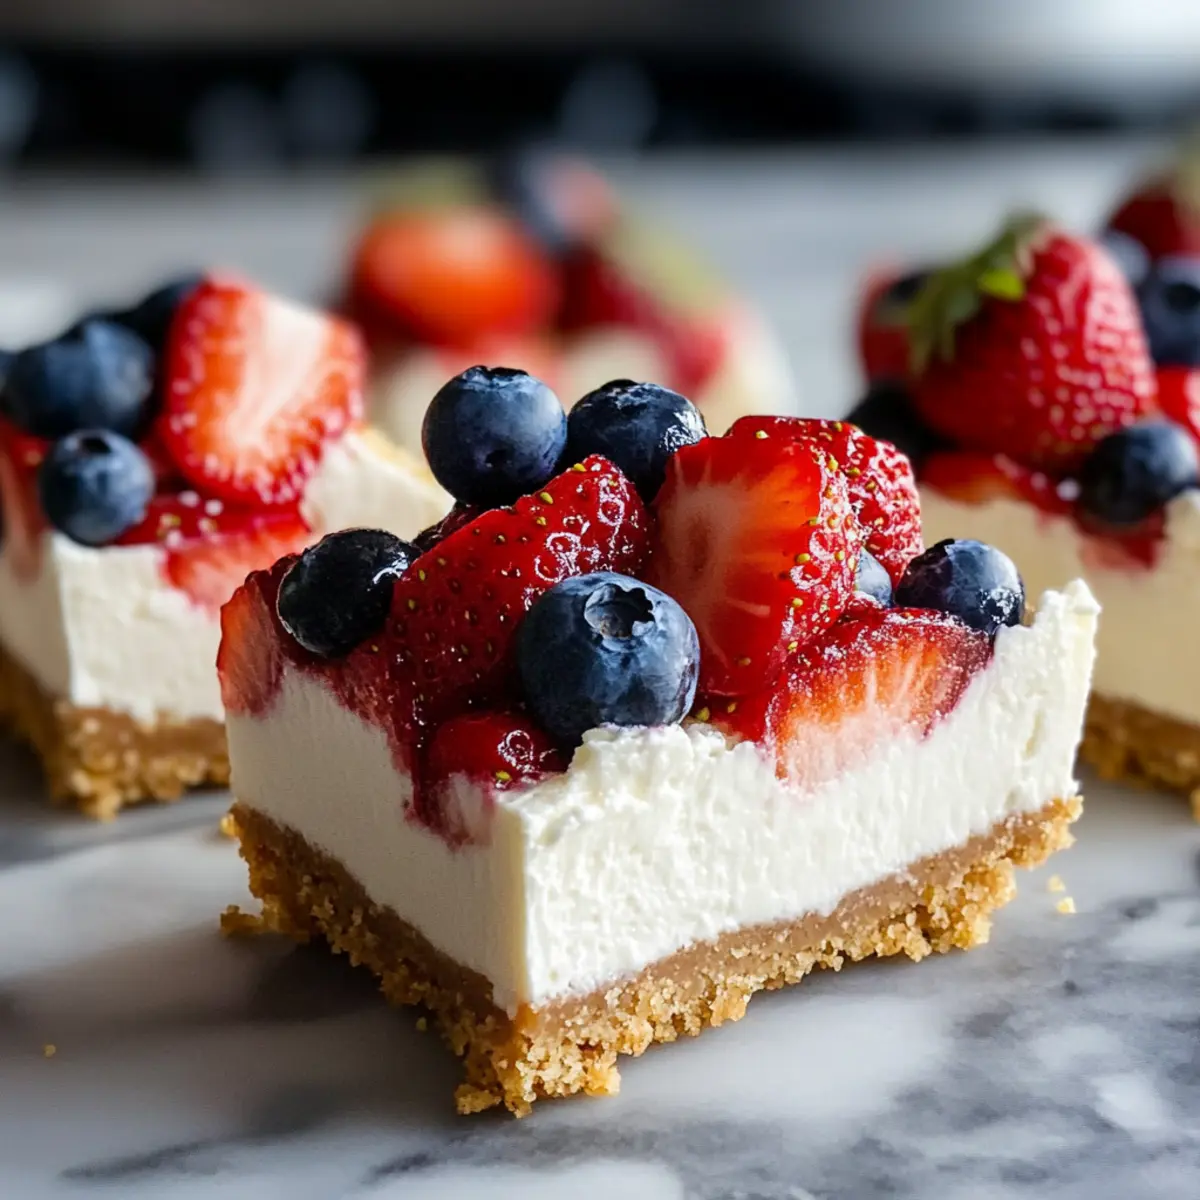
No-Bake Flag Cheesecake Bars Recipe FAQs
How do I choose the right berries for decoration?
Absolutely! When selecting berries, look for ones that are vibrant and firm. For blueberries, choose those that shine without any dark spots, indicating freshness, while strawberries should be free of bruises. If you’re opting for raspberries or cherries, make sure they’re plump and juicy for the best taste.
What’s the best way to store leftover No-Bake Flag Cheesecake Bars?
Very! To keep your cheesecake bars fresh, store them in an airtight container in the refrigerator for up to 5 days. This method helps maintain their creamy texture and flavor. Just remember to cover them tightly to prevent any absorption of other flavors in the fridge!
Can I freeze No-Bake Flag Cheesecake Bars?
Absolutely! To freeze your cheesecake bars, first cut them into individual portions. Wrap each piece tightly in plastic wrap and then place them in a freezer-safe container. They can be frozen for up to 2 months. When you’re ready to enjoy them, simply thaw in the fridge overnight before serving.
What should I do if my cheesecake filling is too thick?
If you find your filling is too thick, don’t worry! Start by adding a splash of milk, one tablespoon at a time, to reach your desired consistency. Mix gently until it’s smooth but be careful not to over-mix, as that can deflate the whipped cream and affect the texture of your cheesecake.
Is this dessert suitable for gluten-free diets?
Yes! To ensure that your No-Bake Flag Cheesecake Bars are gluten-free, simply substitute regular graham cracker crumbs with gluten-free graham crackers. Always check the labels of all ingredients to ensure they don’t contain gluten. This way, everyone can enjoy this delicious summer treat without worry!
Can I use sugar alternatives in this recipe?
Of course! If you’re looking to make this dessert lower in calories, you can substitute granulated sugar with sugar alternatives like Stevia or erythritol. Just ensure you balance the sweetness to your taste, as different alternatives can vary in sweetness levels. This allows you to tailor the dessert without sacrificing flavor!
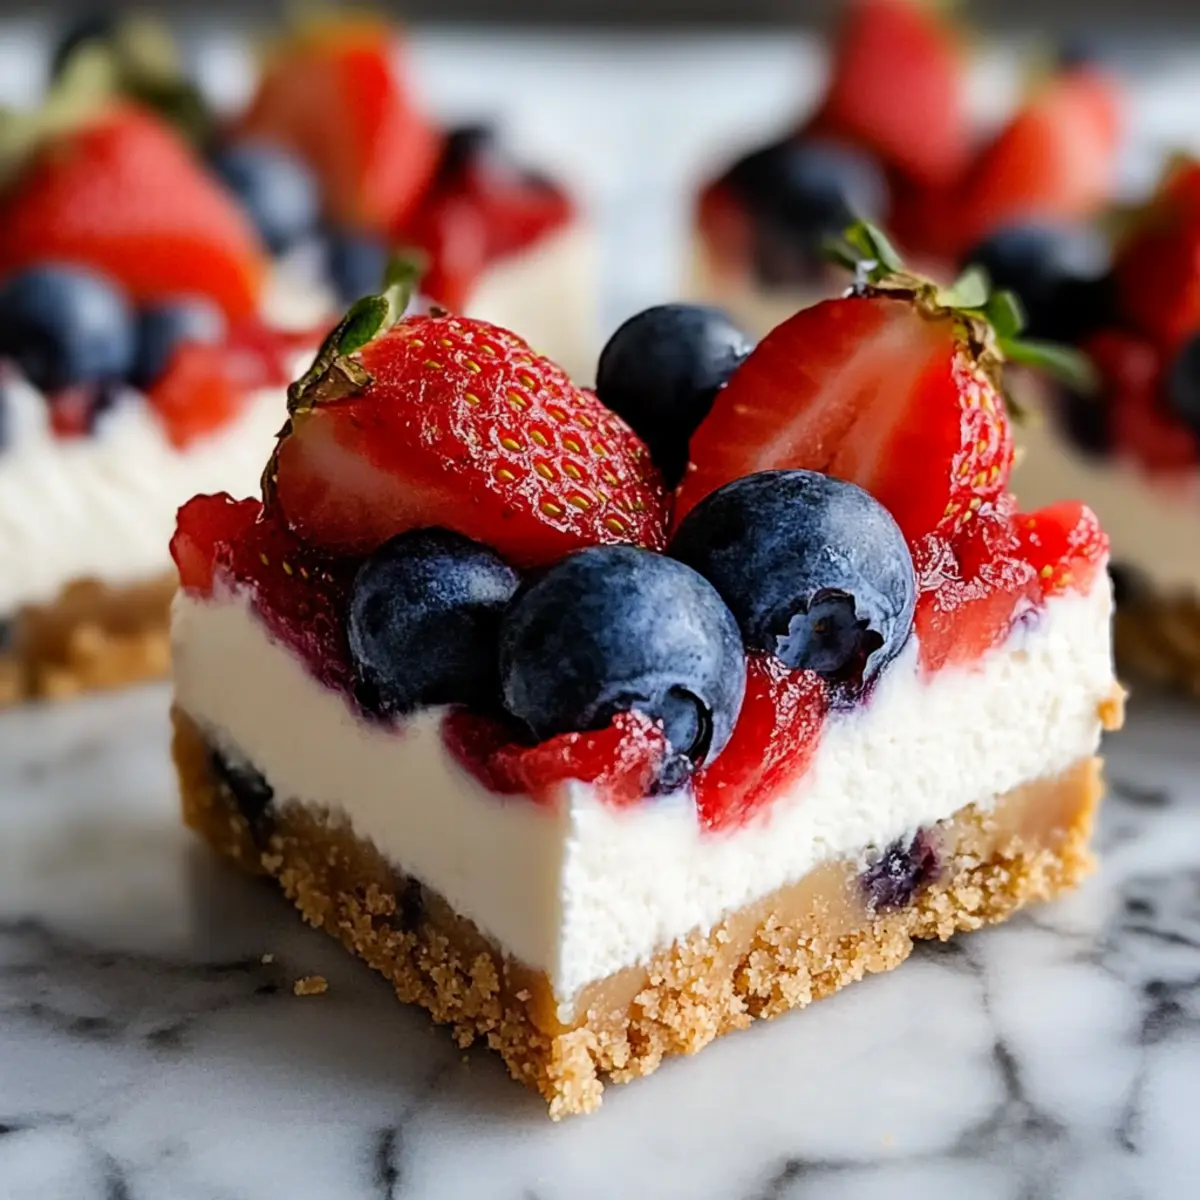
Delicious No-Bake Flag Cheesecake Bars for Summer Fun
Ingredients
Equipment
Method
- In a mixing bowl, combine graham cracker crumbs, melted butter, and granulated sugar until the mixture resembles wet sand. Press this mixture firmly into the bottom of a 9x13 inch baking pan, ensuring an even layer.
- Using an electric mixer, beat the softened cream cheese, powdered sugar, and vanilla extract in a large bowl until smooth and creamy. Scrape down the sides as needed.
- In a separate bowl, use a hand mixer or stand mixer to whip the heavy cream until stiff peaks form, which may take about 3–5 minutes. Be gentle when folding the whipped cream into the cream cheese mixture.
- Spread the cheesecake filling evenly over the prepared crust in the baking pan using a spatula. Smooth the top so that it’s level.
- Arrange blueberries in the top left corner of the filling. Layer sliced strawberries to form the red stripes across the cheesecake.
- Cover the cheesecake with plastic wrap and refrigerate for at least 4 hours or until the cheesecake has set fully. Cut into bars and serve chilled.
Leave a Reply