
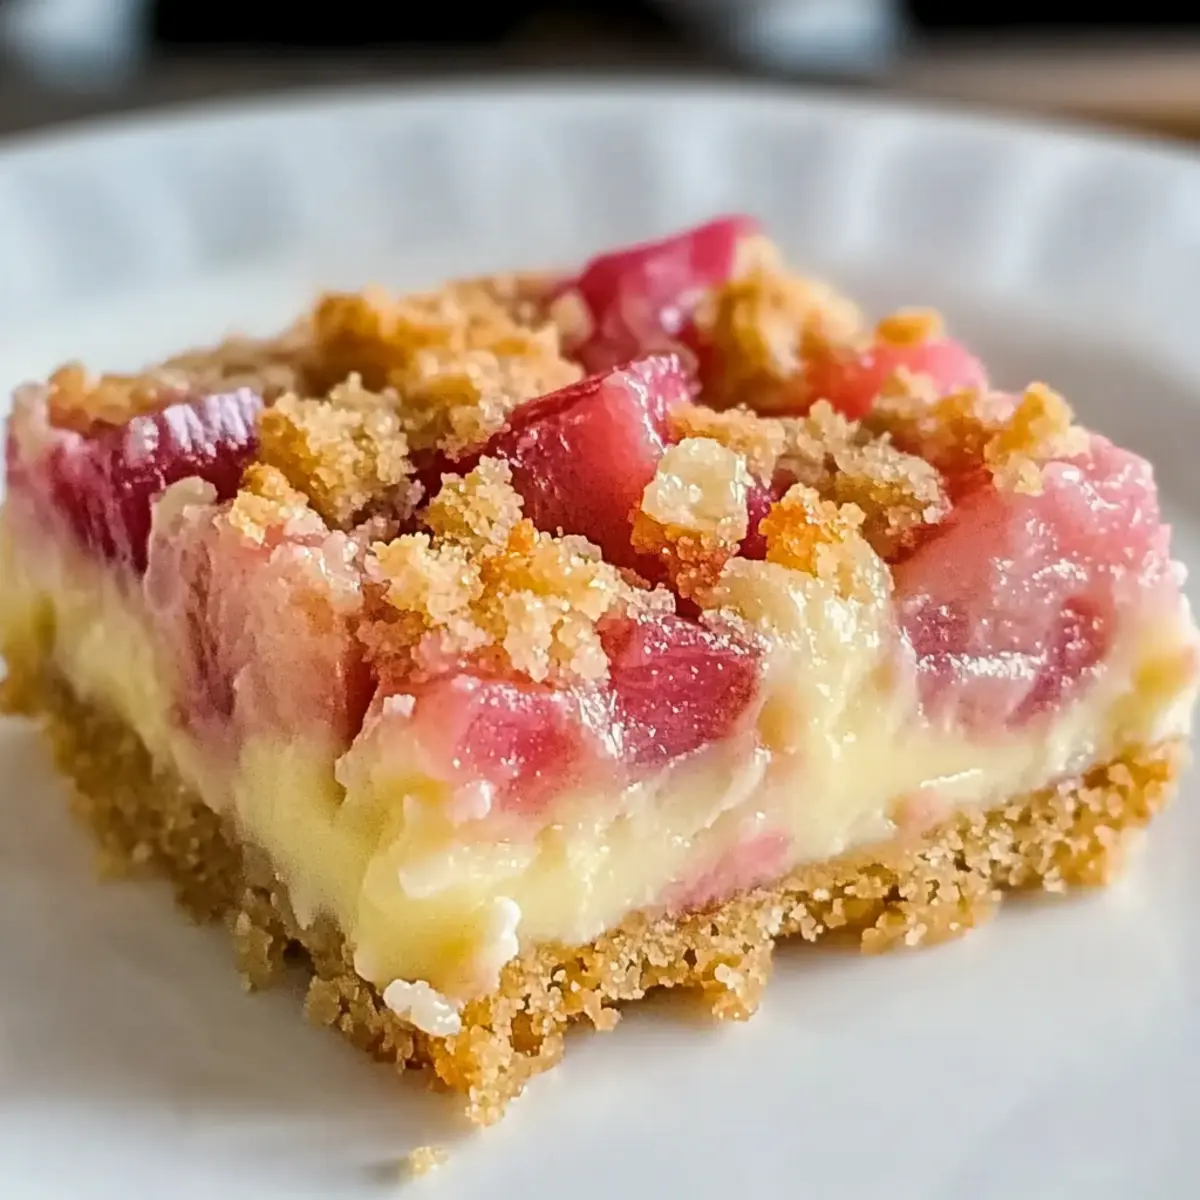
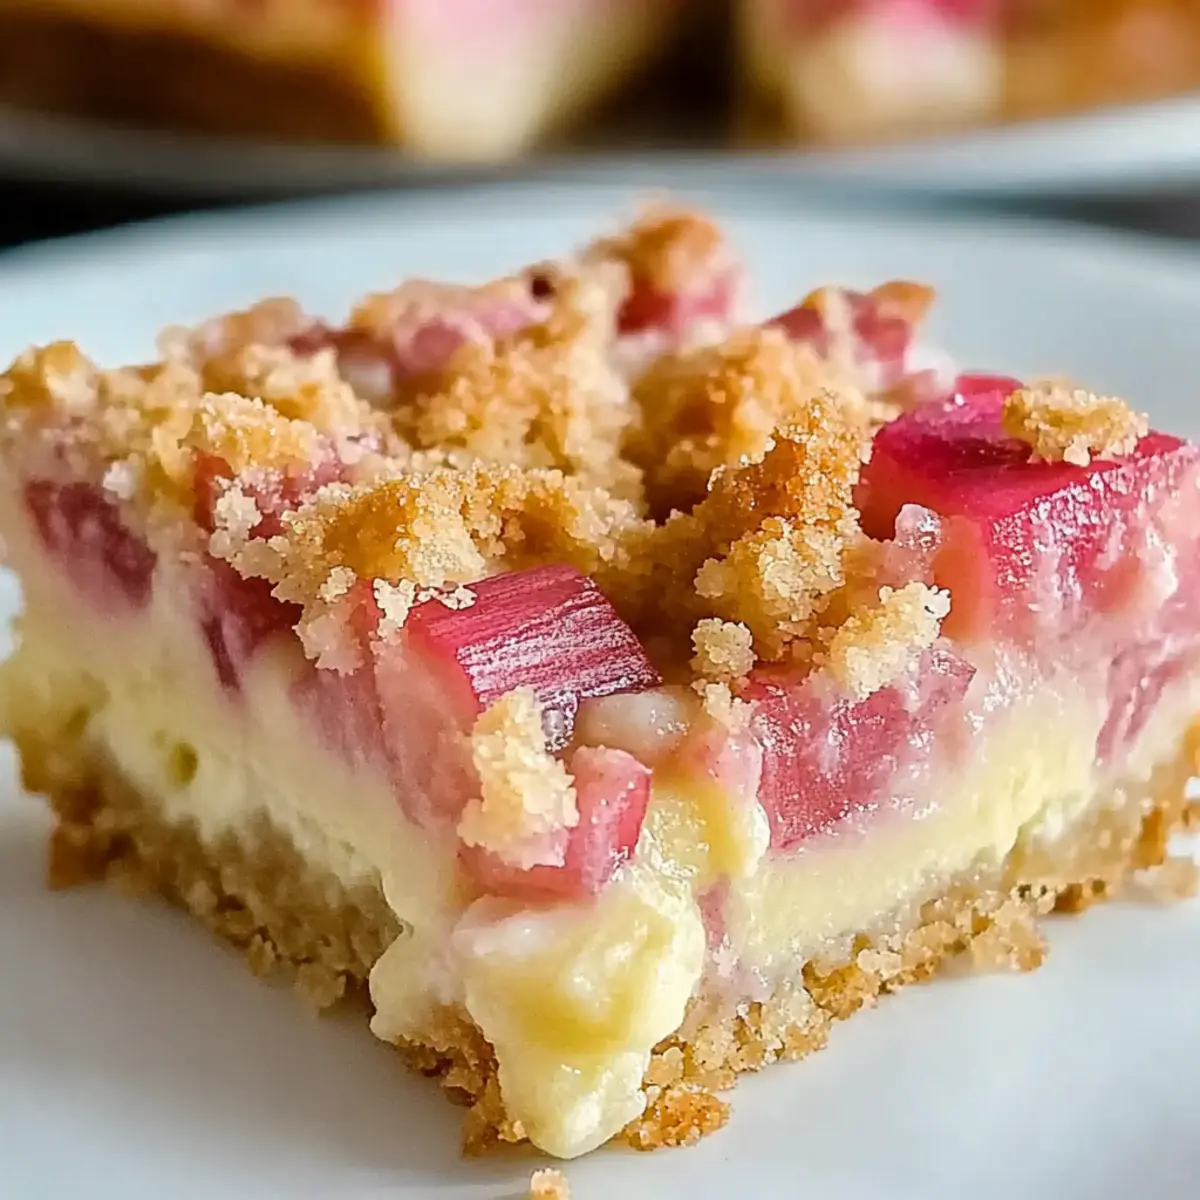
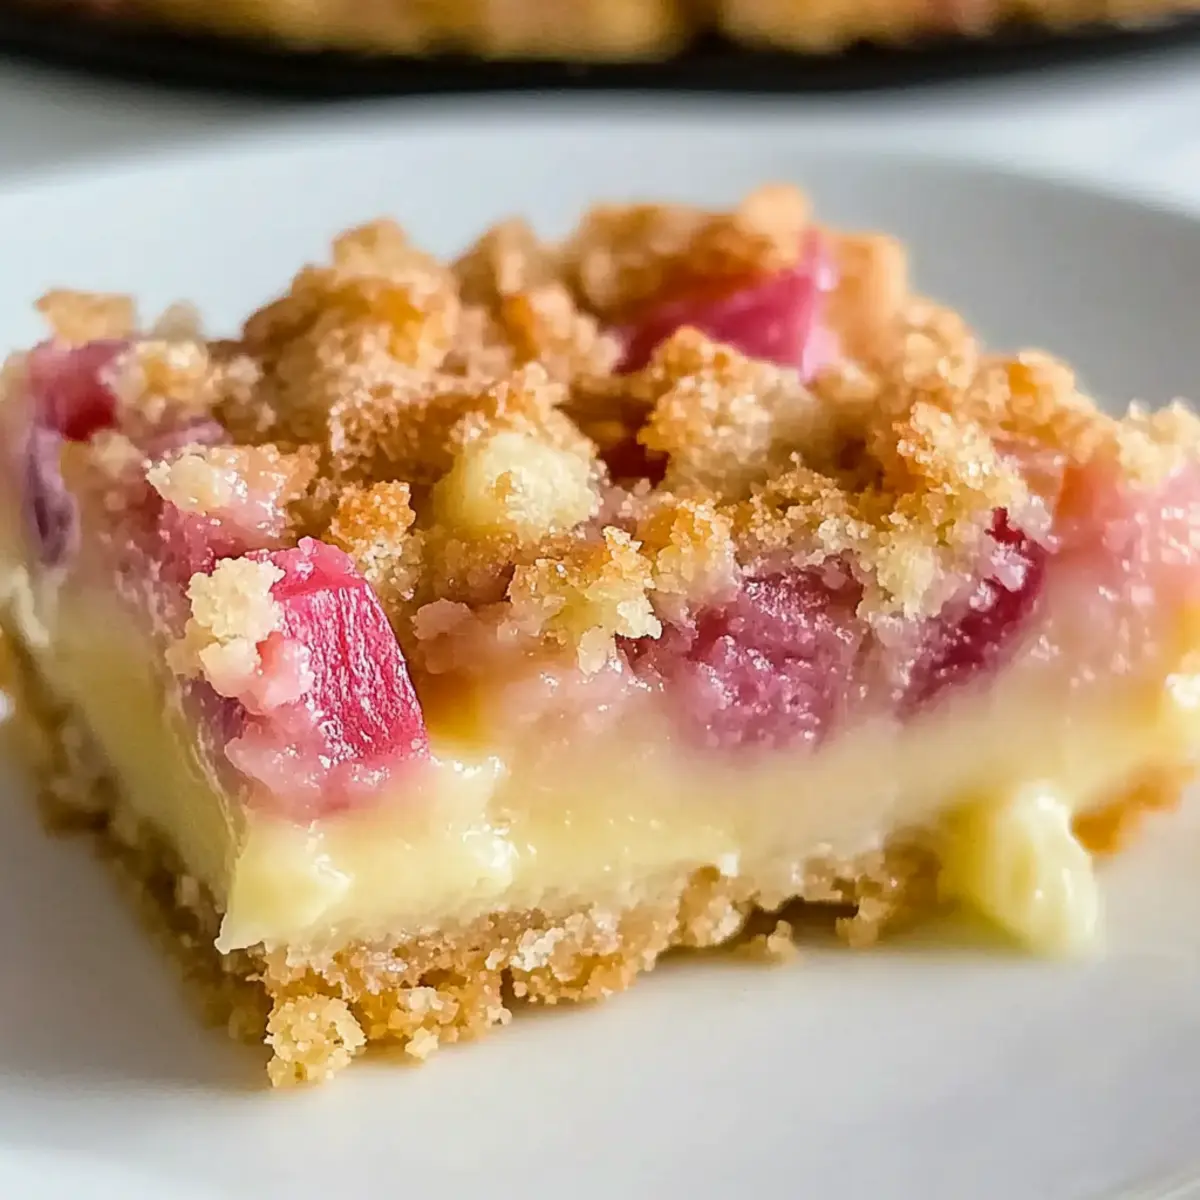
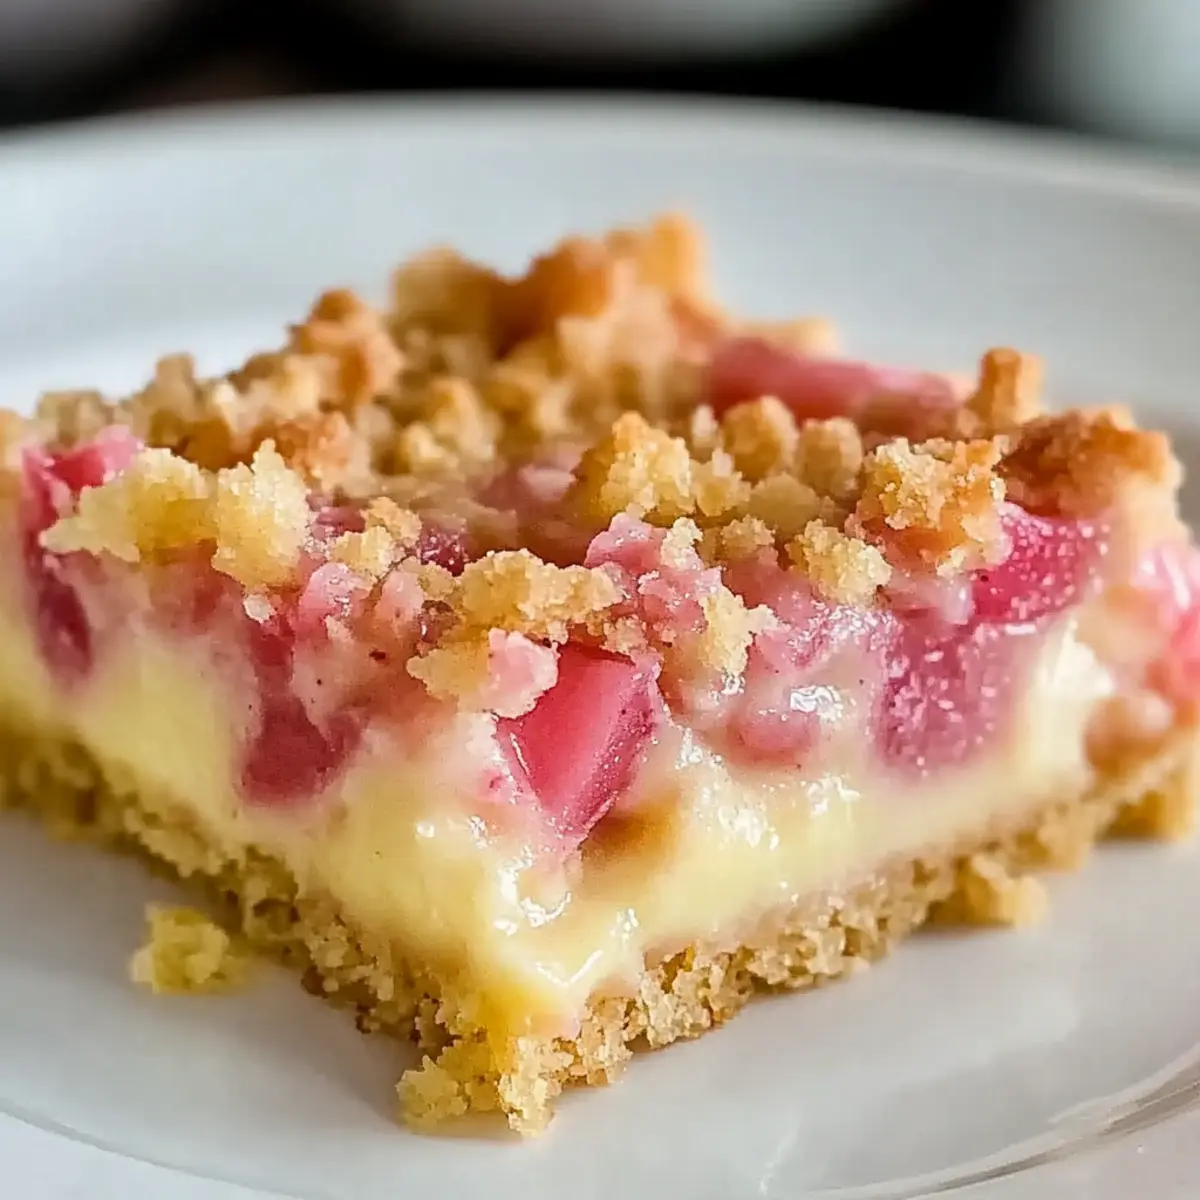
Springtime is a gentle reminder of brighter days, and nothing encapsulates its essence quite like the aroma of Rhubarb Dream Bars wafting through the kitchen. These delightful treats blend the tangy zest of fresh rhubarb with a creamy, custard-like topping, all resting on a buttery shortbread crust. With just six simple ingredients, whipping up these bars is an effortless endeavor, making them a fantastic choice for those busy afternoons or spontaneous gatherings. They’re not only a treat for the palate but also a feast for the eyes, bursting with color and nostalgia. Plus, they can easily be adapted to a gluten-free option, ensuring everyone can indulge in this cherished dessert. As I dive into the preparation, I can’t help but wonder: what memories will these Rhubarb Dream Bars create in your home?
Why Are Rhubarb Dream Bars So Special?
Simplicity that Shines: With just six ingredients, these bars are as straightforward to make as they are delicious.
Bursting with Flavor: The unique tang of fresh rhubarb combined with a rich, creamy topping creates a delightful balance that will leave your taste buds dancing.
Versatile Indulgence: Want to get creative? Swap the rhubarb for strawberries or raspberries for a sweet twist, or try a gluten-free flour blend for a different appeal.
Perfect for Any Occasion: Whether it’s a picnic, party, or a quiet night in, these bars are an easy, crowd-pleasing dessert that looks stunning on any table.
Make Them Ahead: Chill overnight for even better flavor, making these bars a time-saving favorite for your busy schedule.
Don’t forget, if you love hearty desserts, you might also enjoy these Fudgy Chewy Brookies or classic Chocolate Chip Cookies to satisfy your sweet cravings!
Rhubarb Dream Bars Ingredients
• Get ready to whip up a delightful treat!
For the Crust
- All-purpose flour – Provides structure; substitute with gluten-free flour blend if desired.
- Powdered sugar – Adds sweetness for the crust; do not substitute for taste.
- Butter – Delivers richness; ensure it’s cold and cubed for a perfect crust.
For the Filling
- Large eggs – Essential for binding; room temperature eggs yield a smoother texture.
- Granulated sugar – Sweetens the filling; no substitutes indicated for optimal taste.
- Salt – Enhances flavors; a must-have for balance.
- Diced rhubarb – The star of this dish, adding tang and moisture; fresh is preferable, but thawed frozen rhubarb can work in a pinch.
- Ground cinnamon (optional) – Introduces warmth to the flavor profile; feel free to omit if desired.
Step‑by‑Step Instructions for Rhubarb Dream Bars
Step 1: Preheat the Oven and Prepare the Pan
Begin by preheating your oven to 325°F (163°C). While the oven warms up, take a 9×13-inch baking pan and grease it lightly to prevent sticking. This step ensures the Rhubarb Dream Bars will easily release from the pan after baking.
Step 2: Make the Crust Mixture
In a large mixing bowl, combine 2 cups of all-purpose flour with ½ cup of powdered sugar. Use a pastry cutter or two forks to cut in 1 cup of cold, cubed butter until the mixture resembles coarse crumbs. This will lend a rich flavor to your crust, which sets the foundation for the creamy filling.
Step 3: Bake the Crust
Press the crumbly mixture evenly into the bottom of your prepared pan. Bake this crust in the preheated oven for about 15 minutes or until it is just set but not browned. As it bakes, the buttery aroma will fill your kitchen, leaving you eager for the next steps in crafting your Rhubarb Dream Bars.
Step 4: Prepare the Filling
In the same mixing bowl, crack 4 large eggs and lightly beat them until they are frothy. Add in 2 cups of granulated sugar, ½ cup of all-purpose flour, 1 teaspoon of salt, and if desired, ½ teaspoon of ground cinnamon for warmth. Mix until well combined, creating a smooth, custard-like filling that will beautifully contrast with the crust.
Step 5: Fold in the Rhubarb
Now, gently fold in 4 cups of diced rhubarb into your filling mixture, ensuring the fruit is evenly distributed. The fresh rhubarb will add the signature tang to your custard, creating the delightful flavor that defines Rhubarb Dream Bars.
Step 6: Pour the Filling and Bake Again
Carefully pour the rhubarb filling over the pre-baked crust, spreading it evenly with a spatula. Return the pan to the oven and bake for an additional 60 minutes. You’ll know it’s done when the center is set and no longer jiggly, resulting in a luscious texture that will melt in your mouth.
Step 7: Cool and Slice
Once the baking time is complete, remove the pan from the oven and let the Rhubarb Dream Bars cool completely in the pan at room temperature. This step is crucial for perfect slicing. After cooling, cut them into squares and serve. Enjoy the delightful combination of flavors in each bite!
Expert Tips for Rhubarb Dream Bars
-
Cooling Time: Allow the bars to cool completely before slicing. This ensures cleaner cuts and keeps the custard filling intact.
-
Fresh vs. Frozen Rhubarb: If using frozen rhubarb, make sure to thaw and drain it thoroughly; excess moisture can result in a soggy base for your Rhubarb Dream Bars.
-
Room Temperature Eggs: For a smoother texture, use room temperature eggs in your filling. Cold eggs can create lumps, affecting the creamy consistency.
-
Overnight Chill: Chilling the bars overnight in the refrigerator enhances their texture, making them even more delightful when served.
-
Nutty Crunch: Consider sprinkling chopped nuts on top before baking for added crunch and flavor variation—pecans or almonds work wonderfully!
How to Store and Freeze Rhubarb Dream Bars
Fridge: Store your Rhubarb Dream Bars in an airtight container in the refrigerator for up to 4-5 days. This will keep them fresh and maintain their delightful custard-like texture.
Freezer: To freeze, place layers of parchment paper between each bar and store them in a freezer-safe container for up to 2 months. This prevents sticking and makes for easy serving later!
Reheating: When you’re ready to enjoy them again, thaw overnight in the fridge, then serve chilled or gently warm them in the microwave for a few seconds.
Serving Suggestion: These bars are best enjoyed chilled, topped with a dollop of whipped cream for that extra touch of decadence!
What to Serve with Rhubarb Dream Bars
Indulge in a lovely spread that brings out the best of springtime, creating delightful pairings to complement your treat.
-
Whipped Cream: A dollop of sweet, airy whipped cream enhances the creamy texture of the bars, adding a luxurious touch to each bite.
-
Vanilla Ice Cream: The cool, creamy contrast of vanilla ice cream against the tangy rhubarb makes for an unforgettable experience, perfect for any dessert lover.
-
Fresh Berries: Consider serving with a side of fresh berries to add a pop of color, complementing the tartness of the rhubarb with luscious sweetness.
-
Almond Biscotti: The crunchy texture of almond biscotti offers a delightful contrast to soft bars, making for a charming pairing for tea or coffee lovers.
-
Iced Tea: Enjoy your bars with a refreshing glass of iced tea, which balances the sweetness and enhances the warm flavors of the dessert.
-
Chocolate Sauce: A drizzle of rich chocolate sauce adds an unexpected twist, enhancing sweetness and creating a rich layering of flavors with the tangy rhubarb.
-
Lemon Sorbet: Serve with a scoop of zesty lemon sorbet for a refreshing and tart balance, making your dessert feel even more indulgent on a warm day.
Make Ahead Options
Rhubarb Dream Bars are a fantastic choice for meal prep, allowing you to save time on busy days! You can prepare the crust up to 24 hours in advance by following the first three steps of the recipe, then covering it tightly and refrigerating it. The filling can also be mixed up to 3 days ahead of time; simply refrigerate it and give it a gentle stir before pouring it over the crust. When you’re ready to bake, ensure the filling is at room temperature for best results. By preparing in advance, you’ll enjoy the same delightful flavors of these Rhubarb Dream Bars with minimal effort, perfect for spontaneous gatherings or quick weeknight treats!
Rhubarb Dream Bars Variations & Substitutions
Feel free to explore the delightful spectrum of flavors as you customize your Rhubarb Dream Bars!
-
Gluten-Free: Substitute all-purpose flour with a 1:1 gluten-free flour blend for a safe, delicious option. Enjoying these bars without the gluten won’t compromise on taste!
-
Berry Bliss: Replace diced rhubarb with chopped strawberries or raspberries. This swap introduces a sweeter profile, perfect for those who prefer less tang. The juiciness will complement the creamy filling beautifully.
-
Nutty Crunch: Stir in chopped pecans or almonds into the filling or sprinkle on top before baking. This addition elevates the texture and adds an irresistible crunch, making every bite even more delightful.
-
Cinnamon Swirl: For extra warmth, add a teaspoon of ground cinnamon to the filling. It pairs beautifully with rhubarb, offering a comforting spice that enhances the overall flavor. You can also experiment with nutmeg for a unique twist!
-
Lemon Zest: Incorporate a tablespoon of lemon zest into the filling for a refreshing citrus note. The bright flavor complements the rhubarb and adds an interesting contrast to the buttery crust.
-
Cream Cheese Layer: For a truly indulgent twist, add a layer of sweetened cream cheese beneath the rhubarb filling. This yields a rich, velvety texture that transforms your bars into an irresistible dessert.
-
Chocolate Variation: Stir in mini chocolate chips into the rhubarb mixture for a surprise element. The chocolate will lend a sweet contrast to the tangy fruit, making these bars a true crowd-pleaser!
If you’re intrigued by combining flavors, don’t forget to check out these delightful recipes: Fudgy Chewy Brookies and Chocolate Chip Cookies for more delicious inspiration!
Rhubarb Dream Bars Recipe FAQs
What type of rhubarb should I use?
Absolutely! Fresh rhubarb is preferred for its vibrant flavor, but if it’s out of season, thawed, drained frozen rhubarb can also work well. Just be sure to remove excess moisture to avoid a soggy filling.
How should I store leftover Rhubarb Dream Bars?
For best results, store your Rhubarb Dream Bars in an airtight container in the refrigerator for up to 4-5 days. This helps maintain their creamy consistency and delightful flavor while keeping them fresh!
Can I freeze Rhubarb Dream Bars?
Yes! To freeze your bars, begin by cutting them into squares and placing layers of parchment paper between each piece. Store them in a freezer-safe container for up to 2 months. When you’re ready to enjoy, simply thaw them in the fridge overnight.
What should I do if my bars are too jiggly after baking?
If your Rhubarb Dream Bars are still jiggly after the suggested baking time, simply return them to the oven and bake for an additional 5-10 minutes. They should be set and no longer jiggly in the center when done. Remember, ovens can vary, so keeping an eye on them during the last few minutes is key!
Are there gluten-free options for this recipe?
Very! You can substitute the all-purpose flour with a 1:1 gluten-free flour blend to make these bars gluten-free. This option will still yield a deliciously buttery crust and creamy filling that everyone can enjoy.
Can I add nuts to my Rhubarb Dream Bars?
Absolutely! If you’d like to add some nutty crunch, sprinkle chopped pecans or almonds on top before baking. This not only adds flavor but also enhances the texture, making for a delightful combination with the creamy filling.
Rhubarb Dream Bars: A Buttery Springtime Treat to Love
Ingredients
Equipment
Method
- Preheat the oven to 325°F (163°C) and grease a 9x13-inch baking pan.
- In a large mixing bowl, combine 2 cups of all-purpose flour and ½ cup of powdered sugar. Cut in 1 cup of cold, cubed butter until the mixture resembles coarse crumbs.
- Press the mixture into the bottom of the prepared pan and bake for about 15 minutes until just set but not browned.
- In the same bowl, beat 4 large eggs until frothy. Add in 2 cups of granulated sugar, ½ cup of all-purpose flour, 1 teaspoon of salt, and optional ½ teaspoon of ground cinnamon. Mix until well combined.
- Gently fold in 4 cups of diced rhubarb into the filling mixture until evenly distributed.
- Pour the rhubarb filling over the pre-baked crust and spread evenly. Bake for an additional 60 minutes until the center is set.
- Cool completely in the pan before slicing into squares and serving.
Leave a Reply