
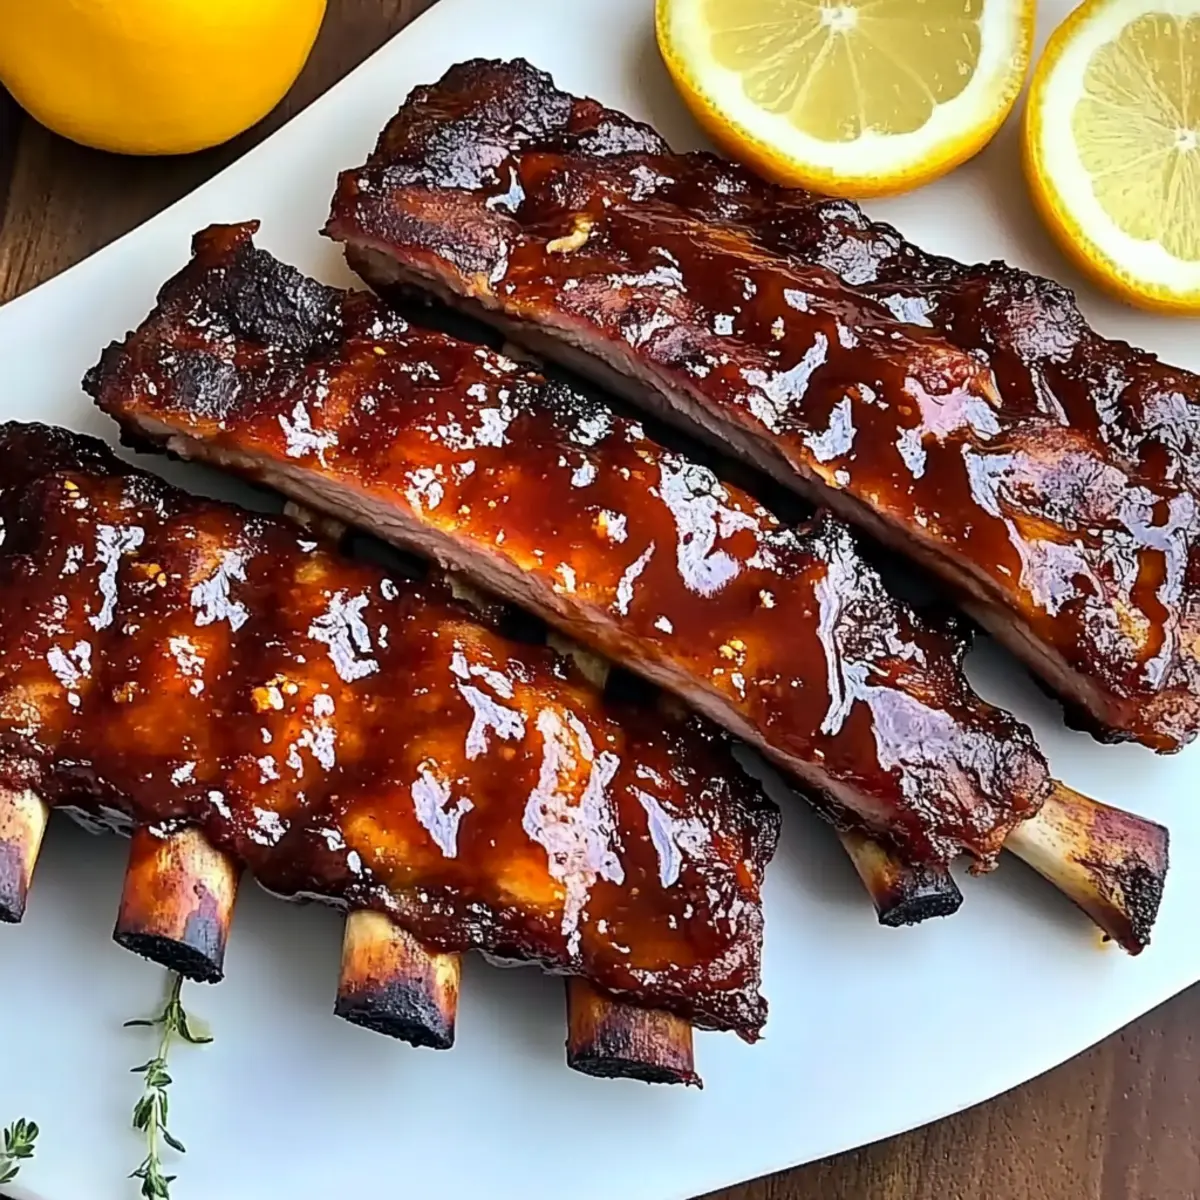
As I stood over the grill, the mouthwatering scent of smoked meat filled the air, instantly transporting me to summer BBQs with friends and laughter. The star of the show? My ultimate Grilled Baby Back Ribs, a recipe that not only brings out the tender, juicy goodness of the ribs but also allows for endless customization with your favorite barbecue sauces and spice rubs. This dish is perfect for gatherings, offering quick prep and the ability to impress even the pickiest of eaters. Whether you’re hosting a backyard cookout or simply craving a comforting home-cooked meal, these ribs are sure to create unforgettable moments. Curious about how to achieve that perfect smokiness? Let’s dive into this delicious adventure together!
Why Are These Ribs So Irresistible?
Tender, Juicy Perfection: The secret to these ribs lies in slow cooking, allowing the meat to absorb all the flavors and become incredibly tender.
Customizable Flavors: Whether you prefer a sweet barbecue sauce or a spicy rub, there’s room for your personal touch. Feel free to experiment with different marinades!
Ultimate Crowd-Pleaser: Perfect for summer gatherings, these ribs will impress guests of all ages and keep them coming back for more.
Time-Efficient: With a simple grill setup and just a few ingredients, you’ll spend less time in the kitchen and more time enjoying the outdoors.
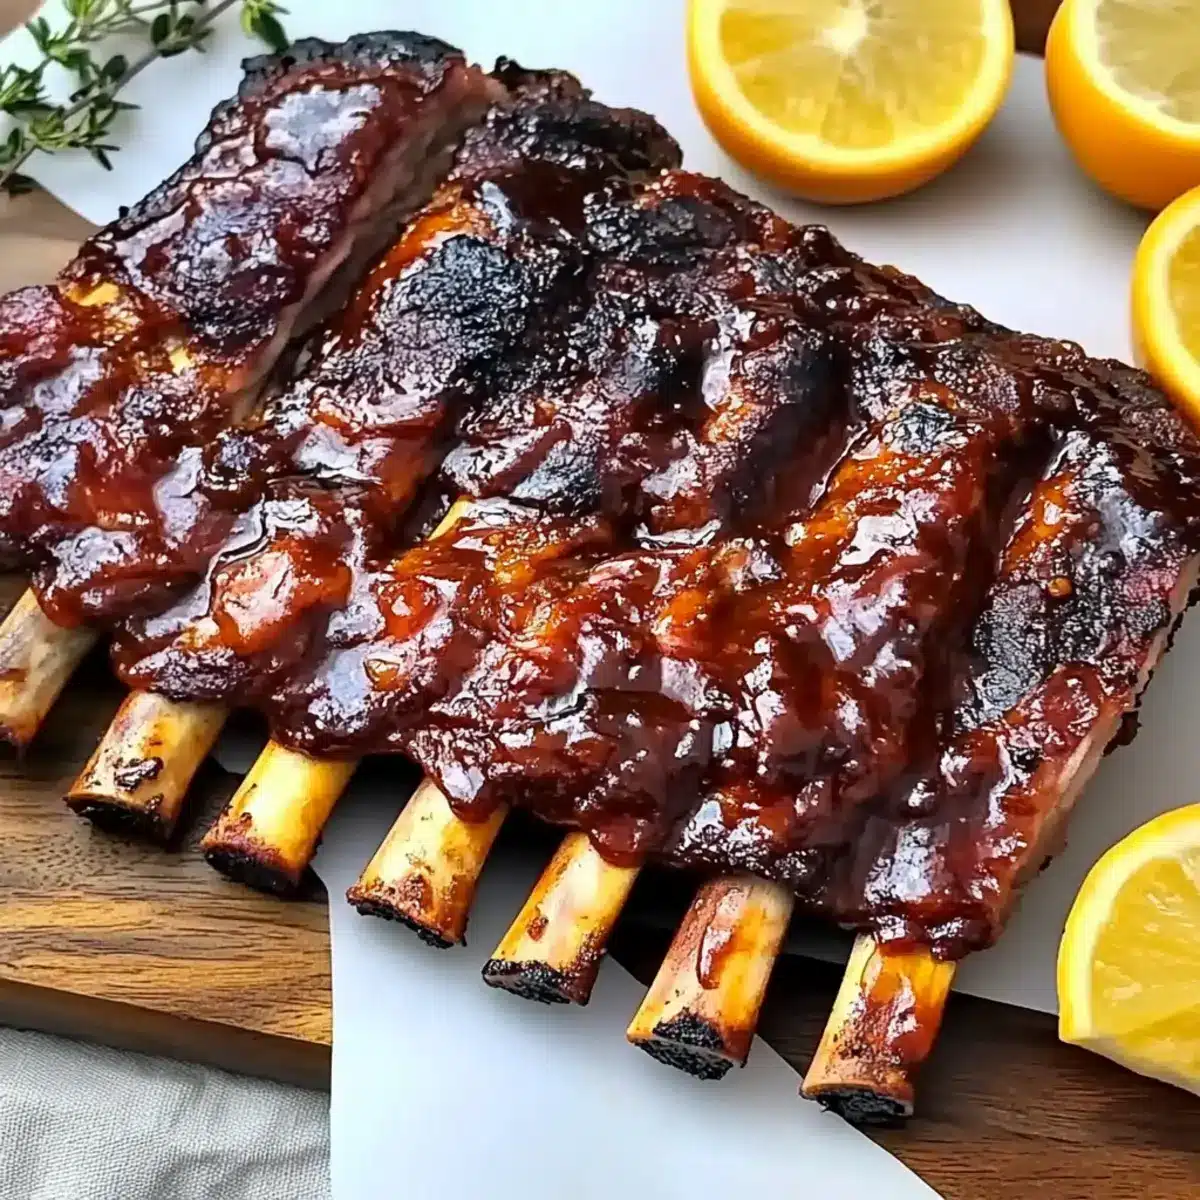
Savor Every Bite: Each rib boasts a smoky glaze that not only enhances flavor but also leaves a satisfying stickiness that will have everyone licking their fingers. Ready to elevate your grilling game? Don’t forget to check out my mouthwatering Chocolate Oat Cookies for a perfect dessert pairing!
Grilled Baby Back Ribs Ingredients
• Get ready to savor every bite!
For the Ribs
- Baby Back Pork Ribs – Choose well-trimmed racks for the most tender results.
For the Sauce
- Barbecue Sauce – Opt for your favorite store-bought or make your own for personalized flavor.
For Seasoning
- Salt – Essential for enhancing the natural flavors of the ribs.
- Pepper – Use freshly ground for a richer, more aromatic flavor profile.
Optional
- Spice Rub – Create your own mix with paprika, garlic powder, and cayenne for an extra kick.
- Wood Chips – Soak in water to add a delightful smokiness during grilling.
Now that you have these components, you’re one step closer to creating those delicious grilled baby back ribs everyone will love!
Step‑by‑Step Instructions for Grilled Baby Back Ribs
Step 1: Prepare the Grill
Begin by setting up your grill for indirect heat, creating a two-zone cooking area. On one side, add lit coals, leaving the other side coal-free. This configuration prevents burning and allows the ribs to cook slowly. Wait until the coals turn a uniform gray, which should take about 15 minutes, signaling that they are ready for grilling.
Step 2: Season the Ribs
Generously season both sides of the baby back pork ribs with salt and freshly ground pepper, ensuring every inch is covered. This enhances the natural flavors and helps develop a delicious caramelized crust. Let the seasoned ribs sit for about 10 minutes at room temperature while your grill is heating, allowing the seasoning to penetrate.
Step 3: Grill the Ribs
Place the ribs bone-side down on the cooler side of the grill, away from direct heat. Close the lid, and grill for approximately 1 hour, allowing for slow cooking. During this time, the meat will begin to break down, becoming tender and juicy, while the smoky aroma fills the air. Check occasionally to ensure the temperature remains steady.
Step 4: Apply Barbecue Sauce
After an hour, open the lid and brush a generous layer of your favorite barbecue sauce over the ribs. Avoid saucing the bone side to prevent burning. Close the lid again and continue cooking for an additional 30 minutes, allowing the sauce to caramelize, which creates a sweet and sticky glaze that elevates the flavor of the grilled baby back ribs.
Step 5: Flip and Sauce Again
Carefully flip the ribs using tongs, exposing the meat side, and add another layer of barbecue sauce. Continue grilling for an extra 15 to 30 minutes, keeping the lid closed. This helps to build an even richer flavor and allows the sauce to stick, giving your ribs that irresistible glossy finish.
Step 6: Check for Doneness
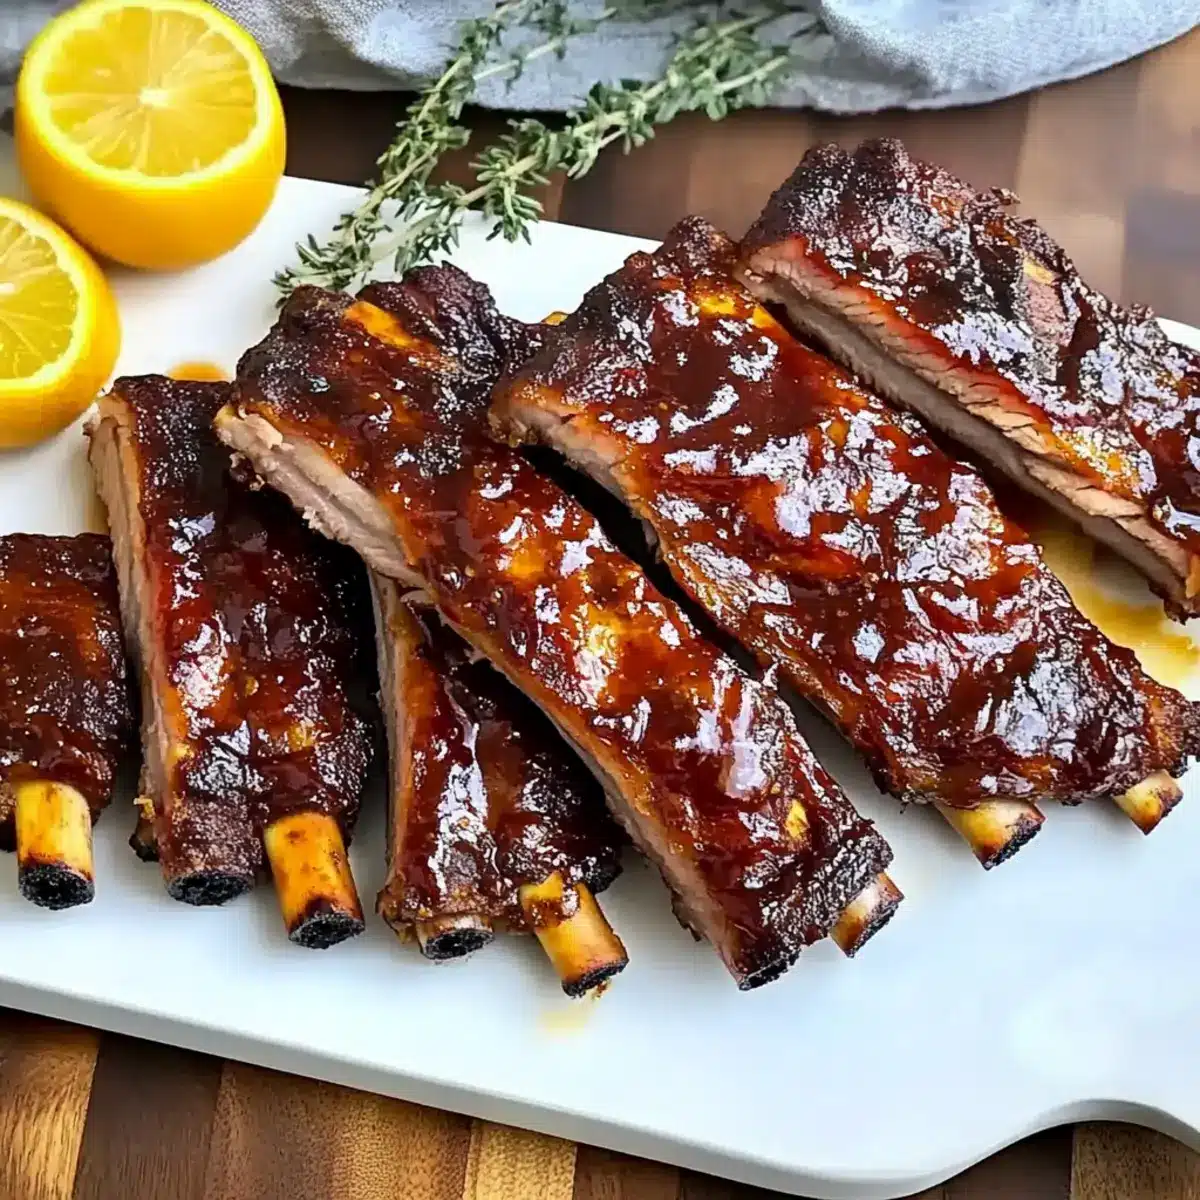
To check for doneness, look for the meat pulling away from the bones, indicating tenderness. The ribs should be cooked to an internal temperature of around 190°F for perfect softness. Remove the ribs from the grill and let them rest for 10 minutes. This resting period helps seal in the juices before slicing into your delicious grilled baby back ribs.
Tips for the Best Grilled Baby Back Ribs
-
Indirect Heat Magic: Cooking ribs over indirect heat prevents burning and ensures even, low-and-slow cooking for perfectly tender meat.
-
Season Generously: Don’t skimp on the salt and pepper. A good seasoning base enhances flavors and creates that irresistible caramelized crust on the grilled baby back ribs.
-
Sauce Timing: Apply barbecue sauce during the final stages of grilling. Early application can lead to burning; allow the sugars to caramelize perfectly without charring.
-
Resting is Key: After grilling, let the ribs rest for at least 10 minutes. This allows juices to redistribute, resulting in a moist and flavorful bite.
-
Experiment with Flavors: Feel free to swap barbecue sauces or add homemade spice rubs to customize your ribs. Each variation offers a new twist to delight your taste buds!
What to Serve with Grilled Baby Back Ribs
Transform your cookout into a culinary masterpiece with perfect pairings that elevate these smoky, tender ribs.
-
Creamy Coleslaw: Adds a crunchy, refreshing contrast to the rich flavors of the ribs, cooling the palate and enhancing the overall meal. Its vibrant colors and zest make it an eye-catching addition to your spread.
-
Baked Beans: Sweet and savory, baked beans not only bring a hearty texture to your plate but also complement the smoky notes of the ribs beautifully. Their rich flavor combination creates a comforting and satisfying side.
-
Cornbread: Soft and slightly sweet, cornbread is a quintessential barbecue staple that perfectly soaks up the savory juices of the ribs. Serve it warm, slathered with butter, for a delightful addition to your meal.
-
Grilled Vegetables: Lightly charred veggies like bell peppers and zucchini offer a burst of freshness, balancing the hearty ribs with vibrant colors and nutrients. This adds a healthy element to your delicious spread.
-
Potato Salad: The creamy richness of potato salad enhances the indulgent experience of barbecue ribs while providing a cooling effect with each bite. A sprinkle of herbs elevates the flavors even further, making it irresistible.
-
Lemonade or Iced Tea: Quench your thirst with a refreshing glass of lemonade or iced tea. Their bright acidity cuts through the richness of the ribs, making each bite more enjoyable and refreshing on a summer day.
-
Chocolate Oat Cookies: Finish off your meal on a sweet note with these decadent cookies. Their chewy texture and rich flavor provide a delightful contrast after savoring the smokiness of the ribs, leaving everyone satisfied.
Make Ahead Options
These Grilled Baby Back Ribs are a fantastic choice for meal prep, allowing busy cooks to enjoy delicious barbecue with minimal hassle. You can season the ribs with salt and pepper and marinate them in your favorite barbecue sauce up to 24 hours ahead of time—this infuses the meat with flavor. Additionally, you can prepare your grill setup in advance, ensuring it’s ready for grilling when needed. When it’s time to cook, simply grill the marinated ribs as directed and apply the barbecue sauce during cooking. With just a little prep work, you’ll have tender, smoky ribs ready to impress with great taste and efficiency!
Grilled Baby Back Ribs Variations
Feel free to explore these creative twists on your grilled baby back ribs and make them your own!
- Spicy Chipotle: Swap out traditional barbecue sauce for a spicy chipotle glaze to add a fiery kick.
- Fruity Apricot Glaze: For a sweet touch, brush on a fruity apricot sauce in place of the barbecue sauce.
- Homemade Spice Rub: Create a custom spice rub with paprika, garlic powder, and cayenne for unique flavor.
- Mustard Marinade: Marinate the ribs in a tangy mustard mixture overnight for enhanced complexity.
- Apple Juice Baste: During grilling, lightly baste the ribs with apple juice to keep them moist and add subtle sweetness.
- Smoke Infusion: Try using hickory or applewood chips in the grill for an extra layer of smokiness that enhances the flavor.
- Tropical Twist: Add a coconut marinade or pineapple-based sauce for a tropical flair that will impress your guests.
- Herbed Rub: Mix fresh herbs like rosemary and thyme into your spice rub for an aromatic flavor profile.
Each of these variations not only elevates flavors but also keeps the excitement alive at your summer cookouts. If you’re craving something sweet to finish your meal, don’t miss out on my delightful Chocolate Oat Cookies that perfectly balance the savory ribs!
Storage Tips for Grilled Baby Back Ribs
- Fridge: Store leftover grilled baby back ribs in an airtight container for up to 3 days. This keeps them fresh and ready for your next meal.
- Freezer: If you want to enjoy them later, wrap the ribs tightly in aluminum foil or freezer-safe bags and freeze for up to 3 months.
- Reheating: Gently reheat ribs in the oven at 250°F for about 20-30 minutes or on the grill covered to maintain moisture and tenderness.
- Avoiding Dryness: When reheating, consider adding a splash of barbecue sauce or a bit of water to the wrapping to keep the ribs juicy and flavorful.
Grilled Baby Back Ribs Recipe FAQs
What should I look for when selecting baby back ribs?
Absolutely! When selecting baby back pork ribs, look for well-trimmed racks that have a good amount of meat covering the bones without excessive fat. The meat should be pink and moist, not dried out, and you might also check for a smooth surface without dark spots all over, which can indicate spoilage.
How should I store leftover grilled baby back ribs?
Be sure to store any leftover ribs in an airtight container in the fridge for up to 3 days. This preserves their flavor and texture! To keep them extra moist when storing, you can wrap them in parchment paper before placing them in the container, sealing the air out to prevent drying.
Can I freeze grilled baby back ribs?
Yes, you can freeze leftover ribs! For best results, wrap them tightly in aluminum foil or use freezer-safe bags, making sure to remove as much air as possible. They can last for up to 3 months in the freezer. When you’re ready to enjoy them, just thaw in the refrigerator overnight before reheating.
What’s the best way to reheat grilled baby back ribs?
To reheat your delicious grilled baby back ribs, gently heat them in the oven at 250°F for about 20-30 minutes. To keep them tender, I recommend wrapping them in foil and adding a splash of barbecue sauce or a little water before sealing. This helps to maintain moisture while they warm up.
Are there any dietary considerations for these ribs?
Great question! If you’re serving these ribs to guests, be mindful of any allergies related to soy, as some barbecue sauces contain soy sauce. Additionally, those with specific dietary restrictions, such as gluten intolerance, should check the labels on their barbecue sauce for hidden gluten.
Can I customize the barbecue sauce?
Very much so! Feel free to swap in your favorite homemade or store-bought barbecue sauce to suit your taste. If you’re feeling adventurous, experiment with flavors like a spicy chipotle glaze or a fruity apricot sauce. You can also create your own spice rub using seasonings like paprika, garlic powder, and cayenne to add an extra punch to the flavor!
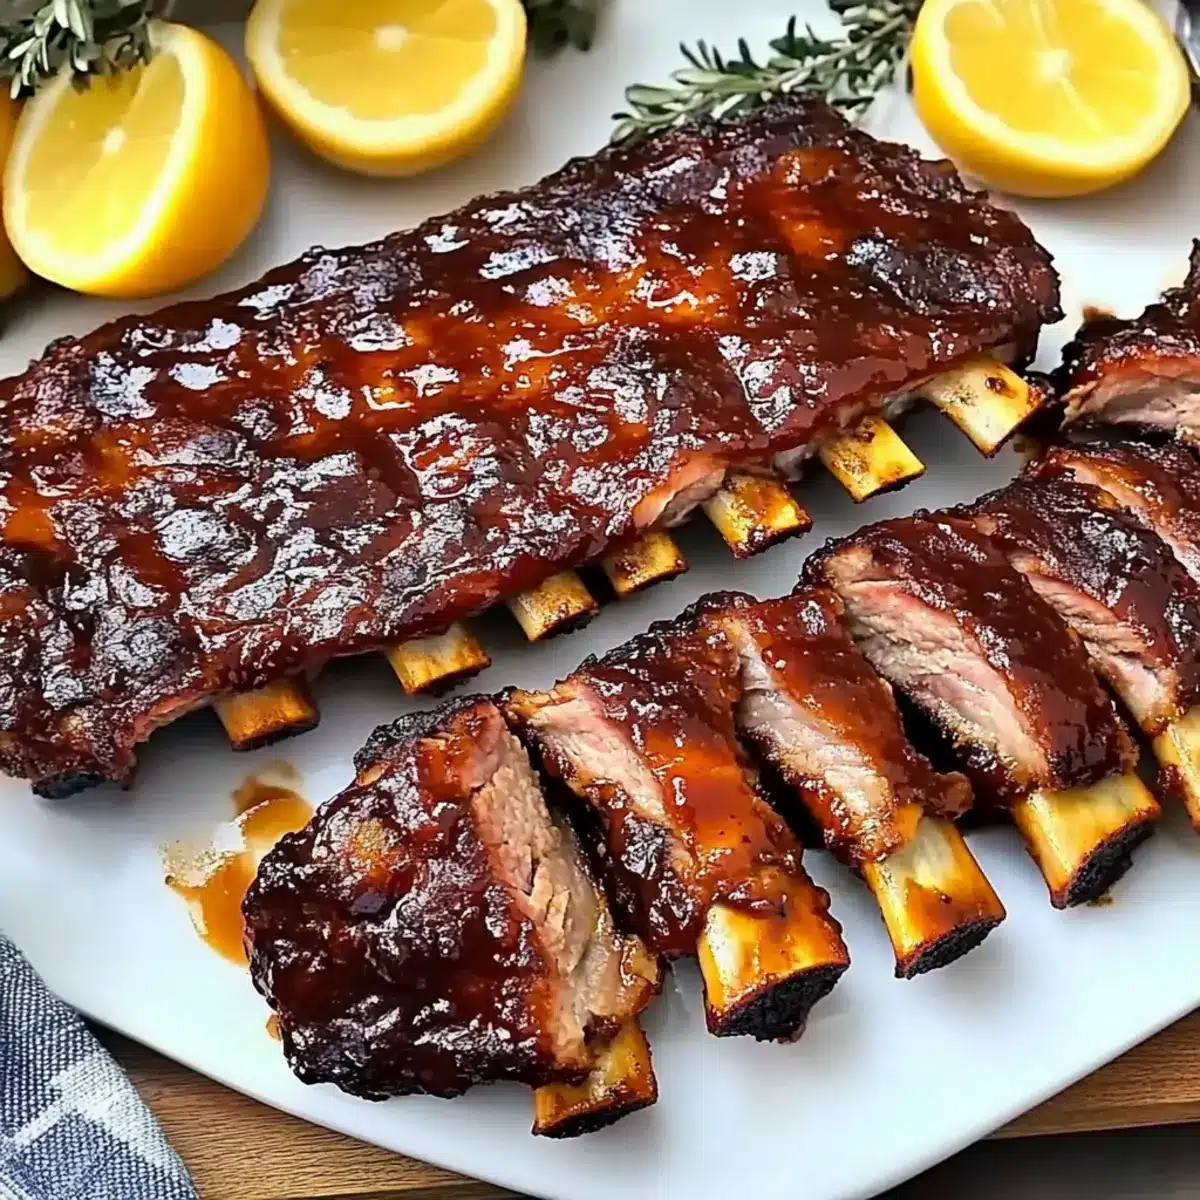
Finger-Lickin' Grilled Baby Back Ribs: Juicy and Smoky Bliss
Ingredients
Equipment
Method
- Prepare the grill for indirect heat with a two-zone cooking area.
- Season the ribs with salt and pepper; let sit for 10 minutes.
- Grill ribs bone-side down on the cooler side for 1 hour.
- Apply barbecue sauce; continue grilling for an additional 30 minutes.
- Flip the ribs and apply more barbecue sauce; grill for 15-30 minutes.
- Check for doneness; let rest for 10 minutes before serving.
Leave a Reply