
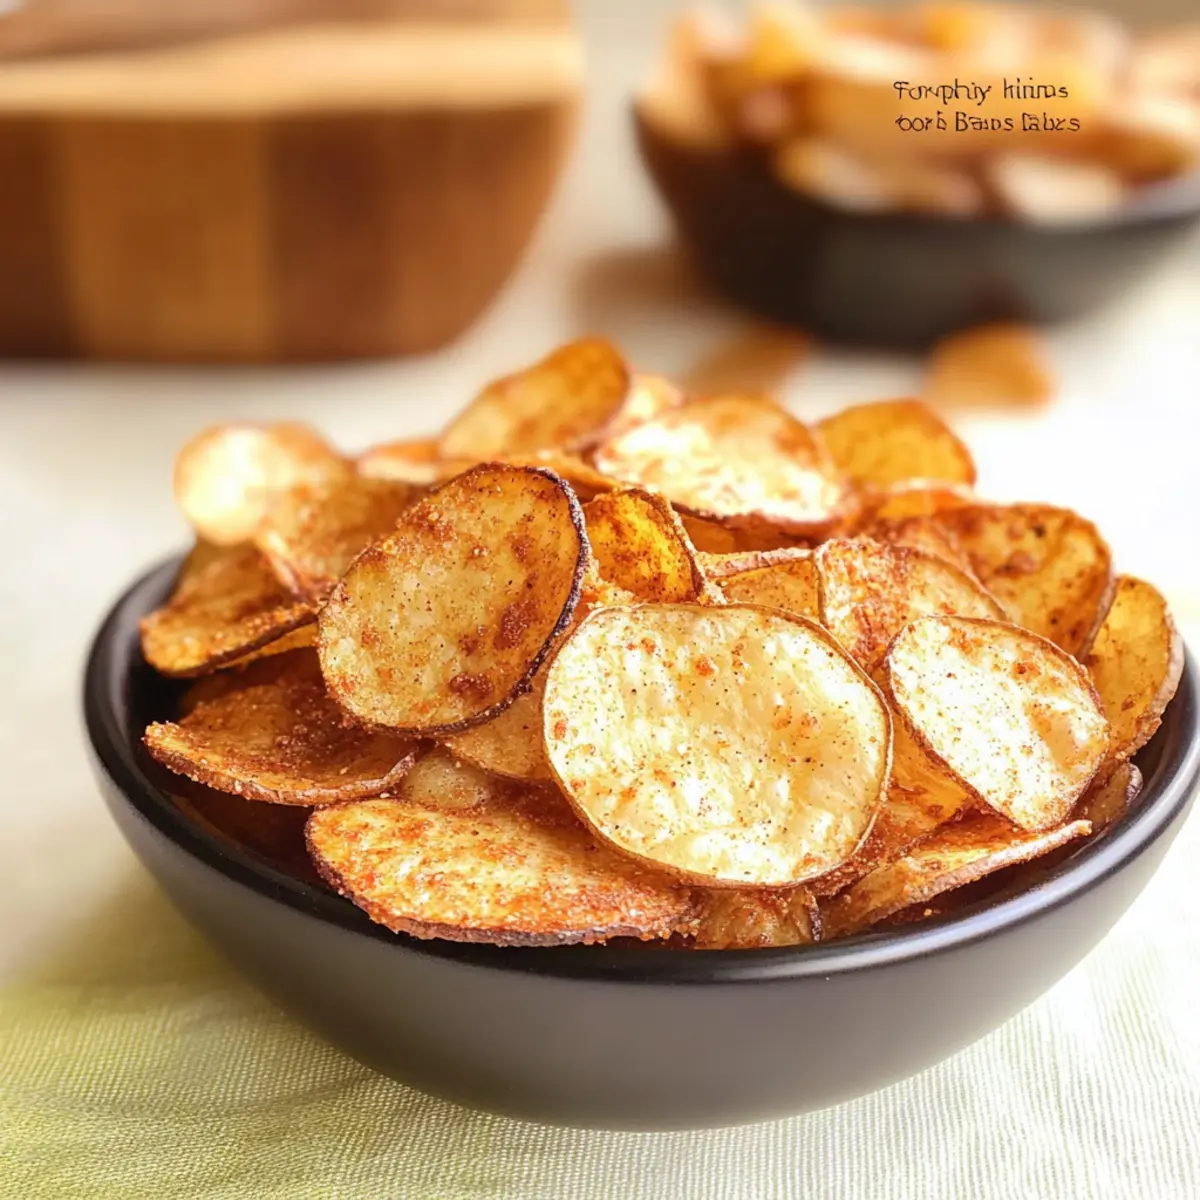
Crispy, salty, and bursting with flavor, is there anything better than a fresh batch of homemade BBQ chips? As I stood in my kitchen, the rich aroma of spices wafted through the air, reminding me of sunny picnics and backyard barbecues. This recipe for Crispy Homemade BBQ Chips combines the crunchy satisfaction we crave with the delightful freedom to customize the seasoning just to your liking. Not only are these chips easy to whip up, but they also provide a healthier alternative to those store-bought varieties laden with preservatives. Whether you decide to bake for a lighter option or fry for extra indulgence, you’re in for a treat that will impress family and friends alike. Ready to elevate your snack game? Let’s dive into the world of homemade BBQ chips that will leave your taste buds singing!

Why Make Homemade BBQ Chips?
Deliciously Crispy: These homemade BBQ chips offer a crunch that store-bought varieties can’t match, elevating snack time to a whole new level.
Customize Your Flavor: With a blend of spices like paprika and garlic powder, you can tailor the seasoning to your taste—spicy, sweet, or smoky, it’s all up to you!
So Easy to Make: Making chips at home is surprisingly simple and allows you to skip the preservatives found in packaged snacks.
Healthier Choice: You control the ingredients and oil used, making this a much healthier alternative to traditional chips—guilt-free snacking at its finest!
Perfect for Sharing: Whether at a get-together or a family movie night, these crispy delights are sure to impress and satisfy everyone’s cravings. Enjoy them with dips like guacamole or sour cream for an extra flavor boost!
Homemade BBQ Chips Ingredients
• Get ready to create your own delicious chips!
For the Chips
- Potatoes – Use Russet potatoes for the best texture and crispiness.
- Vegetable Oil – Opt for canola or vegetable oil for frying or baking.
For the BBQ Seasoning
- Paprika – Adds a delightful smokiness; adjust according to your taste preference.
- Onion Powder – Enhances the flavor depth of your seasoning mix.
- Brown Sugar – Contributes a hint of sweetness to balance the spices.
- Garlic Powder – Infuses a savory note that elevates the flavor profile.
- Salt – Essential for proper seasoning; use to enhance the overall flavors.
- Chili Powder – Provides a kick of heat; vary the amount based on your spice tolerance.
These Homemade BBQ Chips are sure to satisfy your cravings and elevate your snack game! Enjoy making them just the way you like!
Step‑by‑Step Instructions for Crispy Homemade BBQ Chips
Step 1: Slice Potatoes
Begin by washing and peeling the Russet potatoes, if desired. Using a mandolin slicer or a sharp knife, slice the potatoes into thin, even slices about 1/8 inch thick. This ensures uniform cooking and crispy results. Set the slices aside and admire the fresh potato goodness that will soon transform into delicious homemade BBQ chips!
Step 2: Soak
Next, place the potato slices in a large bowl and cover them with cold water. Let the slices soak for 30 minutes. This crucial step removes excess starch and helps achieve that crispy texture we crave. After soaking, you’ll notice some of the starch settling at the bottom of the bowl—discard it before proceeding to the next step!
Step 3: Prepare Seasoning
While the potato slices are soaking, prepare the BBQ seasoning mix. In a mixing bowl or a resealable bag, combine paprika, onion powder, brown sugar, garlic powder, salt, and chili powder. Mix well to ensure all the spices are evenly distributed. The delightful aroma of this seasoning blend will have your taste buds tingling with anticipation for your homemade BBQ chips.
Step 4: Drain & Dry
Once the soaking time is complete, drain the potato slices and rinse them under cold running water. Pat the slices completely dry using kitchen towels or paper towels. Removing excess moisture is essential for getting that crispy texture in your crispy homemade BBQ chips, whether you choose to bake or fry them.
Step 5: Bake Method
For the baked version, preheat your oven to 400°F (200°C). Line baking sheets with greased foil, allowing for easy cleanup. Arrange the potato slices in a single layer, ensuring none overlap. Lightly brush each slice with vegetable oil for even crispiness. Bake in the preheated oven for 10-15 minutes, or until they are golden brown and crispy, flipping them halfway through for even baking.
Step 6: Fry Method
If you prefer frying the chips, heat vegetable oil in a deep fryer or a large heavy-bottomed pot to 350°F (175°C). Carefully lower the dried potato slices into the hot oil in small batches to avoid overcrowding. Fry for about 3-5 minutes or until they turn golden brown and develop a delightful crunch. Use a slotted spoon to remove the chips and let them drain on paper towels.
Step 7: Season
Once the chips are cooked and still warm, transfer them to a large mixing bowl. Sprinkle your prepared BBQ seasoning over the chips, tossing them gently to coat each one evenly. The heat from the freshly cooked chips will help the seasoning stick better, ensuring every bite is infused with that irresistible homemade BBQ flavor.
Step 8: Cool & Store
After seasoning, allow the homemade BBQ chips to cool completely. This will help them crisp up even more. Pat any excess oil off gently with paper towels before placing the chips in an airtight container. Enjoy your crispy homemade BBQ chips immediately or store them at room temperature for up to a week—if they last that long!
What to Serve with Crispy Homemade BBQ Chips?
Savor the irresistible crunch of your homemade chips by pairing them with deliciously complementary bites and sips that elevate the flavor experience.
-
Guacamole: Creamy and rich, guacamole adds a refreshing contrast that balances the spicy chip flavors perfectly. It’s an excellent way to bring a creamy texture to your crunchy chips.
-
Sour Cream: A dollop of tangy sour cream creates a delightful union of flavors, cutting through the spice with its coolness. Serve it alongside for dipping or as a spread.
-
Fresh Salsa: Bursting with tomatoes and herbs, fresh salsa invigorates your BBQ chips with a zesty kick. It’s a vibrant addition that brightens every bite while adding a burst of freshness.
-
Cheese Dip: A warm, cheesy dip oozes indulgence and creates a mouthwatering pairing with the savory BBQ chips. Ideal for sharing, it’s a crowd-pleaser that invites everyone to dig in.
-
Pulled Pork Sliders: Tender pulled pork nestled in a mini bun makes for a hearty accompaniment. The sweet and smoky flavors of the meat complement the seasoned chips in a satisfying bite.
-
Craft Beer: Sipping on a cold craft beer enhances the overall experience, as its hoppy notes perfectly match the smoky spices of your homemade BBQ chips. It’s a match made in snack heaven!
-
Lemonade: A refreshing glass of homemade lemonade offers a sweet and tangy contrast to the savory chips, cleansing the palate and keeping everyone refreshed during gatherings.
-
Chocolate Brownies: For a sweet finish after savoy munching, the richness of chocolate brownies pairs beautifully with the salty crunch, creating a satisfying balance of flavors that will leave everyone wanting more.
Expert Tips for Homemade BBQ Chips
-
Use a Mandolin: Ensure even slices by using a mandolin for uniform thickness, which leads to consistent cooking and perfect crunch.
-
Soaking is Key: Don’t skip soaking the potato slices; this step removes excess starch and is essential for achieving that coveted crispiness.
-
Pat Dry Thoroughly: Always pat the potato slices dry after soaking. Excess moisture can result in soggy chips, undermining the homemade BBQ chips’ delightful texture.
-
Oven Temperature: Check your oven’s temperature accuracy with a thermometer, as the right heat is crucial for achieving that perfect golden color without burning.
-
Season While Warm: Toss your chips in the seasoning mix right after cooking while they’re still warm to ensure the flavors adhere beautifully to every chip.
-
Experiment with Flavors: Feel free to adjust the seasoning blend to suit your preferences—additional spices or sweeteners can make your homemade BBQ chips uniquely yours!
How to Store and Freeze Homemade BBQ Chips
Room Temperature: Store homemade BBQ chips in an airtight container at room temperature for optimal crispiness. Enjoy them fresh for up to 1 week.
Freezer: If you want to keep your chips longer, freeze them in a resealable bag for up to 3 months. When ready to eat, reheat in a 350°F oven until crispy again.
Reheating: To restore crispiness, reheat baked chips in a single layer at 350°F for about 5-10 minutes, watching closely to prevent burning.
Avoid Moisture: Always ensure chips are completely cooled and dry before storing to prevent moisture buildup, which can lead to sogginess.
Homemade BBQ Chips Variations
Feel the joy of making these delicious homemade BBQ chips even more exciting with these tasty twists and substitutions!
-
Sweet Potato Alternative: Swap Russet potatoes for sweet potatoes to create a subtly sweet variation packed with nutrients. Perfect for a tasty twist!
-
Spice It Up: Add cayenne pepper to your seasoning mix for an extra kick. This simple adjustment will turn up the heat and add a bold flavor element.
-
Dairy-Free Option: Use a sprinkle of nutritional yeast in your BBQ seasoning for a cheesy, savory flavor without any dairy. It’s a fantastic way to enhance flavor for everyone!
-
Baked vs. Fried: If you want a healthier version, stick with the baking method, but consider using a little less oil for a lighter finish while still achieving that amazing crunch!
-
Flavor Boost: Mix in other spices like BBQ rub or garlic paste for a different taste profile. Experimenting with flavors can make your snack time even more thrilling!
-
Maple Sweetness: Replace brown sugar with maple sugar for a unique sweet twist. This adds a delightful, earthy flavor to your BBQ chips that will keep you coming back for more.
-
Herb-infused Chips: Toss in some dried herbs like thyme or rosemary to the seasoning for a garden-fresh twist that elevates the entire eating experience. Your taste buds will dance with joy!
To enhance your BBQ chip experience further, consider serving them alongside homemade dips like Homemade Green Bean casserole for a balanced snack, or indulge in some crispy Cinnamon Sugar Chips for dessert if you’re feeling adventurous. Enjoy your culinary journey!
Make Ahead Options
These Crispy Homemade BBQ Chips are perfect for meal prep lovers looking to save time! You can slice and soak the potatoes up to 24 hours in advance; simply drain and dry them before cooking to ensure crispiness. Additionally, you can prepare your BBQ seasoning mix and store it in an airtight container for up to 3 days. When you’re ready to indulge, just follow the baking or frying instructions, and toss the warm chips with the seasoning for an irresistible snack. This way, you’ll enjoy all the flavor without the last-minute rush, making snack time a breeze for busy weeknights!
Crispy Homemade BBQ Chips Recipe FAQs
How do I choose the right potatoes for homemade BBQ chips?
Absolutely! For the best texture and crispiness, I recommend using Russet potatoes. Their starchy composition makes them perfect for achieving that signature crunch in your BBQ chips.
What is the best way to store leftover homemade BBQ chips?
To keep your chips crispy, store them in an airtight container at room temperature. They’ll stay fresh for up to a week—if you can resist eating them all at once!
Can I freeze homemade BBQ chips?
Very! To freeze your crispy homemade BBQ chips, first make sure they are completely cooled. Place them in a resealable bag, removing as much air as possible before sealing. They can be kept in the freezer for up to 3 months. When you’re ready to enjoy them again, bake them at 350°F for about 5-10 minutes to regain that crunch.
What should I do if my BBQ chips turn out soggy?
If your chips end up soggy, don’t lose hope! Make sure you’re soaking the potato slices for just the right time—30 minutes usually does the trick. Also, ensure they are completely dry before baking or frying, as any excess moisture can lead to sogginess. If they still aren’t crispy enough, you can pop them back into a hot oven to dry out for a few minutes.
Are homemade BBQ chips safe for pets?
While homemade BBQ chips can be a fun treat for us humans, it’s best to keep them away from pets. Ingredients like salt and certain spices can be harmful to dogs and cats. Always consult your veterinarian before sharing human snacks with furry friends.
Can I adjust the seasoning for dietary needs?
Absolutely! You can easily customize the seasoning mix to cater to any dietary requirements. For a lower sodium option, just reduce the salt, and feel free to swap out spices that may trigger allergies. You could even try using low-sugar alternatives instead of brown sugar if needed!
Crispy Homemade BBQ Chips to Elevate Your Snack Game
Ingredients
Equipment
Method
- Wash and peel the Russet potatoes if desired. Slice into thin, even slices about 1/8 inch thick.
- Place the potato slices in a large bowl and cover them with cold water. Soak for 30 minutes.
- Prepare the BBQ seasoning mix by combining paprika, onion powder, brown sugar, garlic powder, salt, and chili powder. Mix well.
- Drain and rinse the potato slices under cold running water. Pat dry using kitchen towels.
- Preheat your oven to 400°F (200°C) for the baked method and arrange potato slices on baking sheets. Brush lightly with vegetable oil and bake for 10-15 minutes.
- For frying, heat vegetable oil to 350°F (175°C) and fry potato slices in small batches for 3-5 minutes until golden brown.
- Sprinkle prepared BBQ seasoning over the warm chips in a mixing bowl, tossing gently to coat.
- Allow chips to cool completely and store in an airtight container.
Leave a Reply