
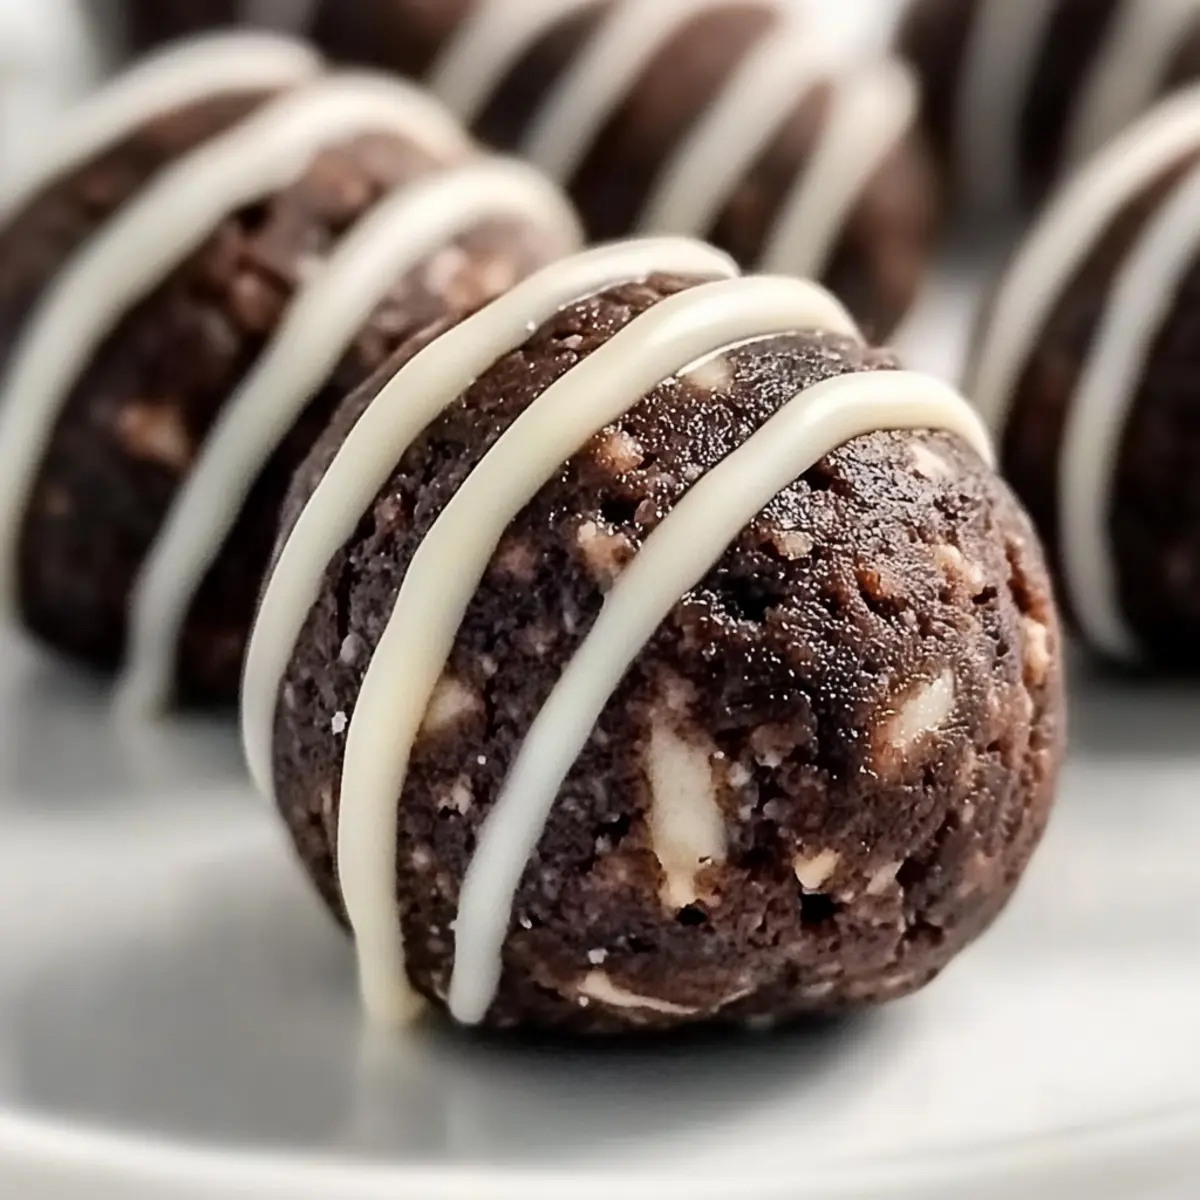
The smell of silky chocolate wafting through my kitchen is irresistible, especially when I’m whipping up something as delightful as these Oreo Protein Balls. This no-bake sensation combines the familiar taste of classic Oreos with the power boost of protein, making it the ultimate quick snack or post-workout treat. With just a handful of ingredients and minimal prep time, you can have these energy bites ready in a snap—perfect for those busy days when you crave something sweet and satisfying. Plus, they’re easily customizable, letting you experiment with different protein powders and mix-ins based on what you have at home. Are you ready to dive into indulgence without the guilt? Let’s get started on this delicious journey!
Why are Oreo Protein Balls a Must-Try?
Decadent Flavor: These Oreo protein balls pack an explosion of chocolatey goodness, satisfying your sweet tooth without the guilt.
No-Bake Simplicity: With just a few ingredients and no baking required, you can whip these up in minutes—making them a fantastic option for busy lifestyles.
Customizable Delight: Feel free to experiment with different protein powders or swap in your favorite sandwich cookies for new flavor combinations!
Wholesome Nutrition: They’re packed with protein, offering a delicious way to fuel your workouts and satisfy cravings in one bite. Why not pair them with a glass of almond milk for a balanced treat?
Crowd-Pleasing Snack: Perfect for sharing, these bites will impress guests at gatherings or provide a delightful pick-me-up during your workday. Try them alongside my Pineapple Christmas Balls for a fun dessert spread!
Oreo Protein Balls Recipe Ingredients
For the Base
• Oreo Cookies – The star ingredient providing that signature chocolatey flavor.
• Cream Cheese – Adds creaminess and helps bind the mixture; opt for reduced-fat to lighten it up.
For the Protein Boost
• Protein Powder – Main protein source; choose chocolate or vanilla for different flavors, or even plant-based options if desired.
For Consistency
• Almond Milk – Helps adjust the mixture’s consistency; feel free to use any type of milk based on your preference.
For the Chocolate Coating
• Chocolate (for coating) – Melted chocolate chips aid in richness; you can substitute with dairy-free chocolate for a vegan treat.
Whether you’re looking for a quick snack or a post-workout boost, these Oreo Protein Balls Recipe ingredients create a delightful and guilt-free indulgence!
Step‑by‑Step Instructions for Oreo Protein Balls Recipe
Step 1: Prepare Baking Sheet
Begin by lining a baking sheet with wax paper to ensure the Oreo protein balls don’t stick after forming. This will create a clean surface for you to place the protein balls once they’re rolled, making cleanup effortless later on. Set this aside while you move on to mixing the ingredients.
Step 2: Mix Dry Ingredients
In a large mixing bowl, combine your protein powder and crushed Oreo cookies. Use a fork or whisk to blend these dry ingredients together thoroughly, ensuring an even distribution of flavor. This step is crucial for a consistent taste throughout your Oreo protein balls, so take a moment to do this well.
Step 3: Blend Mixture
Gradually add in the softened cream cheese and almond milk to the dry mixture. Mix by hand with a spatula or use a stand mixer on low speed until a uniform dough forms. The mixture should be smooth and slightly sticky, allowing you to easily shape it into balls. If needed, adjust the almond milk for your desired consistency.
Step 4: Roll Balls
Once the mixture reaches a moldable texture, scoop out approximately one tablespoon of dough and roll it into a ball between your palms. Aim for smooth, even balls without cracks. Place the formed balls onto the prepared baking sheet, ensuring they’re spaced apart to prevent sticking, and continue until all the mixture is used.
Step 5: Melt Chocolate
In a microwave-safe bowl, combine chocolate chips and a tablespoon of coconut oil. Microwave the mixture in 30-second intervals, stirring after each interval until fully melted and smooth. This chocolate coating will add a rich finishing touch to your Oreo protein balls—simply be patient and avoid overheating.
Step 6: Drizzle Chocolate
Once the chocolate is melted and velvety, take a spoon and drizzle it generously over each rolled protein ball. This step not only adds flavor but also makes your protein balls visually appealing. Make sure to cover each ball adequately so they resemble delightful, chocolate-covered treats.
Step 7: Set in Freezer
Carefully place the baking sheet with the chocolate-drizzled Oreo protein balls into the freezer. Allow them to chill for about 10 minutes or until the chocolate coating is fully set. This quick chilling time will ensure the chocolate hardens properly, keeping your delicious treats truly irresistible.
Step 8: Store
Once the chocolate has set, transfer your glorious Oreo protein balls to an airtight container. Store them in the refrigerator for up to a week or freeze for longer preservation. This step ensures you’ll have a delicious snack ready whenever the craving hits, providing both convenience and satisfaction.
Make Ahead Options
These Oreo Protein Balls are a fantastic choice for meal prep, saving you time on busy days! You can prepare the mixture up to 24 hours in advance; just combine the protein powder, crushed Oreos, cream cheese, and almond milk, then store it in an airtight container in the refrigerator. This way, the flavors meld beautifully while keeping the mixture fresh. When you’re ready to finish the recipe, simply roll the mixture into balls, drizzle with melted chocolate, and chill them for an additional 10 minutes in the freezer to set. With these make ahead tips, you’ll always have a delicious, protein-rich snack on hand!
What to Serve with Oreo Protein Balls?
These delightful energy bites are perfect for creating a balanced, satisfying snack experience that you’ll adore.
-
Creamy Yogurt: A scoop of Greek yogurt adds a tangy contrast and enhances the protein content. It’s a delicious and nutritious complement!
-
Fresh Fruit Salad: Bright, juicy fruits like berries or sliced bananas add freshness and balance out the sweetness of the Oreo protein balls, making for a refreshing bite.
-
Nut Butter Dip: Serve these protein balls with almond or peanut butter for an extra layer of flavor, adding healthy fats and a delightful creaminess.
-
Almond Milk: Enjoy your Oreo protein balls with a chilled glass of almond milk, enhancing moisture and providing a dairy-free option for extra indulgence.
-
Granola Parfait: Layer the protein balls with yogurt and granola for a satisfying parfait, perfect for breakfast or a mid-afternoon pick-me-up.
-
Chocolate Smoothie: Pair your treats with a chocolate banana smoothie; it’s a heavenly duo that offers extra energy while keeping you refreshed.
-
Trail Mix: For an on-the-go option, mix your protein balls with nuts and dried fruits for a crunchy, satisfying snack full of varied textures and flavors.
-
Cheese Platter: Add some delightful cheese like brie or cheddar for sophistication—this unexpected pairing will surprise your guests!
-
Decadent Coffee: A cup of strong coffee or mocha provides a warm, comforting contrast that pairs well with the chocolatey goodness of the protein balls.
Oreo Protein Balls Recipe Variations
Feel free to get creative and customize these delicious Oreo protein balls to tantalize your taste buds!
-
Flavor Swap: Replace Oreos with any flavored sandwich cookies for a unique twist. Try using mint chocolate or peanut butter cookies for delightful surprises.
-
Nutty Crunch: Add chopped nuts like almonds or walnuts for added crunch and flavor. These give your protein balls a satisfying texture and boost the nutrient profile.
-
Fruit Fusion: Toss in dried fruit like cranberries or raisins to provide a sweet and chewy contrast. Each bite will burst with fruity flavor, enhancing the overall experience.
-
Protein Twist: Use different protein powders—chocolate, vanilla, or even cacao for a richer taste. This allows you to personalize the protein punch based on your preference or what you have on hand.
-
Dairy-Free Delight: Substitute cream cheese with a dairy-free alternative like cashew cream or coconut cream cheese. Now, everyone can savor the goodness without worrying about dairy!
-
Sugar-Free Option: If you’re watching your sugar intake, consider using sugar-free cookies and sweeteners like erythritol to keep these treats guilt-free while still satisfying your sweet tooth.
-
Extra Chocolate: Feeling indulgent? Swirl in some chocolate chips or cocoa nibs into the mixture before rolling into balls. This adds an extra layer of chocolatey goodness!
-
Add Some Spice: For a warming twist, incorporate cinnamon or nutmeg to the mixture. These spices will invite cozy vibes and elevate the flavor profile beautifully.
These variations make it easy to whip up a fresh batch of Oreo Protein Balls tailored to your tastes or dietary needs. And while you’re at it, consider pairing them with my delightful Cheesecake Truffle Balls for a fun variety platter everyone will love!
How to Store and Freeze Oreo Protein Balls
Fridge: Store your Oreo protein balls in an airtight container in the fridge, where they’ll stay fresh for up to a week. Just grab one whenever you need a quick snack!
Freezer: For longer storage, freeze the protein balls in a single layer on a baking sheet, then transfer them to a freezer-safe container. They can last up to 3 months in the freezer.
Thawing: To enjoy your frozen Oreo protein balls, simply take out a few and let them thaw in the fridge for about 2-3 hours before indulging—perfect for those spontaneous cravings!
Reheating: These no-bake treats are best enjoyed cold or at room temperature, so there’s no need to reheat—just enjoy their deliciousness as they are!
Expert Tips for Oreo Protein Balls
-
Ingredient Temperature: Ensure all ingredients, especially cream cheese, are at room temperature for better mixing and a smooth texture.
-
Adjust Consistency: Gradually add almond milk when blending. Start with less and increase until the mixture is moldable but not too sticky.
-
Sweetness Balance: Taste the dough before rolling into balls to adjust sweetness. Some protein powders can be sweeter, so gauge it according to your preference.
-
Prevent Stickiness: Lightly coat your hands with coconut oil or wear disposable gloves while rolling the mixture into balls for easy handling.
-
Custom Flavoring: Don’t hesitate to be creative! Swap Oreos for other sandwich cookies or mix in nuts for added crunch. These variations keep your Oreo protein balls recipe exciting!
Oreo Protein Balls Recipe FAQs
How should I select ripe ingredients for this recipe?
Absolutely! When it comes to selecting your ingredients, particularly the cream cheese, choose one that’s fresh and not past its expiration date for the best flavor and texture. Ensure the Oreos are not too stale; they should still maintain a tasty crunch.
What is the best way to store Oreo protein balls?
You’ll want to store your Oreo protein balls in an airtight container in the fridge. They’ll remain fresh for up to a week, making them perfect for quick snacking anytime you need a treat.
Can I freeze my Oreo protein balls?
Yes, indeed! To freeze, lay the formed protein balls in a single layer on a baking sheet and place them in the freezer until solid. After that, transfer them to a freezer-safe container. They can remain in the freezer for up to 3 months. Just remember to let them thaw in the fridge for about 2-3 hours before munching.
What should I do if my mixture is too sticky or crumbly?
If your mixture is too sticky, gradually add more protein powder to help it hold together. On the flip side, if it’s crumbly and doesn’t mold well, add a tiny bit more almond milk (about a teaspoon at a time). Mix until everything combines smoothly; trust me, this is key for perfect Oreo protein balls!
Are there any dietary considerations I should keep in mind?
Very! These Oreo protein balls can be made gluten-free by using gluten-free Oreos and select protein powders. If you’re concerned about allergies, check the packaging on your chosen ingredients, especially the chocolate and protein powder. Additionally, these are generally safe for kids but be cautious with nuts if you’re including them for those with nut allergies.
How can I customize this recipe further?
Feel free to swap Oreos for your favorite sandwich cookies, or try different protein powders like vanilla or a plant-based option for a unique twist. You can even mix in ingredients like chia seeds or dried fruit for added nutrition. The more the merrier when it comes to flavor experiments!
Oreo Protein Balls Recipe: Guilt-Free Treats You’ll Love
Ingredients
Equipment
Method
- Prepare a baking sheet by lining it with wax paper.
- Mix protein powder and crushed Oreo cookies in a large bowl.
- Blend softened cream cheese and almond milk with the dry mixture until smooth.
- Scoop out about one tablespoon of dough and roll it into a ball.
- Melt chocolate chips with coconut oil in a microwave-safe bowl and stir until smooth.
- Drizzle the melted chocolate over each rolled protein ball.
- Freeze the balls for about 10 minutes until the chocolate sets.
- Store in an airtight container in the refrigerator.
Leave a Reply