
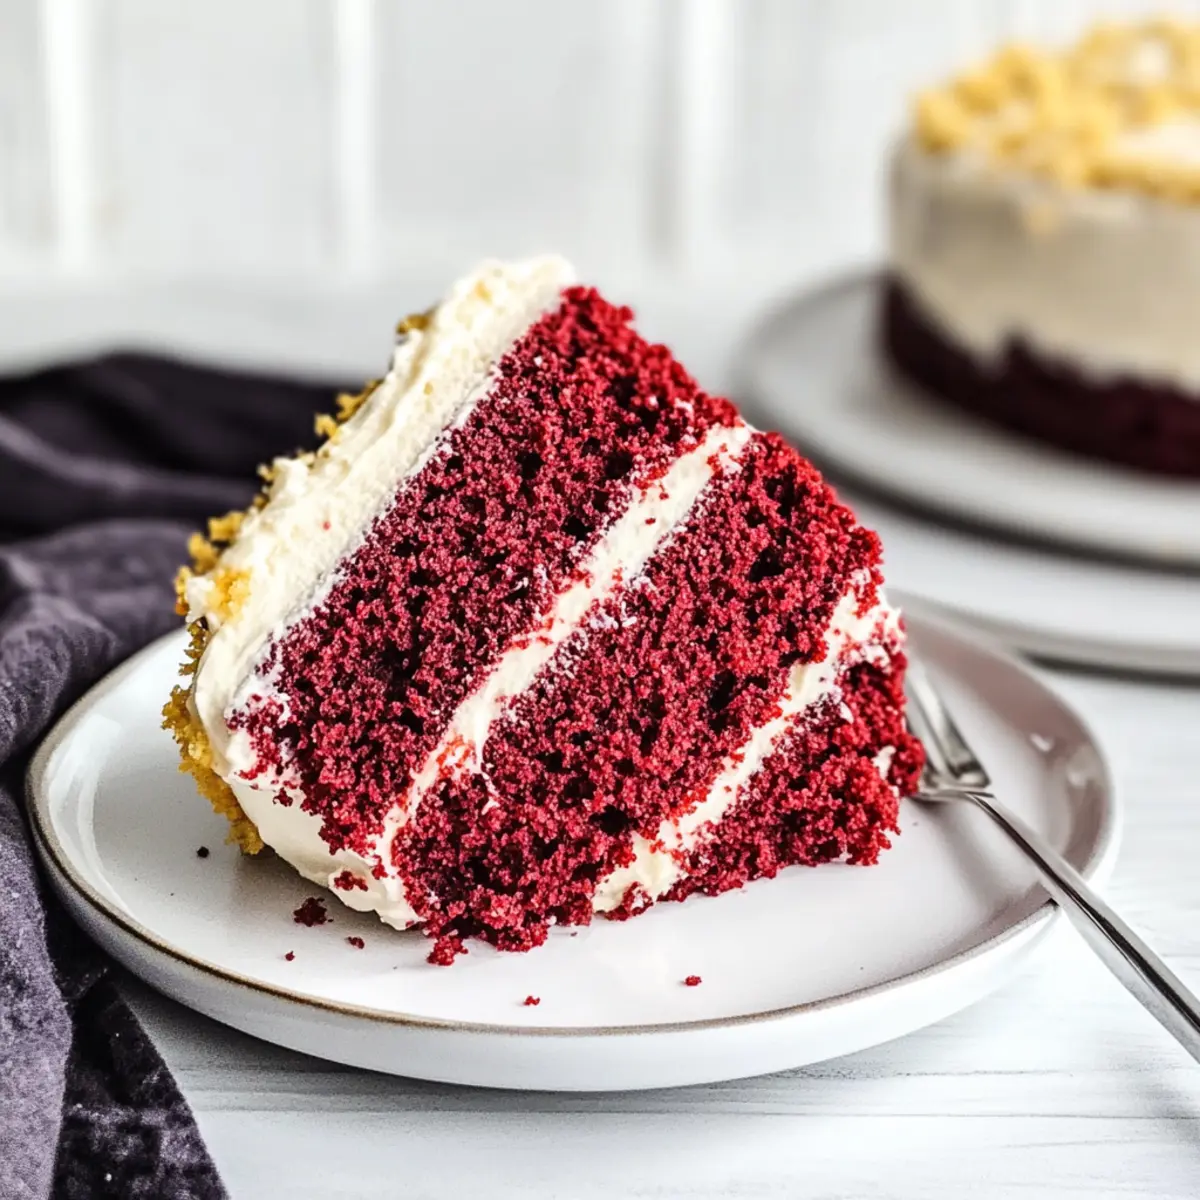
As I stood in my kitchen, the warm aroma of cocoa wafted through the air, instantly transporting me to a cozy, joyous occasion. There’s something truly special about a classic dessert like Red Velvet Cake. With its moist, buttery texture and that unmistakable hint of tanginess from buttermilk, this cake is not just a visual delight but also an irresistible crowd-pleaser for any celebration—be it a birthday bash or a romantic Valentine’s dinner. The rich crimson hue makes it perfect for festive occasions, drawing everyone’s gaze before they even get a taste. If you’re ready to impress your family and friends with a showstopper that’s as delicious as it is stunning, let’s dive into this recipe. What’s your favorite way to enjoy this classic treat?
Why is Red Velvet Cake so beloved?
Irresistible Flavor: The perfect blend of cocoa and tanginess from buttermilk elevates every bite, making it unforgettable.
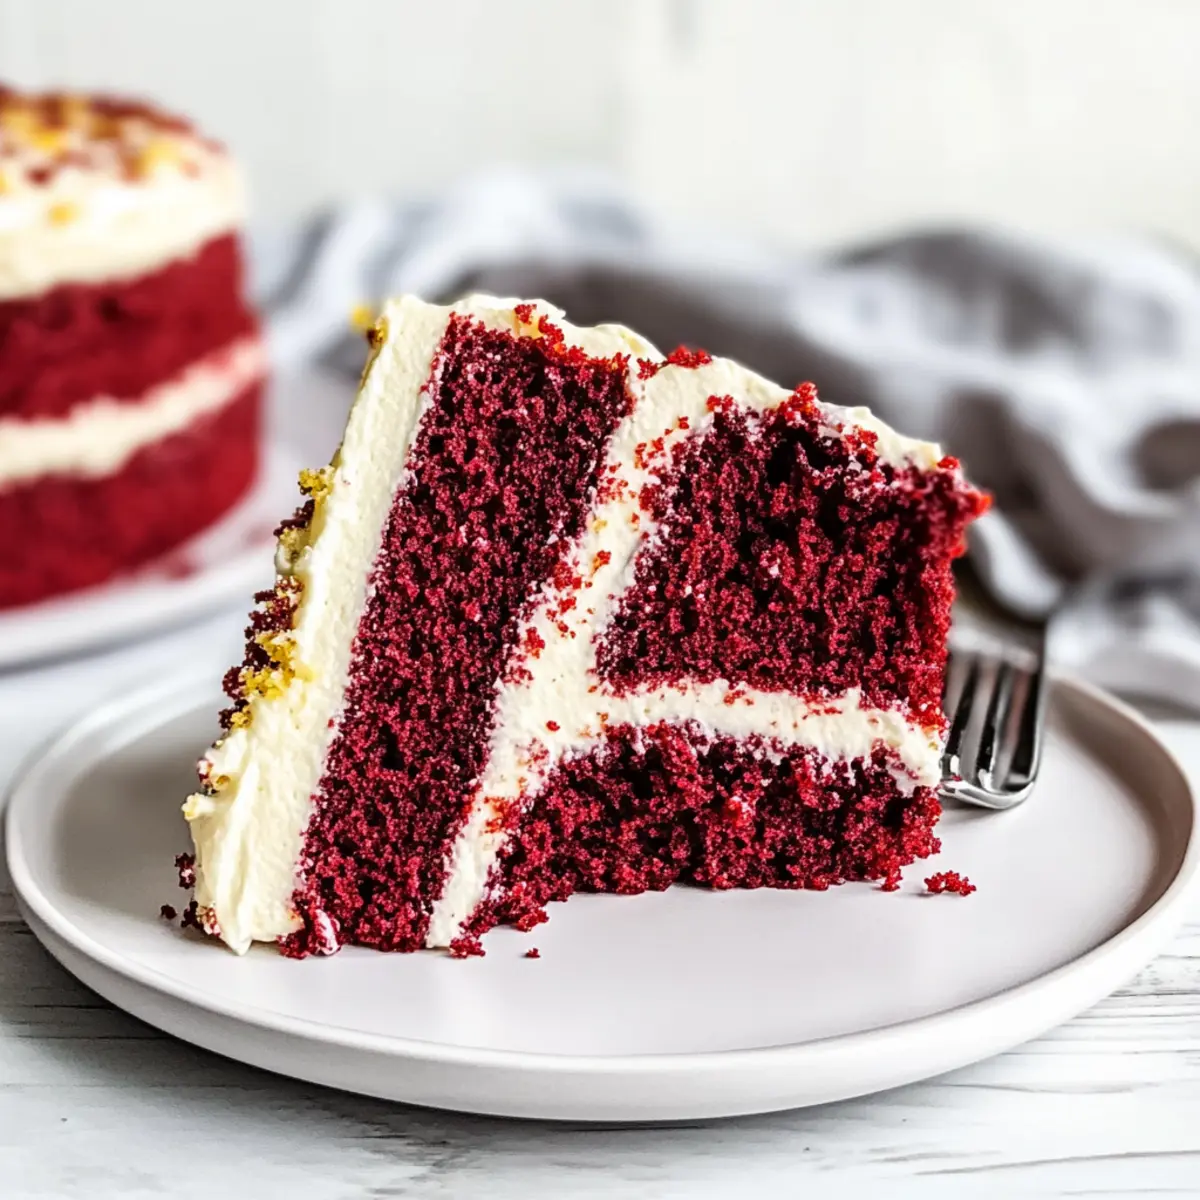
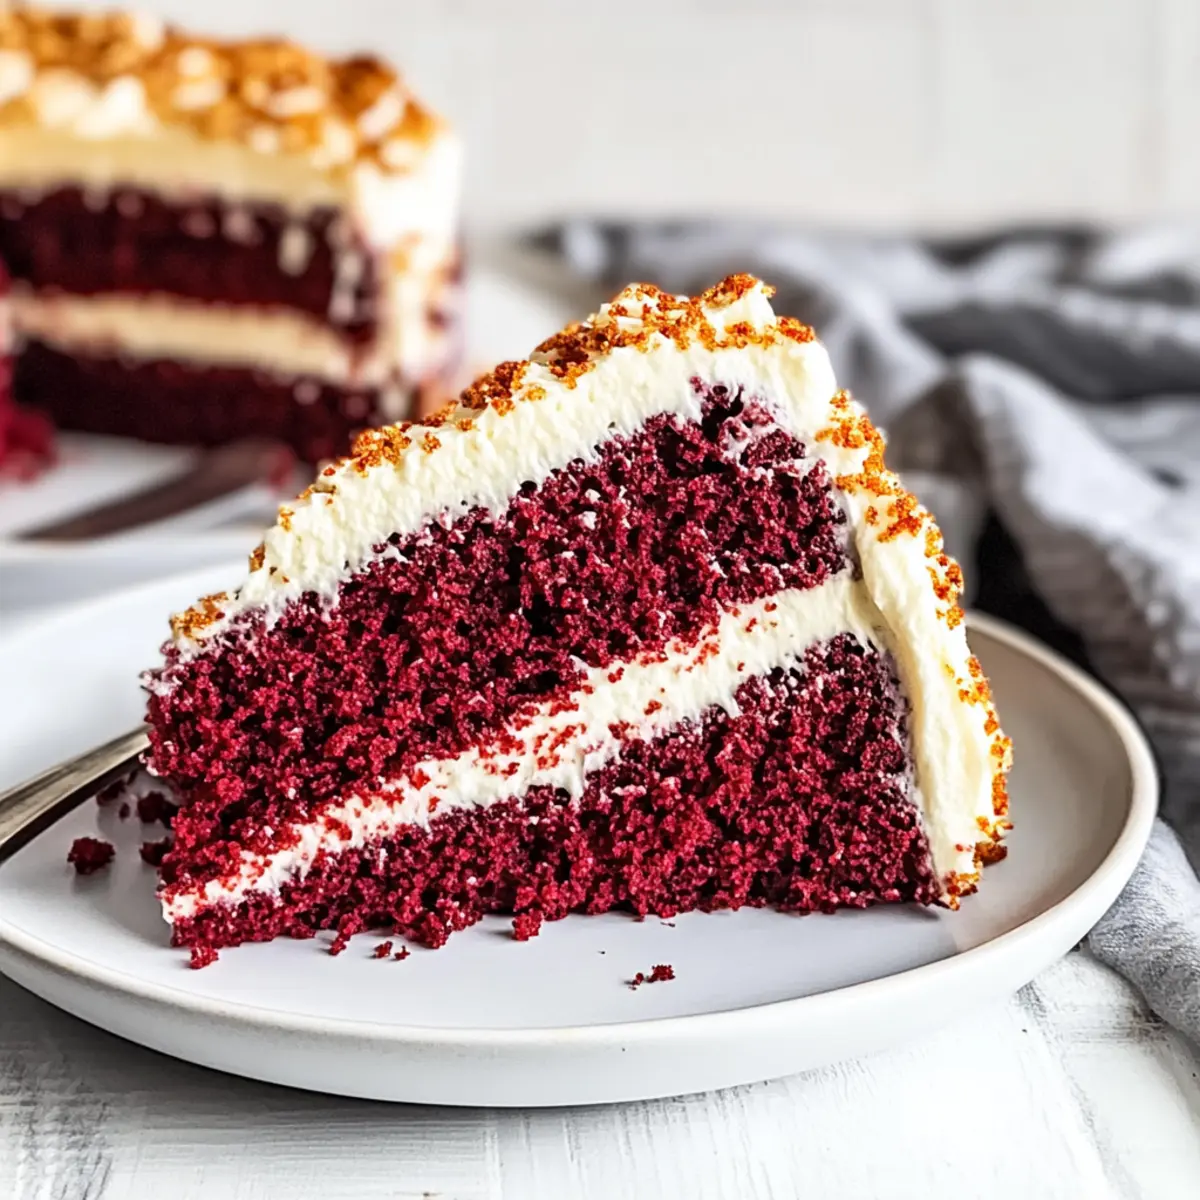
Stunning Presentation: Its eye-catching red color and creamy frosting create a beautiful dessert that impresses guests effortlessly.
Easy to Make: You don’t need to be a pro baker! With straightforward steps, you’ll achieve bakery-quality results at home.
Versatile Treat: Great for everything from birthdays to holidays, this cake fits any occasion, ensuring smiles all around.
Delightful Texture: Moist and tender, it melts in your mouth while the cream cheese frosting adds a rich, luscious finish.
For those of you who enjoy delightful desserts, don’t miss checking out our Strawberry Cheesecake Truffle for another sweet indulgence!
Red Velvet Cake Ingredients
For the Cake
• All-Purpose Flour – Provides structure to the cake; substitute with gluten-free flour for a gluten-free version.
• Granulated Sugar – Adds sweetness and moisture to each slice.
• Unsweetened Cocoa Powder – Enriches flavor and enhances the red color; ensuring a balanced taste.
• Baking Powder – Helps the cake rise; always check the expiration date for effectiveness.
• Baking Soda – Reacts with vinegar and buttermilk for optimal leavening; crucial for a fluffy texture.
• Salt – Enhances flavor; fine sea salt works best for even distribution.
• Vegetable Oil – Keeps the cake moist; can be replaced with canola oil if desired.
• Unsalted Butter – Adds richness; slightly salted butter is a fine alternative if needed.
• Eggs & Egg Yolk – Contribute to moisture and tenderness for a luscious crumb.
• Buttermilk – Essential for tenderness; substitute with yogurt thinned with milk if you’re in a pinch.
• Vanilla Extract – Deepens the overall flavor profile; use pure extract for best results.
• Red Gel Food Coloring – Gives the cake its vibrant hue; adjust the amount for your desired intensity.
• Distilled White Vinegar – Provides tanginess and reacts with the leavening agents for a perfect rise.
For the Cream Cheese Frosting
• Cream Cheese – The key to a rich and tangy frosting; mascarpone can be used for a different twist.
• Powdered Sugar – Sweetens and thickens the frosting; sift it for a smooth finish.
Each ingredient in this Red Velvet Cake is chosen with love to create a dessert that leaves everyone craving more!
Step‑by‑Step Instructions for Red Velvet Cake
Step 1: Preheat the Oven
Begin by preheating your oven to 325°F (163°C). Prepare three 8-inch round cake pans by lining them with parchment paper and spraying them lightly with nonstick cooking spray. This ensures the cake layers release easily after baking, allowing for a beautiful presentation of your Red Velvet Cake.
Step 2: Bloom the Cocoa
In a medium bowl, whisk together the hot coffee and unsweetened cocoa powder until the mixture is smooth. Allow it to sit for about 5 minutes to bloom, deepening the cocoa flavor that complements the rich color of your Red Velvet Cake. This step enhances the overall taste, making it even more decadent.
Step 3: Combine Dry Ingredients
In another bowl, whisk together the all-purpose flour, baking powder, baking soda, and salt. Make sure they are well-mixed to ensure an even rise in your cake layers. This combination provides the necessary structure and leavening for your Red Velvet Cake, helping it achieve that sought-after soft texture.
Step 4: Mix Wet Ingredients
In a large mixing bowl, combine granulated sugar, vegetable oil, and melted unsalted butter. Whisk until the mixture is smooth, then add the eggs and egg yolk, whisking until fully incorporated. Incorporate the buttermilk and vanilla extract, creating a rich batter. The moisture from these ingredients is key to the cake’s tenderness.
Step 5: Combine Wet and Dry Mixtures
Gradually add the dry ingredient mixture to the wet components, folding gently with a spatula until just combined. Be careful not to overmix; you want a soft and fluffy batter for your Red Velvet Cake. The color will begin to deepen as you mix in the red gel food coloring, achieving that signature hue.
Step 6: Divide the Batter
Carefully divide the batter evenly among the prepared cake pans. Tap each pan gently on the counter to release any trapped air bubbles, which helps the cake layers bake evenly. You’ll love how rich and smooth the batter looks, reflecting the exquisite flavor waiting to emerge from the oven.
Step 7: Bake the Cake
Place the pans in your preheated oven and bake for 25-30 minutes. Check for doneness by inserting a toothpick into the center of the cake layers; it should come out clean or with a few moist crumbs attached. Keep an eye on them as the baking time approaches, ensuring the cakes don’t overbake.
Step 8: Cool the Cake Layers
Once baked, remove the pans from the oven and let them cool on a wire rack for about 10 minutes. After that, gently invert the layers onto the racks to cool completely. Allowing them to cool properly is essential for achieving the soft texture of the finished Red Velvet Cake.
Step 9: Make the Frosting
In a mixing bowl, beat the cream cheese and remaining unsalted butter until smooth and creamy. Gradually add the sifted powdered sugar, mixing until well combined. Stir in vanilla extract for an extra layer of flavor. This delightful frosting is what will make your Red Velvet Cake truly indulgent!
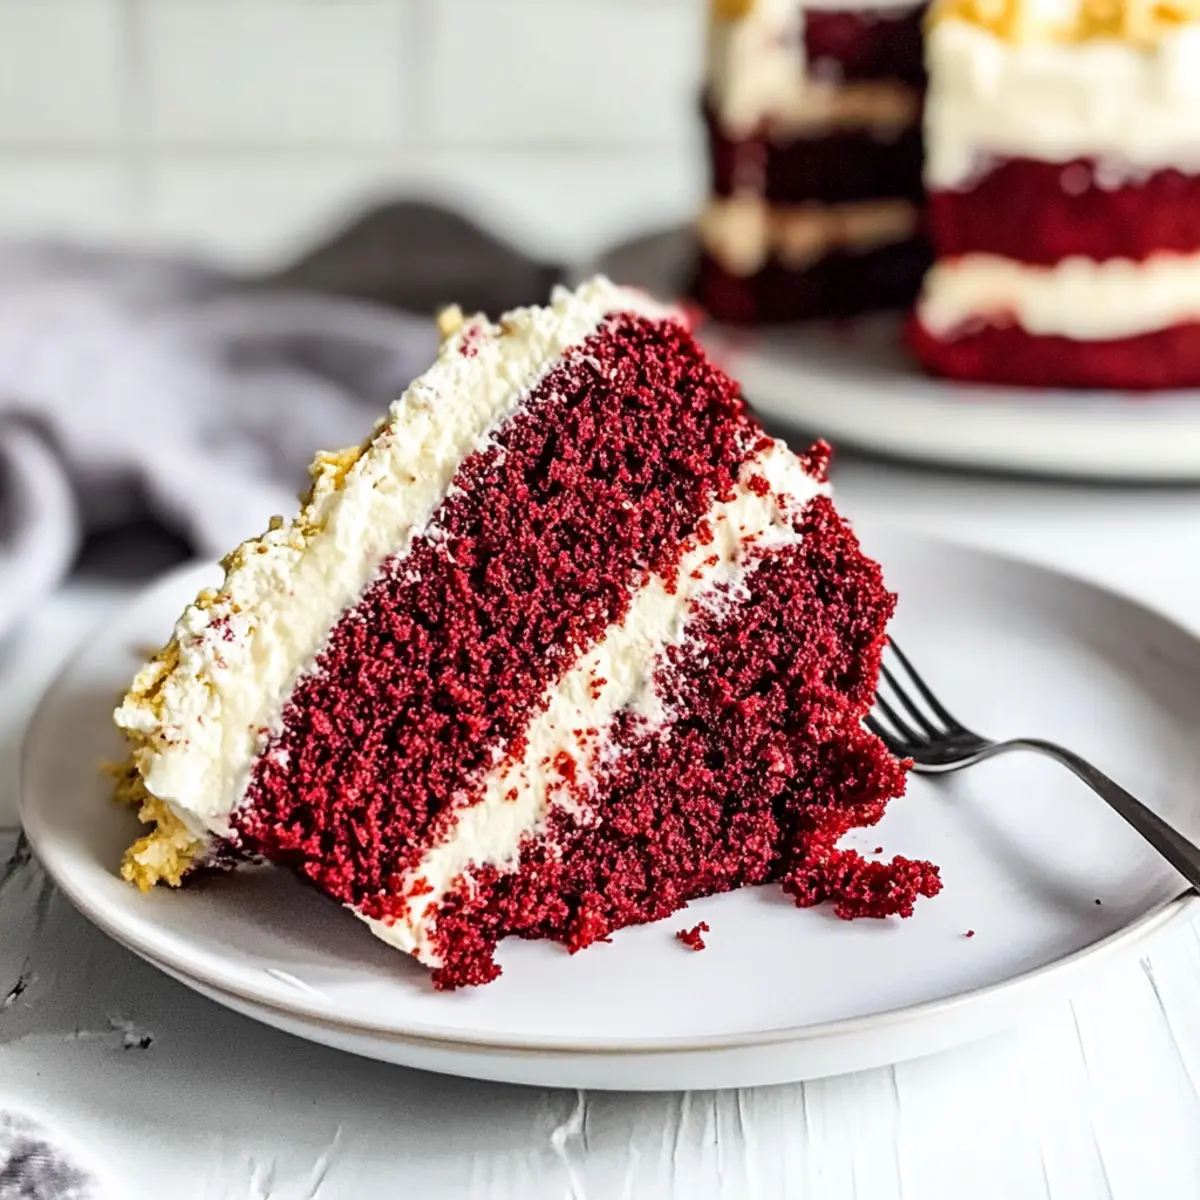
Step 10: Assemble the Cake
Place one cake layer on a serving plate or cake stand and spread a generous layer of cream cheese frosting over the top. Repeat this for the other layers, stacking them carefully. Once assembled, use the remaining frosting to cover the top and sides, creating a beautiful finish on your classic Red Velvet Cake.
How to Store and Freeze Red Velvet Cake
Room Temperature: Store the cake covered at room temperature for up to 3 days. This will keep it fresh and moist, perfect for impromptu cravings.
Fridge: For best freshness, refrigerate the cake for up to 5 days. Ensure it’s wrapped properly to avoid drying out and absorbing odors from other foods.
Freezer: The Red Velvet Cake can be frozen for up to 3 months. Wrap it tightly in plastic wrap, then place it in an airtight container to protect it from freezer burn.
Reheating: To enjoy the cake after freezing, thaw it in the fridge overnight. For serving, you can bring it to room temperature or warm individual slices in the microwave for about 10-15 seconds.
Red Velvet Cake Variations & Substitutions
Feel free to sprinkle your own magic into this beloved classic cake for a twist that suits your taste!
-
Cupcake Version: Transform the cake into cupcakes by adjusting the baking time to about 20-22 minutes. Perfect for parties or lunchboxes!
-
Fruity Surprise: Add a layer of berry jam or fresh strawberries between the layers for a burst of fruity flavor. This twist adds a refreshing contrast to the rich frosting.
-
Flavorful Frosting: Experiment with a vanilla buttercream or a luscious chocolate ganache instead of cream cheese frosting for a different flavor profile. Each offers its own delightful charm!
-
Gluten-Free Option: Substitute all-purpose flour with gluten-free flour to make this cake suitable for those with gluten sensitivities. Just be sure to check your measurements for the best texture!
-
Spiced Delight: Incorporate a pinch of cinnamon or a dash of nutmeg into the batter for a warm, spiced twist. It lovely complements the cake’s soft, cocoa notes.
-
Nutty Crunch: Add chopped pecans or walnuts to the batter or as a garnish on top of the frosting to introduce a satisfying crunch.
-
Layer of Delight: For an even more decadent experience, spread a layer of chocolate fudge between the cake layers for a delightful mix of flavors.
-
Color Adjustments: Feel free to adjust the amount of red food coloring to suit your aesthetic preference. A deep red is traditional, but a lighter hue is stunning too!
These variations will make your Red Velvet Cake not only uniquely personalized but also even more enjoyable for everyone at the party! For more indulgent ideas, check out our festive Strawberry Crunch Cheesecake Tacos and the delightful Mini Cheesecake Sweet that are sure to inspire your next baking session.
Expert Tips for Red Velvet Cake
-
Accurate Measurements: Make sure to measure your ingredients accurately, particularly the flour. This avoids a dense texture and ensures a light, airy Red Velvet Cake.
-
Room Temperature Ingredients: Bring your eggs, buttermilk, and butter to room temperature before mixing. This results in better emulsification, contributing to a moist and fluffy cake.
-
Don’t Overmix: When combining wet and dry ingredients, mix until just combined. Overmixing can develop gluten, making the cake tough instead of tender.
-
Monitor Baking Time: Keep a close eye on your cake as it bakes; every oven is different. A toothpick should come out clean or with a few moist crumbs to ensure it’s perfectly baked.
-
Cooling is Key: Allow your cake layers to cool completely before frosting. This prevents the cream cheese frosting from melting and ensures clean slices.
These tips will help you create a delicious and visually stunning Red Velvet Cake that will impress everyone at your gathering!
Make Ahead Options
These Red Velvet Cake layers are perfect for meal prep enthusiasts! You can bake the cake layers up to 3 days in advance. Allow them to cool completely, then wrap each layer tightly in plastic wrap and refrigerate; this helps maintain moisture and flavor. The cream cheese frosting can also be prepared 24 hours ahead—simply store it in an airtight container in the fridge. When you’re ready to serve your stunning Red Velvet Cake, allow the layers to come to room temperature for about 30 minutes, then frost and assemble them. This not only saves you time on busy days but ensures your dessert is just as delicious and inviting when it’s time to impress your guests!
What to Serve with Moist & Buttery Red Velvet Cake
The enchanting allure of a Red Velvet Cake transforms any gathering into a celebration; pair it with delightful accompaniments for a memorable feast.
-
Creamy Vanilla Ice Cream: Its cool creaminess complements the rich and tangy frosting, providing a delightful contrast to each slice. Scoop a generous portion beside your cake for that classic dessert experience.
-
Fresh Berries: Strawberries, raspberries, or blueberries add a burst of freshness, brightening the sweetness of the cake. The vibrant colors make your dessert table pop, making each bite feel even more indulgent.
-
Whipped Cream: Light and airy, whipped cream enhances the cake’s richness without overwhelming it. Serve a dollop on top or alongside for a heavenly delight.
-
Chocolate Ganache Drizzle: This luxurious addition takes your Red Velvet Cake to the next level. The glossy, velvety texture marries beautifully with the cake’s flavors, tempting every chocolate lover at the table.
-
Mint Chocolate Chip Cookies: The refreshing mint complements the rich flavors of the cake while offering a fun twist. Crumble a few cookies over the dessert for a playful addition or serve them on the side.
-
Sparkling Prosecco: A glass of bubbly adds a festive touch, elevating your celebration. The effervescence cuts through the sweetness, making it a perfect pairing for this classic treat.
-
Chocolate-Covered Strawberries: These bite-sized delights echo the richness of the cake while adding a touch of elegance. Their juiciness and decadence make them an irresistible accompaniment.
With these delightful pairings, you can create an unforgettable dining experience that celebrates the classic allure of your Red Velvet Cake!
Red Velvet Cake Recipe FAQs
What’s the best way to choose ripe ingredients for my Red Velvet Cake?
Absolutely! When selecting ingredients, fresh eggs and high-quality cocoa powder are essential for flavor. The buttermilk should be fresh, and its tanginess will enhance the cake. Always check that your baking powder and baking soda are not expired, as effective leavening is crucial for a light texture. Look for smooth and finely sifted powdered sugar for frosting to ensure it blends seamlessly.
How should I store my Red Velvet Cake after baking?
For optimal freshness, store your Red Velvet Cake covered at room temperature for up to 3 days. If you need it to last a little longer, refrigerate it for up to 5 days. Always wrap it tightly in plastic wrap to prevent it from drying out and absorbing any odors. If you plan to enjoy it later, the cake can also be frozen for up to 3 months. Just make sure to seal it well to avoid freezer burn.
Can I freeze my Red Velvet Cake?
Absolutely! Freezing is a great way to preserve your Red Velvet Cake. Wrap the cooled cake layers individually in plastic wrap, ensuring they are airtight. Place them in an airtight container or a freezer-safe bag to prevent freezer burn. To thaw, simply remove them from the freezer and let them sit in the fridge overnight. You can frost them directly after thawing or warm individual slices in the microwave for a few seconds before serving.
What are some common issues I might encounter while making Red Velvet Cake?
Very good question! If your cake turns out dry, it might be due to overbaking, so make sure to check it with a toothpick a few minutes before the minimum baking time. For a dense texture, ensure you measure your flour correctly—using too much can result in a heavy cake. If you notice that your cake layers aren’t rising enough, check the freshness of your baking powder and baking soda, as they should be active for the best results.
Is there anything I should consider for dietary restrictions when making this cake?
Of course! For gluten-free alternatives, you can substitute all-purpose flour with a 1-to-1 gluten-free blend. If someone has dairy allergies, consider using a non-dairy milk with lemon juice as a buttermilk substitute, along with a dairy-free cream cheese for the frosting. Always communicate and check for potential allergens when serving guests, especially with ingredients like eggs, dairy, and gluten that may restrict certain diets.
How do I make my Red Velvet Cake suitable for pets or those with allergies?
To make a pet-friendly version, it’s best to avoid traditional ingredients like chocolate (cocoa powder) and sugar, as these can be harmful to pets. Instead, consider making a special, safe “cake” for your furry friend using pet-safe ingredients like mashed bananas, peanut butter, and oat flour. Always check with a vet if you’re unsure about a specific ingredient for pets. To keep it allergy-friendly, communicate with your guests about all ingredients used, and consider making a separate allergy-free version if needed.
Decadent Red Velvet Cake with Cream Cheese Bliss
Ingredients
Equipment
Method
- Preheat your oven to 325°F (163°C). Prepare three 8-inch round cake pans by lining with parchment paper.
- In a medium bowl, whisk together the hot coffee and cocoa powder until smooth and let it sit for 5 minutes.
- In another bowl, whisk together the flour, baking powder, baking soda, and salt.
- In a large mixing bowl, combine the sugar, oil, and melted butter. Whisk until smooth, then add the eggs and yolk.
- Gradually add the dry ingredients to the wet mixture, folding gently until just combined and mix in the food coloring.
- Divide the batter evenly among prepared cake pans and tap each pan to release air bubbles.
- Bake for 25-30 minutes, checking for doneness with a toothpick.
- Let the cakes cool in the pans for 10 minutes before inverting onto wire racks to cool completely.
- In a mixing bowl, beat the cream cheese and remaining butter until smooth, then gradually beat in the powdered sugar.
- Assemble the cake by placing one layer on a serving plate, spreading frosting between layers, and frosting the top and sides.
Leave a Reply