
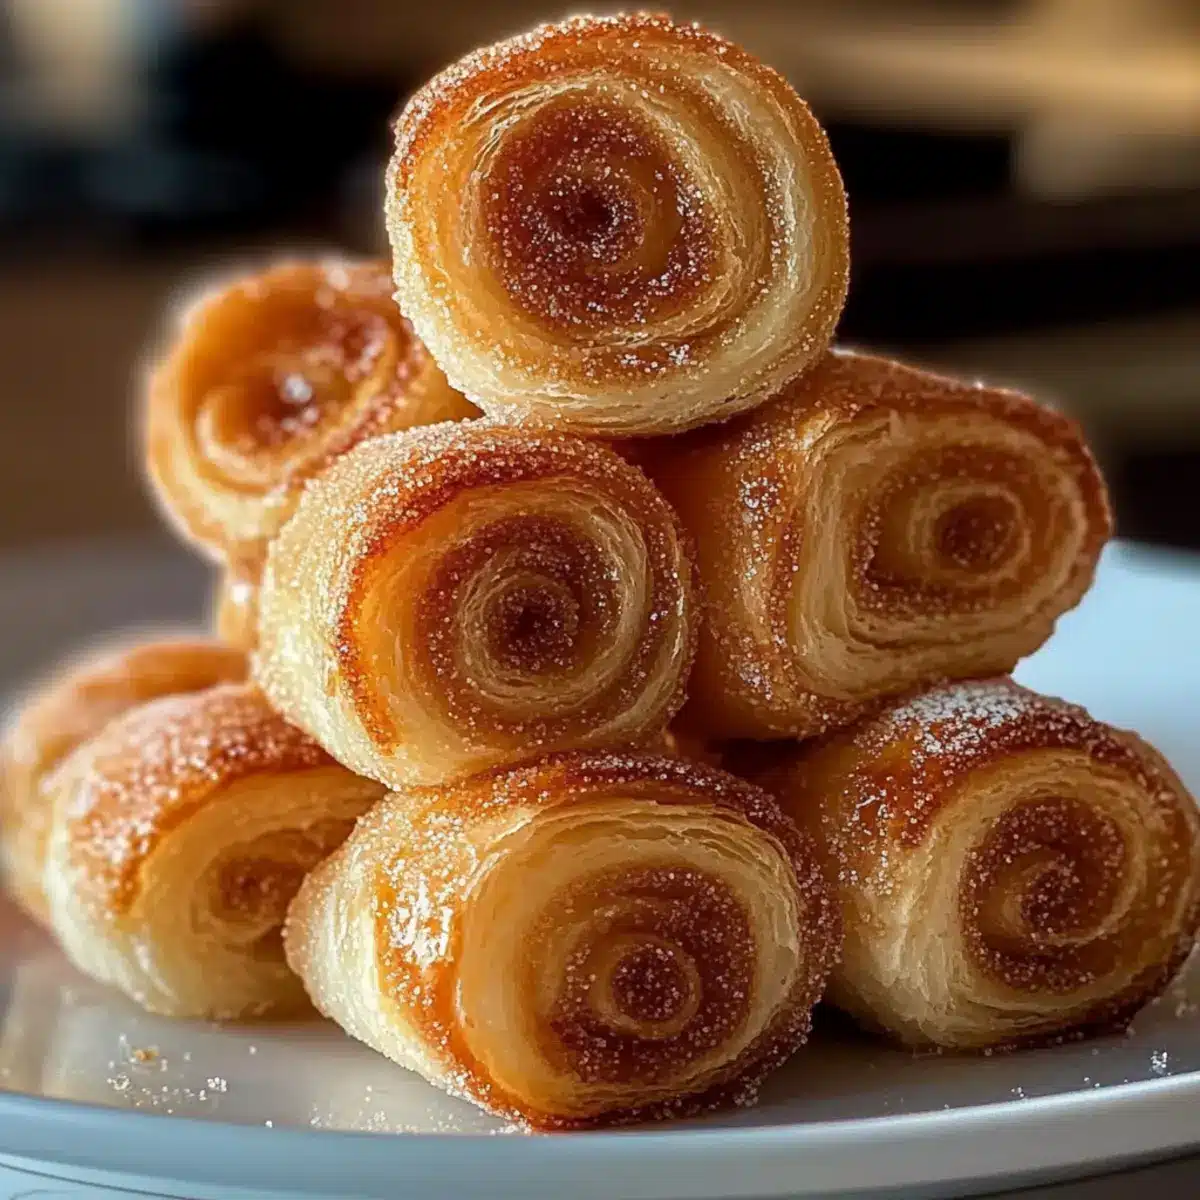
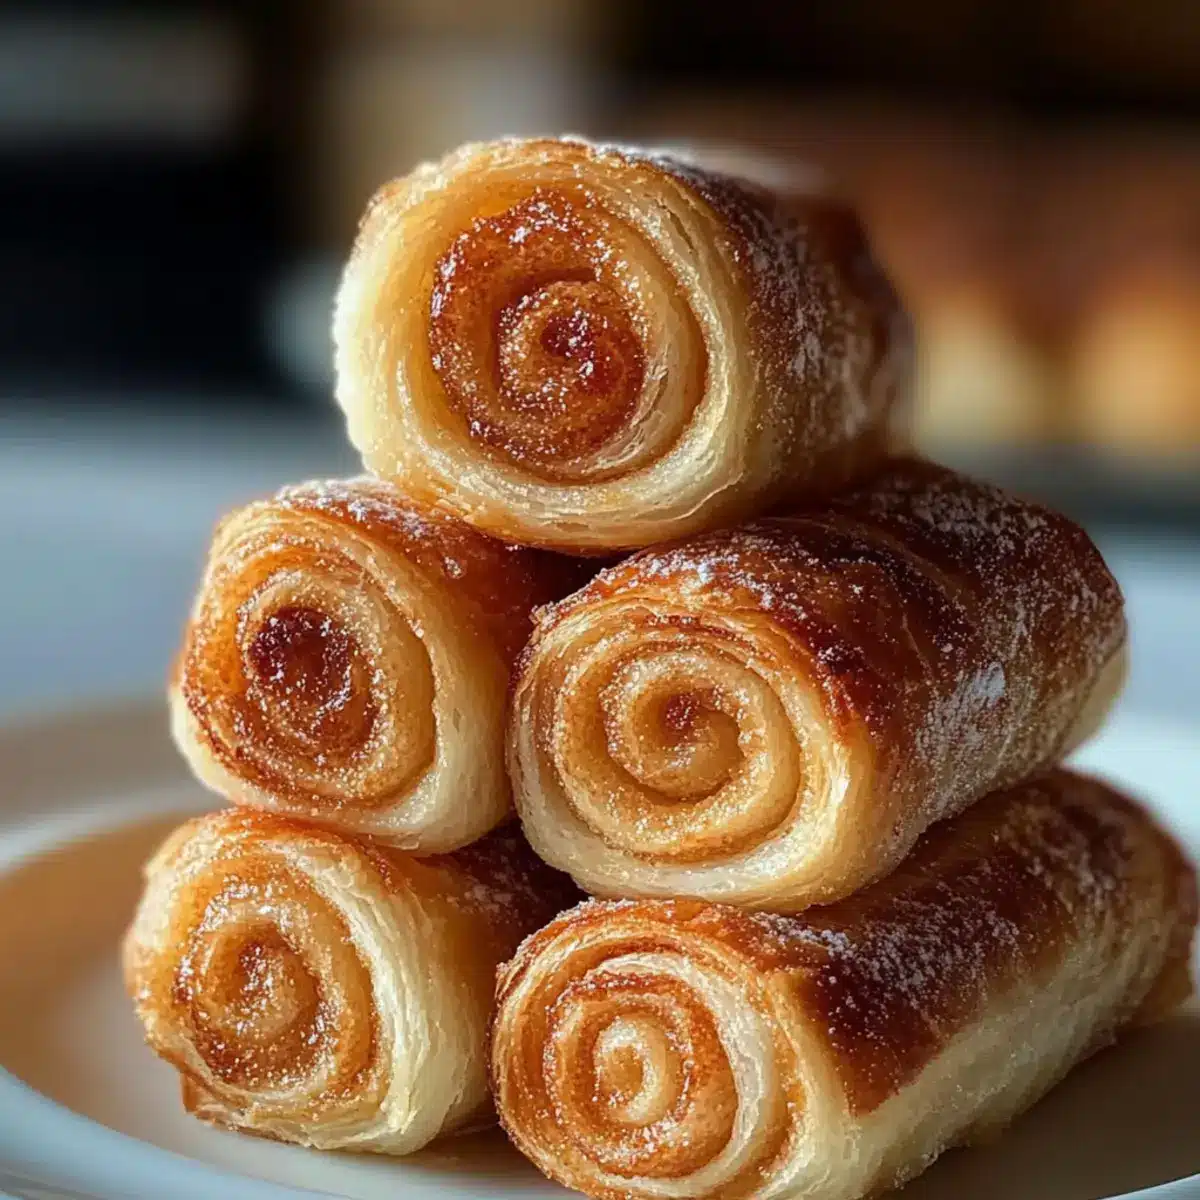
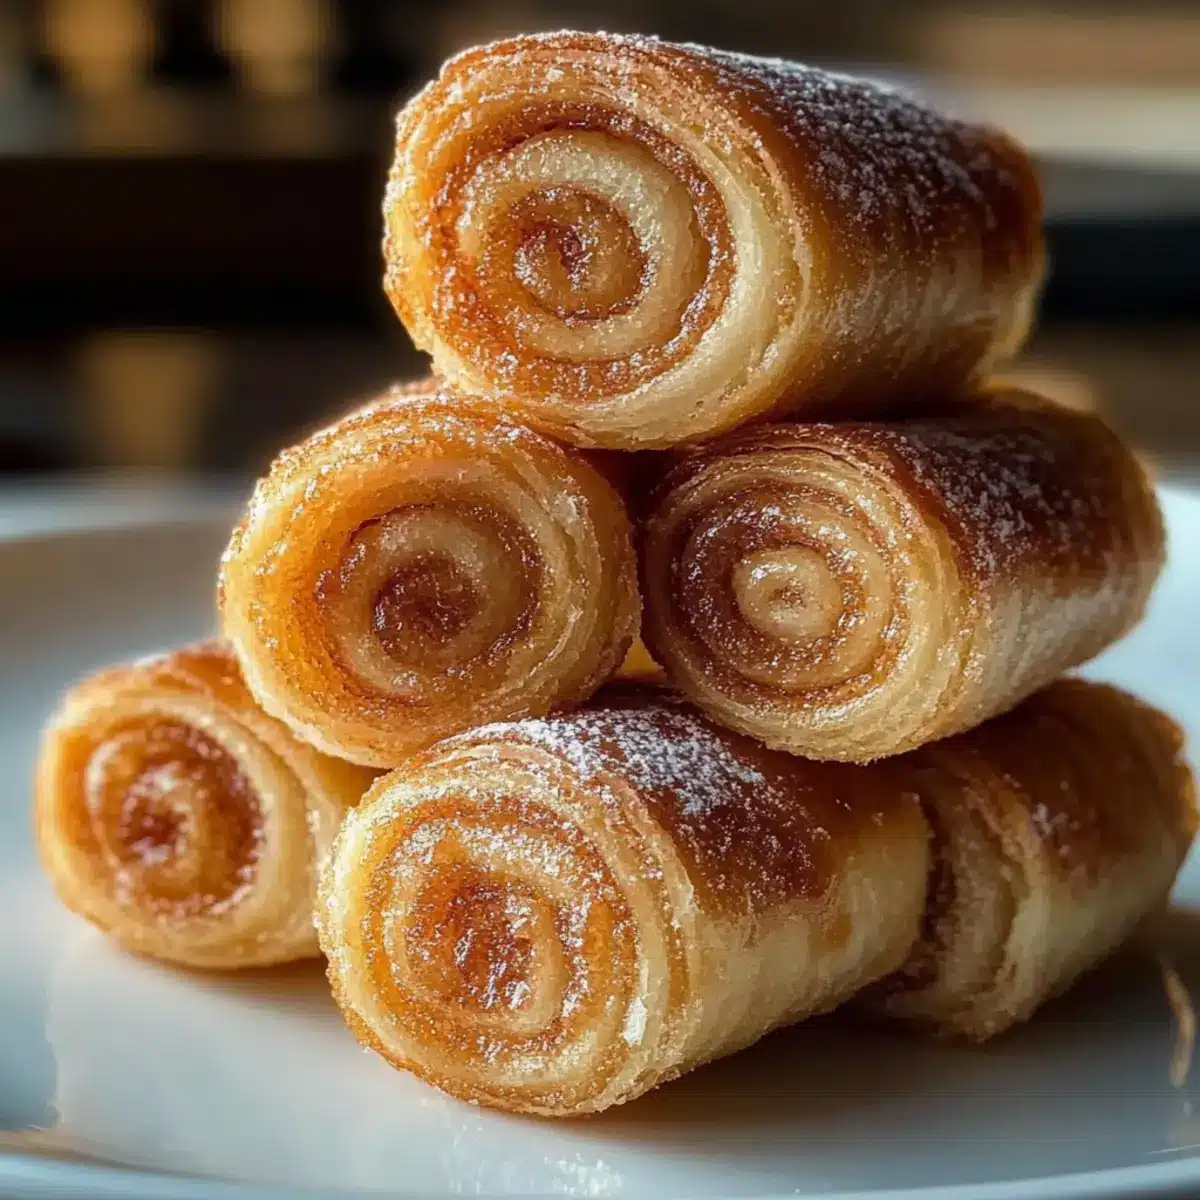
The scent of freshly baked pastries can instantly transport you back to cozy mornings spent in a loved one’s kitchen. That’s exactly the feeling you’ll get with these delightful Sugar Snails, where soft, spiraled dough meets the perfect touch of caramelized sweetness. This recipe is not only a comforting alternative to traditional cinnamon rolls but also incredibly straightforward—ideal for both novice and seasoned bakers. With minimal prep time, you’ll have a batch of flaky Sugar Snails ready to impress family and friends at brunch or during a quiet afternoon treat. And if you’re looking to mix things up, I’ll share quicker variations using refrigerated puff pastry that will have you savoring each bite in no time. Want to find out how to create this delicious pastry experience? Let’s dive in!
Why Are Sugar Snails So Irresistible?
Simplicity, just a few ingredients transform into a warm hug of buttery goodness!
Versatile, whether you add cinnamon, vanilla, or even lemon zest, these snails adapt to your cravings effortlessly.
Comforting aroma, while they bake, the sweet scent fills your kitchen, reminding everyone of home.
Easy to make, with minimal prep and a chance to practice your baking skills, perfect for novice bakers!
Perfect for sharing, they’re a crowd-pleaser at brunch or an afternoon snack that everyone will adore. For extra fun, try them alongside some Cinnamon Sugar Soft, or go savory with Sweet Potato Fries.
Sugar Snails Ingredients
• Discover the key ingredients for perfect Sugar Snails!
For the Dough
- All-purpose flour – Provides structure while keeping the dough soft. Avoid over-measuring—use the spoon and level technique for accuracy.
- Yeast – Active dry or instant yeast both work; ensure it’s fresh for the dough to rise properly.
- Milk – Whole milk adds richness; 2% is also suitable. Warm it slightly before mixing to activate the yeast.
- Unsalted butter – Essential for spreading and adds flavor; using unsalted gives you control over saltiness.
- Granulated sugar – The main sweetener creating the characteristic caramelized flavor.
- Egg – Adds richness and binds the dough together.
- Salt – Enhances flavor and balances sweetness; do not skip this ingredient.
For the Fillings (Optional)
- Cinnamon – Sprinkle in for a classic twist when making Sugar Snails, bringing warmth and coziness.
- Lemon zest – Add this for a zesty spin that brightens the sweetness of your Sugar Snails.
- Vanilla extract – Incorporating this transforms your pastry experience into something aromatic and delightful.
- Chopped nuts – These add a lovely crunch and flavor; consider almonds or pecans for an extra surprise!
Prepare these ingredients, and you’re on your way to baking delicious Sugar Snails that will warm the hearts—and bellies—of everyone around you!
Step-by-Step Instructions for Sugar Snails
Step 1: Prepare the Dough
Begin by warming 1 cup of milk slightly in the microwave until it’s warm but not boiling—around 110°F (43°C) works nicely. In a mixing bowl, combine the warm milk, 2 tablespoons of granulated sugar, and 2 teaspoons of yeast. Allow this mixture to sit for about 5-10 minutes until it becomes frothy, signaling that the yeast is activated.
Step 2: Mix Ingredients
In a large mixing bowl, combine 3 cups of all-purpose flour, a pinch of salt, and 1 beaten egg. Pour in the frothy milk mixture and 1/4 cup of melted unsalted butter, stirring until a soft dough forms. You’re aiming for a slightly tacky texture, so don’t worry if it feels a bit sticky. If it’s too wet, add a little more flour, a tablespoon at a time.
Step 3: Knead Dough
Transfer the dough onto a lightly floured surface and knead for about 8-10 minutes by hand or using a stand mixer with a dough hook. Knead until the dough becomes smooth and elastic. A good indicator is that it should bounce back when you gently poke it. This will create the lovely texture you’ll savor in your Sugar Snails.
Step 4: First Rise
Once kneaded, place the dough in a greased bowl, covering it tightly with plastic wrap or a clean kitchen towel. Set it in a warm, draft-free area to rise for approximately 1 to 1.5 hours, or until it has doubled in size. An ideal spot is near a warm oven or on the countertop.
Step 5: Roll Out
After the dough has risen, punch it down to release the air. On a floured surface, roll it out into a large rectangle about 1/4 inch thick. Spread a generous layer of softened butter on top, allowing it to melt slightly, and then sprinkle 1/2 cup of sugar evenly over the surface. You can opt to add cinnamon here for an extra flavor twist!
Step 6: Shape the Snails
Starting from the long edge of the rectangle, roll the dough tightly into a log. Use a sharp knife or dental floss to slice the log into 1-inch pieces, creating even rounds that will form your Sugar Snails. Each slice should reveal beautiful swirls of dough and filling.
Step 7: Second Rise
Place the snails in a greased baking dish, arranging them closely but not touching. Cover them lightly with a kitchen towel and let them rise for another 30-45 minutes until they look puffy. This final rise ensures that your Sugar Snails will be light and airy after baking.
Step 8: Bake
Preheat your oven to 350°F (175°C). Once preheated, bake the Sugar Snails for about 20-25 minutes, or until they are golden brown on top and emanating a sweet, inviting fragrance. Keep a close eye on them towards the end to prevent overbaking!
Step 9: Cool
Once baked, remove the Sugar Snails from the oven and let them cool in the pan for about 10 minutes. This resting time allows the flavors to settle and gives them a lovely glossy finish that makes them even more irresistible. Serve warm for the best experience!
How to Store and Freeze Sugar Snails
Room Temperature: Store Sugar Snails in an airtight container at room temperature for up to 2 days to keep them fresh and soft.
Fridge: If you want to enjoy them longer, refrigerate for up to 5 days. Just make sure they’re in a sealed container to prevent drying out.
Freezer: For longer storage, freeze individual Sugar Snails in a single layer, then transfer them to a freezer bag for up to 2 months.
Reheating: To enjoy again, simply reheat in a preheated oven at 350°F (175°C) for about 5-10 minutes, restoring their delightful flakiness!
Sugar Snails Variations & Substitutions
Feel free to let your creativity shine as you customize these delectable pastries to suit your taste!
-
Vanilla Sugar Snails: Add vanilla bean paste or extract to the butter filling for a fragrant, sweet touch. Imagine the aroma wafting through your kitchen!
-
Cinnamon Sugar Snails: Incorporate cinnamon into the sugar for a classic twist that brings warmth and coziness to every bite. Perfect for spice lovers!
-
Lemon Sugar Snails: Mix lemon zest into the sugar to brighten your Sugar Snails, adding a refreshing zest that complements the sweetness beautifully.
-
Nutty: Add finely chopped almonds or pecans to the filling for an unexpected crunch and a rich flavor boost. It’s a lovely surprise that elevates each swirl!
-
Glazed Option: Drizzle with a light sugar glaze after baking for an extra touch of sweetness. It’s like a mini dessert party on your plate!
-
Puff Pastry Shortcut: For a quicker treat, use refrigerated puff pastry for the dough. It saves time and still delivers a delightful pastry experience.
-
Chocolate Chip Delight: Fold in mini chocolate chips into the dough or sprinkle on top for a decadent chocolate twist. Just imagine the chocolate melting into those flaky layers!
-
Herb-Infused: Want to experiment? Try adding finely chopped fresh herbs like rosemary or thyme to the dough for a savory twist that pairs well with cheese.
For additional yumminess, consider pairing your Sugar Snails with some delightful Cinnamon Sugar Soft pretzels or savoring them with crispy Sweet Potato Fries on the side!
Make Ahead Options
Sugar Snails are a fantastic choice for meal prep, allowing you to enjoy freshly baked treats with minimal morning fuss. You can prepare the dough up to 24 hours in advance. Simply follow the recipe to the point of shaping the snails, then cover them tightly with plastic wrap and refrigerate overnight. This prevents browning and ensures they stay fresh. When you’re ready to bake, let them rise for about 30-45 minutes at room temperature before popping them in a preheated oven. This prep-ahead method means you can savor warm, flaky Sugar Snails any day of the week without the hassle of starting from scratch!
Tips for the Best Sugar Snails
• Dough Temperature: Ensure your milk is warm but not hot, around 110°F (43°C). Too hot may kill the yeast, affecting your dough rise.
• Kneading Technique: Knead until the dough is smooth and elastic. A well-kneaded dough helps create the tender, flaky layers in your Sugar Snails.
• Measuring Flour: Use the spoon and level method for measuring flour. Over-measuring can lead to dense pastries instead of light, fluffy snails.
• Rising Time: Don’t rush the rising process. Allow the dough to double in size for the best texture; this is key for achieving perfect Sugar Snails.
• Baking Watch: Check for doneness a few minutes before the time is up. Baking too long can dry them out, making them less delightful.
• Flavor Variations: Feel free to experiment with fillings like cinnamon or lemon zest to create unique, mouthwatering Sugar Snails that suit your taste!
What to Serve with Flaky Sugar Snails?
Imagine a brunch setting where sweetness mingles with warmth and comfort, elevating your Sugar Snails to a memorable feast.
- Hot Coffee: A classic pairing that complements the sweet, buttery flavors, enhancing your morning experience with every sip.
- Fresh Fruit Salad: Bright, juicy fruits add a refreshing contrast, balancing the richness of the pastries beautifully.
- Whipped Cream: Light and airy, it makes for a delightful addition that turns your Sugar Snails into a dessert-like treat.
- Tea Selection: Herbal or chai teas provide a cozy companion, wrapping you in warmth that harmonizes with the pastries’ sweetness.
- Maple Syrup Drizzle: Drizzle warm syrup on top for added sweetness and a touch of indulgence; it’s like a warm hug on a plate.
- Chocolate Sauce: For those with a sweet tooth, this luscious sauce elevates your pastries to a decadent experience.
- Savory Breakfast Casserole: The richness of egg and cheese complements the sweetness of your treats for a well-rounded brunch.
- Yogurt Parfait: Creamy yogurt with granola and berries bring freshness and texture, making the meal feel wholesome and balanced.
- Homemade Lemonade: A zesty, refreshing drink that cuts through the sweetness and brightens up the brunch table.
- Ice Cream: For a cozy evening treat, a scoop of vanilla or caramel ice cream can take your Sugar Snails to a whole new level!

Sugar Snails Recipe FAQs
How do I select the best yeast for my Sugar Snails?
Absolutely! When choosing yeast for your Sugar Snails, I recommend using active dry yeast or instant yeast, both of which work wonderfully. Always check the expiration date on the package to ensure freshness; this guarantees your dough will rise perfectly. If you’re not sure, you can proof the yeast by mixing it with warm water and sugar. If it gets foamy after about 5-10 minutes, it’s good to go!
What is the best way to store leftover Sugar Snails?
Very important! You should store your Sugar Snails in an airtight container at room temperature for up to 2 days to maintain their soft texture. If you need them to last a bit longer, refrigerate them for up to 5 days, ensuring they stay covered to avoid drying out. For maximum freshness, wrap them tightly in plastic wrap before placing them in the fridge.
Can I freeze Sugar Snails, and if so, how?
Absolutely! Freezing Sugar Snails is a fantastic way to enjoy them later. Start by letting them cool completely after baking. Then, arrange the snails in a single layer on a baking sheet and freeze until solid, about 1-2 hours. Once frozen, transfer them to a freezer bag, sealing out as much air as possible. They can be stored for up to 2 months! To enjoy, simply reheat them in a preheated oven at 350°F (175°C) for 5-10 minutes.
What should I do if my Sugar Snails come out too dry?
If you find your Sugar Snails are dry, this could be due to overbaking. Always keep an eye on them as they near the end of the baking time; a golden brown should be your indicator. For future batches, consider reducing the baking time by a couple of minutes to maintain that soft, melt-in-your-mouth texture.
Are Sugar Snails safe for pets, and are there any common allergies I should be aware of?
Very! While Sugar Snails are delicious for humans, it’s important to keep them away from pets, especially dogs, as ingredients like butter and sugar are not suitable for them. As for common allergens, the recipe contains flour (gluten), eggs, and dairy. If you’re baking for someone with allergies, you could look into substituting these ingredients, but these changes might alter the final texture and flavor.
Can I use different filling options for my Sugar Snails?
Absolutely! The more the merrier when it comes to flavoring your Sugar Snails. Feel free to add cinnamon for a warm twist, lemon zest for a refreshing zing, or even vanilla extract for an aromatic touch. You can also consider tossing in some chopped nuts like pecans or almonds for a delightful crunch. The possibilities are endless!
Sweet Sugar Snails: A Cozy Treat to Brighten Your Day
Ingredients
Equipment
Method
- Warm 1 cup of milk slightly, then mix with 2 tablespoons of sugar and 2 teaspoons of yeast. Let it sit until frothy.
- Combine 3 cups of flour, 1 teaspoon of salt, and 1 beaten egg. Add in the frothy milk mixture and 1/4 cup of melted butter, stirring until soft dough forms.
- Knead the dough on a floured surface for 8-10 minutes until smooth and elastic.
- Place in a greased bowl, cover, and let rise in a warm area for 1 to 1.5 hours.
- After rising, roll out the dough to a large rectangle, spread softened butter on top, and sprinkle with 1/2 cup of sugar.
- Roll the dough tightly from one edge into a log, then slice into 1-inch pieces.
- Arrange the pieces in a greased baking dish and let them rise for 30-45 minutes.
- Preheat the oven to 350°F (175°C) and bake for 20-25 minutes until golden brown.
- Cool for 10 minutes before serving warm.
Leave a Reply